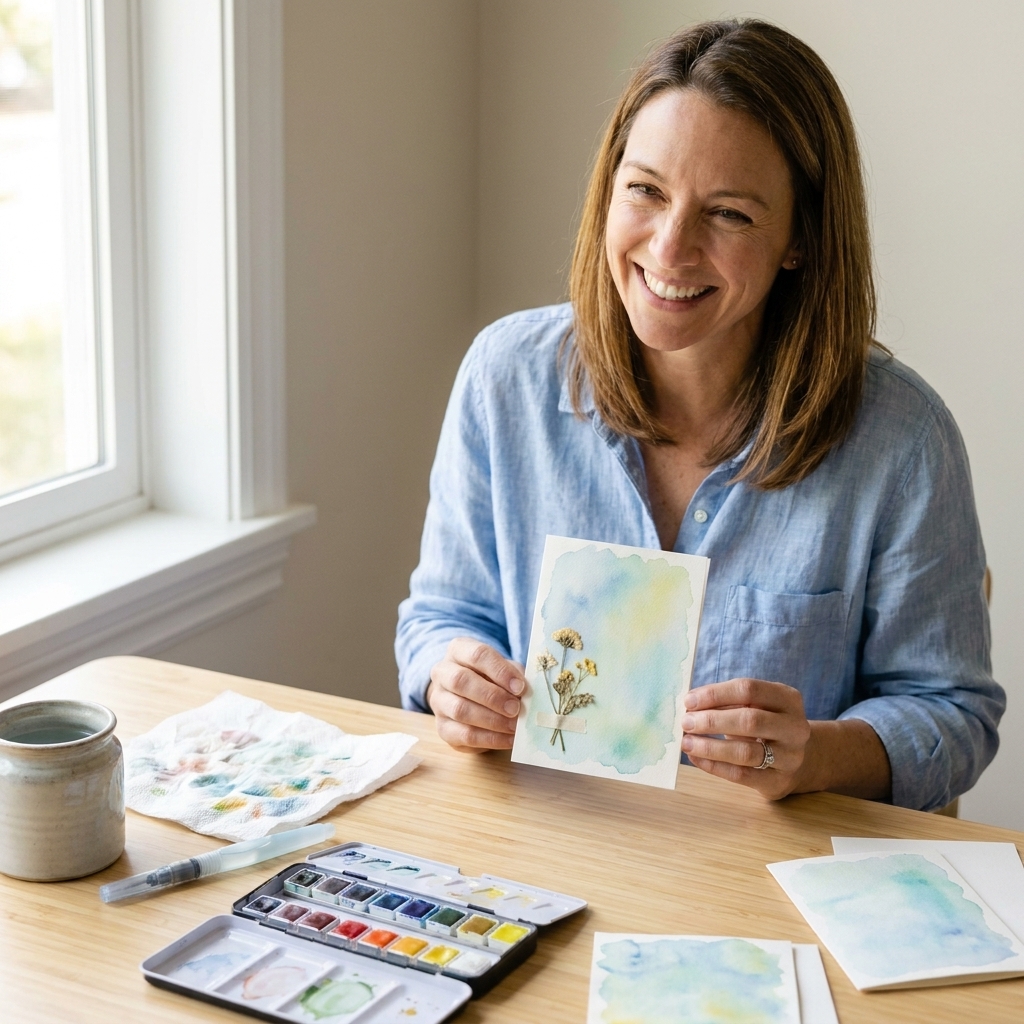
If you have ever looked at a watercolor card background and thought, “That is gorgeous… and also a little intimidating,” come sit by me at the craft table. Watercolor on cards is much more forgiving than it looks, especially when you treat it like play time instead of perfection time. We are going to make easy backgrounds and simple florals using supplies you might already have: markers, watercolor pencils, and classic watercolor pans.
The secret is this: watercolor loves water, but paper loves control. So we will set ourselves up with the right paper panel, the right amount of water, and a few beginner tricks that make everything feel doable.
Before you paint
Best paper for card making
You can watercolor on lots of surfaces, but if you want less warping and smoother blends, choose one of these:
- Watercolor paper (140 lb, about 300 gsm, or heavier) cut to A2 or slimline and adhered to a folded card base.
- Hot press watercolor paper for stamping and crisp lines. It is smoother than cold press.
- Mixed media paper if you want a budget-friendly option that still handles water pretty well.
- Heavy white cardstock (often labeled 110 lb) for quick marker smears and very light washes. Some smooth cardstocks can handle a little water, but many will pill or warp, so test a scrap first.
Quick prep that saves headaches
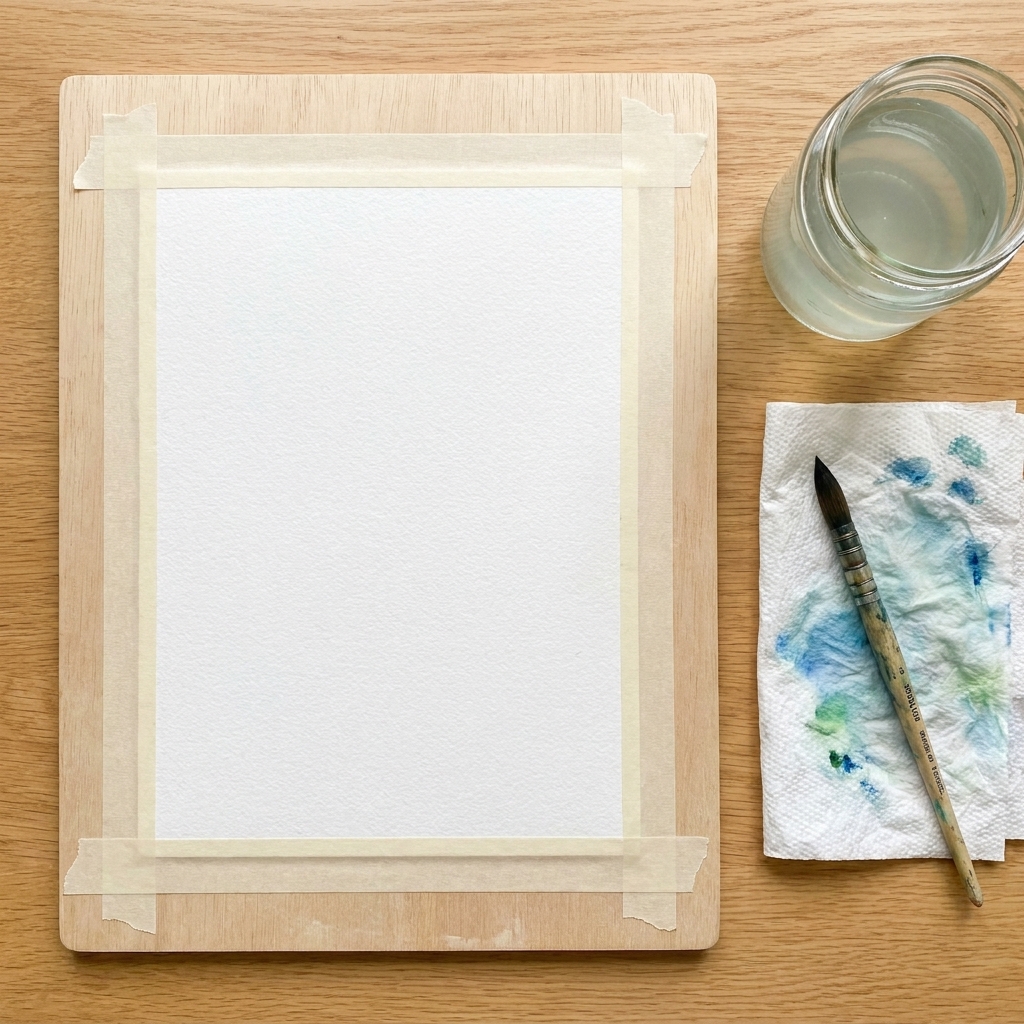
- Tape your panel down with low-tack tape or washi on a hard board. It helps prevent curling and gives you a clean border.
- Keep two cups of water: one for rinsing, one for clean water. Your “clean” cup turns to latte fast.
- Have a blotter buddy: paper towel or a clean cloth for lifting paint and controlling puddles.
If your panel still warps, do not panic. Let it dry completely, then press it under a stack of books overnight. It is like a spa day for paper.
Easy backgrounds
If you want a first project that feels like a win, start with a simple flat wash and a stamped sentiment. That one combo can carry you through a whole stack of cards.
1) Flat wash
This is the starter background I recommend to everyone. It is smooth, simple, and a perfect base for die cuts or stamped sentiments.
- Wet the panel lightly with clean water using a wide brush or water brush. You want a sheen, not puddles.
- Pick up color from pans, from marker ink on a palette, or from watercolor pencil scribbled onto a slick surface (or very lightly applied to the paper).
- Lay down broad strokes and let the color mingle.
- Tip the board gently to let the color travel. If it rushes, blot a corner with paper towel.
- Let it dry before stamping or gluing on top.
Tip: If you get a hard line where paint dried, re-wet that edge with clean water and gently feather it out.
2) Soft ombré
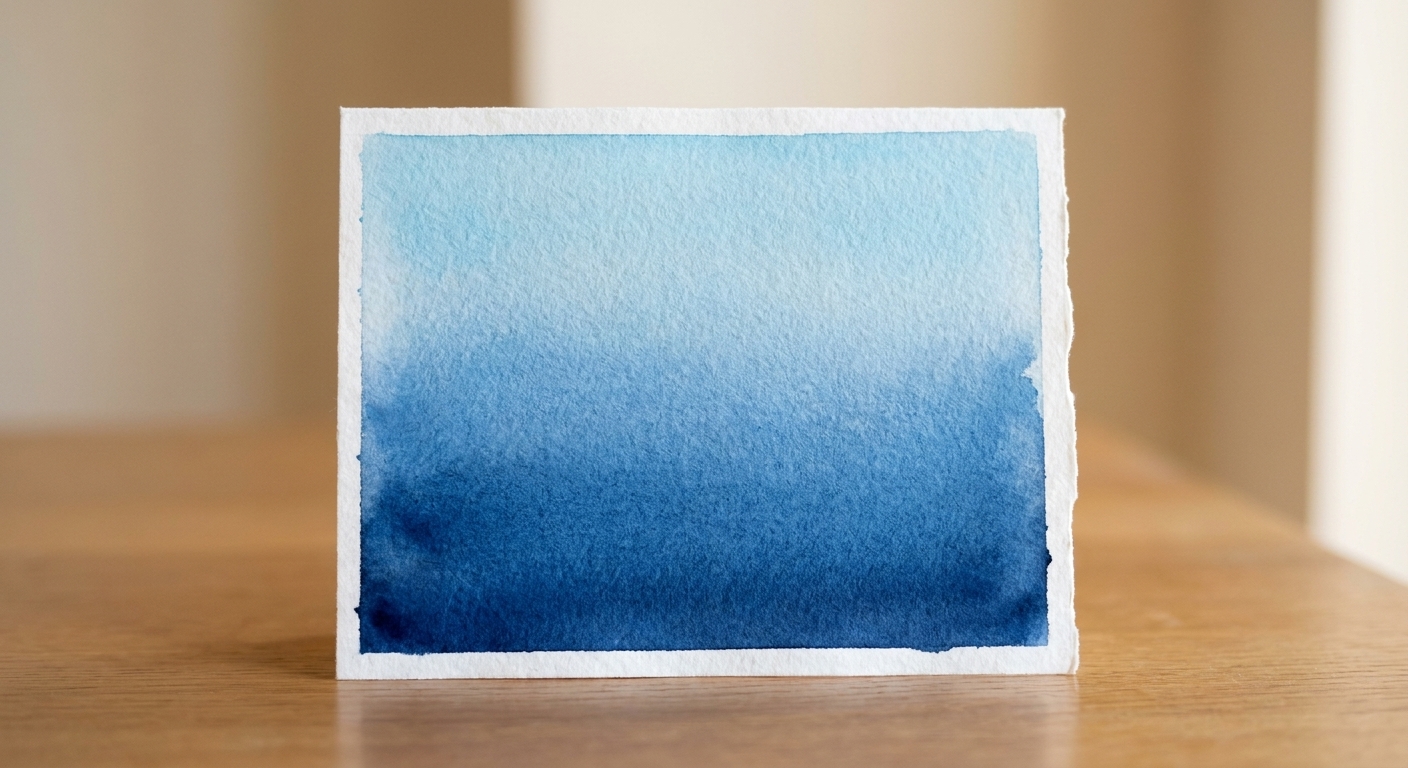
Ombré is one of those looks that screams “I know what I’m doing” even when you are totally winging it.
- Wet the whole panel lightly.
- Drop in your darkest color at the top (or bottom).
- Rinse your brush, blot it, then use clean water to pull the color downward.
- Add a second color near the transition for a sunset effect, if you want.
3) Color drop confetti
Perfect for birthday cards and happy mail. This one is delightfully unpredictable.
- Wet the panel in patches, leaving a few dry spaces.
- Touch in small dots of concentrated color.
- Watch them bloom. Encourage blooms by adding tiny touches of clean water near the dots.
- After it dries, splatter with metallic paint or watered-down ink if you are feeling brave.
4) Salt texture
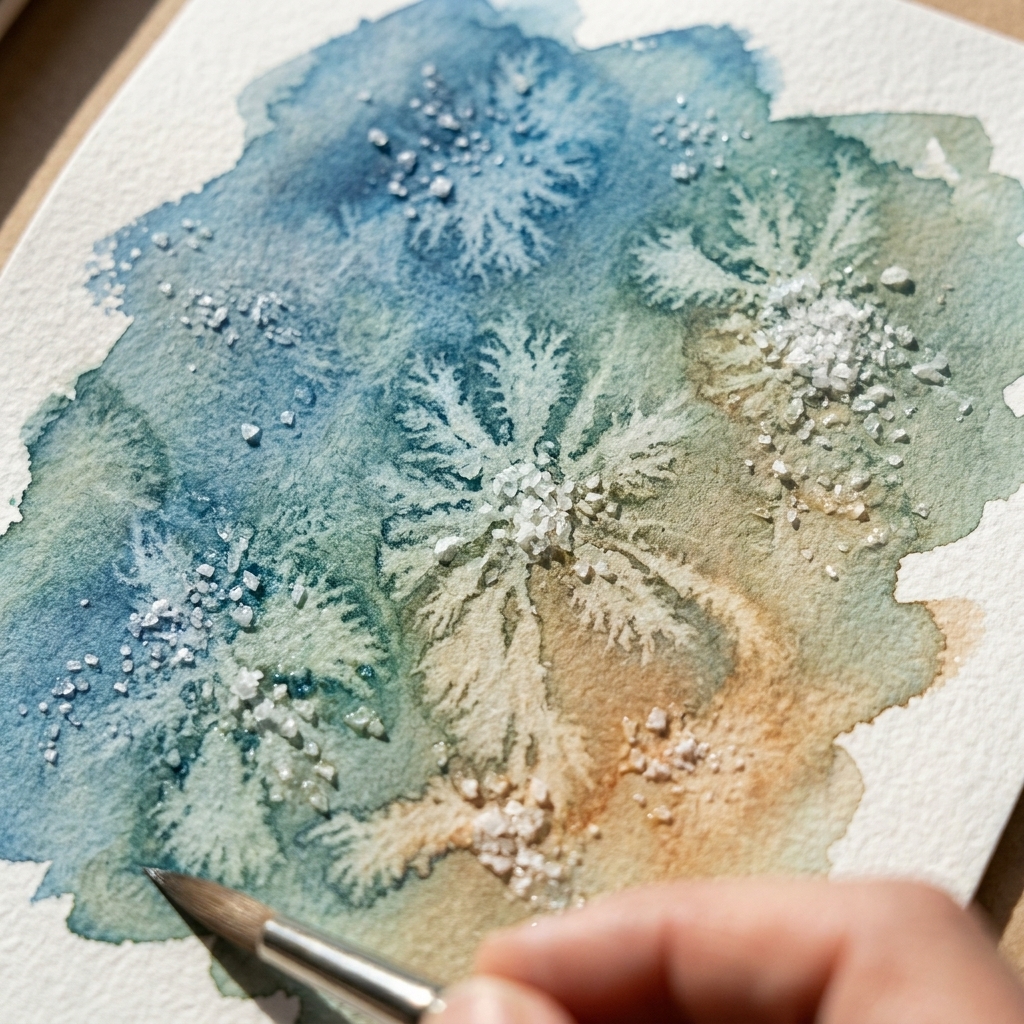
Salt is such a fun little science-experiment texture, but timing matters.
- Paint a medium-wet wash.
- When the shine dulls slightly (not soaking, not dry), sprinkle a pinch of table salt.
- Let it dry completely, then brush off the salt.
This works best on watercolor paper. On regular cardstock, it can get a little muddy.
Markers, pencils, pans
Option A: Markers
If you already own water-based markers, you are halfway there. I love this method for quick florals and controlled color palettes.
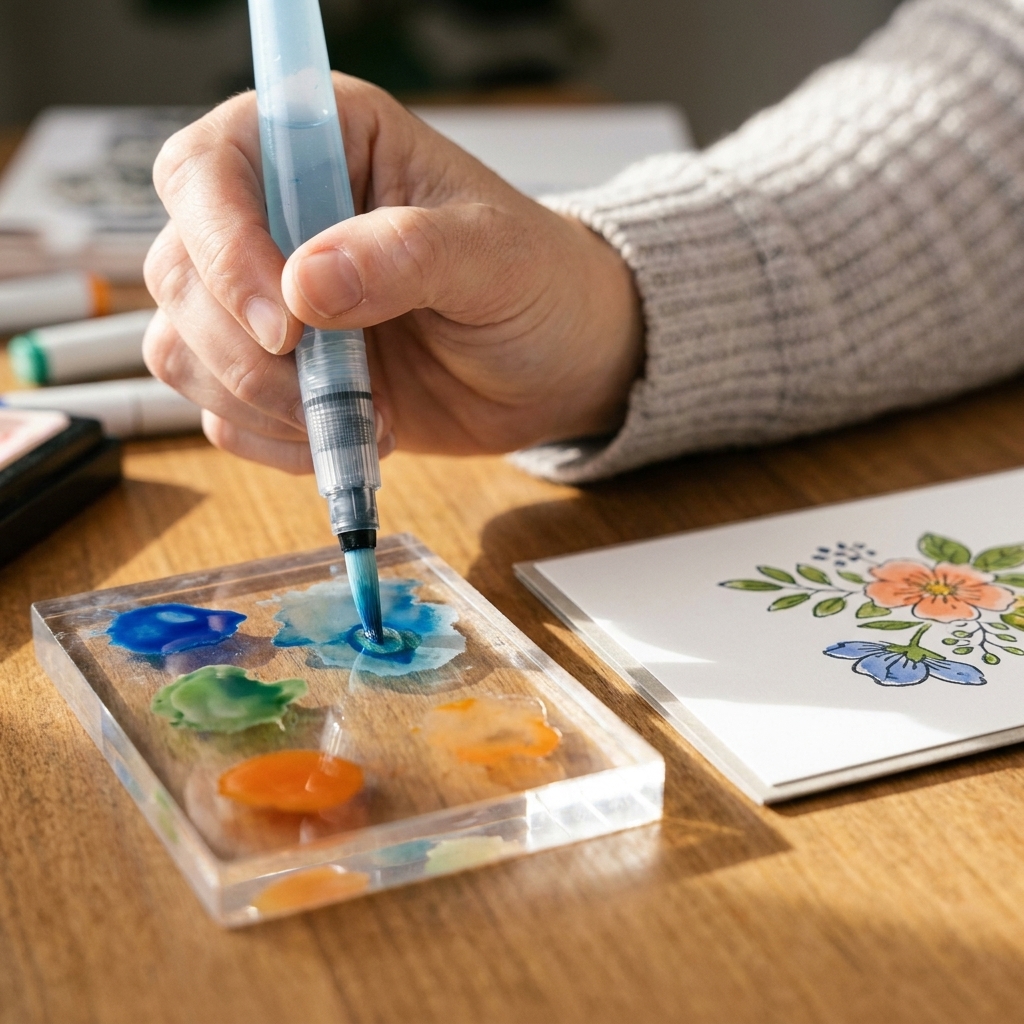
- Smush-and-paint method: Scribble marker onto a slick surface (a craft mat, acrylic block, or plastic packaging), pick it up with a wet brush, then paint.
- Direct-to-paper method: Color lightly on the panel, then blend with a damp brush. Go gentle so you do not rough up the paper.
Watch out: Alcohol markers are not watercolor friendly. They can still look cool, but they will not reactivate like water-based ink.
Option B: Watercolor pencils
Watercolor pencils are my “control freak” supply, and I mean that lovingly. You get sketchy detail, then you soften it with water.
- Lightly sketch color onto dry paper, or scribble onto a palette and pick up the color with a damp brush.
- Activate with a damp brush, starting in the light areas first.
- Build layers after it dries to deepen shadows.
Tip: Keep your pencil marks light at first. It is easier to add color than to fight a dark line once it has been wet.
Option C: Paint pans
Pans are classic, affordable, and a joy to use once you learn how much water your brush likes.
- For soft backgrounds: use more water and a light touch.
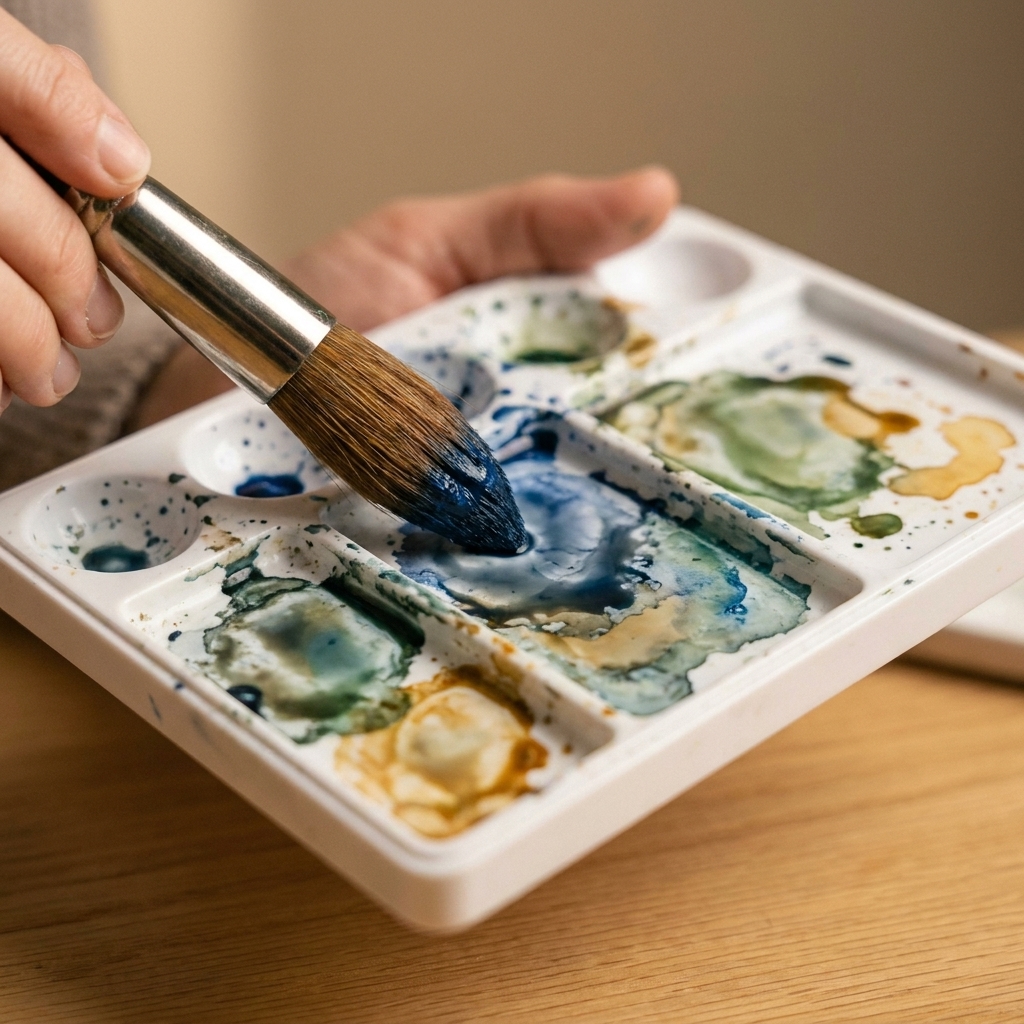
- For bold florals: mix a creamy puddle of paint first, then paint into dry paper for crisper edges.
Brush basics
You do not need a fancy brush collection, but a couple of choices make card making easier:
- One larger brush helps: A round brush in the size 6 to 10 range (or a medium water brush) gives you smoother washes because you are not stopping and starting every inch.
- Synthetic is beginner-friendly: Affordable synthetic rounds hold plenty of water, keep their point well, and are easier to clean than natural hair brushes.
- One small detail brush: A size 2 to 4 (or a fine water brush) is great for stems, leaf tips, and little shadow touches.
Easy florals
Florals do not have to be complicated. My favorite beginner flowers are basically blobs plus a stem, and I promise that is a compliment.
Five-petal flowers
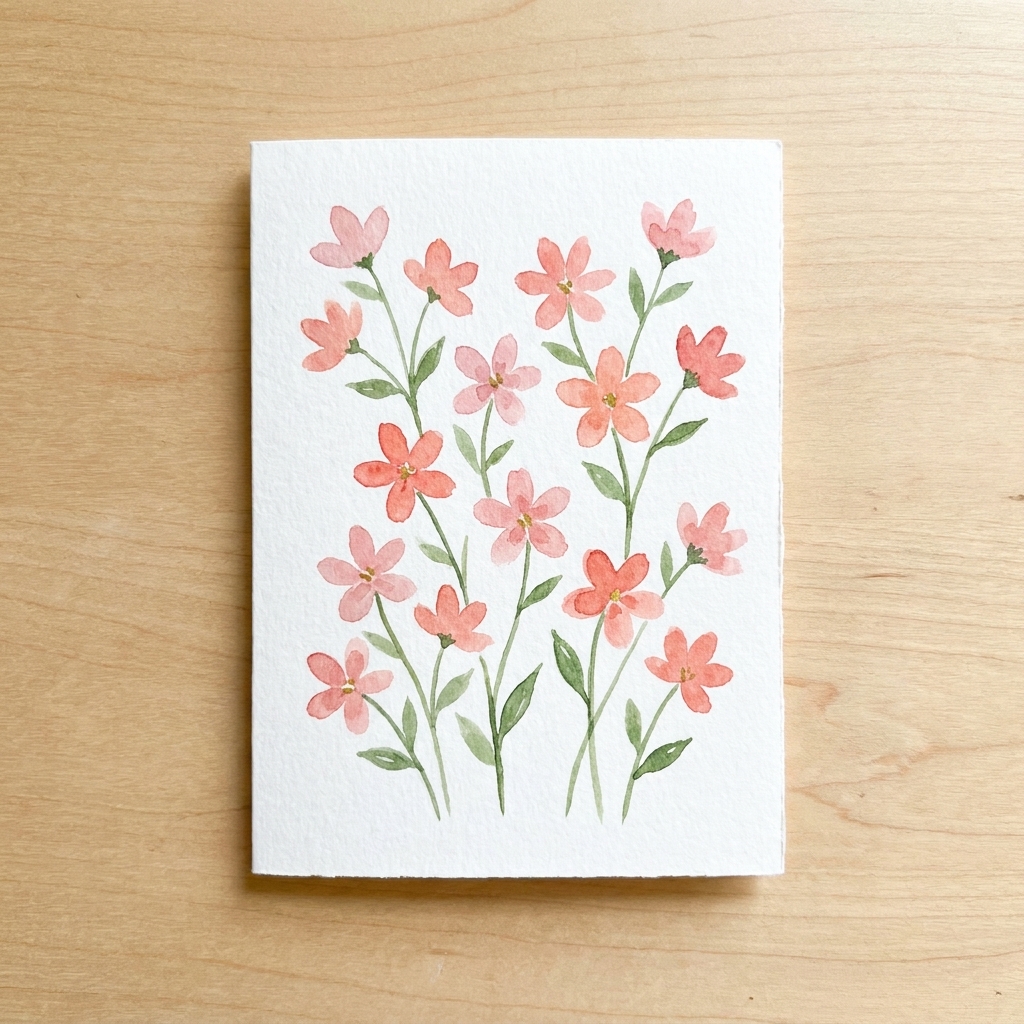
- Make five teardrop-shaped petals in a circle using a light color.
- While still damp, touch a slightly darker shade at the base of each petal.
- Dot a center (yellow, brown, or even gold paint is adorable).
- Add thin stems and leaves with a small brush tip.
If a petal looks wonky, call it hand-painted charm and keep going. It works every time.
Loose roses
- Paint a small curved C shape.
- Add two or three more curved strokes around it, leaving white gaps.
- Drop in a darker shade near the center for depth.
- Let it dry before adding leaves so your greens do not bleed into the petals.
One-stroke leaves
- Load a small round brush with green paint.
- Press the belly of the brush down, then lift to a point to form a leaf.
- Add a second layer once dry for shadow leaves.
Little trick: Mix a tiny touch of blue into your green for shadowy leaves. It makes the whole card feel more designed.
Stamping and paint
Stamp first or paint first?
- Paint first, stamp after: Great for sentiments on top of a dry background. Choose an ink that dries well on watercolor paper, and plan to give it an extra minute or two. If it feels even slightly smudgy, heat set it gently.
- Stamp first, paint around: Great for stamped outlines you want to watercolor in. Choose a waterproof ink so lines do not bleed.
Inks that behave well with water
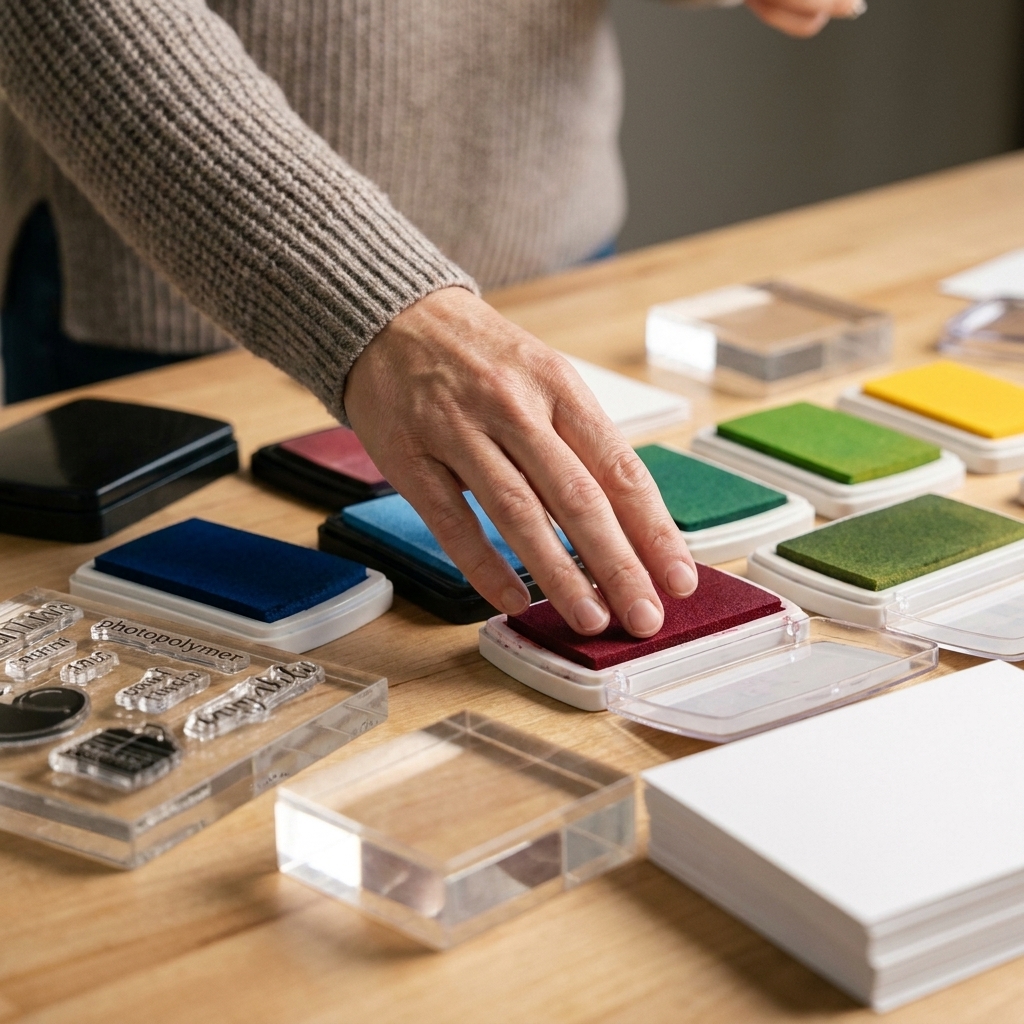
For outlines, look for inks labeled waterproof or water-resistant once dry. For sentiments, many pigment inks look crisp, but they can stay wet longer on watercolor paper, so either let them dry longer or heat set. Dye inks vary a lot, so if you are not sure, test on a scrap panel first.
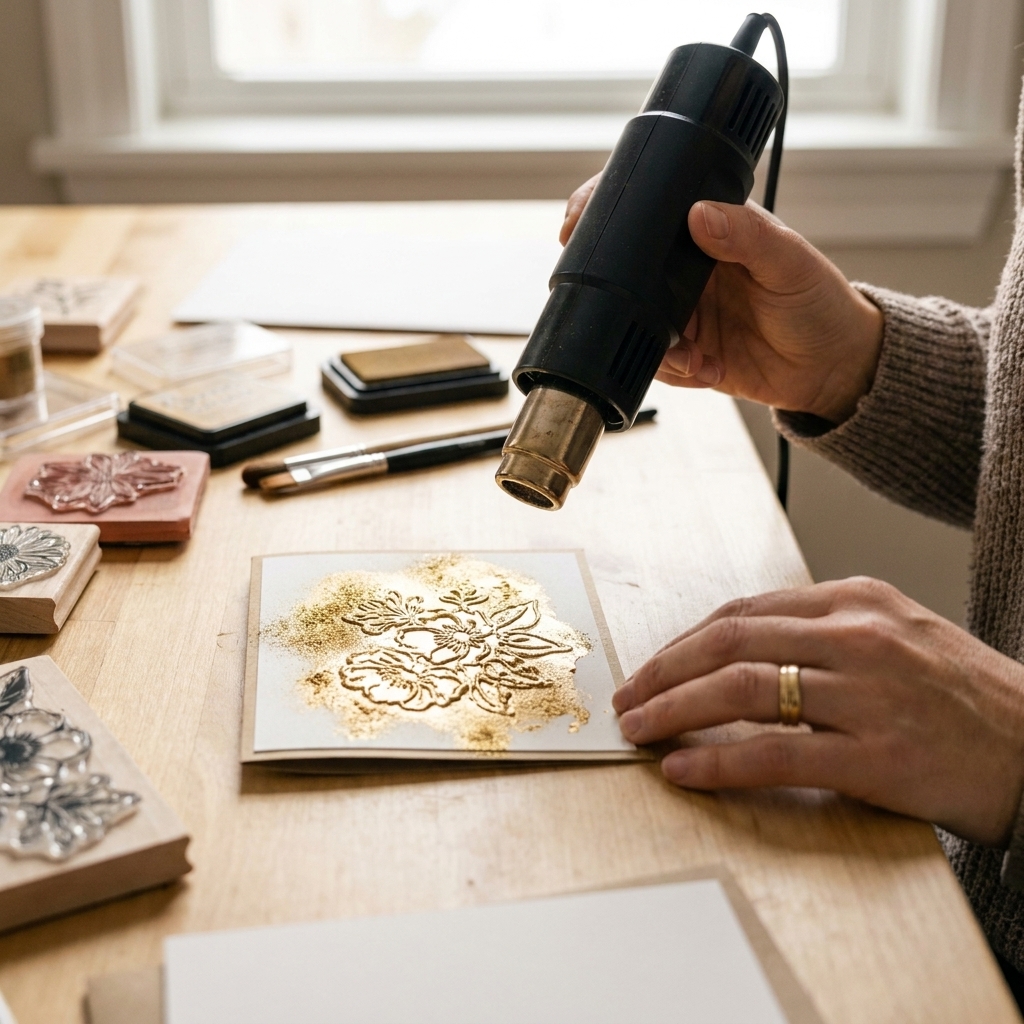
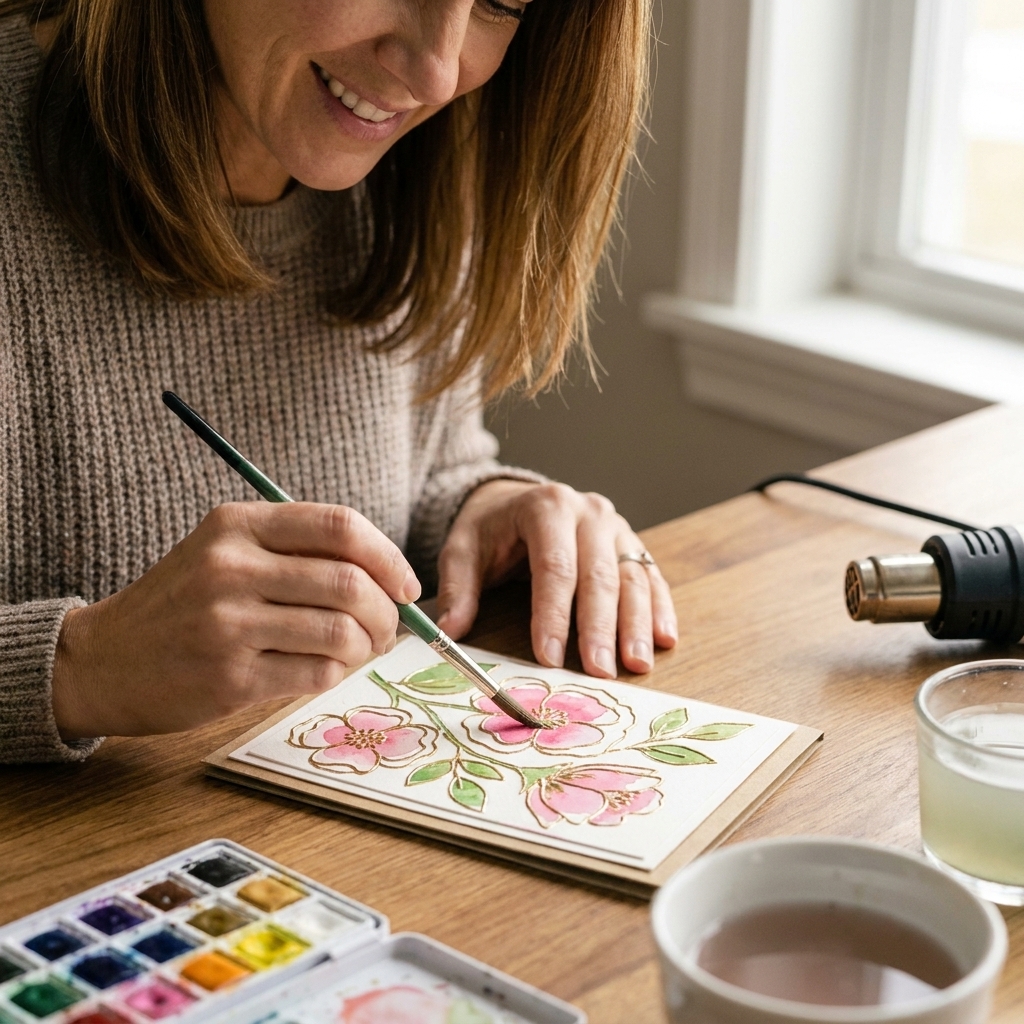
If you love heat embossing, any embossing ink plus clear embossing powder creates a raised line that helps contain paint. It is very beginner-friendly, just know that super wet washes can still creep under embossing if you flood the area.
Stop the warp
Warping happens when paper absorbs water unevenly. You can reduce it a lot with a few simple habits:
- Work on a smaller panel and mount it onto a folded card base after it dries.
- Tape edges down before painting.
- Use less water and build color in layers.
- Dry flat. A heat tool can push water around and create blooms. If you do use one, keep it moving and heat from the back first.
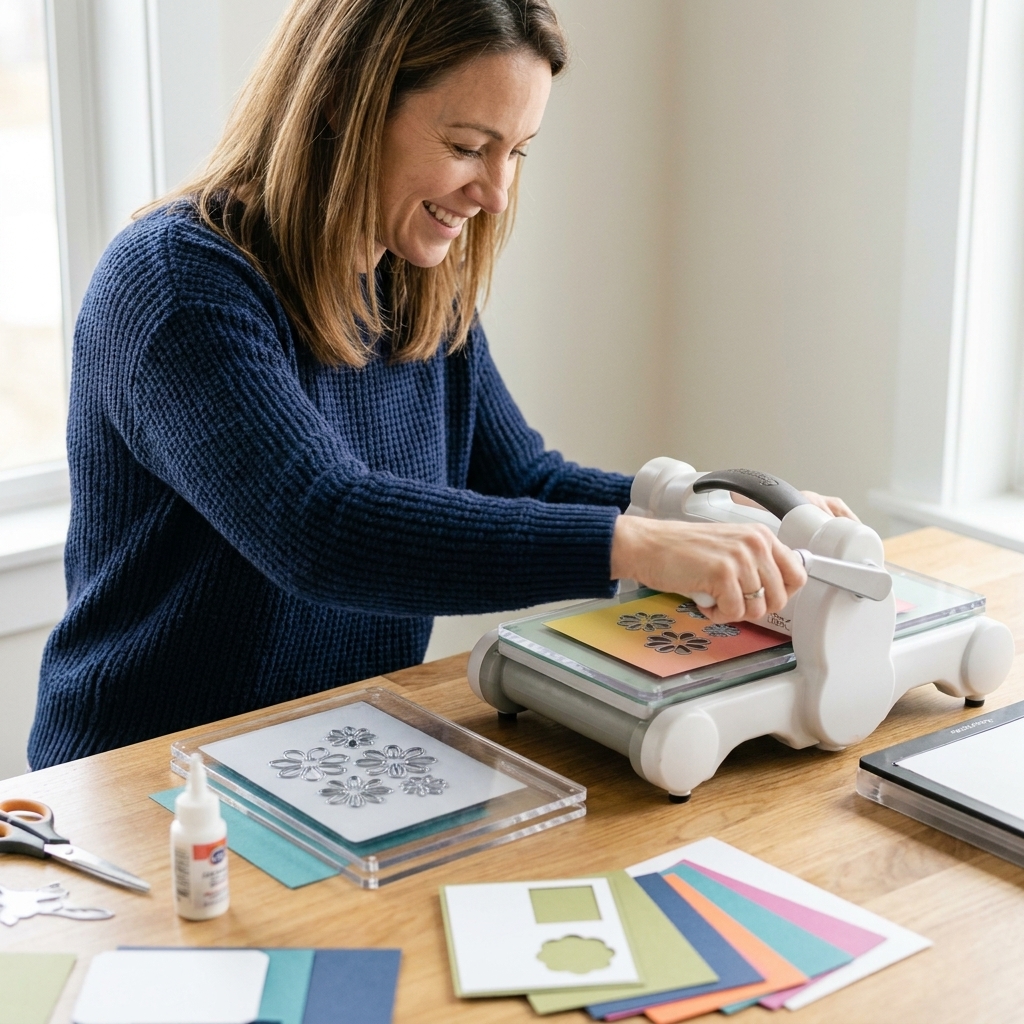
If your panel dries with a curve, press it under books. If you are impatient like me, you can also run it through a die-cut machine between clean plates once it is completely dry. Skip embossing folders and make sure your plates are clean to avoid unwanted marks.
Troubleshooting
“My colors look muddy.”
- Limit your palette to 2 to 4 colors.
- Rinse your brush more often and switch to clean water for blending.
- Let layers dry before adding more, especially complementary colors like red and green.
“I got cauliflower blooms.”
Blooms happen when wet paint runs into a drying area. Sometimes they are gorgeous, sometimes they are rude.
- To avoid them, keep the surface evenly wet while you work.
- To soften them, re-wet the area gently and feather the edge with clean water.
“My stamped lines are bleeding.”
- Switch to a waterproof ink for outlines.
- Or heat emboss your stamped image before painting.
“My paper is pilling.”
- That usually means too much scrubbing on paper that cannot take it.
- Use watercolor paper, or use a softer touch with less back-and-forth brushing.
3 quick card ideas
1) Sentiment spotlight
Paint an ombré wash, die-cut a white circle, and stamp a bold sentiment in the center. Add a few enamel dots, and you are done.
2) Floral corner
Paint three loose roses in one corner, add a few leaves, then stamp your sentiment on the opposite side for balance. This layout is my go-to when I want pretty fast.
3) Soft wreath
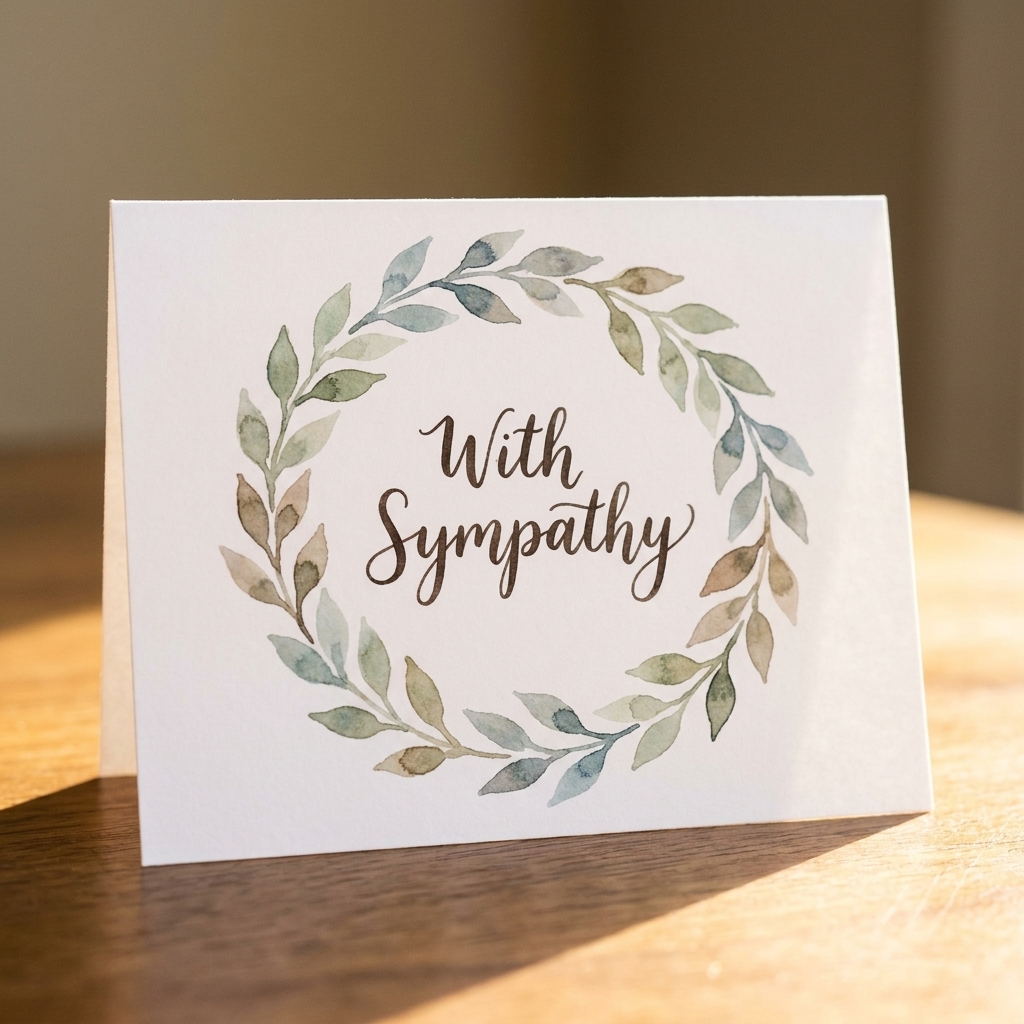
Lightly pencil a circle, then paint simple leaves around it. Add tiny berries with the tip of your brush. Stamp a sentiment in the middle after everything dries.
Supply list
- Paper: 140 lb (about 300 gsm) watercolor paper or mixed media paper
- Paint: watercolor pans, water-based markers, or watercolor pencils
- Brush: synthetic round brush size 6 to 10 for washes, plus a smaller brush for details, or a water brush
- Extras: low-tack tape, a craft mat or acrylic block for marker ink, paper towel, and a waterproof black pen or ink for outlines
You do not need the fanciest supplies. The best watercolor tool is confidence, followed closely by a paper towel.
FAQ
Can I paint directly on a folded card base?
You can, but I recommend painting on a separate panel and adhering it to your base after it dries. Folded bases warp more easily, and it is harder to flatten them nicely.
How long does it take to dry?
Most card panels dry in about 5 to 20 minutes, depending on how much water you used, your paper, and how humid your room is. If the paper still feels cool to the touch, give it a bit longer.
How long should I wait before stamping a sentiment?
Wait until it is completely dry, not just mostly dry. If you can feel coolness in the paper, there is still moisture. Give it a few extra minutes, or heat from the back with a heat tool.
Do I need masking fluid?
Nope. It is fun, but not required. For crisp white areas, you can leave intentional white space, use die cuts, or heat emboss outlines so paint stays more contained.
What is the easiest way to paint florals if I cannot draw?
Use loose shapes. Try five-petal flowers and one-stroke leaves, or stamp a floral outline in waterproof ink and paint inside the lines. That gives you structure without the pressure.
Will my colors stay bright over time?
Most handmade cards are enjoyed and then tucked away, so you do not need to stress. If you are making a card that will be displayed in sunlight, consider artist-grade paints or markers labeled lightfast for better fade resistance.
One last nudge
If you are worried about messing up, paint anyway. Watercolor cards are like fingerprints, no two are the same, and that is the whole point. Make a few test panels, turn the best ones into cards, and tuck the not-my-favorite ones into your scrap bin for die-cut pieces later. Nothing goes to waste in my craft room, especially not pretty paper with a story on it.