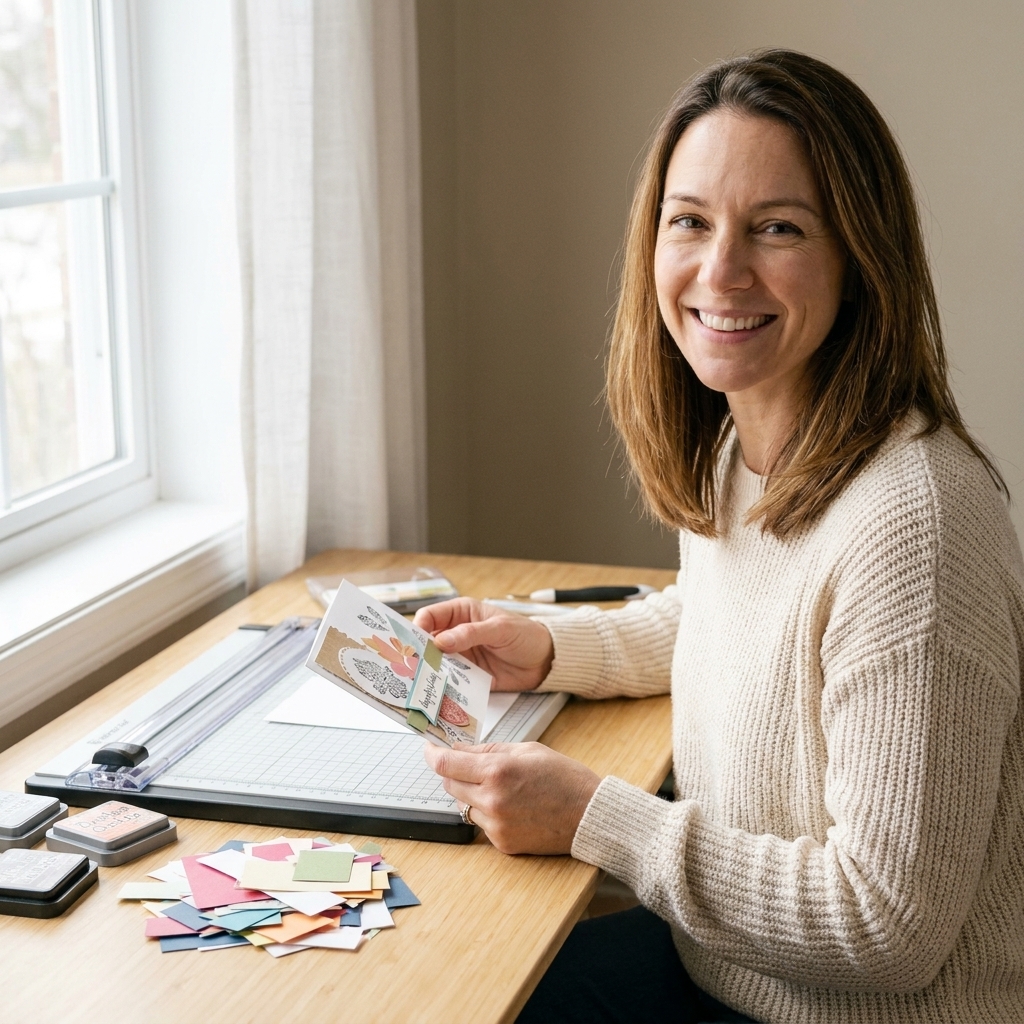
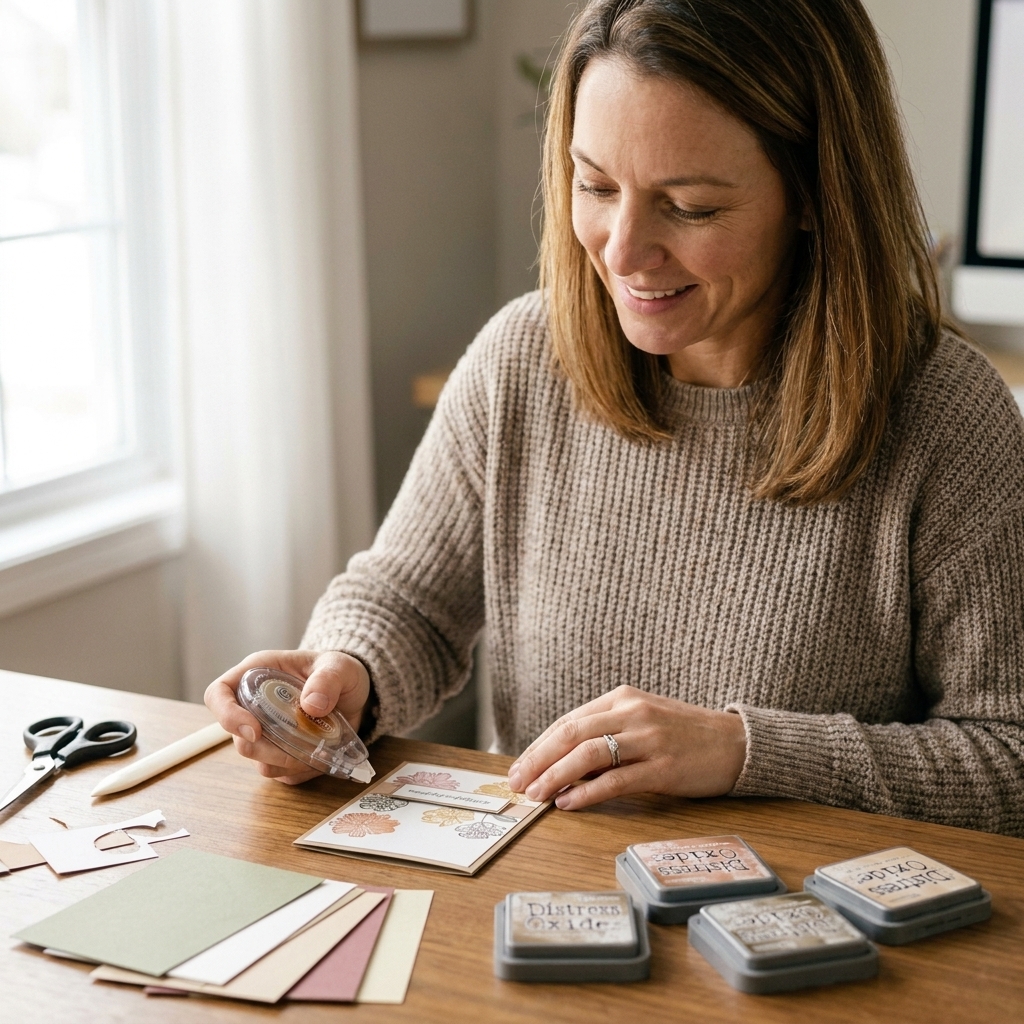
If you have a little box, bag, or drawer that whispers “save me” every time you trim a card panel, welcome. You are in good company. I grew up at my grandmother’s dining table, surrounded by paper clippings and ink pads, and I still cannot toss a pretty offcut to save my life. The good news is that scraps are not clutter. They are future card magic.
Below are 12 of my favorite, truly doable ways to turn leftover cardstock and patterned paper into greeting cards that look intentional, not “I used what I had.” I will share what sizes work best, what adhesives behave on tiny pieces, and a few little rescue tricks for when things go slightly wonky.
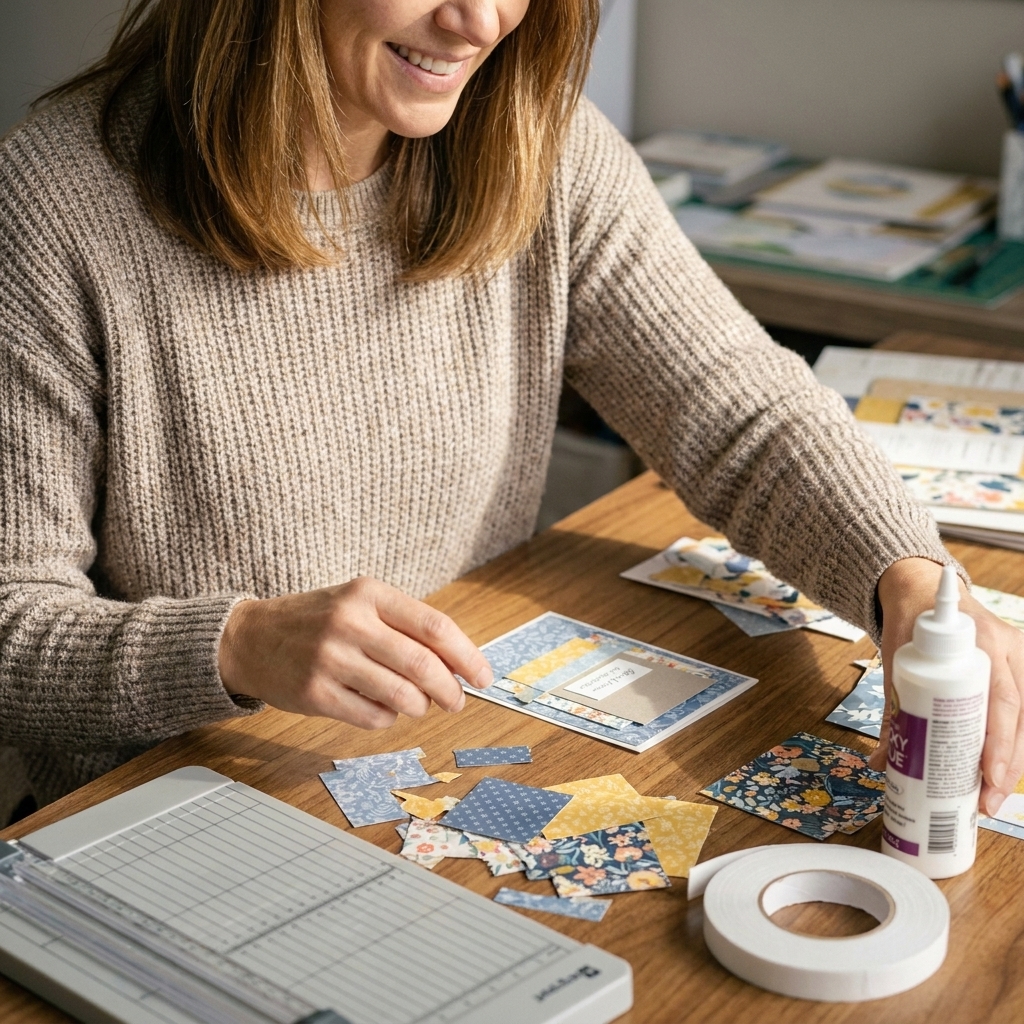
Scrap success basics
Before we dive into the fun ideas, here are a few tiny habits that make scrap cards look clean and professional.
- Start with a standard base size. Most of my examples assume an A2 card base (4.25 x 5.5 inches). A great “safe” front panel size for A2 is 4 x 5.25 inches, which leaves a neat border. Slimline and A6 work too, just scale the panels up.
- Trim scraps into usable shapes. Even a quick straighten on two sides turns a wild edge into a design choice.
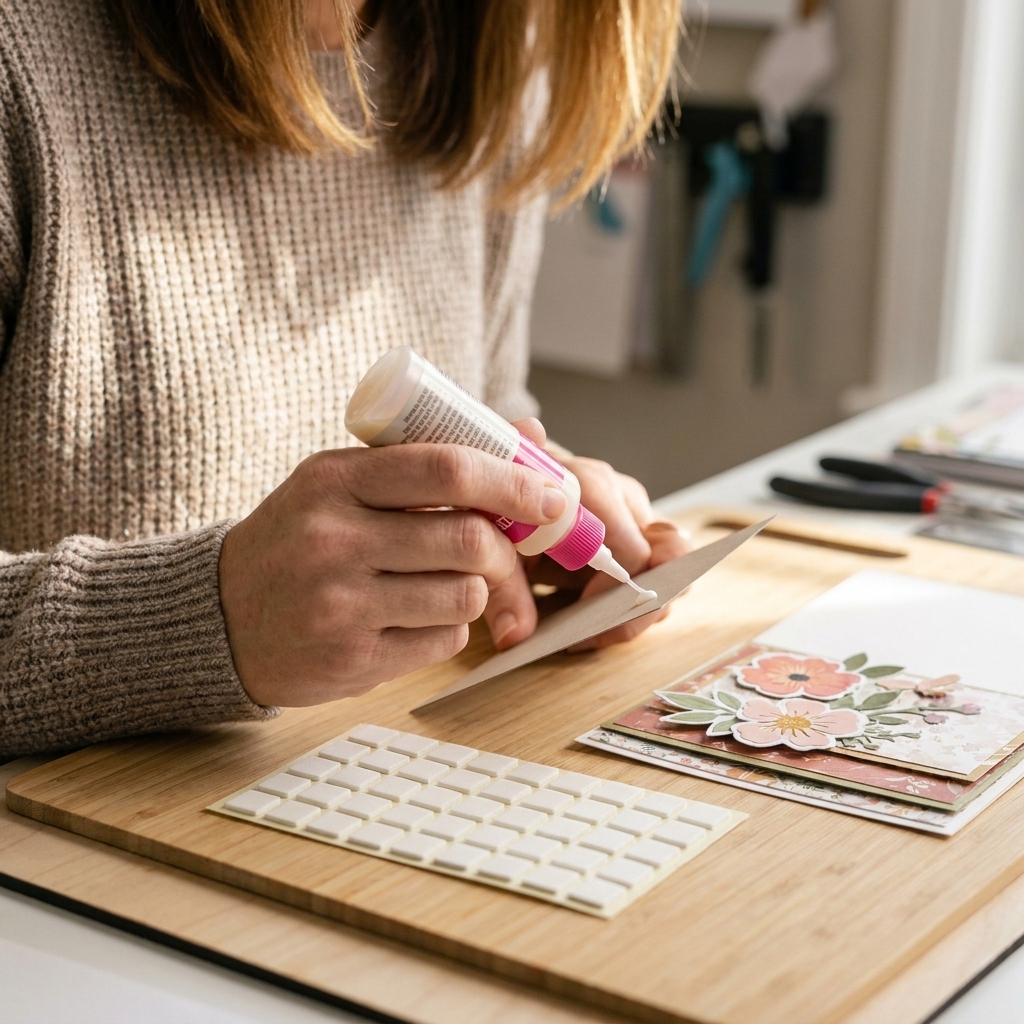
- Match adhesive to the paper. Tape runner is fast for larger pieces. For tiny bits, I reach for a fine-tip liquid glue or a glue pen. If you are covering a whole panel (especially with lots of seams), consider a full-coverage adhesive sheet or strong double-sided tape to reduce warping.
- Anchor busy scraps with white space. If your scraps are loud, pair them with a calm cardstock base and a simple sentiment.
Quick tool list
If you are newer to cardmaking, you can do everything here with a paper trimmer, a ruler, scissors, strong double-sided tape, and a fine-tip liquid glue.
1) Patchwork background
This is my go-to when I have lots of medium scraps that do not match perfectly. Think quilting, but for paper.
How to do it
- Cut scraps into rough rectangles and squares (they do not need to be identical).
- Adhere them to a base panel (lightweight cardstock, sturdy patterned paper, or a scrap backing panel all work) with a tiny gap between pieces or a slight overlap.
- Trim the panel down to size (for A2, try 4 x 5.25 inches), then mount it on your card base.
- Add a bold sentiment strip across the center to unify the look.
Tip: If your patchwork feels chaotic, stick to one color family plus one neutral.
2) Strip weave
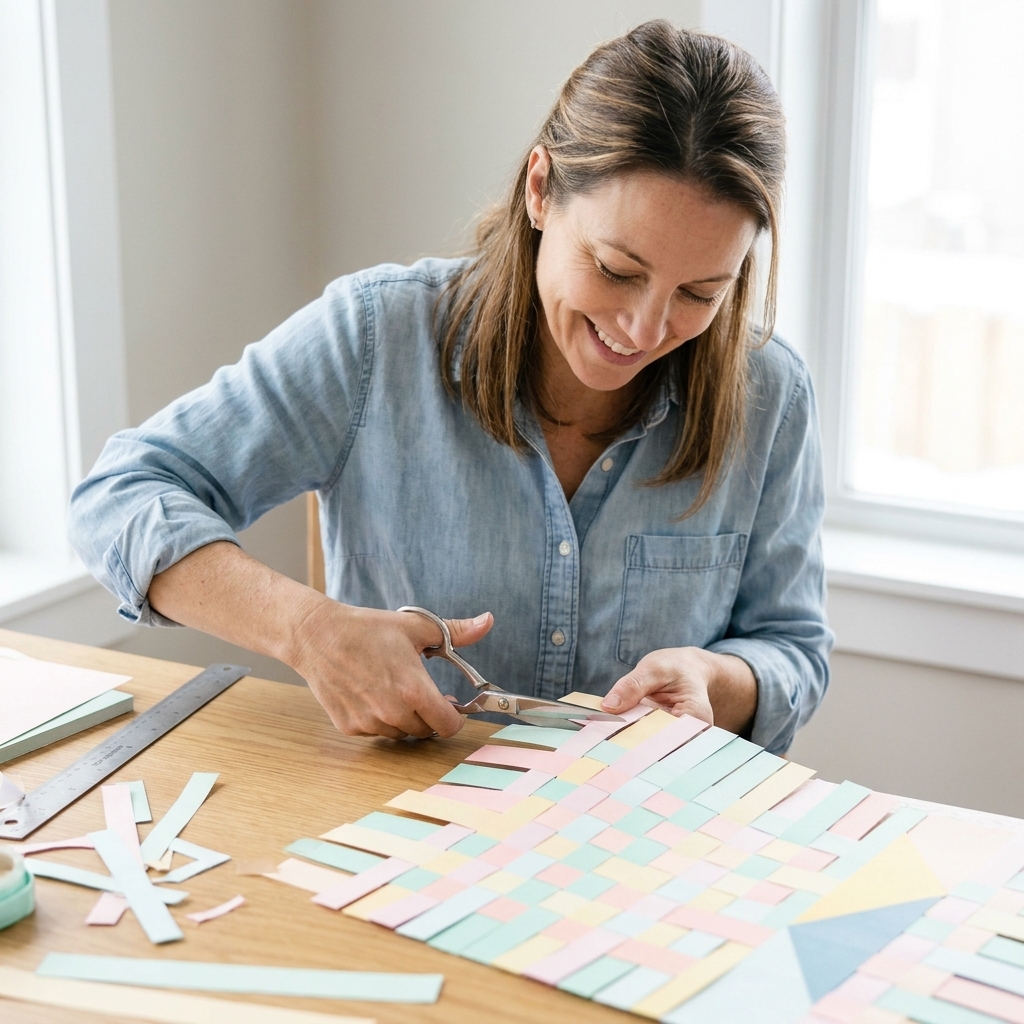
Paper weaving is one of those techniques that looks like you worked for hours, even when you did not. It is especially cute for birthday cards and baby cards.
How to do it
- Cut 6 to 10 strips, about 1/4 to 1/2 inch wide.
- Place 3 to 5 strips side by side vertically (these are your “base” strips), keeping the spacing even.
- Tape the top and bottom ends of those base strips to your work surface so they stay put.
- Weave the remaining strips horizontally over and under, alternating the pattern each row.
- Flip it over and secure the back with strong tape, then trim into a neat rectangle and mount to your card.
Adhesive note: I like strong double-sided tape around the edges, then a light layer of tape runner in the center.
3) Mini banner parade
If you have skinny scraps, turn them into tiny pennants. The result is cheerful and perfect for celebrating anything.
How to do it
- Cut scraps into short rectangles (about 1 x 2 inches is a sweet spot).
- Snip a little V into one end to make a banner.
- Arrange banners in a row or two across your card front.
- Add faux “string” with a thin line of pen, twine, or a narrow strip of cardstock.
Make it look intentional: Keep all banners the same height, even if the patterns vary.
4) Confetti corner
Confetti is basically permission to use the tiniest scraps you have. This design is also great when you need a quick card but still want it to feel handmade.
How to do it
- Pick a shape: Tiny squares (stack scraps and slice into 1/8 to 1/4 inch squares) or mini triangles (cut strips, then snip diagonally into little triangles).
- Dry fit first: Arrange the confetti in one corner and let it scatter toward the center until it looks balanced.
- Glue in small sections: Add adhesive a little at a time so you can adjust as you go.
- Finish: Stamp a sentiment over the clean area.
Pro tip: Use a pick-up tool or wax pencil for placing itty-bitty pieces without gluey fingers.
5) Sentiment strip stash
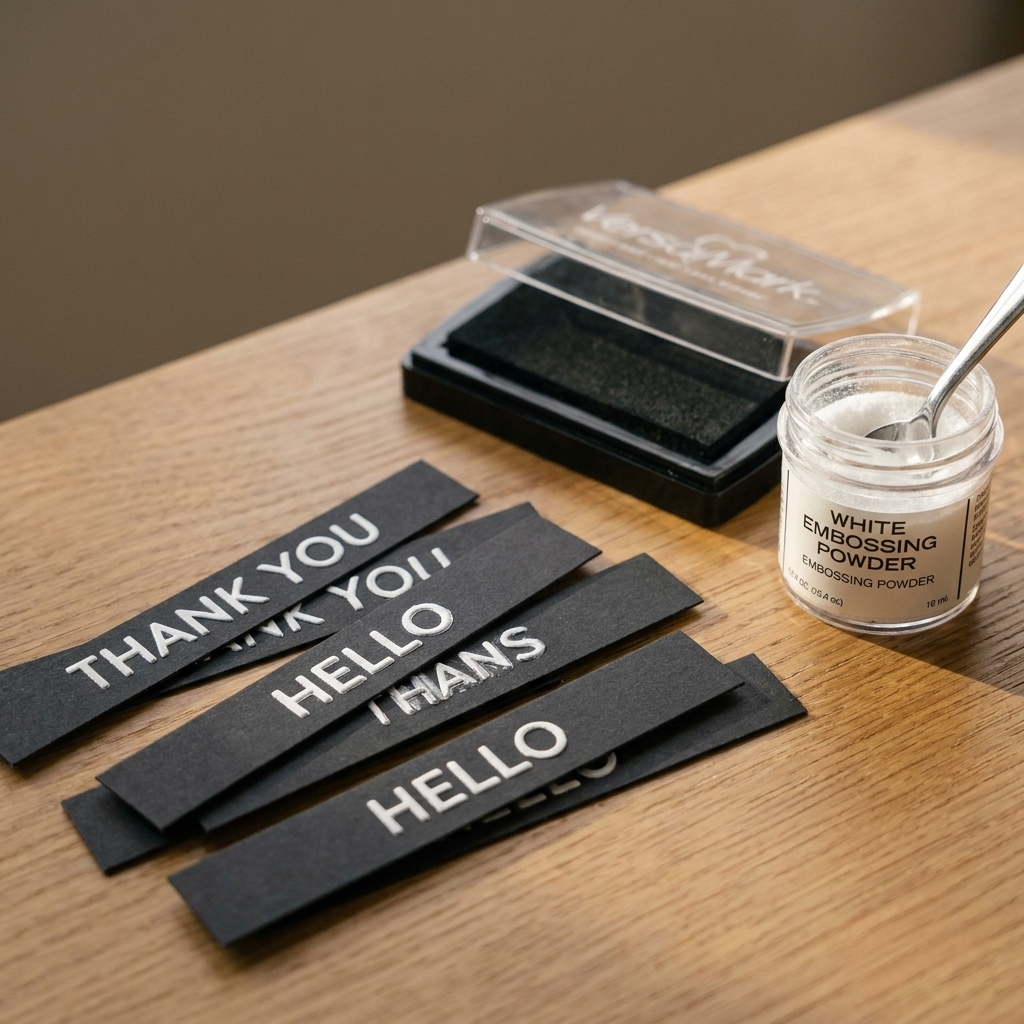
I am convinced sentiment strips are the secret weapon of cardmaking. And scraps are perfect for them.
How to do it
- Cut scraps into thin strips (1/4 to 3/4 inch wide).
- Stamp or heat emboss sentiments.
- Trim ends straight, angled, or fishtail.
- Layer two strips together for a label look.
Little upgrade: Mount the main sentiment on foam tape and tuck a second strip behind it like a tiny flag.
Mailing note: If you add a lot of foam tape or chunky embellishments, you may need extra postage. It is worth checking your local postal guidelines.
6) Die-cut leftovers
If you die-cut shapes from patterned paper, do not toss the surrounding frame. Those negative pieces can become gorgeous details.
How to do it
- Frame windows: Use the leftover frame to highlight a stamped image or sentiment.
- Peek-through corners: Tuck a negative die-cut piece behind a panel so it peeks out.
- Layered silhouettes: Cut the same die from two scraps and offset them for a shadow effect.
Adhesive tip: For delicate pieces, a glue pen or a very thin liquid glue line keeps things flat and clean.
7) Faux washi strips
No washi tape? No problem. Patterned paper scraps can give you that same taped-on look, especially if you tear the edges.
How to do it
- Tear a strip of patterned paper along one or both long edges for a soft deckled look.
- Layer 2 to 3 strips across a card front, slightly overlapping.
- Add a focal sentiment or small die-cut on top.
Extra cute: Add a tiny staple, enamel dot, or a few faux stitches with a gel pen at the strip ends.
Mailing note: Staples can catch in postal machines if they are bulky or raised. Press them flat and keep dimension in mind, and check your local mailing guidelines if you are unsure.
8) Scrap rainbow
This is my favorite way to use random scraps, because the color order makes it look cohesive instantly.
How to do it
- Sort scraps by color (even loosely).
- Cut into equal-width strips.
- Glue strips in rainbow order onto a panel.
- Trim the panel and add a simple black or white sentiment.
Shortcut: If you hate sorting, do a sunset palette only: yellow, orange, pink, purple.
9) Tiny paper rosettes
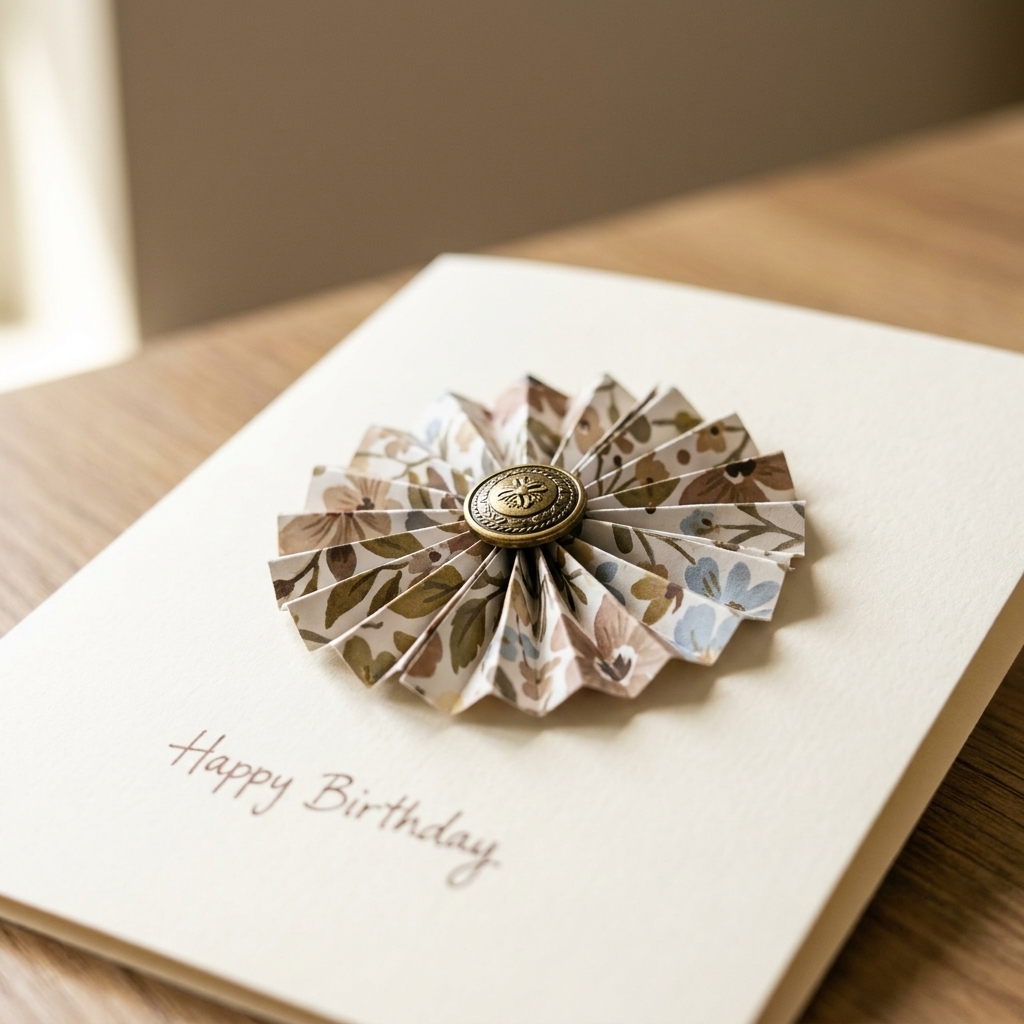
Rosettes look dimensional and fancy, but they are made from the simplest strips. This is perfect for thank you cards and cheerful hellos.
How to do it
- Cut a strip about 1 x 8 inches (longer is fine for bigger rosettes).
- Score lightly every 1/8 to 1/4 inch, then accordion fold. Thicker paper usually needs wider spacing.
- Bring ends together to form a circle. Secure with strong double-sided tape (red-line tape is wonderful if you have it) or a quick staple first, then reinforce with glue.
- Glue onto a small cardstock circle to stabilize, then add a button, gem, or punched circle in the center.
Paper choice: Lightweight patterned paper folds more cleanly than thick cardstock.
10) Scrap mats
When a scrap is too small to be a background but too pretty to ignore, turn it into a mat. A mat makes even a simple stamped image feel finished.
How to do it
- Stamp or print your focal image on a neutral piece.
- Cut a scrap slightly larger to create a border (1/8 inch around is enough).
- Layer with foam tape for a clean, raised focal point.
Design trick: Repeat that same patterned paper somewhere else on the card, even as a tiny banner, so it feels balanced.
11) Punch-party pieces
Hand punches are absolute scrap munchers. Hearts, stars, butterflies, circles, flowers. They all turn awkward slivers into something useful.
How to do it
- Cluster: Group 3 to 5 punched shapes near a sentiment.
- Border: Line punched hearts or circles along one edge of the card.
- Shaker filling: Use tiny punched stars or paper confetti from scraps inside a shaker window (think “paper sequins,” not shiny cupped ones).
Adhesive note: For mini shapes, put glue on a nonstick craft mat (or any nonstick surface you do not mind getting messy) and dab the shape into it lightly. Less mess, more control.
12) Scrap tile mosaic
This one is my stress-reliever. You are basically making a little mosaic wall out of paper.
How to do it
- Trim scraps into small tiles: squares, rectangles, or skinny bricks.
- Arrange in a grid on a background panel with tiny gaps between tiles.
- Once you like the layout, glue one row at a time.
- Add a simple focal piece like a stamped flower, a monogram, or a big sentiment.
Make it crisp: Use a ruler to keep rows straight, and trim the finished panel with a paper trimmer for perfect edges.
Scrap storage that works
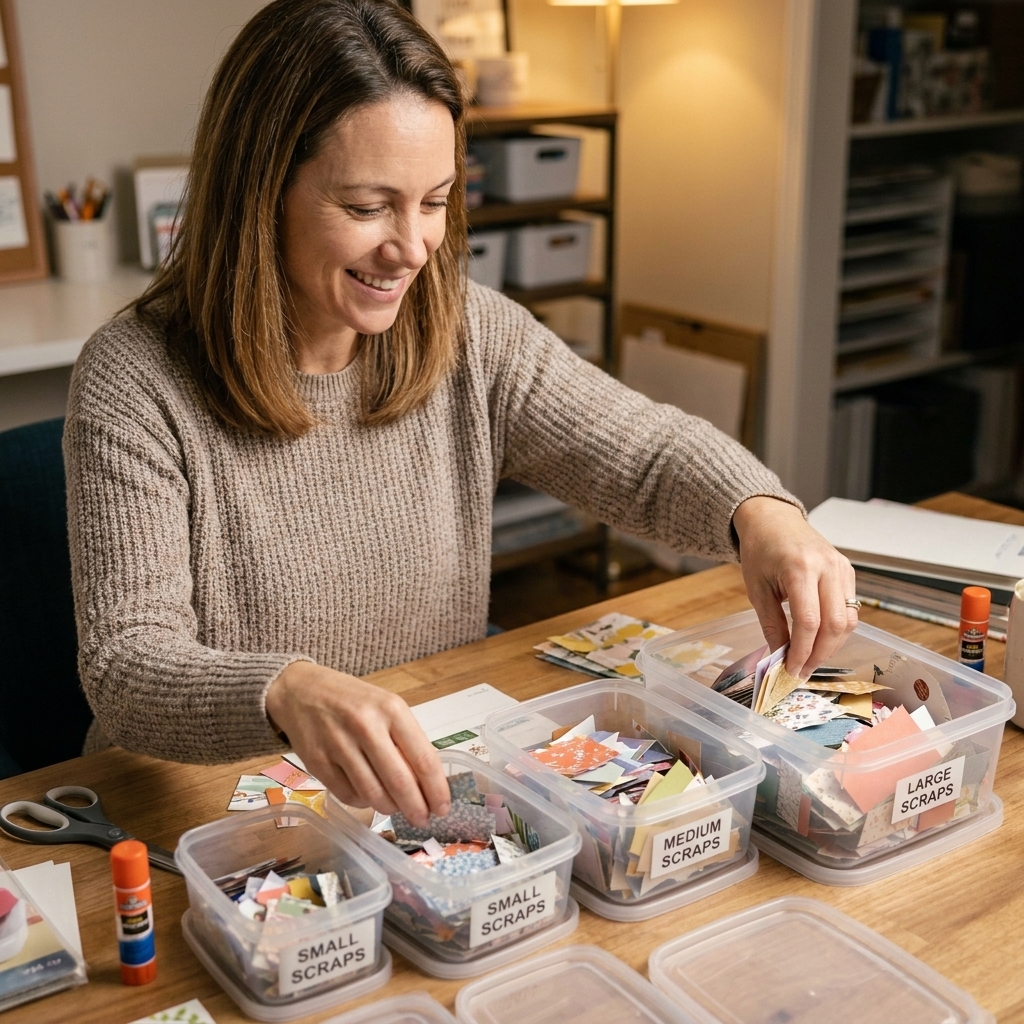
Scraps only help you if you can find them. Here is what works in my craft room:
- One bin for small but usable (roughly 2 x 2 inches and up).
- One pouch for skinny strips (perfect for sentiments and banners).
- A little envelope for tiny bits (confetti, punched shapes, mini tags).
And yes, I absolutely have a separate folder for my favorite patterned paper pieces. I am a proud hoarder, but an organized one.
Troubleshooting
My scraps are curling
For panels made of lots of little pieces, full-coverage adhesive (adhesive sheets, strong double-sided tape, or a well-burnished tape runner across the whole back) helps most. You can also adhere the entire design to a cardstock backing panel first, then trim to size. If you still want dimension, add foam tape after the panel is backed and fully flat.
I can see glue smudges
Switch to a glue pen for intricate pieces, or apply liquid glue with a fine tip and use less than you think you need. Keep a scrap of paper nearby to test-dot your glue flow.
My design looks messy
Choose one unifying element: consistent shape (all strips), consistent spacing (grid), or a consistent color palette. Then add a bold sentiment to anchor everything.
One last nudge
The best part of crafting with scraps is that it gives you permission to play. No precious full sheet, no pressure. Just little pieces finding a new purpose. The next time you trim a panel, tuck that offcut into your scrap bin and tell it, “You are going on a card soon.” Because it is.