Heat embossing is one of those cardmaking tricks that feels like pure magic the first time you watch powder turn glossy under a heat tool. It adds instant polish, crisp detail, and that raised texture that begs to be touched. If you have ever sprinkled powder, heated it, and thought, “Why does mine look gritty?” or “Why is there embossing powder everywhere?” you are in the right place. Let’s get you to that smooth, shiny, professional melt.
What heat embossing is
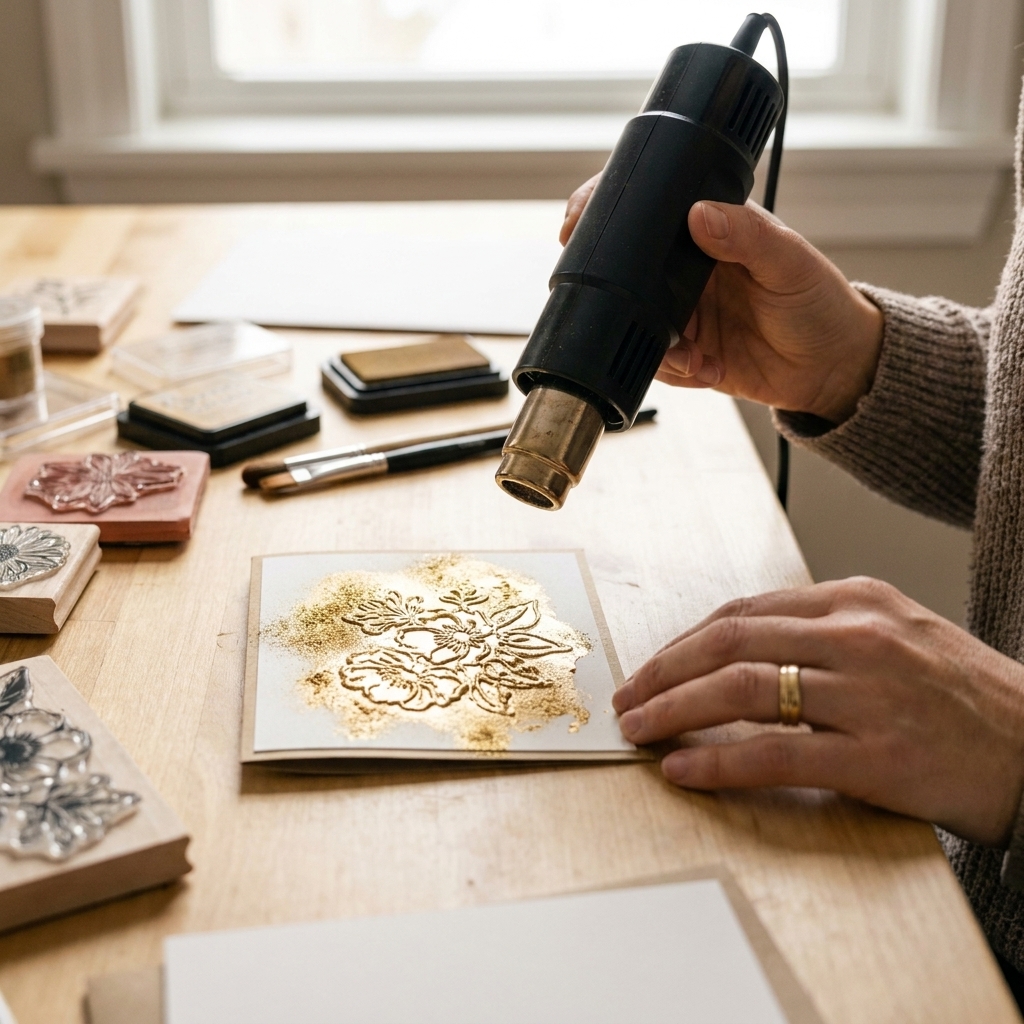
Heat embossing is a technique where you stamp an image using a slow-drying, sticky ink, cover it with embossing powder, tap off the excess, then heat it until the powder melts and fuses to the paper. The result is a raised, glossy (or glittery, matte, metallic, pearly) design that stands out beautifully.
There are two big families of embossing in papercraft:
- Heat embossing: uses ink plus powder plus heat to create raised stamped designs.
- Dry embossing: uses a folder and machine (or stylus) to press patterns into paper without powder.
This guide is all about the heat-and-melt kind, the one that makes you want to hover over your project like a proud parent.
Tools and supplies you will need
You do not need a craft room full of gadgets to emboss, but the right basics will make your results cleaner and your stress level lower.
Must-haves
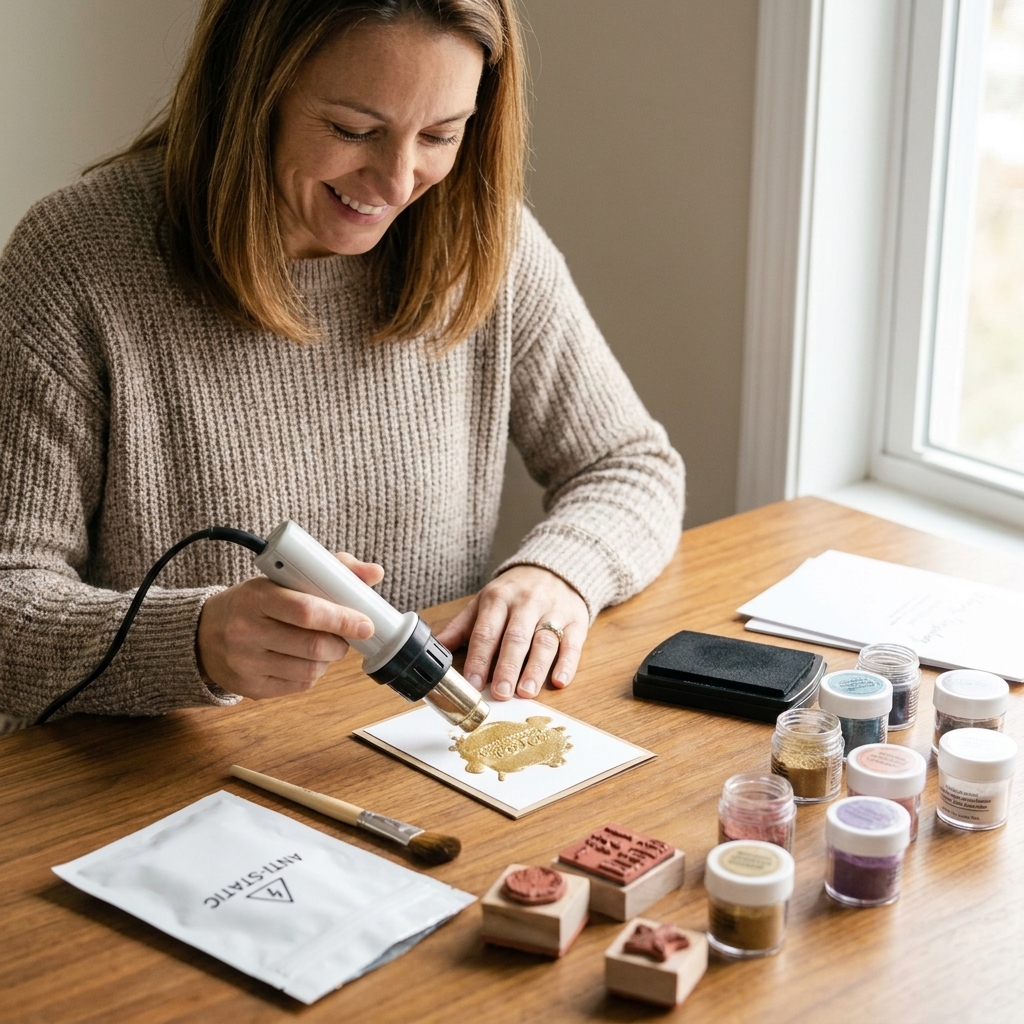
- Heat tool: A dedicated embossing heat tool gets hot fast and pushes a steady stream of heat. A hair dryer is usually too cool and too blowy, which can scatter powder and take forever.
- Embossing ink: Clear embossing ink (often called “watermark” ink) is the classic choice. It stays tacky long enough for powder to stick.
- Embossing powder: Start with one fine detail powder (white, clear, or gold) and you can do so much.
- Stamps: Photopolymer or rubber stamps both work. Crisp lines help.
- Anti-static powder tool: This is the secret weapon. It reduces static and helps absorb oils so you get fewer stray powder specks.
- Scrap paper: For catching extra powder and funneling it back into the jar.
Nice-to-haves (but genuinely helpful)
- Anti-static powder refill or talc-free anti-static powder for long-term use
- Fine tip tweezers: Great for heat embossing tiny die-cuts or vellum without burning your fingertips
- Heat-resistant mat: Protects your surface and keeps your paper from skidding
- Stamp positioner: Helps you re-stamp for a darker impression, especially on textured cardstock
- Small soft paintbrush: For flicking away random powder bits before heating
Embossing powder basics
Not all powders behave the same. If you have ever had a design look blobby or lose detail, it might not be you. It might be the powder.
Particle size matters
- Fine detail powder: Best for intricate stamps, small sentiments, and crisp line art. Melts smooth without filling in tiny gaps.
- Regular powder: Great for bolder stamps and larger images. Can look slightly more textured.
- Ultra thick powder: Made for enamel looks. It is intentionally chunky and often heated in layers.
Common finishes
- Clear: Often takes on the color of the ink underneath. Some clear powders can look a little cloudy on very dark cardstock, and certain inks may deepen slightly once melted. Test a corner if you are unsure.
- White: Crisp and classic, perfect for dark cardstock and wedding cards.
- Black: Bold, modern, and fantastic for graphic looks.
- Metallic (gold, silver, copper): Instant elegance. Metallic powders can look best with slightly longer heating to fully smooth out.
- Pearl and opaque pastels: Soft shine and beautiful on florals.
- Glitter: Sparkly and fun, usually with a slightly textured melt. It is normal for glitter powders to look less glassy.
A note on ink choice
Embossing ink is designed to stay sticky. Pigment inks can also emboss (they dry slowly), and some hybrid inks emboss better than others. If you are not sure, stick with clear embossing ink for reliable results.
Heat tool safety
- The nozzle gets extremely hot. Keep fingers clear and set the tool on its built-in stand when not in use.
- Mind hair, cords, and loose sleeves. Heat tools are small but powerful.
- Craft away from kids and pets. A bumped tool can scorch a project or a table fast.
- Ventilation helps. Most embossing powders are fine in normal use, but if you are sensitive to fumes, crack a window or use a small fan to keep air moving.
Step-by-step heat embossing
This is the exact process I teach when someone is embossing for the first time at my kitchen table. Do it in this order and you will avoid most of the common headaches.
- Prep your cardstock. Swipe an anti-static powder tool over the area you will stamp. Do not skip this, especially on dark cardstock.
- Ink your stamp. Press your stamp into clear embossing ink. Make sure the whole image is evenly coated.
- Stamp firmly. Press down evenly and hold for a beat. Lift straight up to avoid smearing.
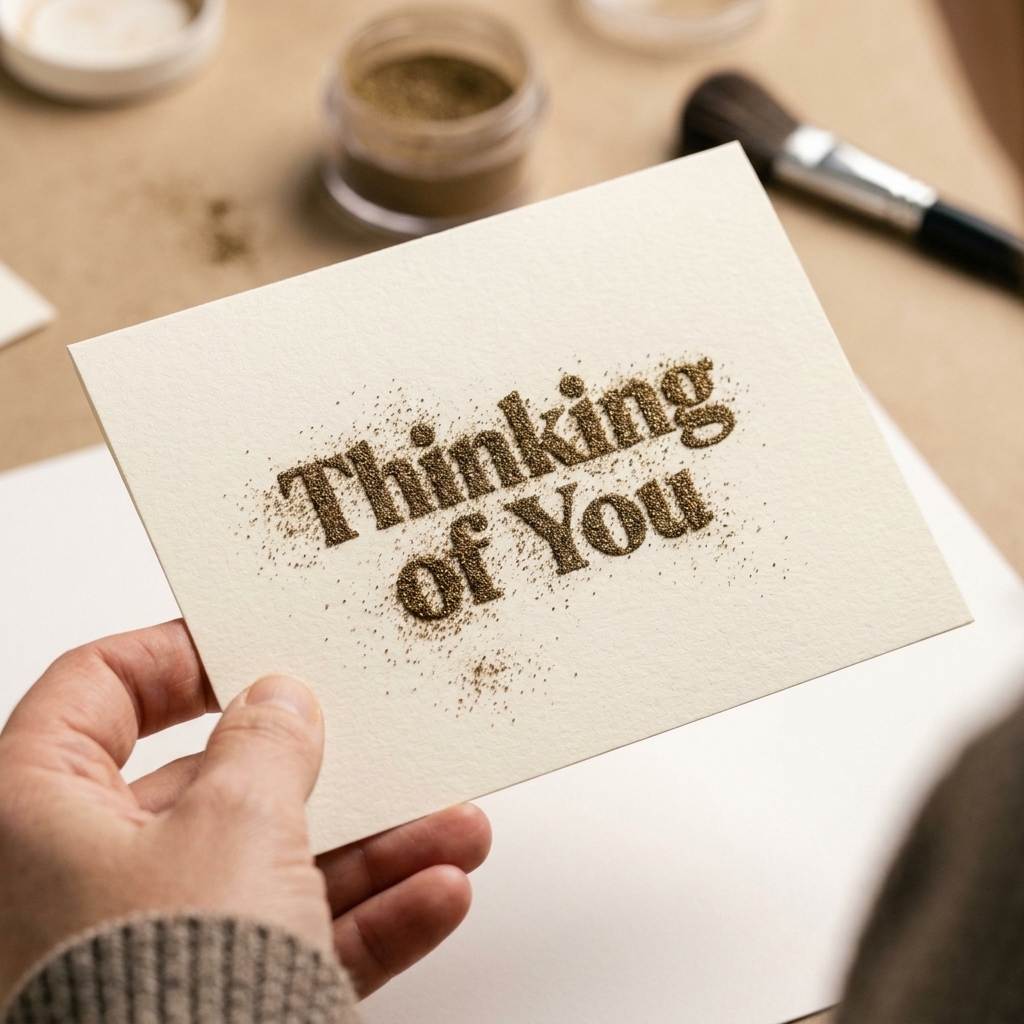
- Cover with embossing powder. Sprinkle generously over the stamped image.
- Tap off the excess. Tap the back of the cardstock with a confident little thump. Pour the extra back into the jar using your scrap paper as a funnel.
- Check for stray specks. Use a small dry brush to flick off any powder bits outside your stamped area.
- Heat from the top (usually). Turn on your heat tool and let it warm for a few seconds. Hold it about 2 to 4 inches away and keep it moving as you heat. You will see the powder turn from grainy to shiny. If you are embossing on vellum or you are worried about blowing powder around, start by heating briefly from the back, then finish from the front to get a smooth shine.
- Let it cool. Give it 10 to 20 seconds before touching. It sets quickly, but it can be a little soft right after melting, depending on the powder.
How to avoid warped cardstock
Cardstock warping is the number one complaint I hear, and it is completely fixable.
- Preheat the heat tool. Starting with weak heat means you hover longer, which warms the whole panel and encourages warping.
- Keep the tool moving. Think gentle circles, not park it in one spot.
- Heat in short passes. Melt most of it, pull away for a second, then finish. This reduces stress on the paper fibers.
- Use heavier cardstock. Look for heavyweight cardstock around 270 to 300 gsm, often labeled 100 to 110 lb cover. (Pound ratings vary, so gsm is the most consistent.)
- Flatten after embossing. Once cool, tuck the panel under a heavy book for a few minutes, or run it through your die-cut machine between clean plates (no dies, no folders) to press it flat.
Tips for tricky surfaces
- Glossy or coated cardstock: Embossing ink can slide, and powder can stick where you do not want it. Use an anti-static tool lightly and choose bold stamps.
- Inkjet prints: Be careful heating over fresh inkjet printing. Heat can shift or dull some inks. If you want to emboss on a printed panel, let it dry thoroughly first and test a small area.
- Textured cardstock: Beautiful, but detail can get lost. Use bolder stamps and consider a stamp positioner so you can re-stamp for fuller coverage.
Favorite techniques to try next
Once you can do the classic method, you get to play. These are the techniques that make embossing feel like a whole candy aisle of options.
1) Clear embossing over colored ink
Stamp with a dye ink, sprinkle clear embossing powder, heat. Your image stays the same color, but becomes glossy and raised. This is beautiful for backgrounds and subtle patterns.
2) White embossing on dark cardstock
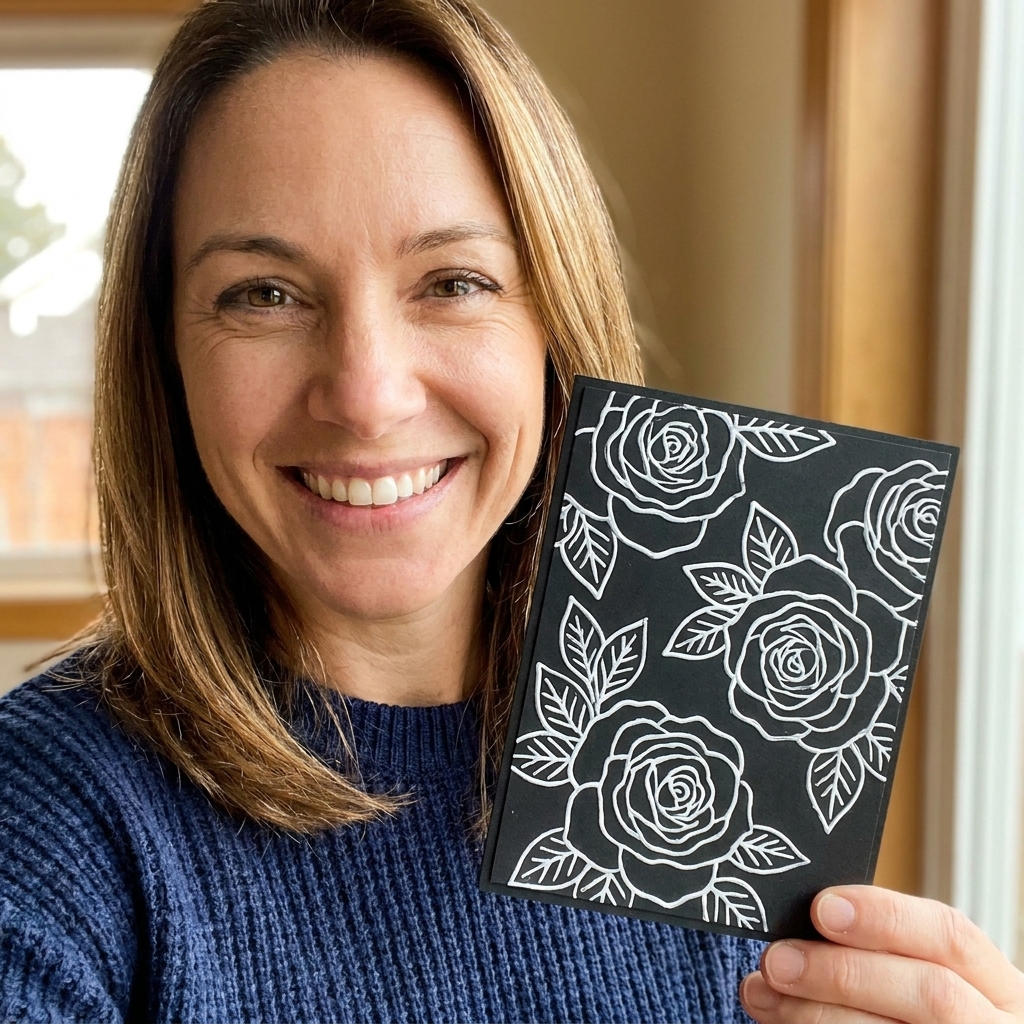
Stamp in clear embossing ink on black or navy cardstock, then use white powder. This is dramatic, clean, and perfect for winter cards, sympathy cards, and modern florals.
3) Resist embossing
Emboss an image (often in white or clear), then add watercolor or ink blending over the top. The embossing resists the color and keeps those lines crisp.
4) Heat embossing on vellum
Vellum loves to warp, so you want quick heat and minimal handling.
- Use an anti-static tool lightly.
- Heat from a bit farther away, and keep moving.
- Heat from the back for part of the melt to reduce scorching and help prevent powder from blowing.
5) Layered enamel looks
For a faux enamel dot or shiny badge look, use ultra thick embossing powder or regular powder in multiple layers. Melt one layer, add another, melt again until it is nicely domed.
Troubleshooting
If your embossing is not behaving, do not panic. Most issues have a simple cause.
Stray embossing powder specks everywhere
- Use the anti-static tool first. This is the real fix.
- Keep your fingers off the cardstock. Oils attract powder. Hold by the edges.
- Tap firmly. A timid tap leaves extra powder behind.
- Brush before heating. A small dry paintbrush works wonders.
Embossed image looks dull or gritty
- Heat a little longer. Stop as soon as it turns shiny and smooth, but make sure it fully melts.
- Preheat your tool. Faster melting means smoother results.
- Try a finer powder. Especially for sentiments and detailed stamps.
Image looks puffy or blobs together
- Too much powder or too thick of a powder for the stamp detail. Use fine detail powder for intricate designs.
- Stamp pressure issue. Over-inking can happen. Aim for an even ink layer.
Powder blows away when heating
- You started too close. Begin a few inches away, then move closer once it starts melting.
- Your heat tool is too forceful. Some tools have high airflow. Angle the tool and approach gently.
- Try heating briefly from the back. It helps tack the powder in place before you finish from the front.
Stamping smears before you add powder
- Lift straight up. Slow down your lift and avoid rocking the stamp.
- Make sure the stamp is clean. Residue can cause slipping.
- Use a stamp positioner for tricky stamps. You can re-stamp for full coverage without sliding.
Cardstock scorches or turns shiny around the embossing
- Heat too long in one spot. Keep moving.
- Too much heat for delicate paper. Use heavier cardstock or heat in short passes.
- Hold the tool a bit farther away. You can always move closer once the powder starts melting.
Cleaning up
- Return powder to jars carefully. Use a folded piece of scrap paper like a funnel and pour slowly.
- Wipe embossing ink off stamps. Embossing ink is sticky. A stamp shammy or gentle stamp cleaner keeps details crisp.
- Store powders away from humidity. Clumpy powder can still work, but it is harder to get smooth results.
Heat embossing FAQ
Do I need a special ink pad to emboss?
A clear embossing ink pad is the most reliable because it stays tacky. You can emboss with pigment ink too, but it is more finicky. When in doubt, clear embossing ink plus powder is the smoothest path.
Can I emboss with VersaMark and colored powder?
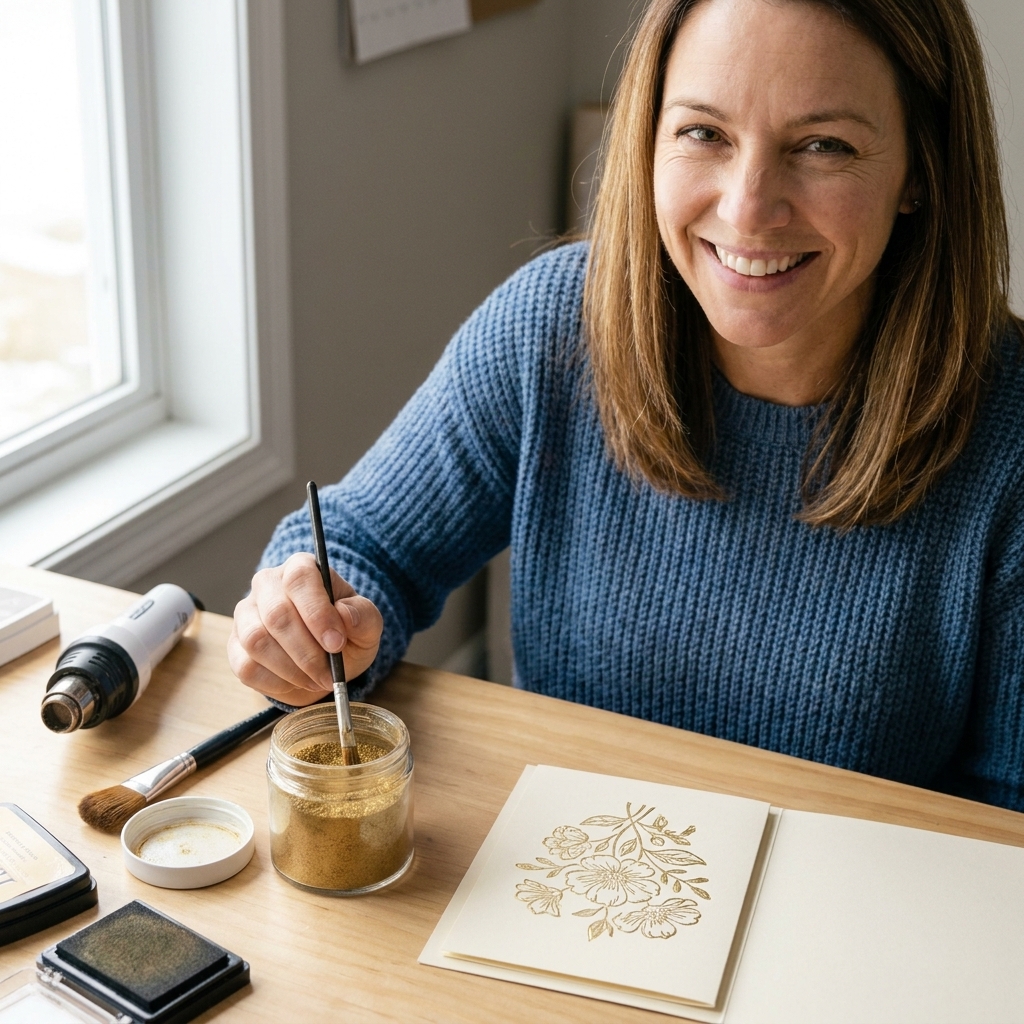
Yes, that is the classic combo. Clear embossing ink grips any embossing powder color beautifully.
Why does my embossed sentiment lose sharpness?
Usually it is a powder issue. Switch to fine detail powder, check that your stamp is clean, and avoid over-inking.
Can I heat emboss after I ink blend?
You can, but ink-blended panels often hold extra static and pick up oils from handling. Use an anti-static tool very gently, stamp carefully, and expect to do a little extra brushing to remove stray specks.
When should I use a stamp positioner?
Use one anytime you might want a second impression, like large solid images, very detailed sentiments, or textured cardstock. Being able to re-stamp without shifting is a game changer.
What is the best cardstock for embossing?
Smooth, heavyweight cardstock gives the cleanest lines and the least warping. That said, embossing on textured cardstock can look charming and rustic, just choose bolder stamps and expect a little extra organic texture.
A quick pep talk
If your first few tries are not perfect, welcome to the club. I have been embossing for years and I still sometimes find one random fleck of powder that decided to set up camp in the corner of my card. The good news is that embossing is one of those skills that clicks fast. Once you get the feel for when the powder turns from sandy to shiny, you will be embossing everything in sight. Consider yourself warned.