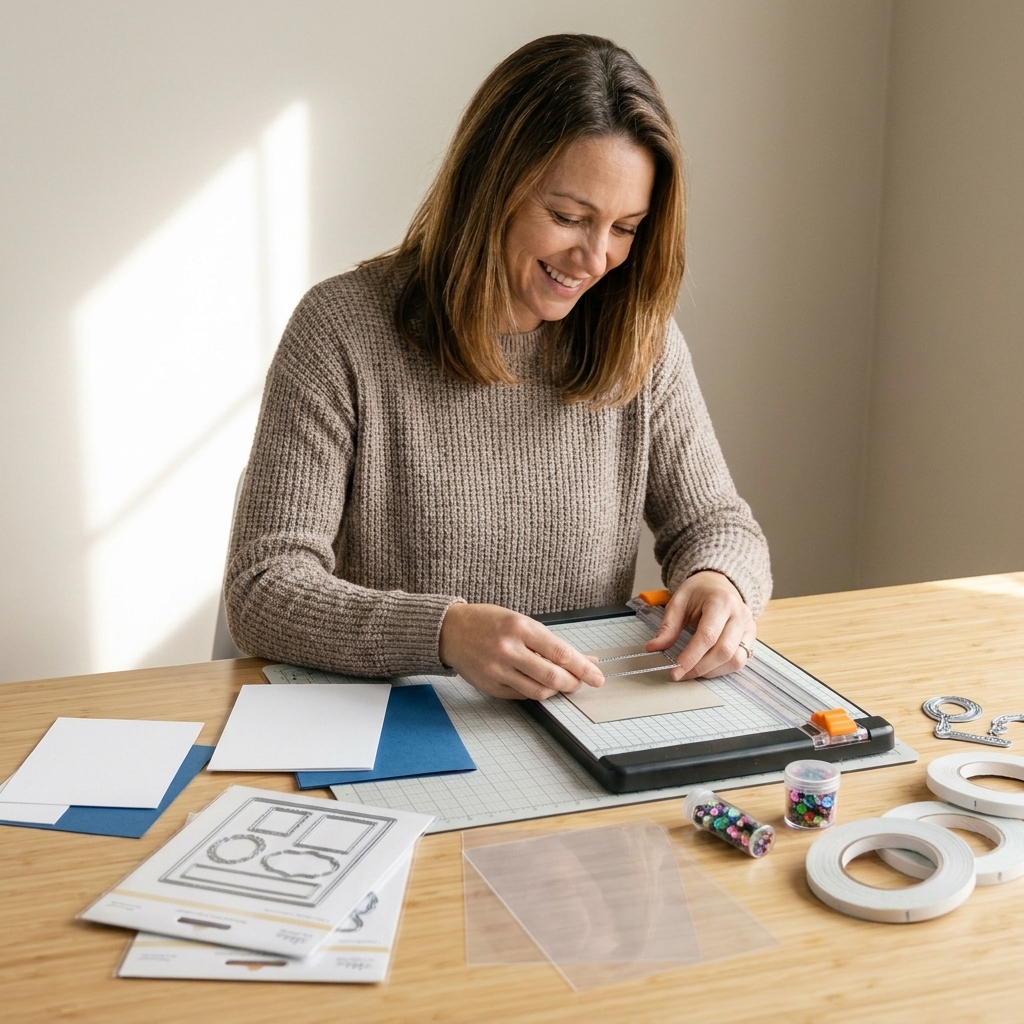
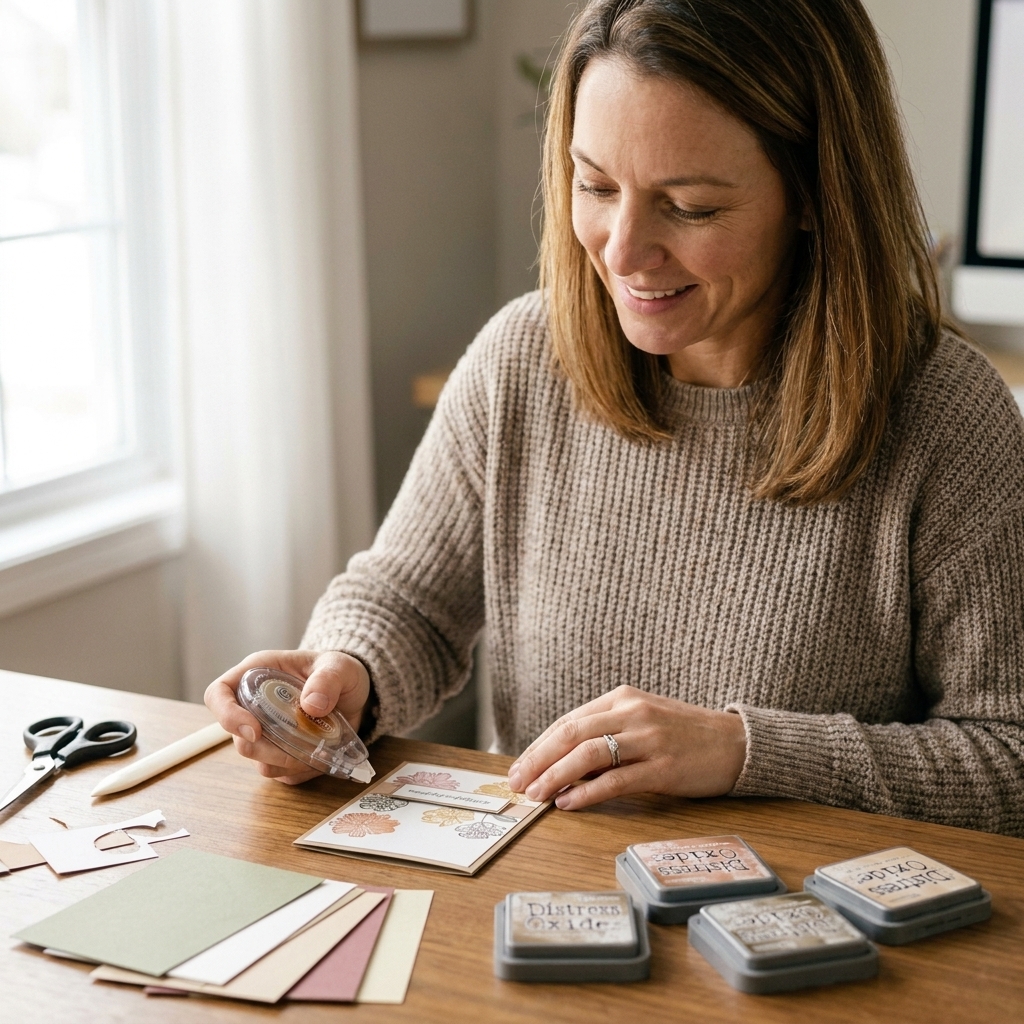
If you have ever run a gorgeous die through your machine… then held up the result like, “Why does this look a little lumpy?” you are in very good company. Die cutting can be as simple as “cut the thing,” but the real magic happens when you start using your dies like multi-purpose tools: cutters, embossing folders, stencils, and even little design guides.
Below are seven essential die cutting techniques I come back to constantly at my craft table. They will help your cards look cleaner, more intentional, and a whole lot more “how did you do that?” without requiring fancy new supplies.
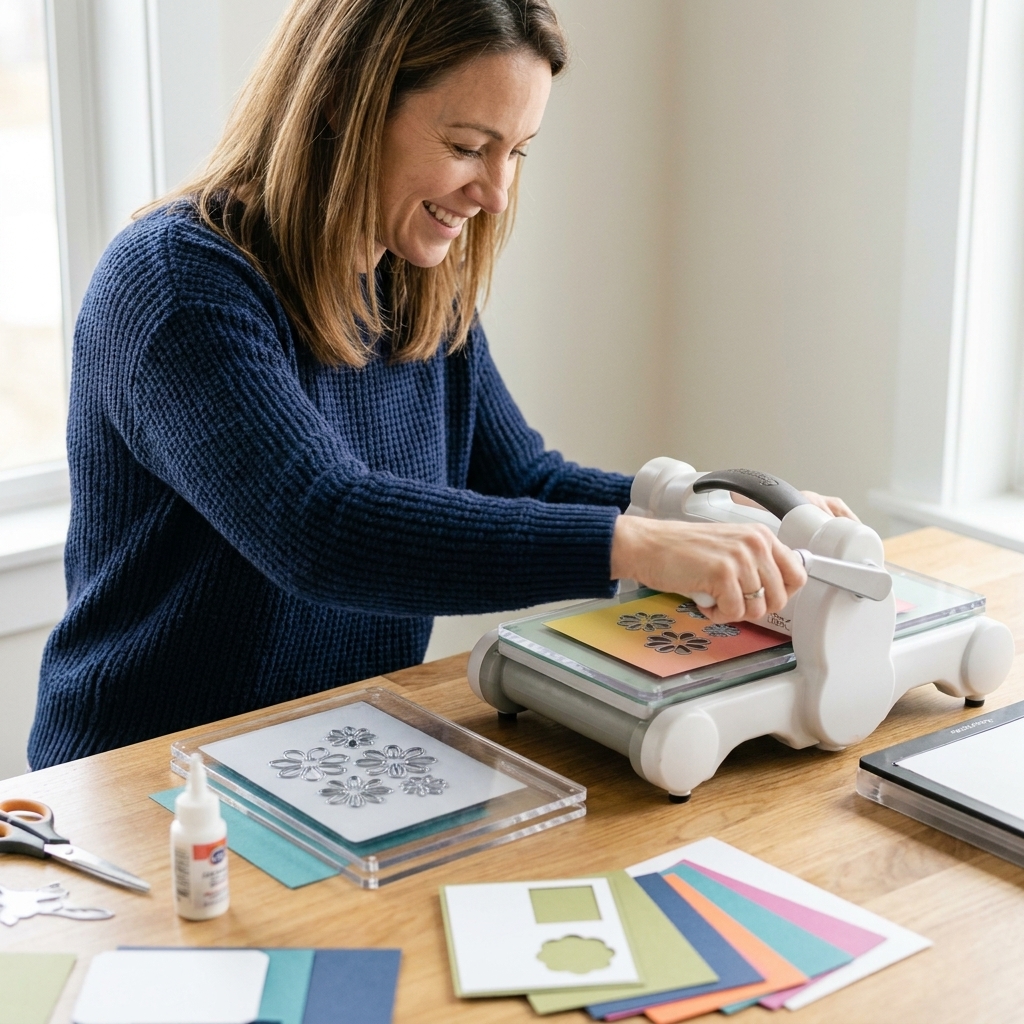
Before you start: quick setup checklist
These tiny prep steps save so much frustration (and prevent the classic “why did it not cut?” moment).
- Use the right plate sandwich. Every machine is a little different, and the plate names vary by brand. Use your manufacturer’s stack instructions (or their closest equivalents) for cutting versus embossing.
- Mind your plate warping. Rotate plates and flip them regularly to keep pressure more even.
- Use low-tack tape. Painter’s tape, washi tape, or a dedicated low-tack tape keeps dies from shifting and gives you crisp placement.
- Add a precision shim when needed. If details are not cutting cleanly, try a thin shim (like cardstock) before you crank harder. Too-tight sandwiches can crack plates or put stress on your machine, so sneak up on pressure slowly.
- Wax paper trick for intricate dies. Running wax paper through with your cardstock often helps release tiny details more easily. If you notice waxy residue, wipe the die with a soft cloth and save this trick for those “extra fiddly” designs.
1) Partial die cutting
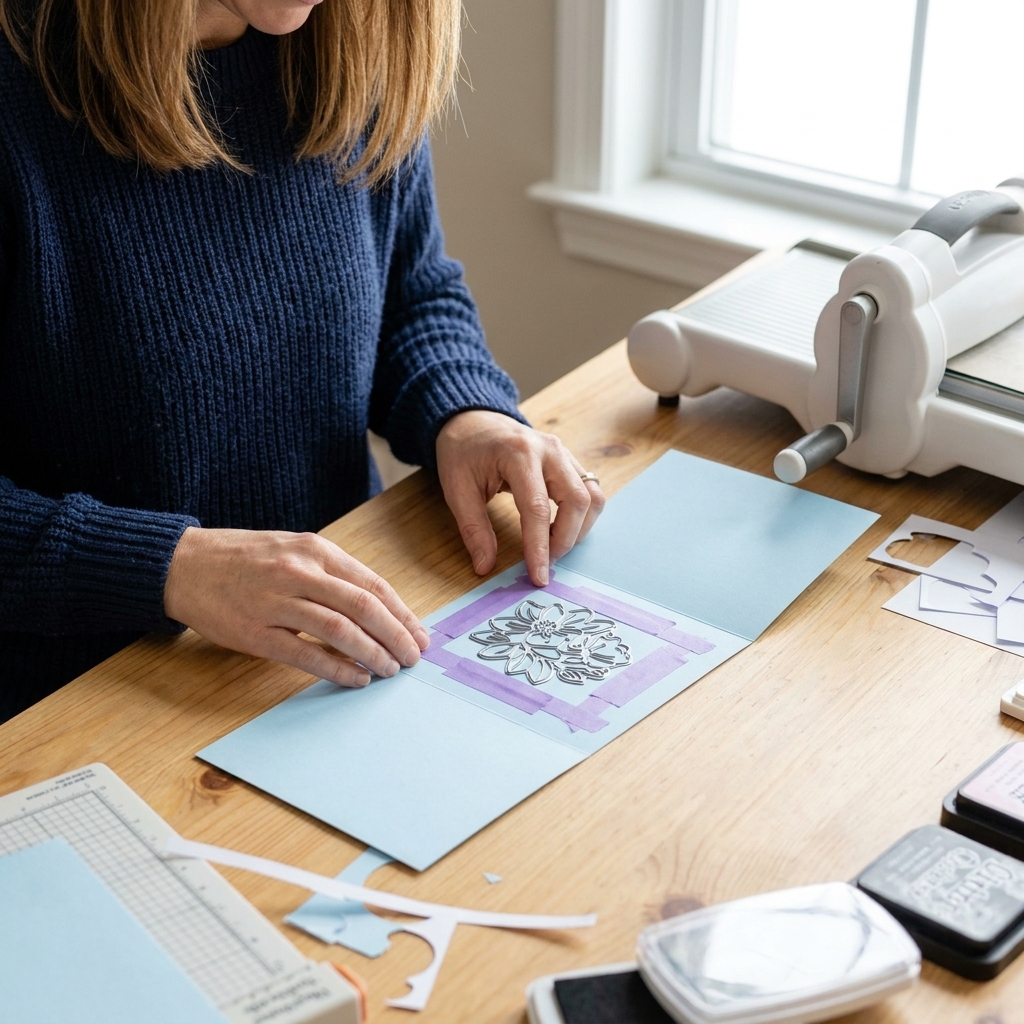
Partial die cutting is one of those techniques that sounds fancy, but it is basically you telling your machine, “Only cut THIS part.” It is perfect for creating built-in flaps, shaped card edges, peek-through windows, and elegant edge details.
What it’s great for
- Making a shaped card edge without losing the full card base
- Creating a fold-over element like a tag or label that is still attached
- Cutting a window that stops before an edge
How to do it
- Place your cardstock where you want the cut, and set the die on top.
- Use low-tack tape to hold it in place.
- Position the die so the part you do not want cut stays outside the rollers. Start cranking and stop as soon as the cut line reaches the rollers, before the uncut area goes through.
- Roll the plates back out, remove the die, then finish any uncut areas with scissors or a craft knife if needed.
Chloe tip: Mark the edge of your cutting plates with a little pencil line so you can consistently stop in the same place.
2) Dry embossing with dies
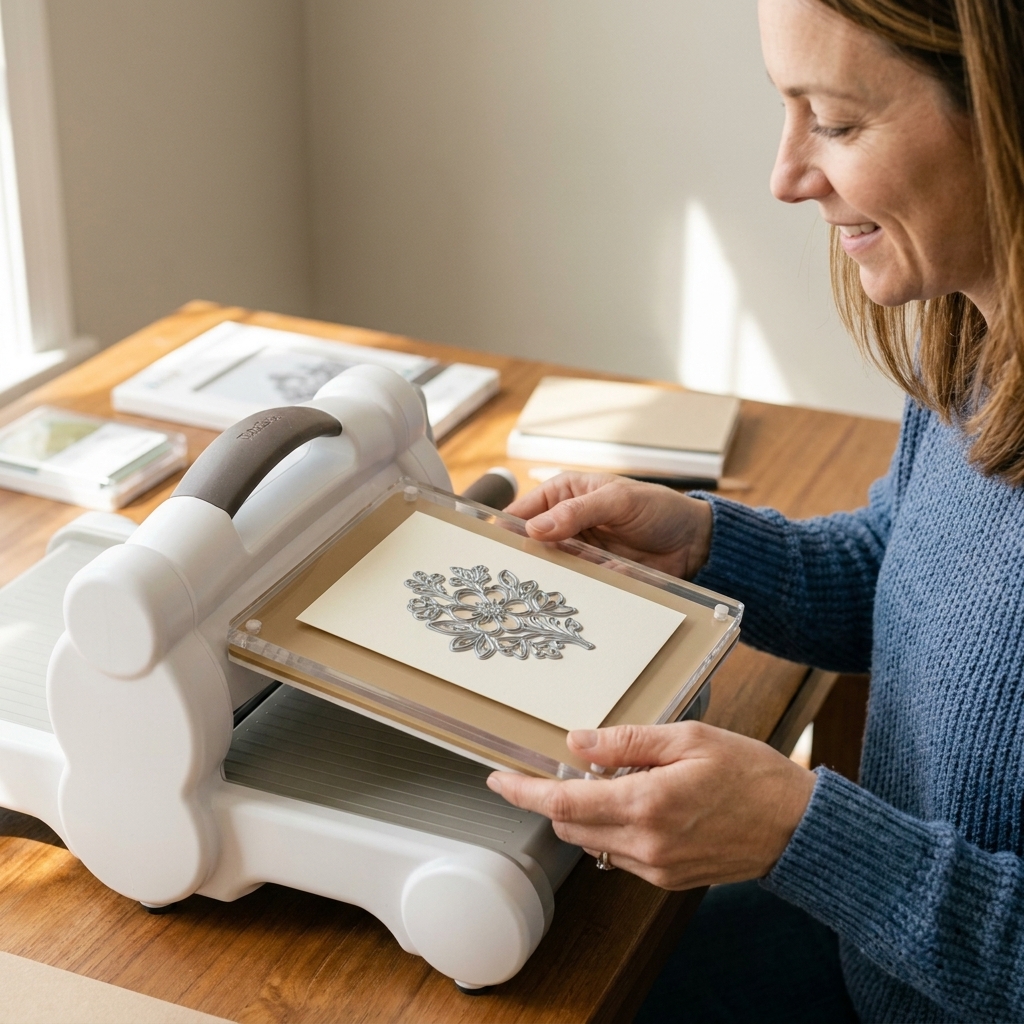
You do not need an embossing folder to get beautiful raised texture. Some thin metal dies can emboss when you swap your cutting sandwich for an embossing sandwich. Instead of slicing all the way through, you are pressing the die’s details into the paper. Results vary depending on the die design, your paper, and your machine, so expect bolder impressions from more detailed dies and subtler impressions from open outline shapes.
Best paper choices
- 80 lb to 110 lb cardstock for crisp impressions
- Watercolor paper for deep, dreamy texture (test first)
- Vellum for subtle elegance (use lighter pressure)
Basic method
- Rule of thumb: Emboss first when you want an all-over panel effect. Cut first when you are embossing a standalone piece you will pop up or layer.
- Build an embossing sandwich (often this includes a rubber embossing mat and a plastic shim, but follow your machine’s guide and test with a low-pressure pass).
- Run it through slowly and evenly.
Chloe tip: If your die has a cutting edge, you can often reduce cutting by using a silicone or rubber mat in your embossing sandwich. Sandwich recipes vary a lot by brand, so check your machine guide and do a gentle test run to avoid an over-tight stack.
3) Die cut windows and frames
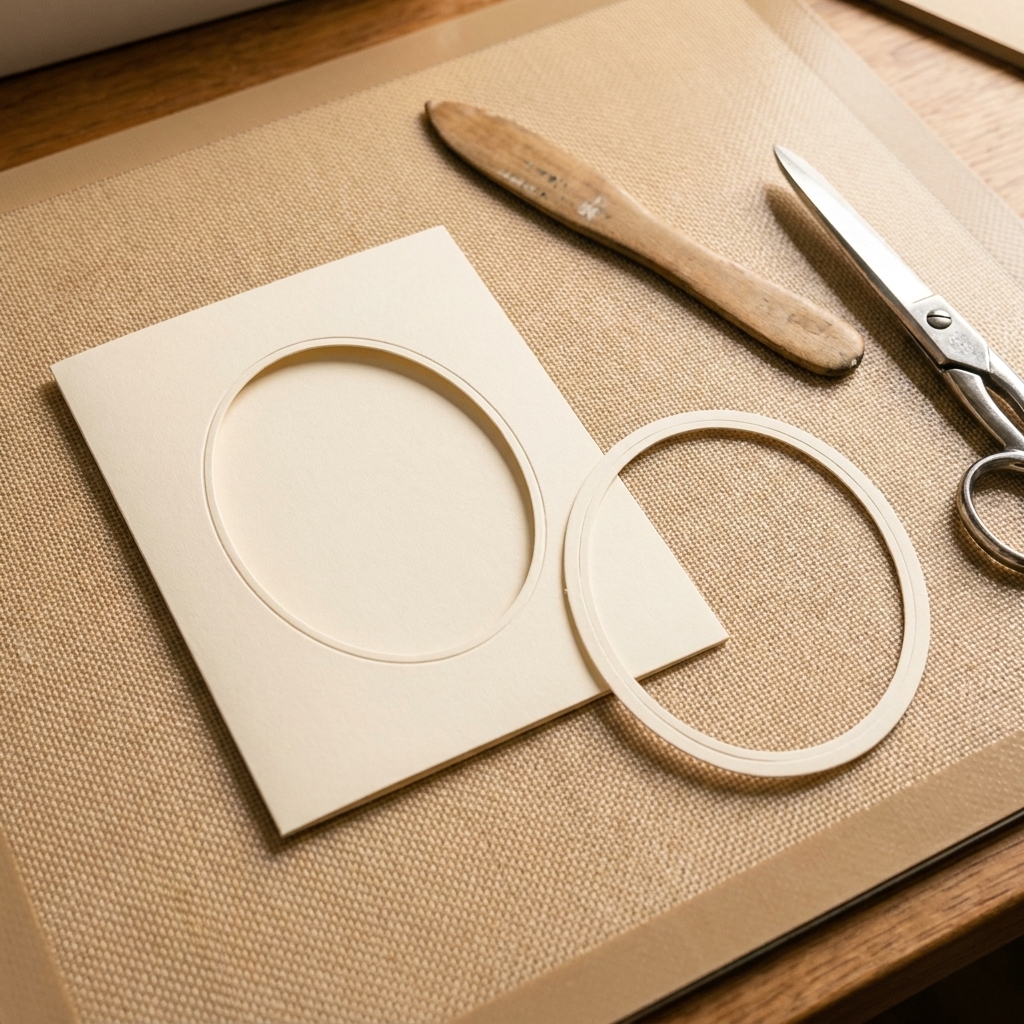
Windows instantly add dimension, and they make shaker cards, peek-a-boo scenes, and sentiment reveals feel extra special. The key is getting a crisp opening and a neat frame that looks intentional.
Two easy ways to create a frame
- Nested dies: Use two sizes of the same shape, centered together, to cut a perfect frame in one pass.
- Double cut method: Cut the window first, then cut a slightly larger panel to layer around it.
How to keep it tidy
- Use a strong, flat adhesive (tape runner or double-sided sheet) so the frame does not buckle.
- If you are adding acetate, adhere it to the back with thin double-sided tape and burnish it down well.
4) Inlay die cutting
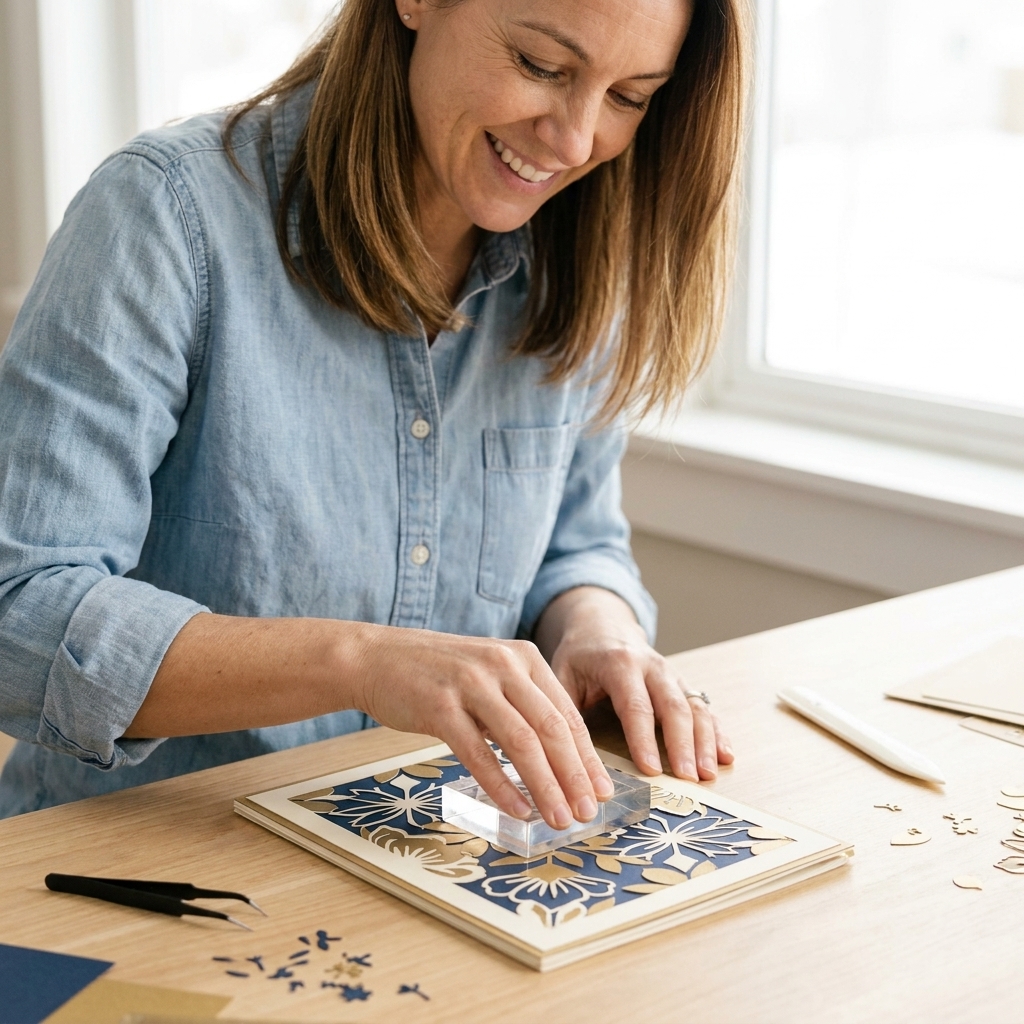
Inlay is when you fit die-cut pieces back into the negative space like a tiny paper puzzle. It looks sleek, professional, and mail-friendly because it is mostly flat.
Perfect for
- Bold sentiments and word dies
- Geometric backgrounds
- Intricate cover plate designs
How to do it without losing your mind
- If you have adhesive sheets, apply one to the back of your top panel before you die cut. This is the easiest workflow.
- Die cut your design from your top panel.
- Die cut the same design from one or more contrast colors.
- Keep the negative “frame” from your top panel on your table.
- Drop the contrast pieces into place, then press flat with an acrylic block.
Chloe tip: Adhesive sheets are the secret weapon here. They turn your panel into a giant sticker, which makes inlaying tiny bits so much easier.
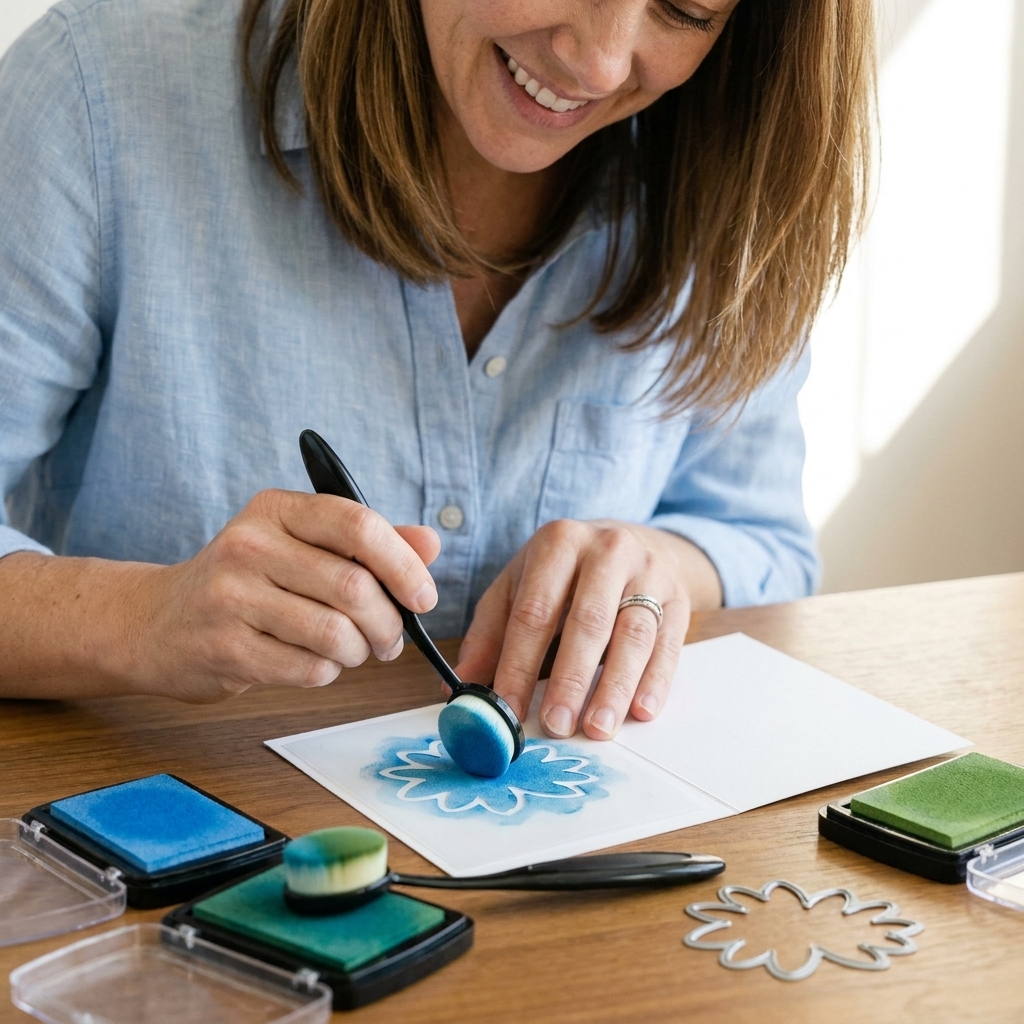
5) Custom stencils from dies
This one is such a crafty “aha.” Any simple shape die can become a stencil for ink blending, sprays, texture paste, or even foiling gel. And because it is your die, the stencil always matches your cut shapes perfectly.
What to stencil onto
- Card fronts for soft backgrounds
- Die cut shapes for quick shading
- Inside panels for a subtle echo of the front design
How to make a durable stencil
- Die cut the shape from stencil plastic or thick acetate. (Heavyweight cardstock works in a pinch, but it will wear out faster.)
- Hold it down with low-tack tape.
- Blend ink lightly at first, building color gradually.
Chloe tip: If you only have cardstock, add a quick coat of clear packing tape over the surface before cutting. It helps it last longer and wipes cleaner after ink.
6) Stack and layer die cuts
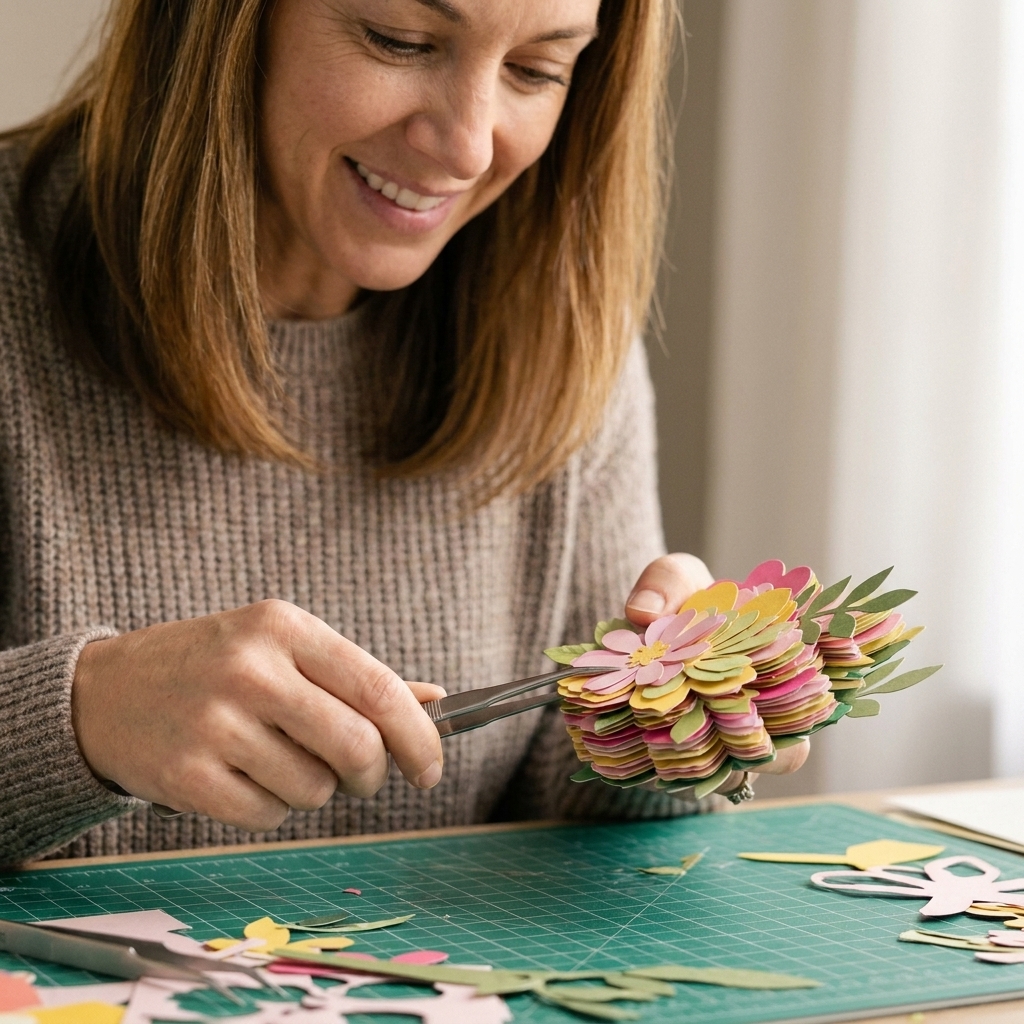
Foam tape is wonderful, but stacked die cuts create a more “solid” look. Think of it like building a tiny chipboard embellishment out of cardstock.
How to stack like a pro
- Die cut the same shape 3 to 6 times from heavyweight cardstock.
- Use a strong liquid glue with a fine tip, and line up edges carefully.
- Top with a specialty layer like glitter cardstock, foil cardstock, or patterned paper.
Chloe tip: If your die is detailed, cut the bottom layers from plain cardstock and the top layer from your fancy paper. You get the sparkle without wrestling multiple glitter cuts.
7) Deboss and letterpress looks
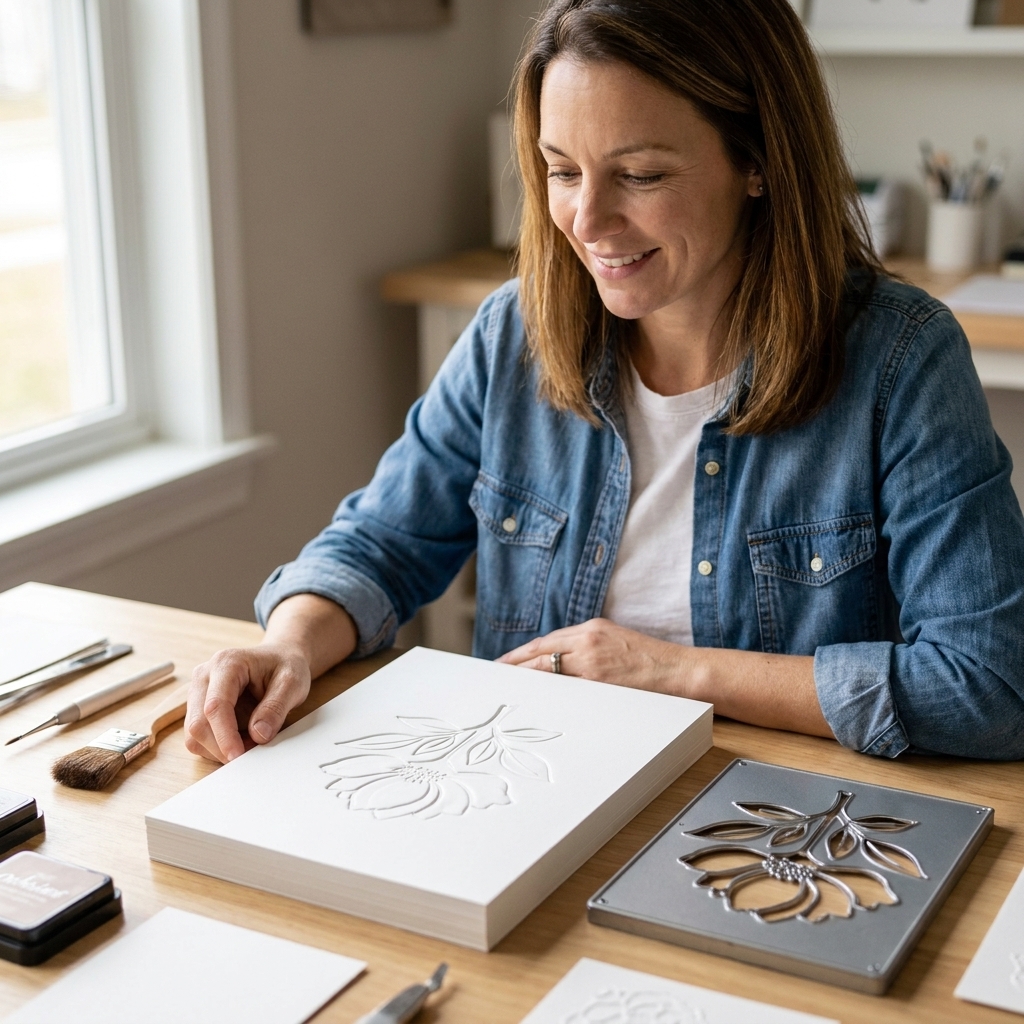
Die cutting is not only about cutting. You can also create a pressed-in impression (deboss) that looks like subtle letterpress. It is especially pretty for sentiments, floral outlines, and clean modern cards.
Two ways to get the look
- Deboss with the die: Use an embossing sandwich so the die presses into the paper without cutting.
- Cut then press: Cut your piece, then run it again in an embossing sandwich to add extra definition and texture.
Chloe tip: For extra drama, you can very lightly ink the die before debossing, but test on scrap first. Protect your plates with scrap paper, and go easy, since ink can transfer unpredictably (and some inks can smear).
Troubleshooting for cleaner cuts
If your die cuts are tearing, not cutting through, or leaving little “fuzzy” spots, try these quick fixes before you blame the die.
- Intricate details not cutting: Add a cardstock shim and run it through once, rotate 90 degrees, then run again. If it gets hard to crank, stop and reduce your sandwich thickness to avoid damaging plates.
- Paper tearing on release: Try the wax paper trick (it often helps), or use a die release tool if you have one. If wax builds up, wipe the die clean.
- Warped cuts: Reduce pressure if your sandwich is too tight, and use flatter, newer plates for detailed dies.
- Die shifting: Tape the die down in two places, and tape your cardstock to the plate if needed.
Quick FAQ
Do I need an electronic machine for these techniques?
Nope. Everything here works beautifully on manual machines too. The main requirement is being able to adjust your plate sandwich for cutting versus embossing.
Can thin metal dies cut through multiple layers?
Often yes, especially simple shapes. For detailed dies, I prefer one layer at a time for cleaner results and less frustration. If you do stack layers, keep them thin, keep your stack within your machine’s recommendations, and use even pressure.
What is the easiest technique to try first?
Custom stencils and stacked die cuts are the most forgiving. Partial die cutting is also beginner-friendly once you do one or two practice runs on scrap cardstock.
One last nudge
Pick just one technique from this list and try it on a simple card design you already love. A basic A2 layout plus a partial die cut edge or a custom stenciled background can feel like an entirely new project. And if you mess up a first attempt, welcome to the club. That is how my best tricks were born, one “oops” at a time.