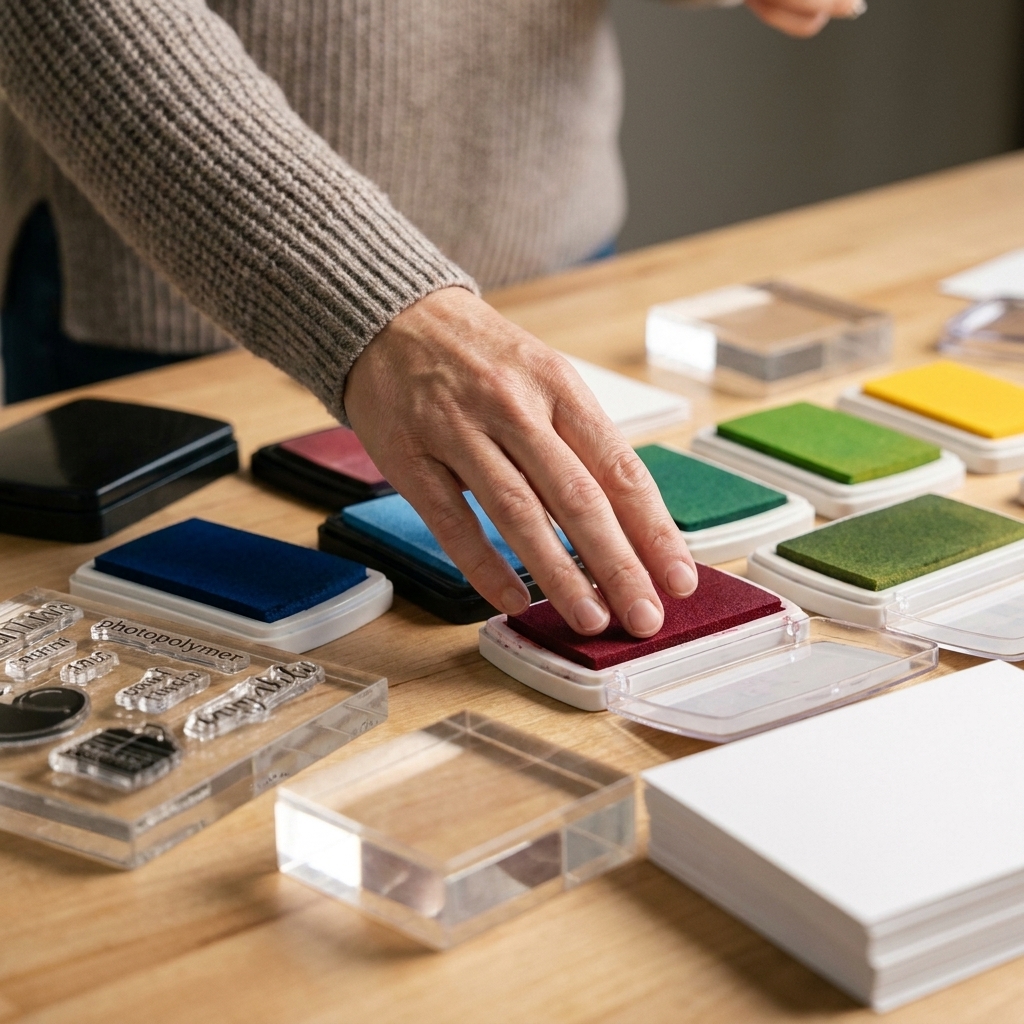
I have a confession: some of my favorite cards started out as total disasters. A thumbprint in Versafine, a sentiment stamped slightly to the left, a glue smear that caught the light at the worst possible angle. If you have ever stared at a card and thought, “Welp, that’s going in the bin,” come sit with me. Most mistakes are fixable with a few calm, crafty little tricks and a willingness to call it “mixed media” when necessary.
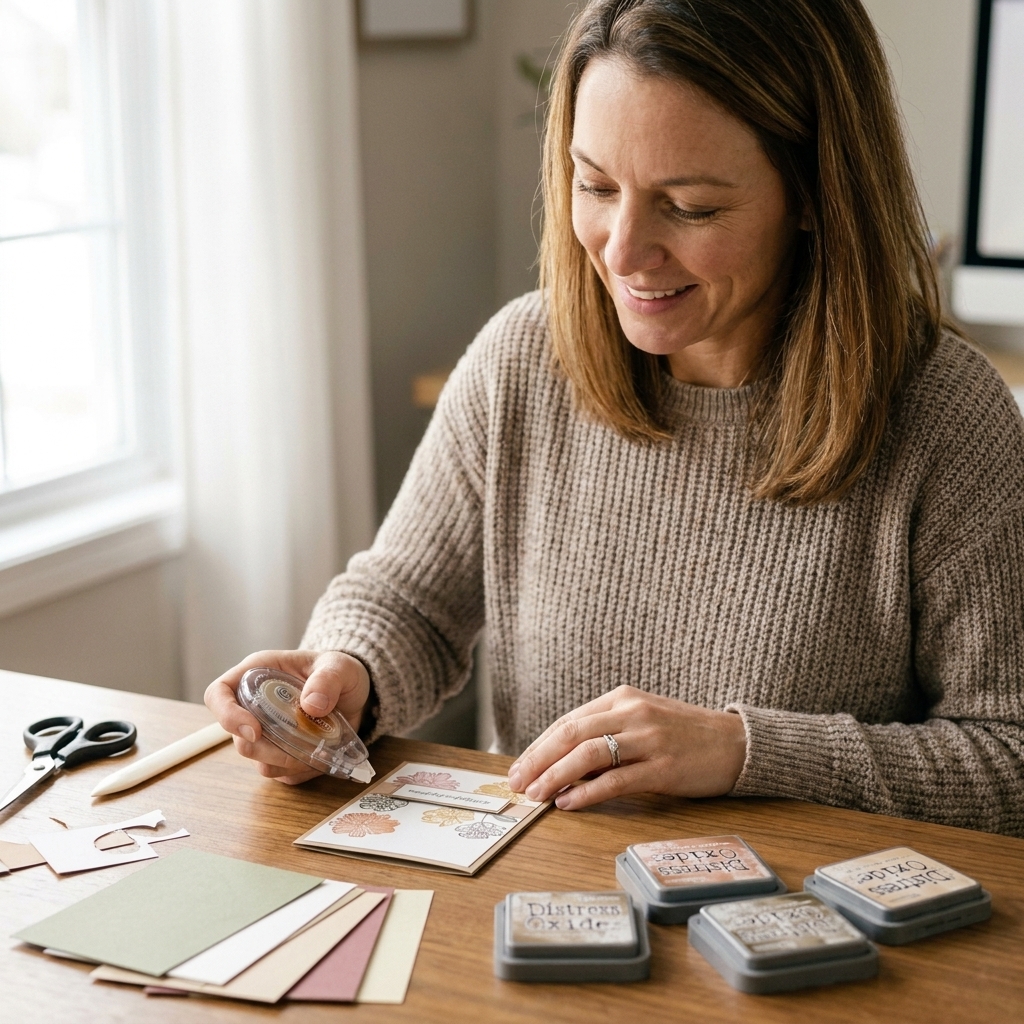
Below are my go-to rescue techniques for the most common card-making oops moments, plus the small habits that prevent them next time. No starting over required.
Before you fix anything: pause and flatten
This is the unglamorous step that saves more projects than any fancy tool.
- Stop touching the card front. Finger oils and lint can transfer, make smudges worse, and cause ink or adhesive to behave oddly.
- Let wet mediums fully dry. Dye ink, embossing ink, shimmer pens, and glue all behave better when you are not poking them too soon.
- Flatten warped areas first. Slide the panel under a clean sheet of copy paper and press it under a book for 5 to 10 minutes. It is much easier to repair on a flat surface.
If you are working on a card base that is already assembled, slip a piece of scrap paper inside the fold so any rescue work does not glue the card shut. Ask me how I know.
Quick note: ink and paper matter
A lot of fixes depend on what you used.
- Dye ink on smooth, uncoated cardstock is the most likely to lift or lighten, but it can also spread or leave a tide line.
- Pigment, hybrid, archival, and permanent inks usually do not lift cleanly, so covering and camouflaging is often the kinder option.
- Porous cardstock soaks up everything. Coated or specialty paper can resist ink and make gel pens skip. When in doubt, test on a scrap from the same paper pack.
Smudged ink (stamping or inking)
Ink smudges are the classic “my hand betrayed me” moment. The fix depends on where the smudge is and what ink you used.
Fix 1: Turn the smudge into a design element
This is my favorite because it feels like magic.
- Add a small cluster of enamel dots, gems, sequins, or die-cut stars over the smudge.
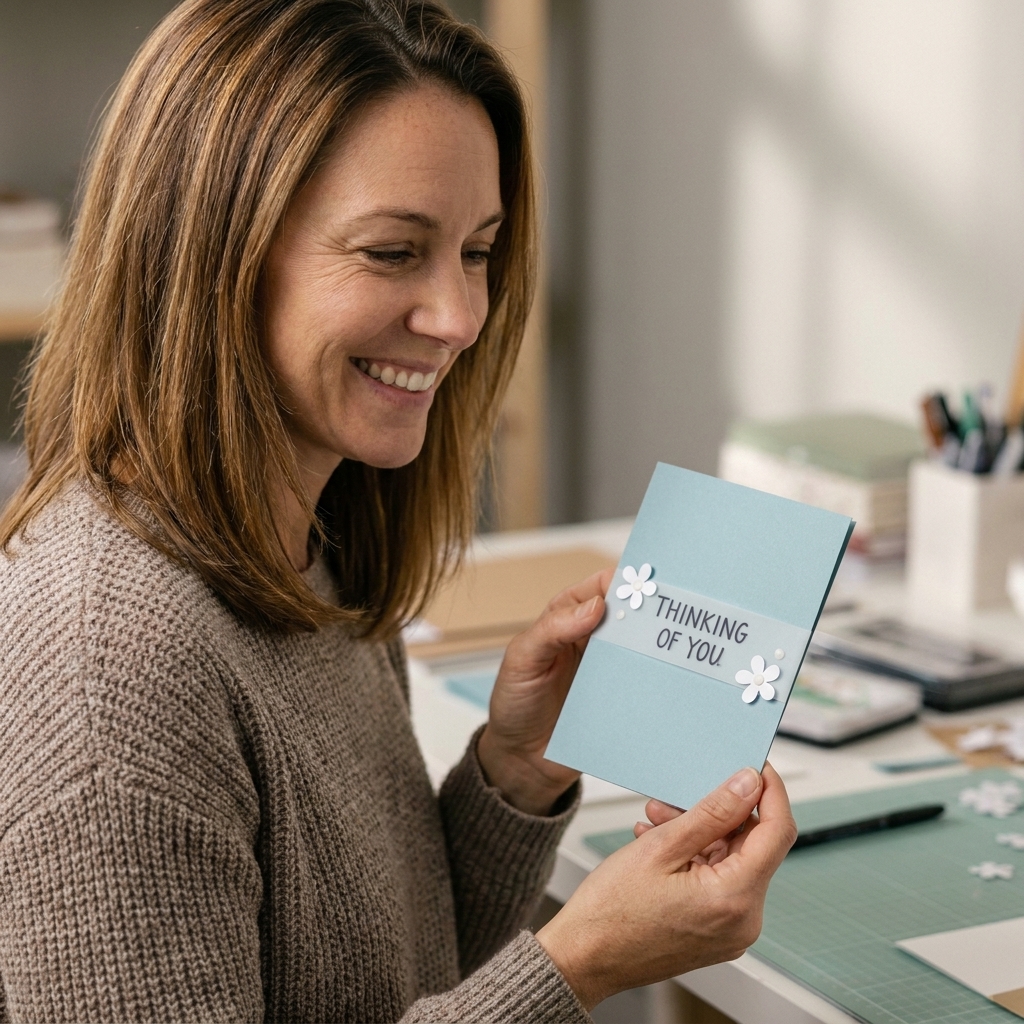
- Cover with a mini sentiment strip like “hello,” “for you,” or “thanks.” Even a tiny label can look intentional.
- Frame it by adding a skinny mat layer or stitched rectangle die cut over the whole panel, cropping the problem area away.
Fix 2: Try lifting dye ink (gently)
If the smudge is dye ink on smooth cardstock, you can sometimes lighten it. Sometimes it just gets larger and moodier, so go slow and test first.
- Colorless blender marker: Tap, do not scrub. Scrubbing can pill the paper and spread pigment.
- Isopropyl alcohol (70% or higher): Use a barely damp cotton swab and touch the smudge lightly. Stop if you see a hard edge forming. Some papers will stain or develop a tide line.
Heads up: this works best on light colors and fresher smudges. Pigment and archival inks usually will not budge, so plan to cover instead of lift.
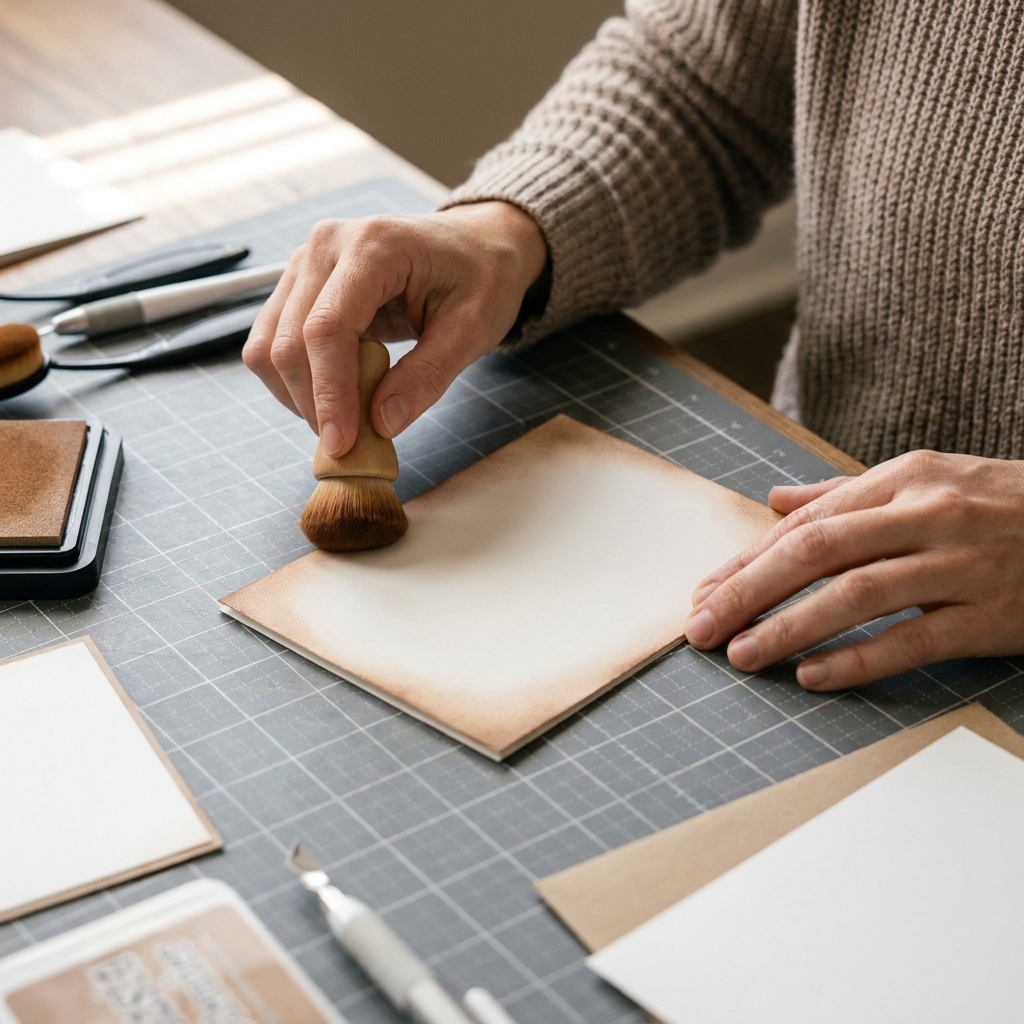
Fix 3: Camouflage with ink blending
If the smudge is near an edge, blend ink around it on purpose so it reads as shading.
- Use a blending brush or sponge dauber.
- Start off the paper and build slowly.
- Keep the center lighter and edges darker for a soft vignette.
Crooked layers and misaligned panels
A slightly crooked panel can make your whole card feel “off,” even if everything else is gorgeous. The good news: you can usually fix it without ripping anything up.
Fix 1: Shift the eye with a strong focal point
If the layer is only a tiny bit crooked, add something that becomes the obvious center:
- a bold die-cut sentiment
- a larger stamped image
- a banner that crosses over the crooked edge
- a trio of embellishments placed intentionally
Our brains forgive a lot when the design has a clear focal point.
Fix 2: Add a grounding strip
This is the fastest alignment saver I know. Cover the problem seam with a strip of something straight:
- patterned paper
- washi tape
- glitter cardstock
- vellum with a heat-embossed sentiment
Place it so it looks like part of the layout, not a bandaid. Think of it as adding a belt to an outfit.
Fix 3: Re-square with a larger mat
If the top panel is crooked relative to the card base, mat the whole panel on a slightly larger piece of cardstock and straighten it there. That new mat becomes your “true” reference, and the original wonkiness reads as a deliberate angle.
Fix 4: Carefully lift foam tape layers
Foam tape is both a blessing and a tiny menace. To lift it with the least damage:
- Slide a piece of dental floss behind the panel and “saw” gently to release the foam.
- Warm the back slightly with a heat tool from a distance for a few seconds, then try again. Keep the tool moving and protect your fingertips.
- Rub off leftover foam with an adhesive eraser or your fingertip.
Go slow. Fast peeling is what tears paper fibers.
Stray adhesive and shiny spots
If I had a dollar for every time I found a glue fingerprint after everything was stuck down, I would have my own paper warehouse by now.
Fix 1: Remove dry adhesive with an adhesive eraser
For dried liquid glue or tape runner residue on cardstock, an adhesive eraser is a lifesaver. You will also see these sold as a gum eraser or adhesive remover. Hold the paper steady and rub lightly in one direction. Then dust off crumbs with a clean, dry brush.
Fix 2: Disguise shine with intentional sparkle
If the glue spot is shiny and will not fully erase, lean in:
- Brush clear glitter over the area (fine glitter hides edges best).
- Add a small sequin cluster.
- Use a shimmer pen across the whole background so the shine looks uniform.
Fix 3: Cover with vellum, then hide the adhesive
Vellum is gorgeous, but adhesive shows. My fix is to attach vellum only where something else will cover it.
- Put tiny glue dots behind a stamped image, sentiment strip, or die-cut shape.
- Or staple vellum to the panel with a tiny staple for a cute, crafty look.
Torn cardstock and dented edges
Paper tearing usually happens when we remove strong adhesive, pull up masking, or catch a corner while trimming.
Fix 1: Trim it down and reframe
If a corner is damaged, the simplest fix is to make the panel smaller. Trim all four sides evenly and add a mat layer behind it. Suddenly it is “clean and modern,” not “oops.”
Fix 2: Turn the tear into a decorative edge
If the rip is along one side, make it a feature:
- tear the entire edge on purpose for a soft, textured look
- ink the torn edge lightly to highlight the texture
- layer it over contrasting cardstock
Fix 3: Patch from behind
If you have a small tear in the middle of a panel (especially near a stamped image), patch it like this:
- Flip the panel over.
- Tape a small piece of similar cardstock behind the tear.
- From the front, cover the seam with a sentiment, die-cut, or embellishment cluster.
It will be more stable and much less likely to rip further.
Stamping mistakes you can recover from
Stamping is my first love and also the source of the most dramatic sighs.
Off-center or crooked sentiment
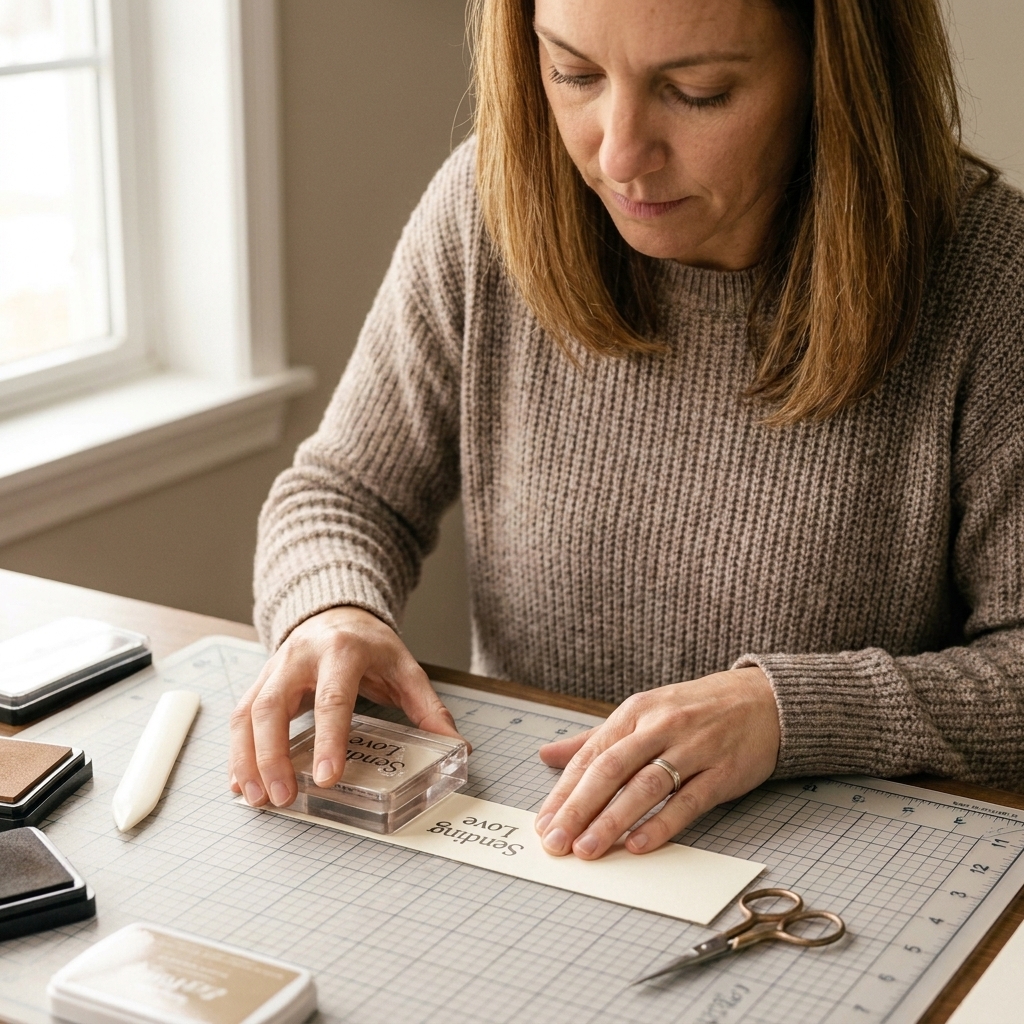
- Add a banner: Trim the sentiment into a strip and fishtail the ends.
- Double it: Stamp the same sentiment again on a separate strip and layer them like a little stack.
- Box it in: Draw a simple rectangle around the sentiment with a fine liner, then repeat the rectangle elsewhere for balance.
Incomplete stamping (not enough pressure)
- Stamp again on a separate piece, then cut it out and pop it up with foam tape. (If your first ink is light, you can go darker for the redo.)
- Faux watercolor: For images, color over light areas with markers or pencils so it reads as soft shading rather than missing ink.
Overstamping or double image
When the stamp shifts and you get a shadow, your best friend is layering:
- Cover with a die-cut sentiment or a floral cluster.
- Create a window frame die cut to crop the area.
- Stamp a subtle background pattern over the whole panel so the “mistake” blends in.
Warped paper from glue, ink, or embossing
Warp happens. Humidity happens. Enthusiastic glue happens.
Fix 1: Press it flat the right way
- Let everything cool and dry completely.
- Place the panel between two clean sheets of copy paper.
- Press under a heavy book for at least 30 minutes.
Fix 2: Add strategic adhesive coverage
A lot of warping comes from glue only in one area. If you can, add adhesive more evenly:
- Use tape runner around the perimeter and an X through the center.
- For larger panels, use double-sided adhesive sheets or a wide adhesive roller for even coverage.
Fix 3: Hide slight warping with dimension
If the panel is a little wavy but still usable, pop the focal element up with foam tape and add a few embellishments. Dimension distracts the eye and keeps the card front from looking “flat and wrinkly.”
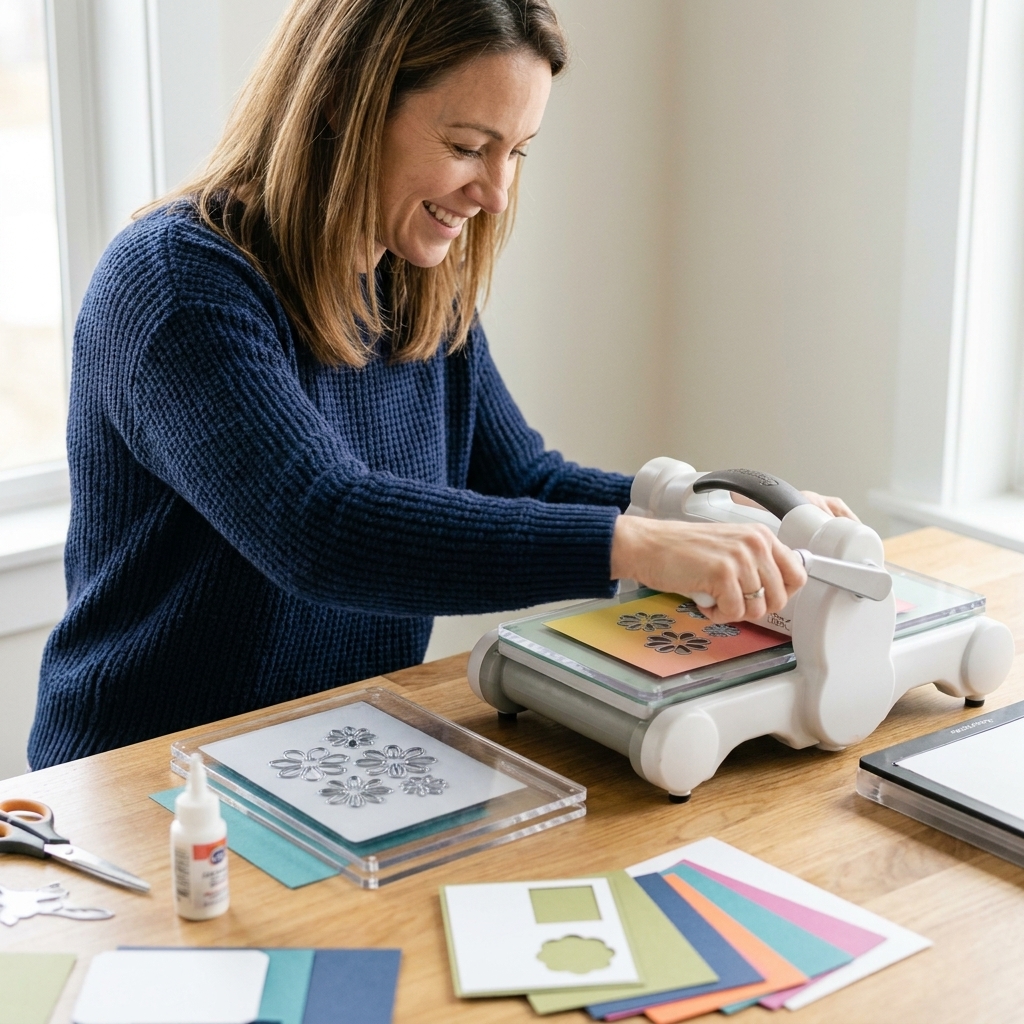
Die-cutting and embossing oops
Die cut slipped or cut in the wrong spot
- Make it a window: Back the opening with vellum, acetate, or patterned paper.
- Repeat the shape: Add two more die cuts in a tidy row or cluster so the first one looks planned.
- Cover with a frame: Cut the same shape from cardstock and glue it on top like a picture frame.
Embossing folder crack lines
Cracking often happens with heavyweight cardstock or when the paper is too dry.
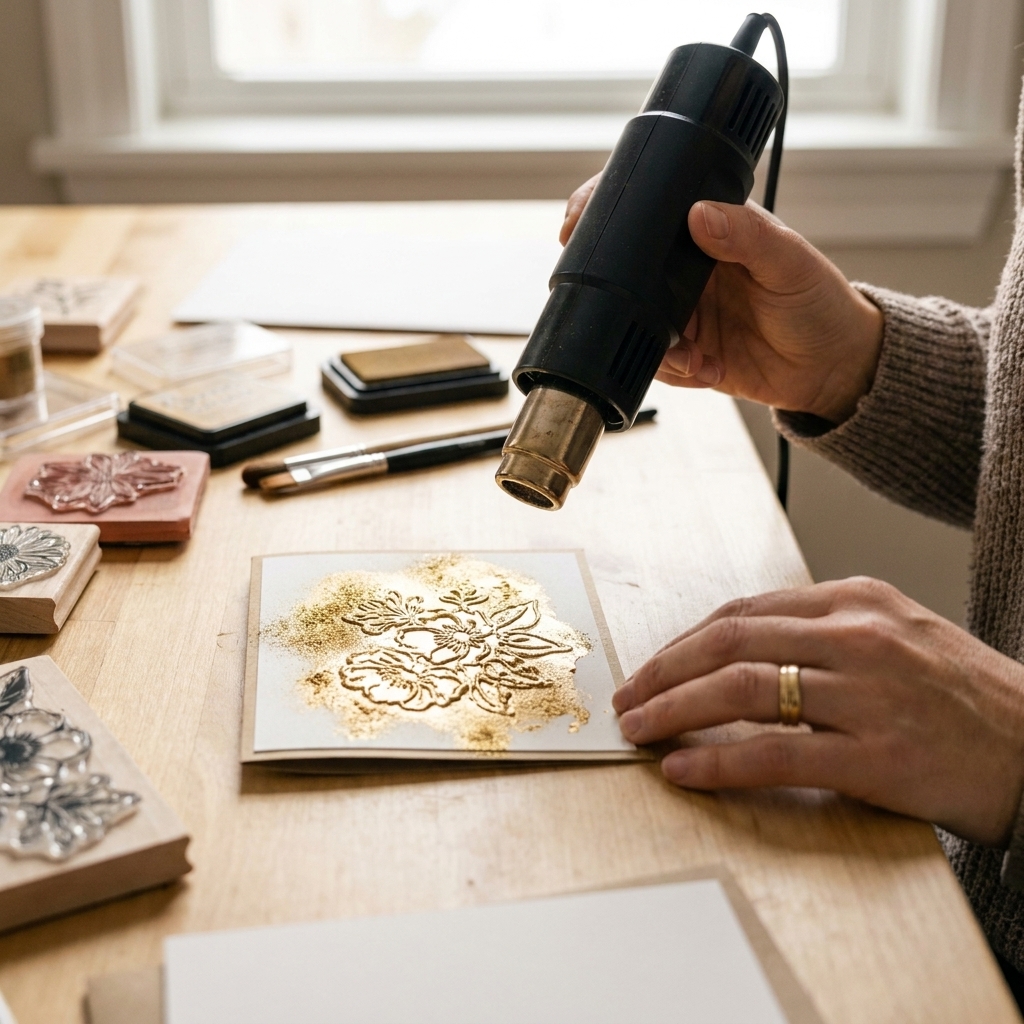
- Tap a tiny bit of clear embossing ink over the cracked area and add clear embossing powder, then heat. It may help camouflage the crack. Heat from a distance and stop as soon as the powder melts to avoid extra warping.
- If the crack looks like a white stress mark, you can try very light sanding, but test first. Some cardstocks pill fast. After sanding, add gentle ink blending to soften the spot.
Heat embossing stray specks
- Flick away loose powder with a dry paintbrush before heating.
- If you already heated it, scrape tiny specks gently with a craft knife, then cover with a small embellishment if needed.
Muddy ink blending and dirty tools
This one sneaks up on you. You go in for a soft pink glow and come out with “bruise chic.”
Fix 1: Add a frame
Crop the panel with a stitched rectangle die or trim it down and add a crisp mat. A clean border makes the center look more intentional.
Fix 2: Add splatter on purpose
Controlled chaos covers a lot.
- White watercolor or diluted white gouache for bright splatter.
- Metallic watercolor for a fancy, “I meant to do that” finish.
Fix 3: Overlay a die-cut pattern
Try a delicate cover plate, a lattice, or a few layered die cuts. It breaks up the background and distracts from uneven blending.
Prevention: wipe blending brushes on a microfiber cloth between colors and start with the lightest ink first. (Ask me how I learned that one.)
When you must remove something: lift adhesive safely
Sometimes you really do need to pull up a layer. Here is how to do it with the least heartbreak.
Tape runner or double-sided tape
- Warm the back briefly with a heat tool (keep it moving, do not scorch, and watch your fingers).
- Slide a thin spatula tool or old gift card under the layer and lift slowly.
- Rub off residue with an adhesive eraser.
Liquid glue
- If it is still wet, you can sometimes slide the piece and re-align it.
- If it is dry, lifting may tear paper. Consider trimming and covering instead of peeling.
Foam tape
- Use dental floss to separate layers.
- Replace foam with fresh pieces rather than reusing stretched foam.
My rescue kit
If you want to feel like a card-making superhero, keep these within arm’s reach:
- adhesive eraser (gum eraser style adhesive remover)
- white gel pen (best on matte cardstock, may skip on coated or very inky areas)
- white acrylic paint pen (a great backup when gel pen refuses to cooperate)
- fine-tip black pen (for boxing sentiments and doodled borders)
- extra sentiment strips (pre-stamped or pre-printed)
- vellum sheets
- washi tape
- enamel dots or flat sequins
- a blending brush and a neutral ink (soft gray, sand, or light brown are my go-tos)
- craft knife and small scissors
- dental floss (sounds silly, works brilliantly)
Prevention without the fun police
I am not here to turn your craft time into a checklist, but a few tiny habits really do cut down on mistakes.
- Use a “dirty hand” scrap. Keep a piece of cardstock nearby to test glue flow, stamp pressure, and ink color before touching your project.
- Work from background to focal point. It is easier to cover background issues than fix a damaged centerpiece.
- Stamp sentiments early. If the sentiment goes wrong, you can swap the panel before you build a whole design on top.
- Keep a microfiber cloth nearby. Wipe acrylic blocks, your desk, and your fingers often. Ink gets everywhere like it pays rent.
Quick FAQ
How do I get glue off cardstock without tearing it?
For residue on the surface, an adhesive eraser is the gentlest option. If something is fully stuck down, warming the back slightly and lifting slowly with a flat tool helps, but covering or trimming is often safer than peeling.
Can I fix a sentiment stamped too low?
Yes. Add a strip of cardstock, ribbon, or washi along the bottom like a decorative border, then re-center your focal element above it. You can also trim the sentiment into a banner, pop it up, and let it overlap the design.
What is the easiest way to hide an ink smudge?
A small label, a die cut, or a cluster of three embellishments placed right on top. Quick, tidy, and it looks intentional.
My card front is warped. Is it ruined?
Almost never. Let it dry fully, press it between clean papers under a heavy book, and mount it to a sturdy card base with even adhesive coverage.
A little pep talk before you toss anything
If you can mail it, gift it, or tuck it into a present with love, it is a success. Handmade does not mean perfect. It means real. And honestly, some of the most charming cards are the ones that had to be rescued, because that is where your creativity shows up and does the brave little problem-solving dance.
If you want, tell me the mistake you are staring at right now. Smudge, crooked panel, glue blob, ripped edge. I will help you pick the quickest fix.