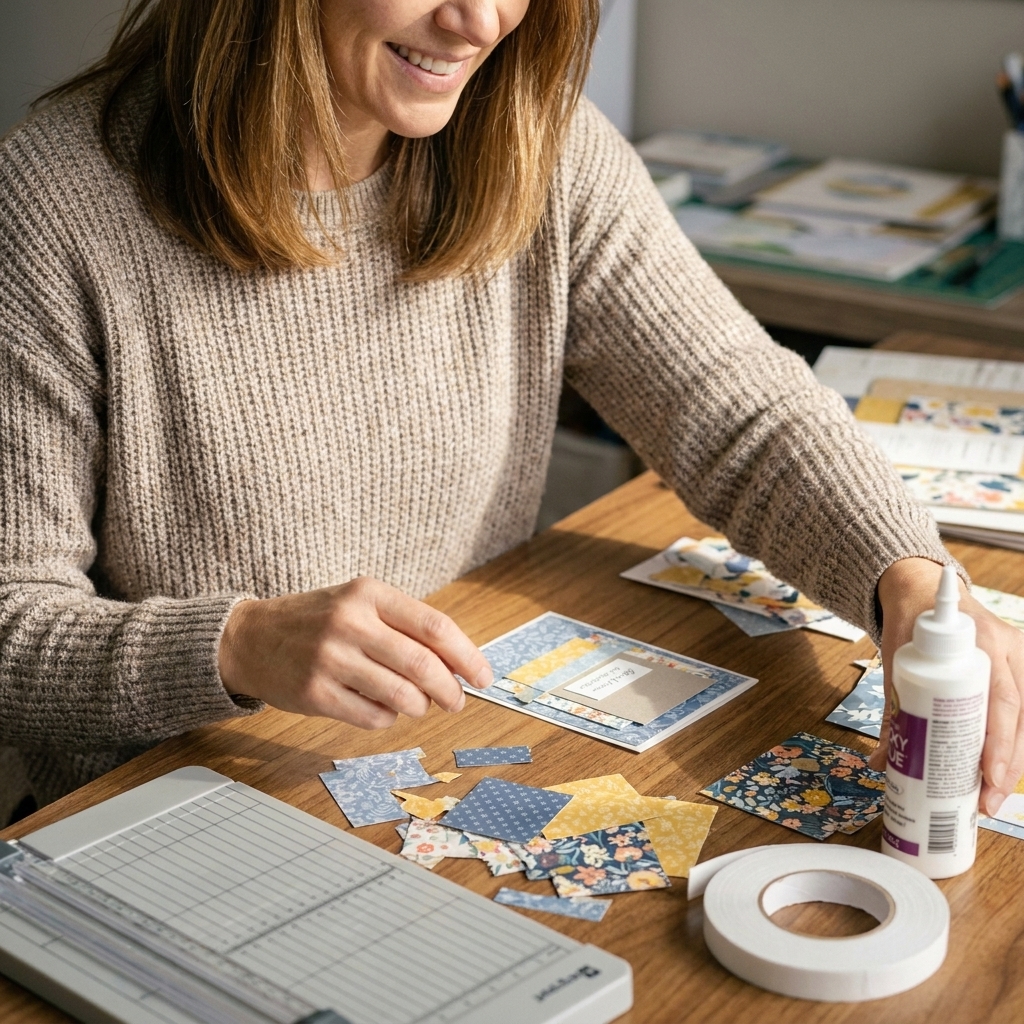
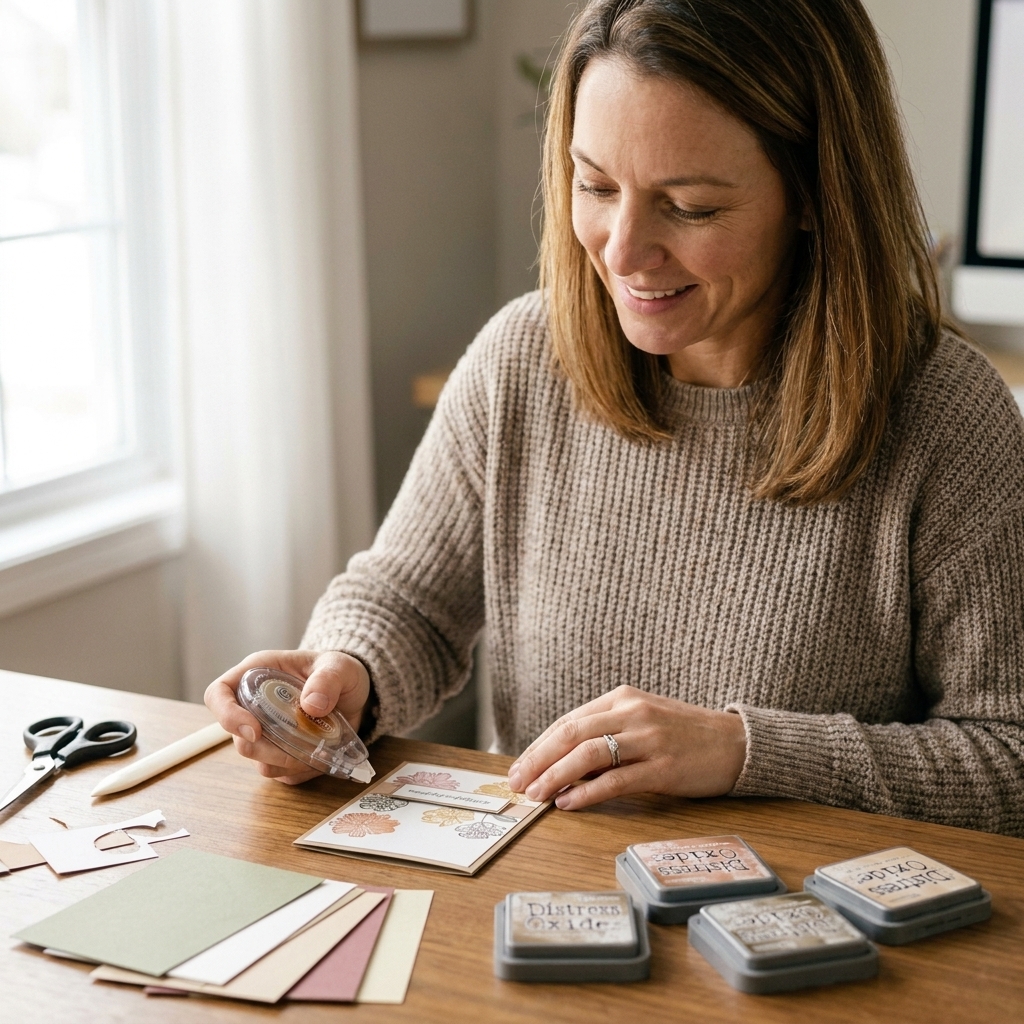
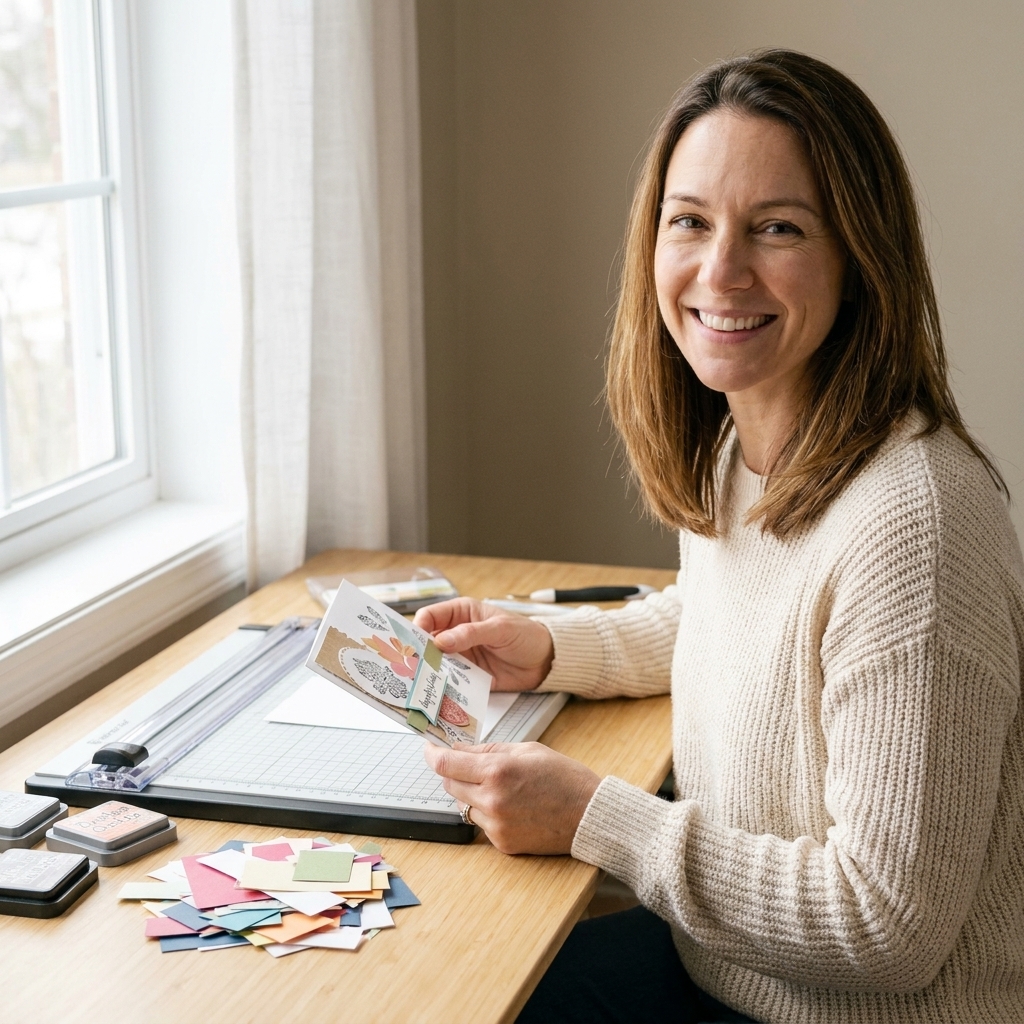
If you have ever looked at the clock, looked at a blank card base, and whispered, “Oh no,” you are in the right place. I grew up making birthday cards at my grandma’s dining table with a pair of scissors that barely cut straight and a stamp pad that always ended up on my fingers. So trust me when I say this: a last-minute card can still feel thoughtful, personal, and genuinely beautiful.
Below are 15 quick DIY birthday card ideas you can finish in under 15 minutes with basic supplies. Pick one, set a timer, and let’s make a little paper hug.
My grab-and-go supply list
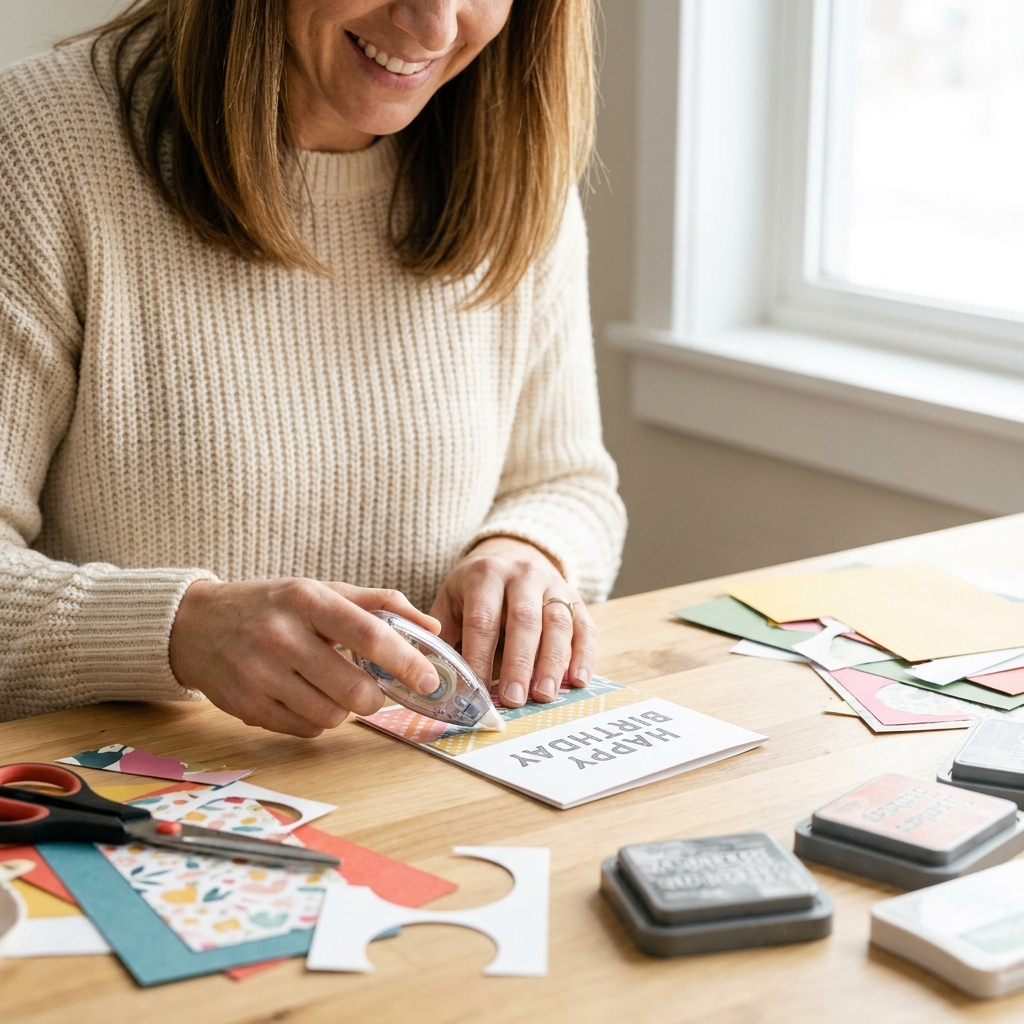
You do not need a fancy craft room for these. Here is what I reach for when time is tight.
- Card base (pre-folded or cut from cardstock)
- Patterned paper scraps (my favorite “problem” to have)
- Adhesive (tape runner or double-sided tape, plus foam tape if you have it)
- Sentiment (stamps, sticker words, die-cuts, or a pen for hand lettering)
- Black ink (or any dark ink you trust)
- Embellishments (enamel dots, sequins, twine, or washi tape)
- Marker or gel pen for quick doodles and highlights
Speed tip: If you are truly in a hurry, choose one focal element and keep the rest simple. Clean design reads as confident, not rushed.
Mess-saving tip: Slide a scrap sheet of paper under your card front before inking, painting, or gluing. It keeps your table clean and your card base less smudgy.
15 fast birthday card ideas (each under 15 minutes)
Each idea includes a quick “how-to” and a few ways to tweak it. Mix and match freely. Crafting rules are mostly imaginary.
1) Patterned paper strip stack
Fast factor: No measuring perfection needed, just straight-ish strips.
- Cut 4 to 6 strips of patterned paper (about 0.5 to 1 inch wide).
- Adhere them vertically or diagonally across the card front.
- Add a simple sentiment strip across the center.
Make it extra: Pop the sentiment up with foam tape and add three enamel dots.
2) Big number centerpiece
Why it works: One bold element does the heavy lifting.
- Cut or punch a large number from cardstock or patterned paper.
- Glue it centered on the card front.
- Stamp or write “Happy Birthday” underneath.
No dies? Hand cut a chunky number or use number stickers.
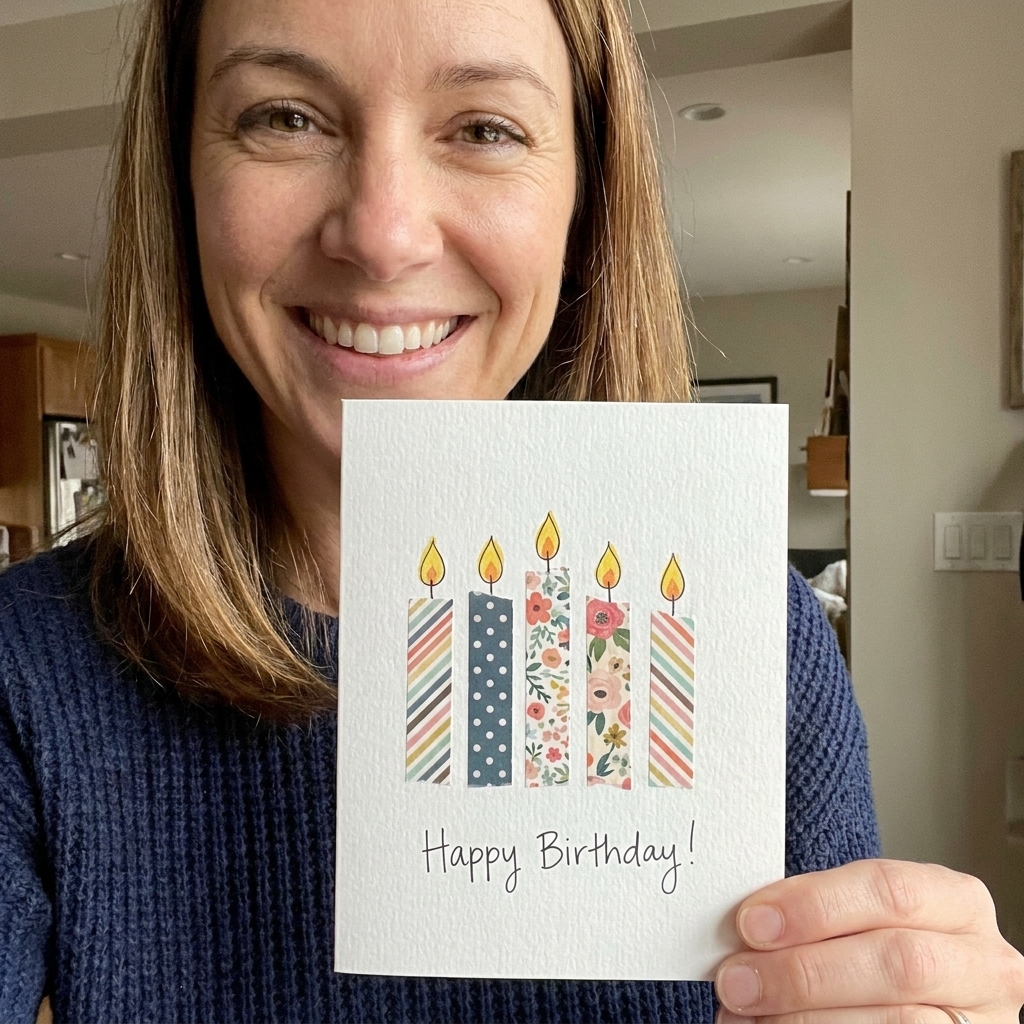
3) Washi tape candles
Fast factor: Washi is instant pattern and color.
- Tear or cut 5 to 7 short strips of washi tape for candle bodies.
- Stick them in a row near the bottom of the card.
- Draw small flame shapes above each candle with a yellow or orange marker.
- Add a sentiment at the top.
Quick fix: If your washi wants to lift, burnish it with a fingernail or the edge of a ruler, then add a tiny dot of glue at the ends.
4) Confetti dot stamp scatter
Time saver: A repeated tiny stamp fills space quickly.
- Use a small dot stamp, the eraser end of a pencil, or a marker tip.
- Scatter dots around the card front like confetti.
- Stamp or write the sentiment in the center.
Color trick: Use 2 to 3 colors max so it looks intentional.
5) “Make a wish” balloon cluster
Why it is quick: Balloons are simple shapes and always festive.
- Stamp balloons or draw three balloon ovals with a marker.
- Add thin strings with a pen.
- Place the sentiment above or below the cluster.
Easy upgrade: Add a small white gel pen highlight on each balloon for shine.
6) Tear-and-layer color blocking
Fast factor: Torn edges hide hurried cutting.
- Tear 2 to 3 rectangles of cardstock or patterned paper.
- Layer them slightly offset on the card front.
- Add a sentiment strip across the overlap.
Texture idea: Add a quick piece of twine tied in a tiny bow.
7) One stamp, three times
Why it works: Repetition equals instant design.
- Choose a medium stamp (cake, flower, star, gift).
- Stamp it three times in a row.
- Add the sentiment under the row.
Fast finishing: Color just one small detail on each image (like candle flames or flower centers).
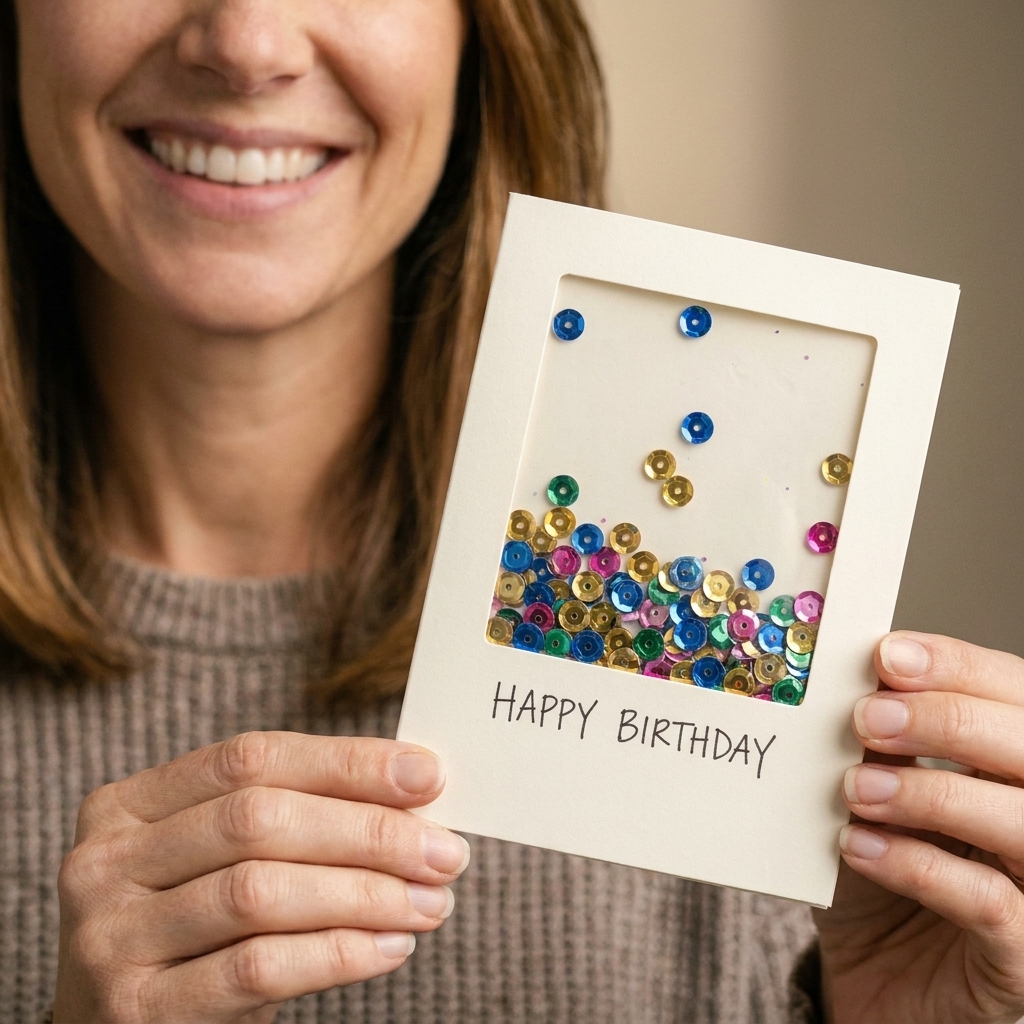
8) Quick shaker “cheat” window
Reality check: This one is still simple, but it can take about 10 to 20 minutes depending on your tools and how steady your hands are feeling.
- Cut a rectangle from the front panel to create a window.
- Cover the window opening from behind with clear acetate or clean packaging plastic.
- Add foam tape around the window on the back, pour in sequins, then seal onto the card base.
- Add a bold sentiment on the front.
Time saver: Use chunky sequins so you need fewer.
Sticky tip: Tape runner does not love acetate. Use strong double-sided tape, or add small glue dots around the edges.
9) Sticker sentiment spotlight
Fast factor: The sentiment is already done for you.
- Add a patterned paper rectangle as a background.
- Place a large sentiment sticker right in the center.
- Frame it with a few enamel dots or tiny hearts.
Design tip: Mat the patterned paper with a thin border of solid cardstock for a “finished” look in seconds.
10) Embossed background, simple greeting
Why it works: Dry embossing creates instant wow without ink.
- Run a cardstock panel through an embossing folder.
- Adhere to the card base.
- Add a small sentiment strip or stamped label.
No embossing machine? Score a few lines with a bone folder for a similar textured effect.
11) Mini banner bunting
Time saver: Tiny triangles cover a lot of blank space.
- Cut 6 to 10 small triangles from patterned paper.
- Glue them along a drawn line or a piece of twine.
- Add “Happy Birthday” underneath.
Extra cute: Add tiny faux stitching with a pen around the edge of each triangle.
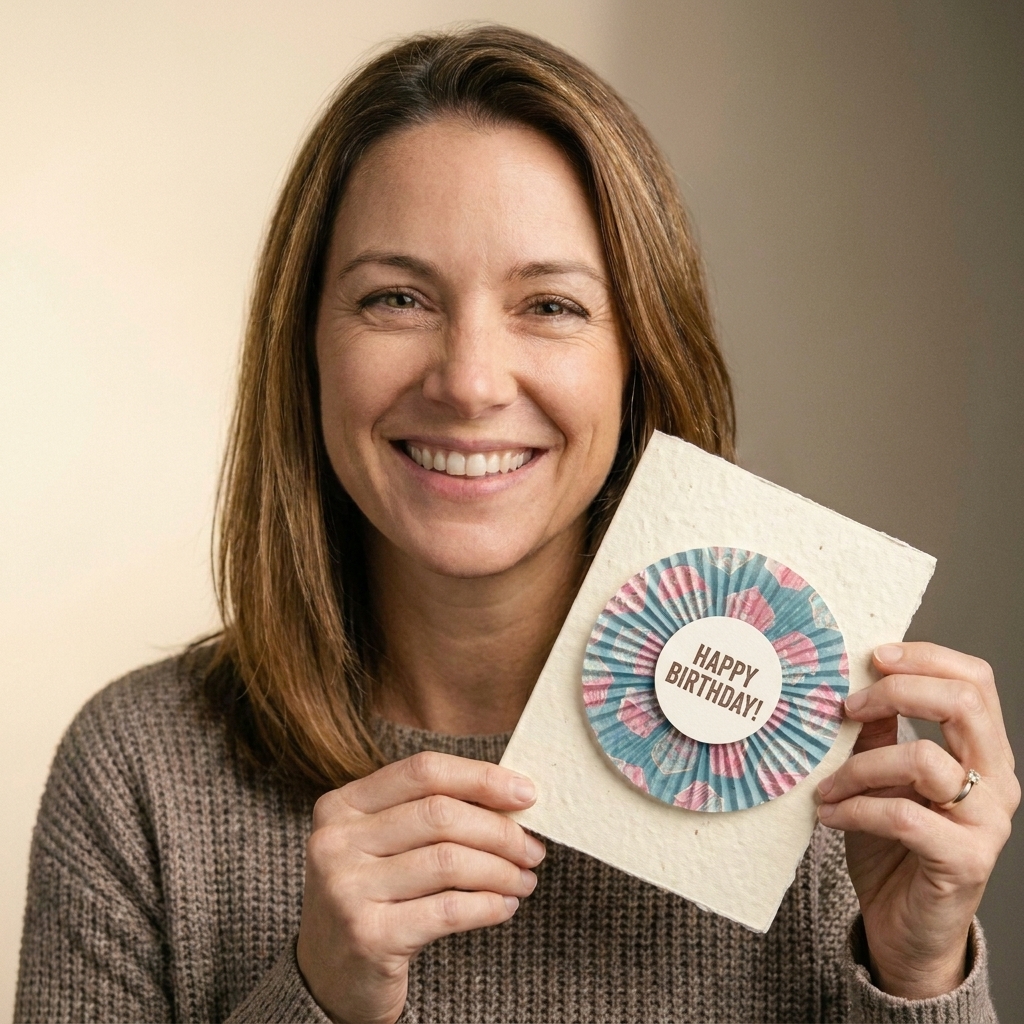
12) Cupcake liner rosette
Fast factor: Party supplies make adorable paper elements.
- Flatten a cupcake liner and fold it in half twice.
- Glue it to the card front like a rosette.
- Add a circle in the center and stamp the sentiment on it.
Color pop: Use a bright solid cardstock circle for the center.
13) Simple watercolor swash
Why it is quick: One painted stripe looks artsy, even if you are rushing.
- Paint one horizontal swash across the card front with watercolor or watered-down marker.
- Let it dry for a minute or two.
- Stamp a sentiment over the swash in black ink.
Warping tip: Use less water than you think you need and dry it flat. If your paper curls, place a book on it for a minute once it is fully dry.
Speed drying: Wave the paper in the air or use a hairdryer for 20 seconds.
14) Die-cut leftover mashup
Fast factor: This is perfect for using the “bits box.”
- Grab 3 to 5 leftover die-cuts (stars, hearts, flowers, tags).
- Cluster them in one corner of the card.
- Add a small stamped or sticker sentiment nearby.
Composition tip: Use odd numbers (3 or 5) and overlap slightly so it looks intentional.
15) Quick doodle frame
Why it works: A pen and a steady-ish hand is all you need.
- Draw a simple frame around the edge of the card front (dashes, loops, tiny hearts, or dots).
- Write “Happy Birthday” in the center.
- Add one small accent, like a star or balloon, in a corner.
Polished shortcut: Trace a rectangle lightly with a ruler first, then doodle over it.
Make it look finished fast
When a card feels “almost there,” it usually just needs one of these quick finishing touches.
- Mat your focal layer with a thin border of contrasting cardstock.
- Add three embellishments (enamel dots, sequins, or punched circles) in a triangle.
- Use foam tape behind the sentiment to create instant dimension.
- Outline with a pen around a die-cut or sentiment strip for definition.
- White gel pen highlights on balloons, candles, and letters make everything pop.
- Give your glue a beat before you press down foam tape or stack layers. Ten seconds can save a lot of sliding.
My favorite late card recipe
If you cannot decide, do this combination. It works every single time.
- Patterned paper strip stack (Idea 1)
- Simple sentiment strip popped up with foam tape
- Three enamel dots
It is fast, cheerful, and it looks like you absolutely had your life together when you made it.
Quick FAQs for last-minute card making
What if I do not have stamps?
Use letter stickers, pre-printed sentiment strips, or hand letter with a black marker. A simple all-caps “HAPPY BIRTHDAY” is clean and classic. You can also print a greeting from your computer, cut it into a strip, and call it a day.
What size cardstock should I cut for a standard card?
A common A2 card is 4.25 x 5.5 inches when folded.
- Top-fold: Cut cardstock to 8.5 x 5.5 inches and fold in half.
- Side-fold: Cut cardstock to 11 x 4.25 inches and fold in half.
How do I keep my card from looking messy?
Limit yourself to 2 to 3 colors, repeat the same shape (dots, stars, hearts), and keep the sentiment area uncluttered so the eye has a place to rest.
What adhesive is best when I am in a hurry?
A tape runner is the fastest for flat layers. For heavier pieces like chipboard or thick die-cuts, use strong double-sided tape or foam tape. For acetate, reach for strong double-sided tape or glue dots.
Wrap-up
Last-minute does not mean less love. Pick one idea, use what you have, and let the handmade charm do its thing. If you make one of these quick birthday cards, I hope you feel that little spark that got me hooked all those years ago at my grandma’s table.
Now go save the day with paper, glue, and a bit of birthday magic.