If you have ever stood in the ink aisle holding three pads like they are precious gemstones, you are not alone. Ink is one of those supplies that feels “small” until you realize it changes everything, from crisp sentiments to dreamy blended backgrounds. Today we are breaking down the big three most card makers run into: dye inks, pigment inks, and oxide inks.
I will walk you through what each one is, how it behaves on cardstock, what it is best at, and the little quirks you should know before you stamp your way onto a nearly finished card front. Grab a scrap of paper and let’s get inky.
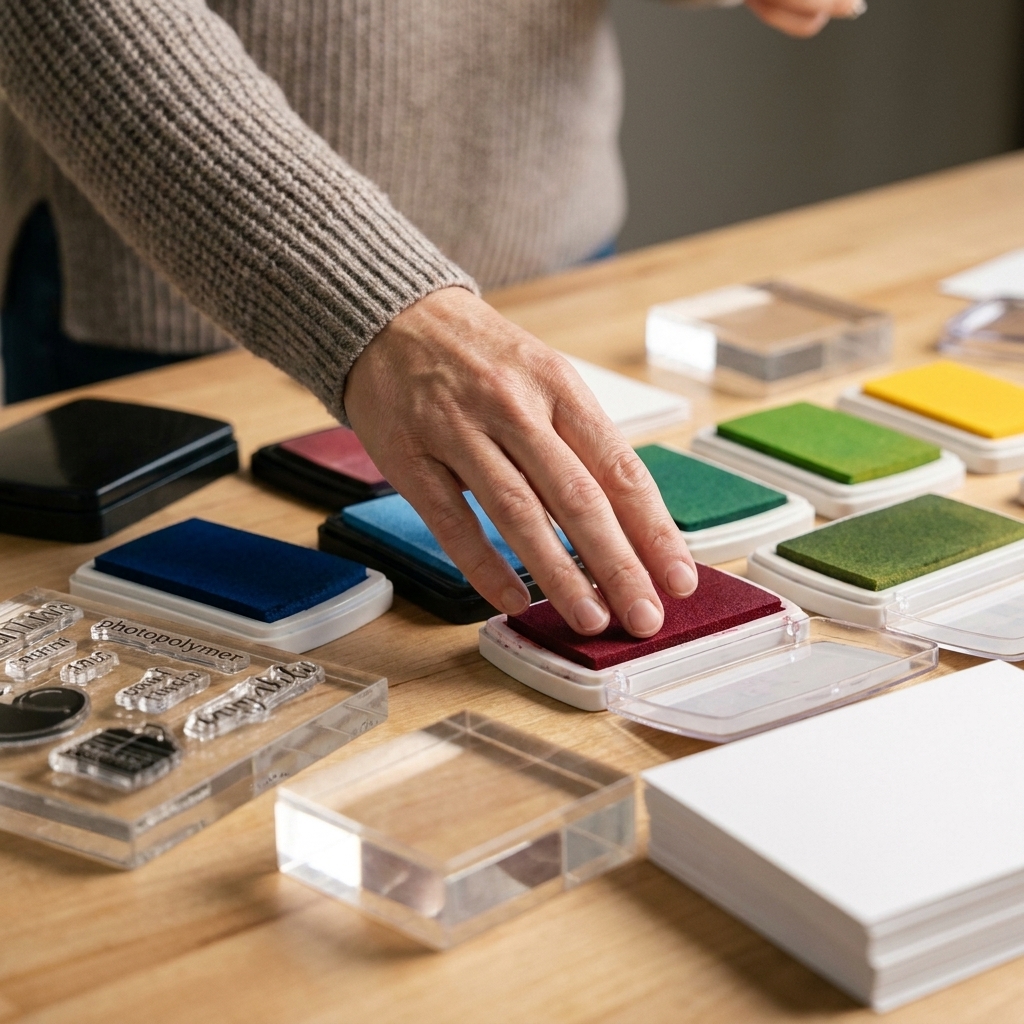
Quick cheat sheet: which ink should you use?
If you are in a hurry, here is my kitchen-table shortcut. You can always come back for the deeper details.
- Choose dye ink for everyday stamping, crisp sentiments, and fast drying on most porous cardstock.
- Choose pigment ink when you need opaque color (especially on dark cardstock), want a softer stamped look, or plan to heat emboss.
- Choose oxide ink for smooth blending, layered color, and that signature water-reactive, chalky look.
Now let’s talk about the “why,” because that is where the magic is.
Dye ink: the crisp, fast stamper
Dye ink is made with colorant that soaks into your paper fibers. Think of it like sweet tea on a napkin. It sinks in quickly, which is why dye inks are beloved for clean stamping and speedy crafting sessions.
What dye ink does best
- Sharp details: Great for fine-line sentiments and intricate stamp designs.
- Fast drying: Often touch-dry quickly on uncoated cardstock, so smudges are less common.
- Simple ink blending: Many dye inks blend nicely, especially on blending-friendly cardstock.
Drying time and smudge factor
On porous cardstock (most standard white card bases and panels), dye ink typically dries quickly. On smoother or coated surfaces (glossy cardstock, photo paper, vellum), dye ink can stay wet longer and may smear.
My rule: If the paper feels slick, test on a scrap first and give it extra drying time.
Blending notes
Dye inks blend best when you use a light hand and build color gradually. They can sometimes look a bit streaky on very smooth cardstock if you rush it, but on dedicated blending cardstock they can look buttery and seamless.
When dye ink is not the best choice
- Very dark cardstock: Dye ink is usually too transparent to show well.
- Heat embossing: Because it dries quickly, embossing powder may not stick long enough unless you work fast or use a sticky embossing ink instead.
- Water techniques: Many dye inks are water-reactive and can bleed, which is sometimes fun and sometimes a tragedy depending on your plan.
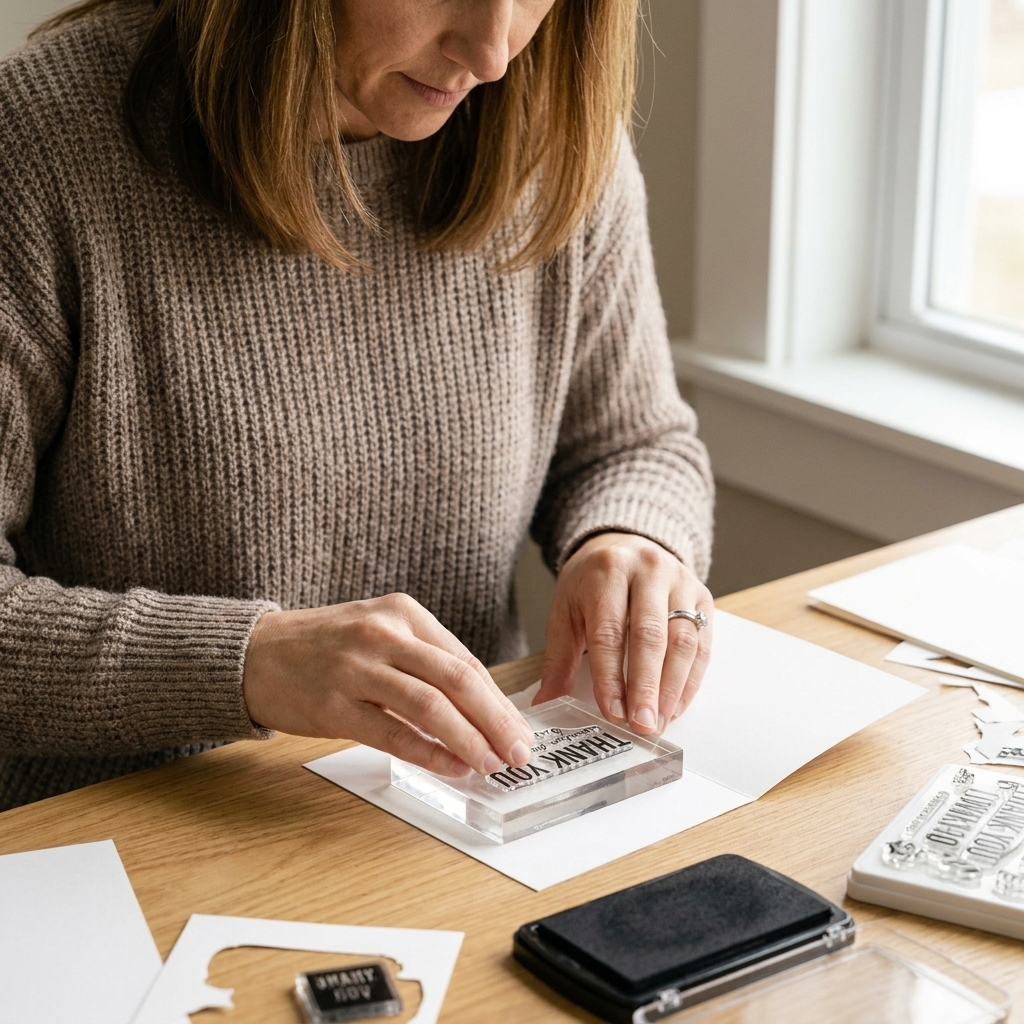
Pigment ink: the bold, opaque beauty
Pigment ink uses pigment particles suspended in a binder or vehicle. Instead of soaking in quickly, it tends to sit more on top of the paper. That is why you get richer, more opaque coverage, especially on colored cardstock. It can feel like the “lipstick” of the ink world: creamy, saturated, and a little higher maintenance.
What pigment ink does best
- Opacity: Fantastic on kraft, black, and other dark cardstocks.
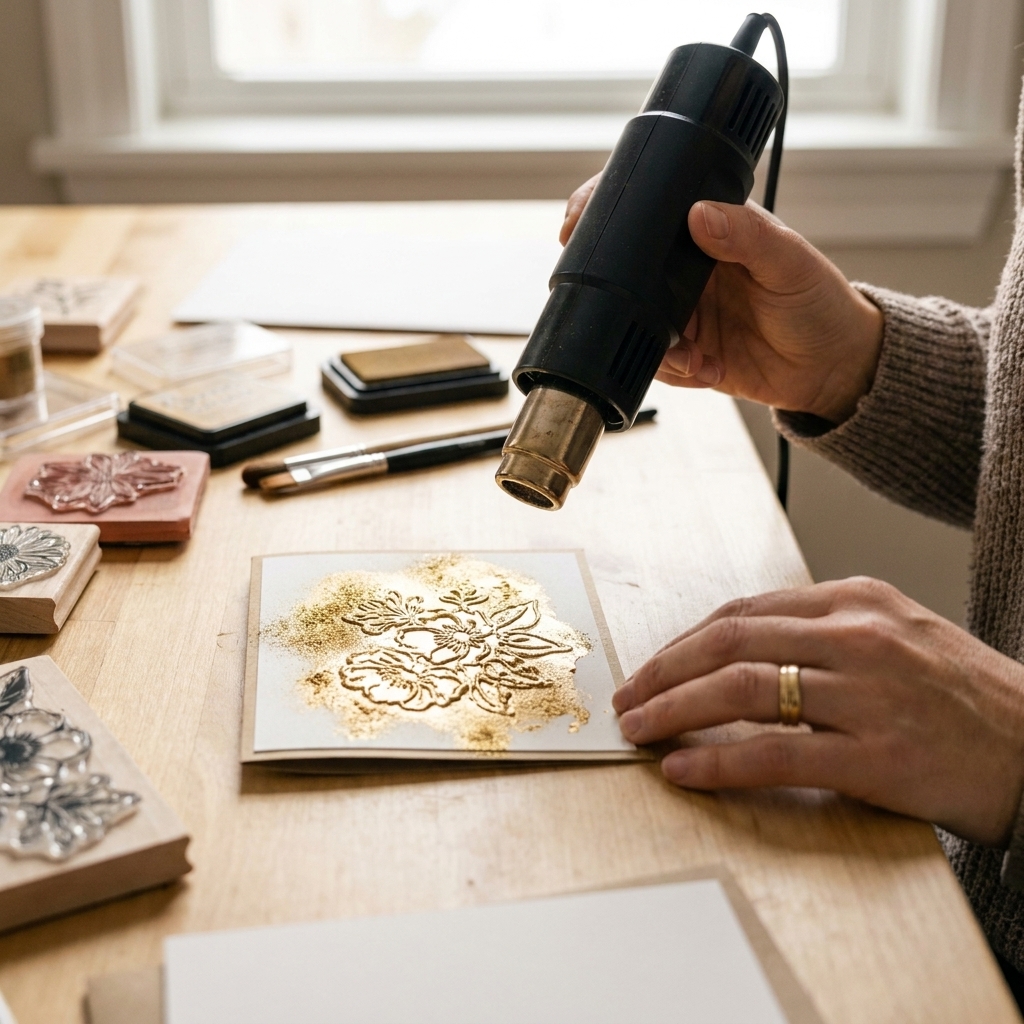
- Heat embossing: Pigment ink stays wet longer, so embossing powder has time to grab.
- Softer stamped look: It can have a slightly velvety edge that feels artsy and vintage.
Drying time and staying power
Pigment ink is slower drying than dye ink. On some papers it can take several minutes to become smudge-proof, and on slick surfaces it may need heat setting.
Helpful habit: If I stamp with pigment ink, I place the panel aside and work on die-cutting or trimming while it dries. It saves so much frustration.
Blending notes
Pigment ink is not usually the first pick for ink blending backgrounds. It can blend, but it is more likely to look patchy unless you are using tools and paper that really cooperate. Where pigment shines is direct-to-paper techniques, edge inking, and bold stamped imagery.
Best use cases for cards
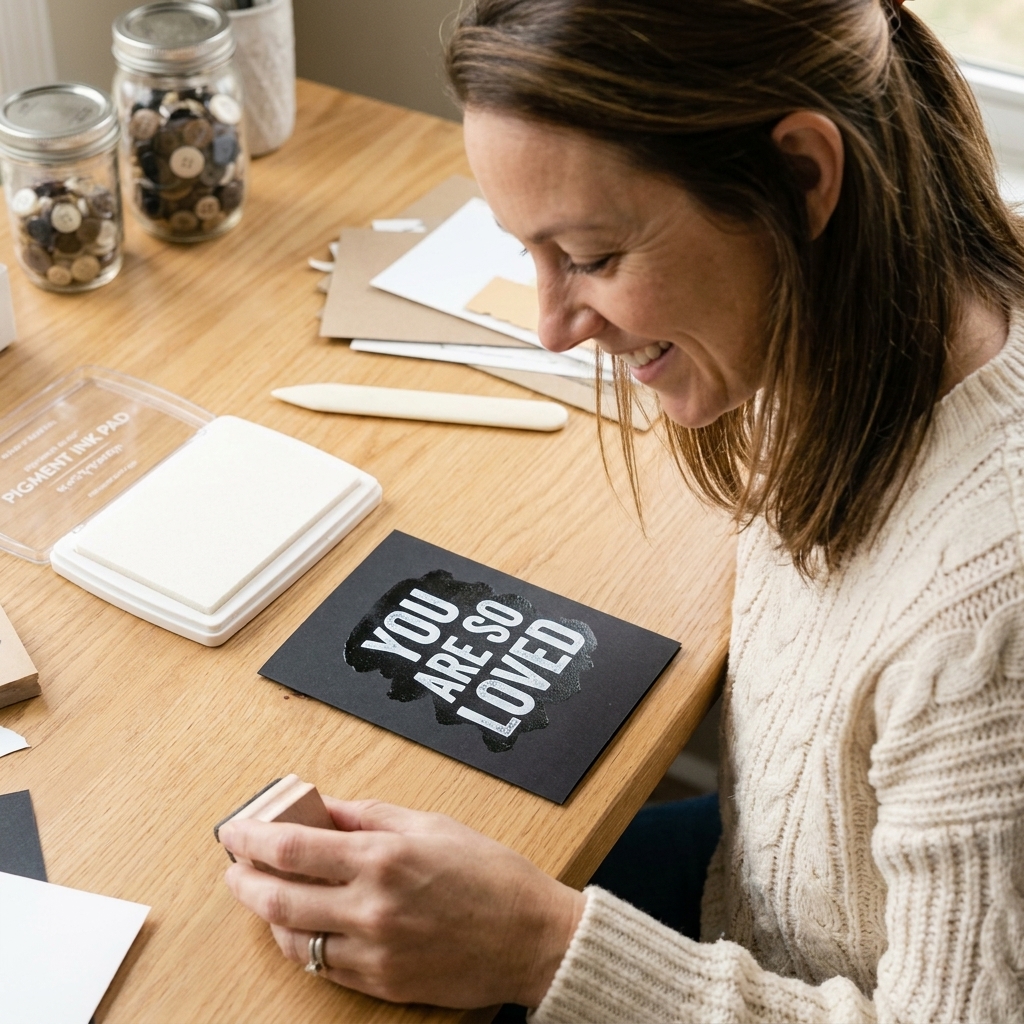
- White sentiment on a black card base
- Heat embossed details (especially with metallic powders)
- Stamps that you want to look rich and saturated
Oxide ink: the blender’s best friend
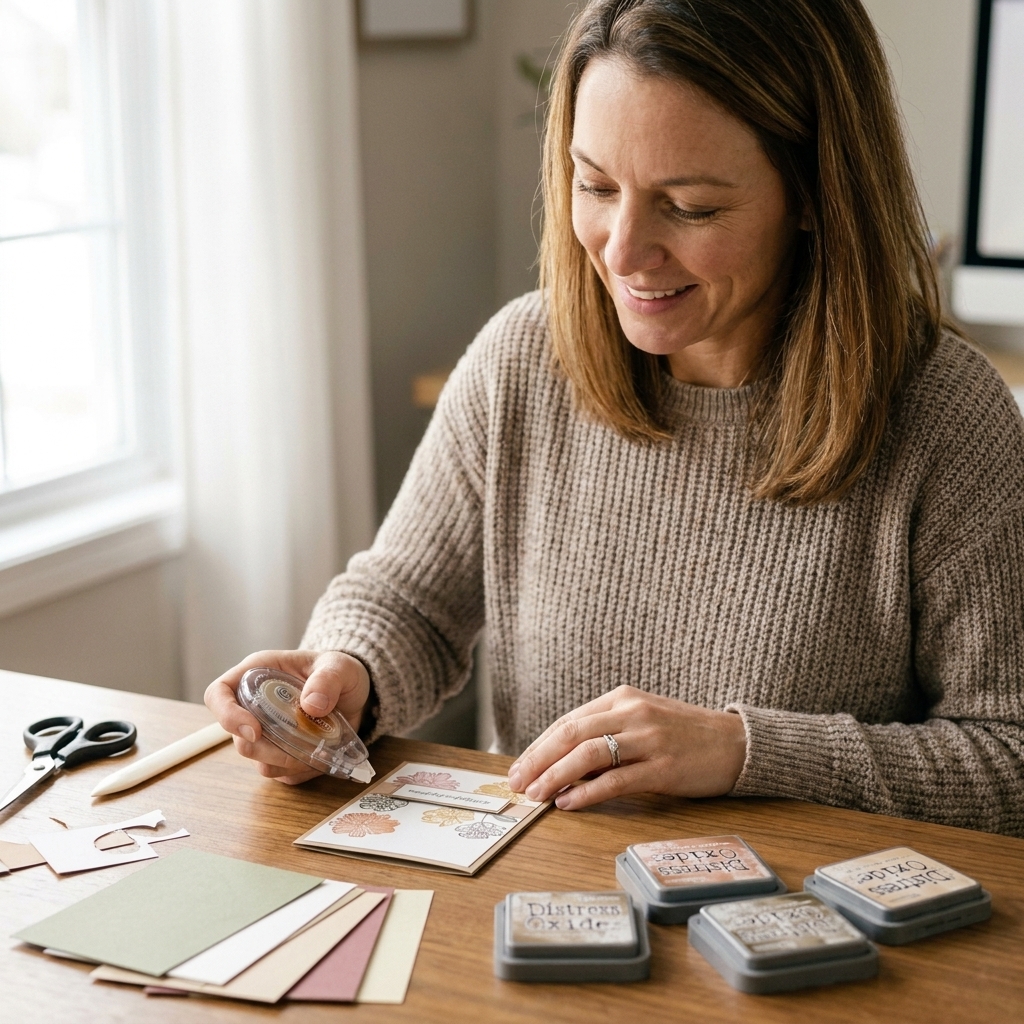
Oxide inks are best known as a dye-and-pigment style blend of ink, popularized by pads like Ranger Distress Oxide. In other words, “oxide” is more of a product category than a universal, standardized ink family across every brand. If dye ink is sweet tea and pigment is lipstick, oxide is like… a latte with foam. Smooth, a little creamy, and it loves a mist of water.
What “oxidized” looks like
When water hits oxide ink, it often lifts and lightens parts of the color, creating soft, chalky, speckled highlights. That mottled contrast is the whole charm.
What oxide ink does best
- Dreamy blending: Oxides are famous for blending easily, even for beginners.
- Layering: They build depth without needing heavy pressure.
- Water reactions: Spritzing creates artsy, chalky highlights with minimal effort.
Drying time
Oxide inks generally dry slower than classic dye inks. Dry time is also very brand-, color-, and paper-dependent. Some shades stay reactive or a bit tacky longer than you expect, especially on smoother cardstock, so give them a beat (or heat set) before you touch the panel.
Blending notes
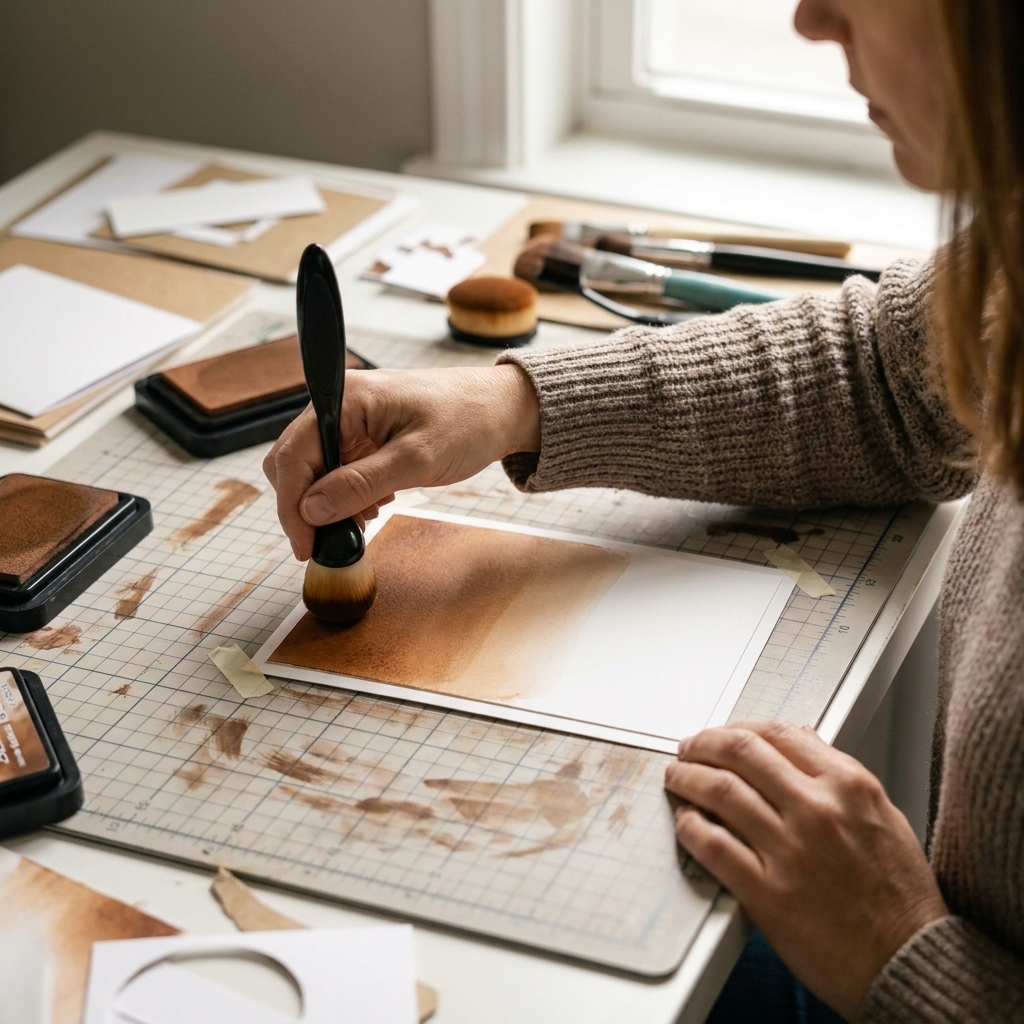
If your goal is a smooth gradient sky, a soft rainbow, or a moody fall background, oxide inks are wonderfully forgiving. They tend to look slightly chalky or muted compared to bright dye inks, which can be exactly what you want for a modern card look.
Where oxide ink can surprise you
- Stamped sentiments: They can stamp beautifully, but if you crave razor-sharp tiny lettering, a crisp dye ink is often better.
- Watercolor paper: Oxides look gorgeous on textured paper, but the texture can break up stamped images. Use it intentionally for a rustic effect.
Drying times: what to expect
Drying time is the sneaky detail that affects everything from stamping sentiments last to layering die-cuts without fingerprints.
- Dye ink: Usually the fastest on porous cardstock. Can smear on coated or slick surfaces.
- Pigment ink: Usually the slowest. Often needs extra time or heat setting, especially for detailed images.
- Oxide ink: Often middle of the road, leaning slower than dye. Expect some variation by brand, paper, and color.
My go-to anti-smudge tricks
- Stamp first, then blend if you are using a crisp dye ink sentiment.
- Blend first, then stamp if you are heat embossing or using pigment ink for the sentiment.
- Use a heat tool to set pigment and oxide ink when you need to move on quickly. Keep the heat moving so you do not warp the panel.
- Hold the paper by the edges like it is a tiny pizza slice. Fingerprints are real, friends.
Blending comparison
If blending is your love language, here is how these inks usually stack up for smooth results on card fronts:
- Easiest: Oxide inks. They are beginner-friendly and layer beautifully.
- Very good: Dye inks. Bright, smooth, and fast, but can show streaks if you use too much pressure or the wrong paper.
- Trickiest: Pigment inks. They can work, but they are not typically designed for big blended backgrounds.
Paper matters more than people think: A blending-friendly cardstock can make “hard” blending feel easy. A rough, absorbent cardstock can make even the fanciest ink look blotchy. If your blends frustrate you, try switching paper before you switch inks.
Best use cases for handmade cards
Sentiments and greeting stamps
Best pick: Dye ink for crisp lines. If you are stamping tiny text, a good dye ink is usually the sharpest.
Also great: Pigment ink if you want to heat emboss, or if you are stamping on dark cardstock.
Stamped images you plan to color
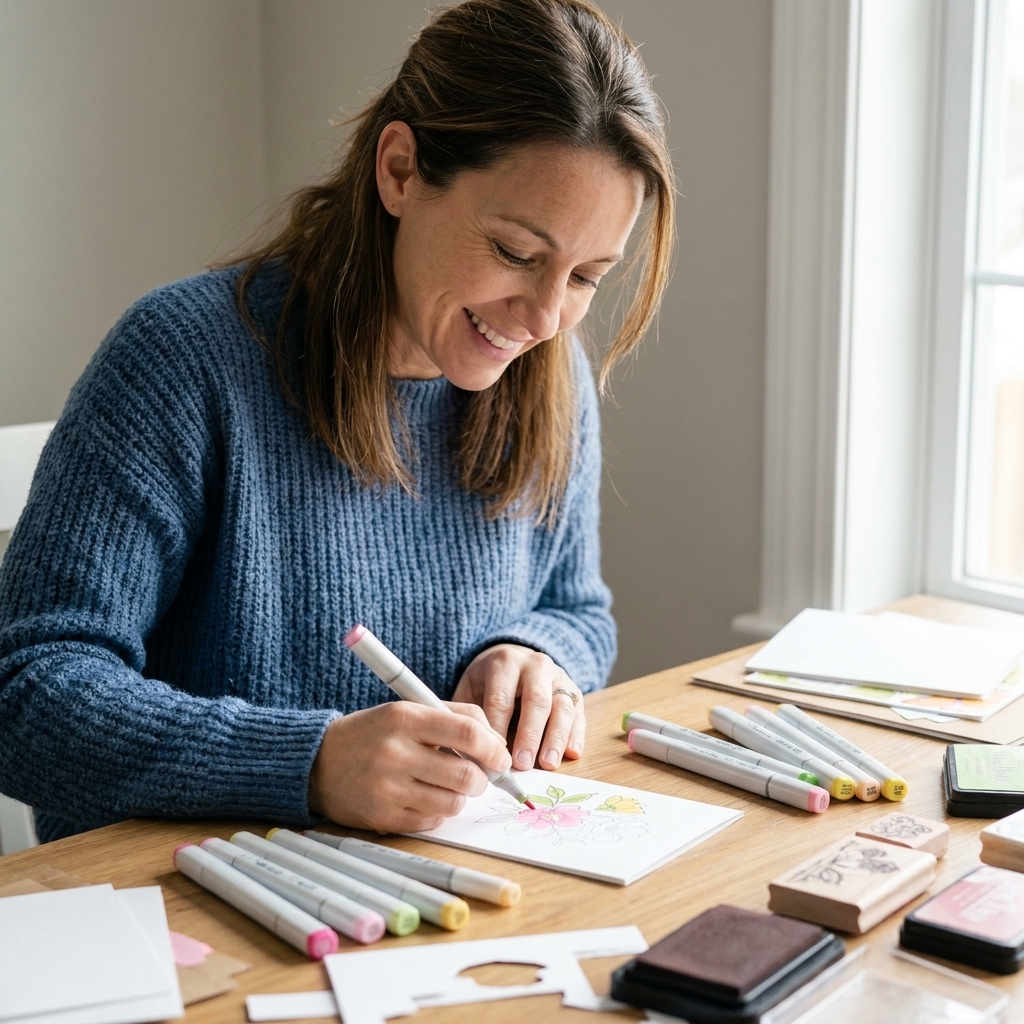
Best pick: Use an ink that matches your coloring medium. For alcohol markers, many card makers reach for a marker-safe stamp ink (often labeled “alcohol marker friendly”) so outlines do not bleed or feather. Some dye inks work, but not all do.
For watercolor looks: A water-resistant outline ink is your friend if you want crisp lines, while dye ink can intentionally react with water for a softer, artsy effect.
Ink blended backgrounds
Best pick: Oxide inks for effortless gradients and layers. Dye inks are a close second if you want brighter color and faster dry time.
Dark cardstock and bold contrast
Best pick: Pigment ink, especially white or metallic pigment inks. It is hard to beat that pop on black.
Heat embossing
Best pick: Pigment ink or a dedicated embossing ink. Oxide can work in a pinch, but pigment gives you a longer open time for powder to stick.
How to choose the best ink
I know the real question is: “If I only buy one type, what should it be?” Here is the honest, budget-friendly way I would build an ink collection.
If you mostly stamp sentiments and simple images
Start with a reliable dye ink in black and a few basics. You will reach for it constantly.
If you love blended backgrounds and artsy techniques
Start with a few oxide inks in colors you will actually use. Neutral bundles (grays, browns, blues) get a lot of mileage.
If you make lots of elegant cards or love dark cardstock
Add at least one white pigment ink and a slow-drying pigment ink that embosses well. It opens up so many classy design options.
A little crafting truth from my desk: you do not need every ink in every color. You need the inks that match how you like to make cards.
Paper and surface tips
Ink behavior changes drastically depending on what you stamp on.
- Smooth white cardstock: Great for crisp sentiments with dye ink. Also nice for oxide blending.
- Blending cardstock: Designed to keep inks workable longer for smoother blends, especially with oxide and dye inks.
- Textured cardstock: Lovely for backgrounds and big stamps, but tiny details can look broken.
- Vellum and glossy surfaces: Most inks take longer to dry. Expect smearing unless you heat set or use a product designed for slick surfaces.
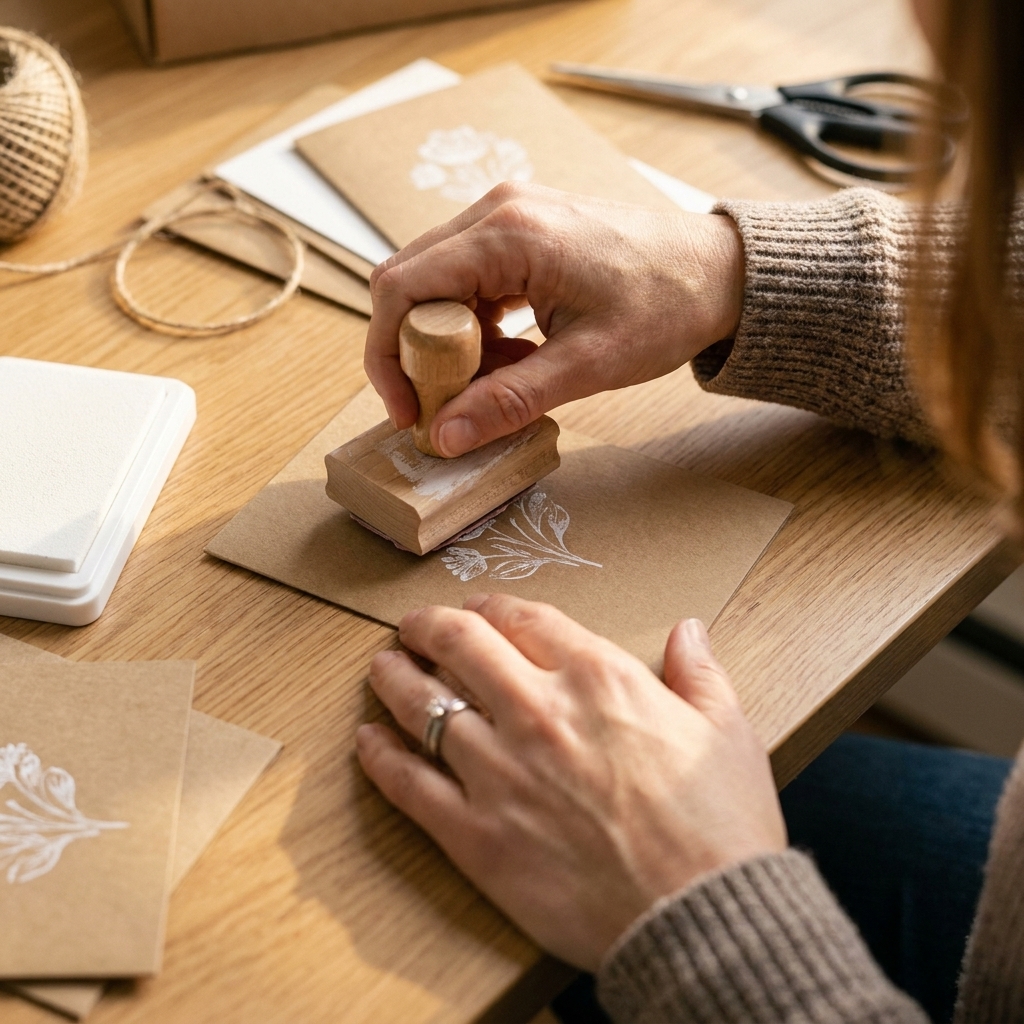
- Kraft and dark cardstock: Pigment ink shines here. Dye ink often disappears or looks muted.
Waterproof, fading, and stamp cleanup
Waterproof vs. water-reactive
If you plan to watercolor, paint splatter, or even add a heavy mist for a galaxy background, check whether your ink is water-resistant or water-reactive. Dye inks and oxides are often chosen specifically because they move with water. Many pigment inks resist water once fully dry and heat set, but always test because formulas vary.
Permanence and fading
Not all inks are created equal when it comes to long-term durability. Some dye inks can fade faster in bright light, while some pigment inks are considered more archival. If you are making keepsake cards, memory projects, or anything you want to last, look for terms like “archival,” “fade-resistant,” or “permanent” on your specific ink line, and do a quick test on scraps.
Stamp staining and cleaning
Pigment inks and oxides can stain clear stamps. It usually does not affect performance, but it can surprise you the first time. Clean stamps sooner rather than later with a stamp cleaner or gentle soap and water, and avoid harsh scrubbing that can cloud photopolymer.
Troubleshooting common ink headaches
“My stamped sentiment smears every time.”
- Give pigment or oxide ink more dry time or heat set gently.
- Try a faster dye ink for sentiments.
- Make sure your cardstock is not coated or overly smooth.
“My blends look patchy.”
- Use lighter pressure and build color slowly.
- Switch to blending cardstock.
- Try oxide inks for an easier learning curve.
“My ink pad seems dry, but it is new.”
- Pigment and oxide pads can feel different than juicy dye pads. Tap lightly instead of mashing.
- Store pads flat and keep lids sealed tight.
- If needed, re-ink with the matching refill.
“My embossing powder is not sticking.”
- Work faster with dye ink, or use pigment or embossing ink.
- Use an anti-static tool first to reduce stray powder, then stamp and emboss immediately.
FAQ
Can I heat emboss with dye ink?
You can sometimes emboss with dye ink if you stamp and cover with powder immediately, but it is not the most reliable. Pigment ink or a dedicated embossing ink is usually less stressful.
Do oxide inks replace dye inks?
Not completely. Oxides are amazing for blending and water techniques, but dye inks often win for super crisp sentiments and bright, clean stamping.
Which ink is best for beginners?
If your goal is everyday stamping, start with a good black dye ink. If your goal is blending backgrounds, start with a few oxide inks. Most card makers end up loving a mix.
What is the most important thing to test?
Your ink on your paper. The same ink can behave differently on different cardstocks, especially when you add blending, water, or heat.
My simple recommendation
If you want a well-rounded setup without buying the entire ink aisle, here is a sweet little trio that covers most card-making situations:
- One crisp black dye ink for everyday sentiments
- Three to six oxide inks in your favorite palette for blending
- One white pigment ink for dark cardstock and embossing
And remember, there is no “wrong” choice. Ink is one of those supplies you learn by playing. Make a few test strips, label them, and tuck them in your ink drawer. Future-you will feel so proud.