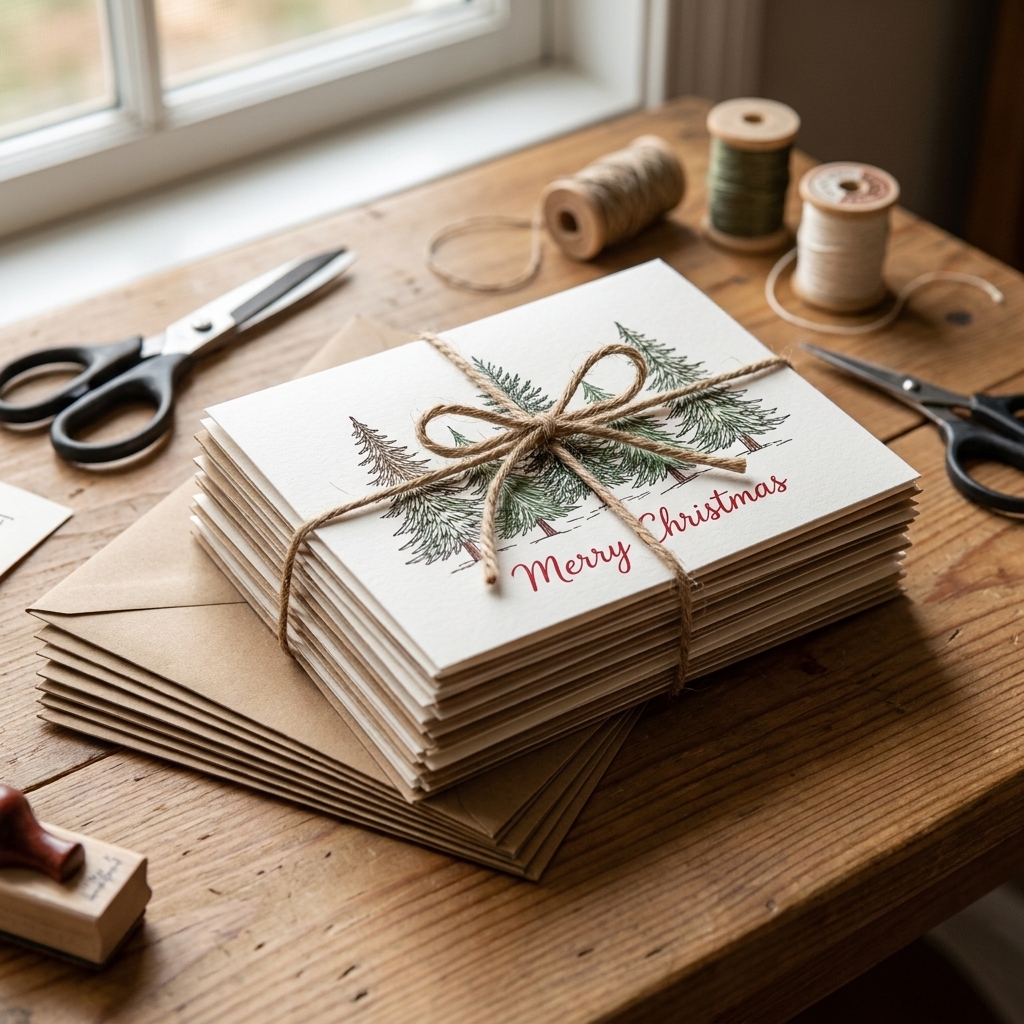
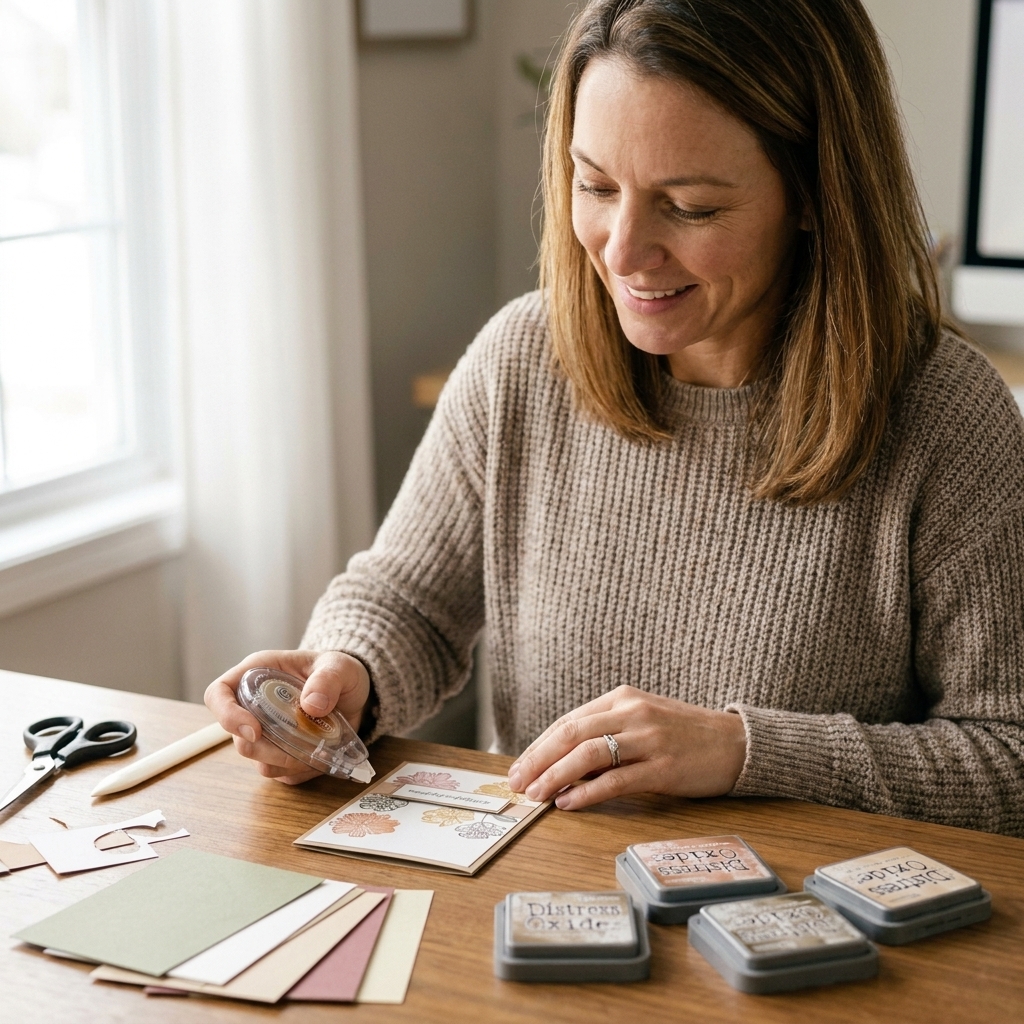
If you have ever found yourself in mid-December surrounded by glitter, half-stamped sentiments, and 37 envelopes you still need to address, you are in very good company. Mass producing holiday cards does not mean making something boring or rushed. It just means setting up a workflow that lets you repeat the steps that matter, skip the steps that do not, and keep your crafty energy for the fun parts.
This is the exact “kitchen table assembly line” approach I use when I need a stack of holiday cards that still feel handmade, warm, and personal. (And yes, Christmas cards absolutely count.)
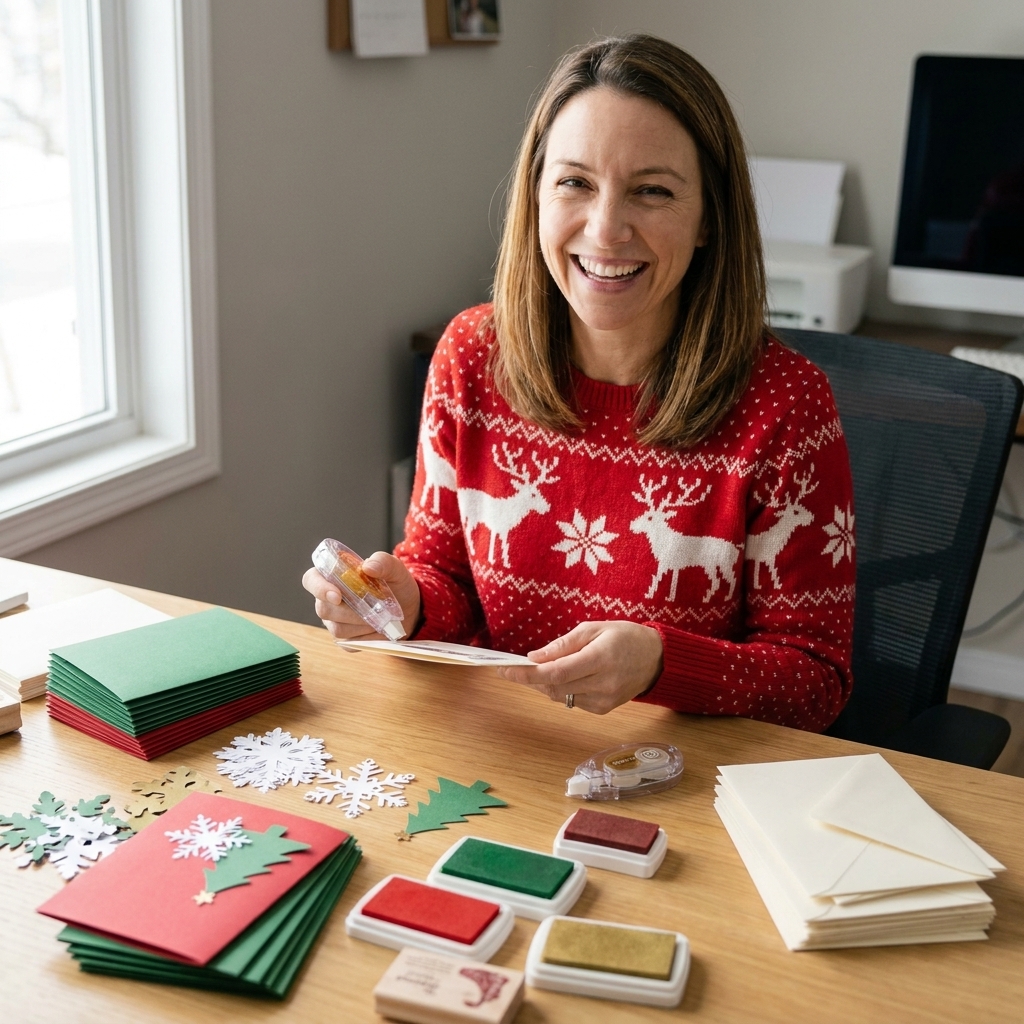
Pick one design
The biggest time-saver is choosing a card design that looks special but repeats easily. You are aiming for high impact, low decision fatigue.
My favorite repeatable formulas
- One focal element + one sentiment: a stamped wreath, a die-cut snowflake, a simple tree, or a single ornament.
- Two-layer layout: card base + one panel (patterned paper or cardstock) + sentiment strip.
- Stamping that can be imperfect: tone-on-tone backgrounds, speckled snow stamps, or scattered stars. Small variations look charming, not wrong.
Set friendly limits
- Stick to 2 to 3 colors plus one neutral.
- Pick one main adhesive (tape runner or liquid glue) and only pull alternatives if needed.
- Decide your card quantity and add 2 extras for oops moments.
Set up your space
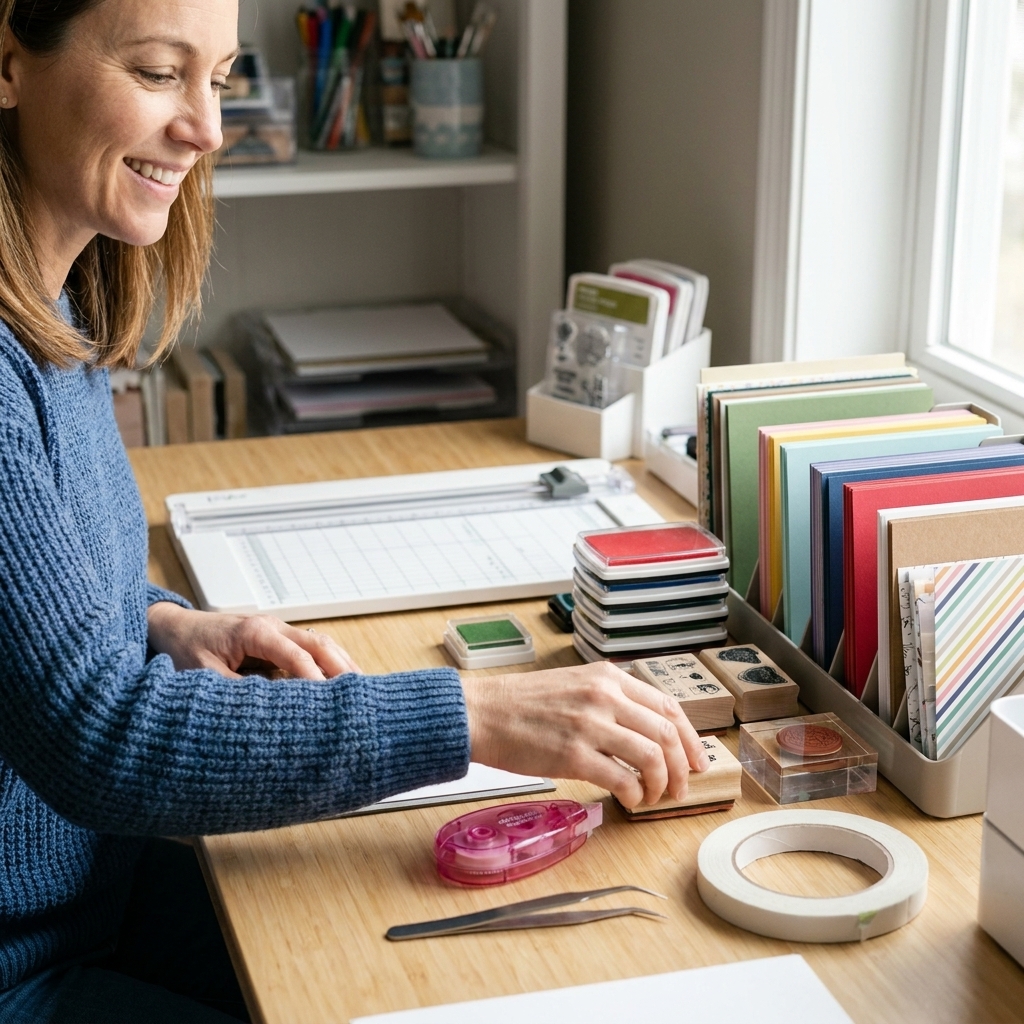
You do not need a massive craft room to work efficiently. You just need clear zones so your hands stop hunting for tools every five minutes.
Use three zones
- Cutting zone: paper trimmer, dies, die-cut machine, scoring board.
- Messy zone: ink, stamps, blending brushes, embossing powder, baby wipes.
- Assembly zone: adhesive, foam tape, tweezers, finished card drying area.
My “grab tray” essentials
Put these in a small bin or shallow tray so you can lift the whole setup on and off the table:
- Tape runner and foam adhesive
- Liquid glue with a fine tip
- Micro scissors
- Tweezers
- Bone folder
- Black ink pad (or your main sentiment ink)
- Lint-free cloth or microfiber for quick cleanup
The full workflow
Here is the workflow that keeps you moving. The goal is to do each step for the whole stack before you move on to the next step.
Step 1: Cut all cardstock first
- Cut and score all card bases.
- Cut all panels and mats (patterned paper layers, background panels, borders).
- Cut all sentiment strips to size, even if you have not stamped them yet.
Chloe tip: That is me, and yes, I label everything. Use a small sticky note on each stack that says what it is, like “A2 panels 4 x 5.25” or “sentiment strips.” It is tiny, but it prevents mix-ups when you come back tomorrow.
Step 2: Make focal pieces
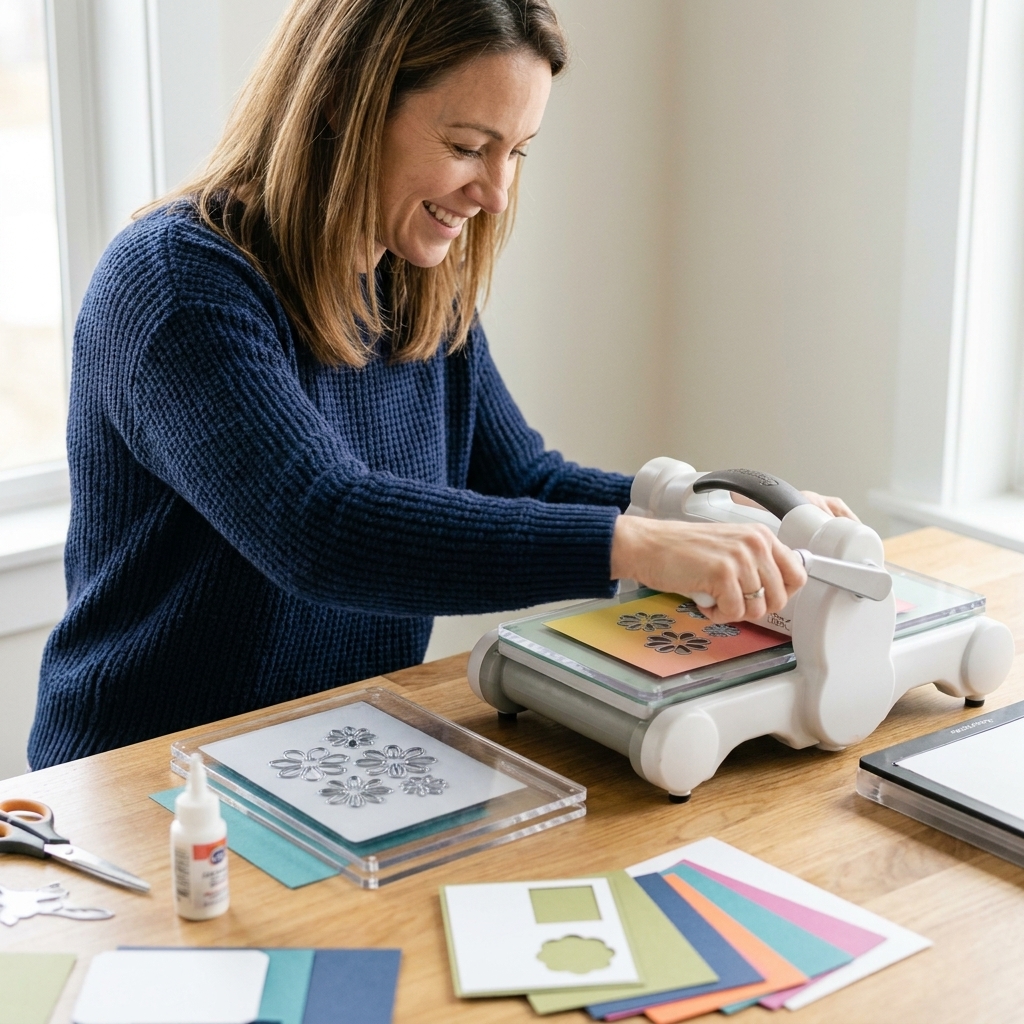
Die-cutting is a classic time trap because it feels quick but adds up when you switch plates, hunt for dies, and pick paper each time.
- Die-cut all main shapes (trees, ornaments, snowflakes).
- Die-cut all shadows or layers if your design uses them.
- Do any embossing or specialty cutting now.
Step 3: Stamp in order
Stamping is where making multiples can get messy, so I like to keep it calm and consistent.
- Stamp all backgrounds first (if you are doing them).
- Stamp all focal images next.
- Stamp sentiments last.
If you use multiple sentiment options, stamp them on one full sheet of cardstock and slice them into strips after they dry. That way your stamp stays in place and your spacing stays consistent.
Step 4: Color and embellish later
Coloring is fun, but it is also the easiest way to lose momentum. Try doing it in a dedicated session.
- Color all images at once (markers, watercolor, pencils).
- Add glitter, gems, or enamel dots as a final step, not mid-assembly.
Step 5: Dry-fit one card
This is the five-minute step that saves you from the “why is my sentiment crooked on every single card?” moment.
- Lay out one complete card.
- Confirm spacing, layers, and where you want dimension.
- Then use that card as your visual reference.
Step 6: Glue in the same order
Pick a glue order and repeat it like a little rhythm. Example:
- Panel onto card base
- Main focal element
- Sentiment strip
- Small embellishments
When you repeat the same order, your hands stop thinking and start doing.
Cutting shortcuts
Use a cutting list
Before you cut anything, write a quick list like this:
- 20 card bases: 8.5 x 5.5 scored at 4.25
- 20 panels: 4 x 5.25
- 20 mats: 4.125 x 5.375 (optional)
- 40 sentiment strips: 0.75 x 3
It feels almost too simple, but it prevents over-cutting and helps you see if the design is truly repeatable.
Cut in small stacks
Many trimmers do great with 2 sheets of 80 lb cardstock, and some can handle 3 depending on the trimmer and blade sharpness. If your blade drags, go thinner. You will save time by avoiding fuzzy edges and re-cuts.
Pre-score when you want cozy
Scoring is a great “hands busy, brain relaxed” task. I will happily score 30 bases while a holiday movie plays in the background.
Stress-free stamping
Choose the right setup
- Stamp positioner: best for crisp sentiments and re-stamping if the first impression is light.
- Acrylic blocks: fastest for one-step images where a little variation is cute.
Keep ink consistent
- Re-ink your pad before you begin if it is even slightly dry.
- Stamp a quick test on scrap at the start, and again halfway through.
- Wipe stamps often, especially with pigment inks.
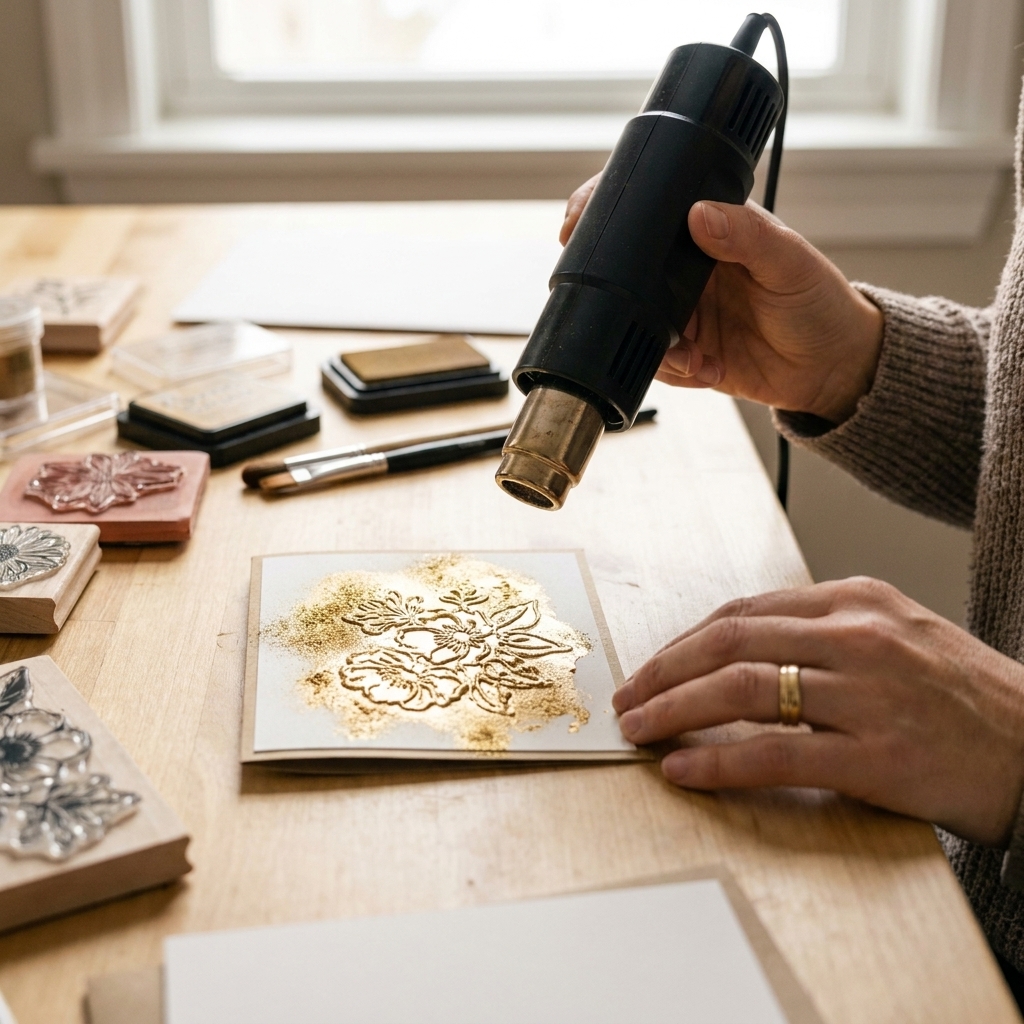
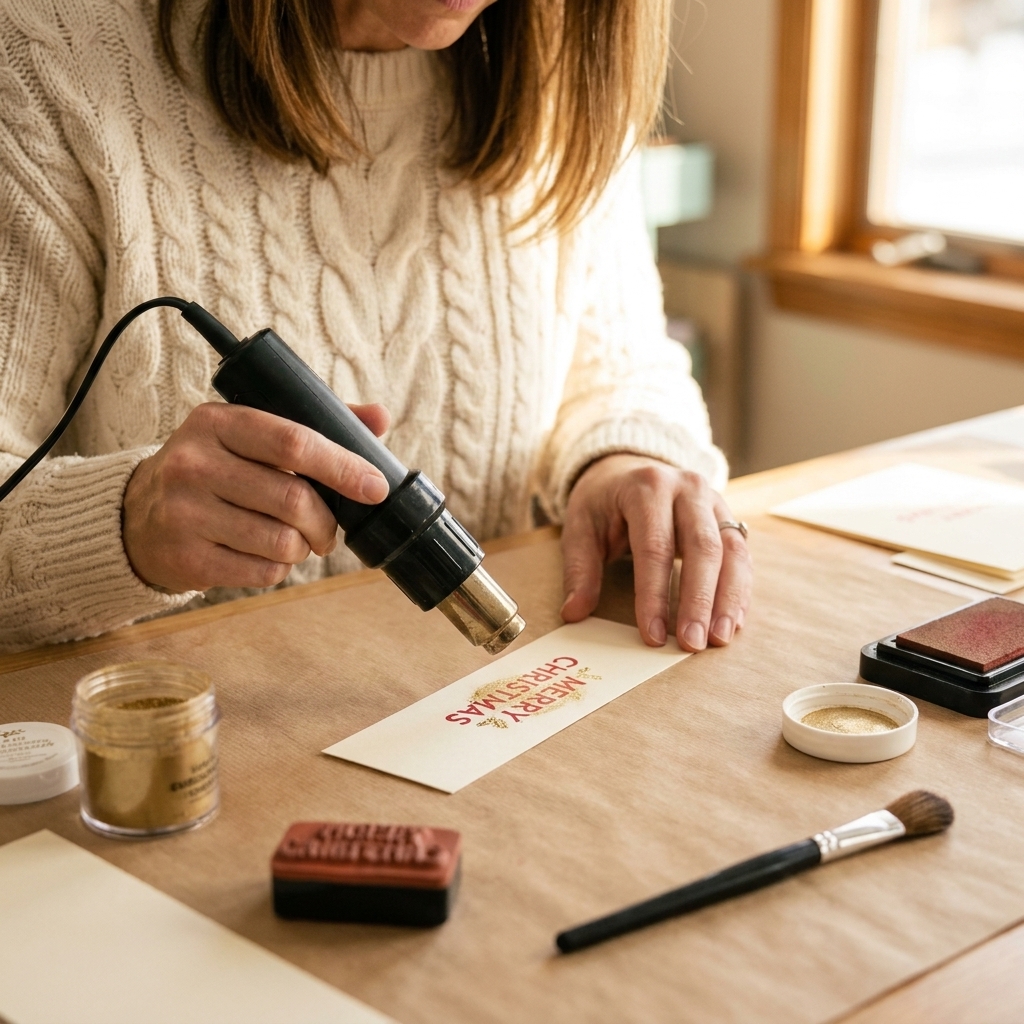
Heat embossing in waves
Embossing looks fancy but can be fast if you do it in small waves:
- Stamp 5 to 8 sentiments with embossing ink.
- Cover with powder and tap off.
- Heat set all of them.
- Repeat.
This keeps powder from sitting too long, and it stops you from overheating one piece while you fuss with the next.
Adhesives that go fast
If you want speed, adhesive decisions matter. A lot.
My quick guide
- Tape runner: fastest for panels and flat layers.
- Liquid glue: best for tiny die-cuts and anything intricate. Use sparingly and give it a few seconds to get tacky.
- Foam tape or foam squares: use for one focal layer only. Dimension is lovely, but too much slows you down.
Avoid adhesive disasters
- Keep a scrap of cardstock nearby to “park” your tape runner when it gets stringy.
- If you use liquid glue, place finished cards under a book for a few minutes, or until they feel set, while you assemble the next few.
- Wash your hands or use a lint-free cloth when you start seeing fingerprints on dark cardstock.
Keep pieces together
Little die-cuts have a magical ability to vanish. Give them a home.
Simple systems
- One tray per design: a baking sheet or cafeteria tray is perfect.
- Small bowls for embellishments: gems, sequins, enamel dots, and die-cut centers.
- Envelopes as bins: label an envelope “snowflakes” or “sentiments” and slide pieces inside.
When you stop losing pieces, you stop re-making pieces. That is where the time really gets saved.
Quick quality checks
Making a lot of cards does not mean accepting messy results. You just want a quick checkpoint system.
My 10-card check
Every time I finish 10 cards, I do a quick scan:
- Are sentiments straight?
- Are embellishments secure?
- Any smudges that need a white eraser or sand eraser?
- Are the cards opening and closing cleanly?
Catching one small problem early can save you from redoing 30 cards later.
Envelopes and mailing
Do not leave envelopes to the very end when you are tired. Fold them into the process.
My go-to order
- Choose envelopes early and make sure your card fits with embellishments.
- Address envelopes in batches. I do 10 at a time.
- Stamp or decorate the envelope flap last so you do not smudge the address.
- Weigh one finished card in its envelope if you have bulky layers, then buy postage once.
Chloe tip: If your cards are dimensional, ask your post office about hand-canceling. It can help protect popped-up elements, but it is not a guarantee, so sturdy packaging choices still matter.
One postal reality check
Chunky embellishments, bows, and extra-thick layers can trigger a nonmachinable surcharge or different handling depending on your postal service. If you are adding dimension, take one finished card to the counter and ask what postage it needs before you stamp the whole stack.
Personal touches
If “handmade and personal” is the goal, this is where you can add warmth without slowing down.
- Write one real sentence: even a simple “Hope you have a peaceful New Year” feels more personal than a signature alone.
- Sign in a dedicated session: I like to line up all the cards and sign them while something cozy plays in the background.
- Add a small consistent detail: a tiny heart, a star, a little doodle, or one extra enamel dot near the sentiment can become your signature for the year.
- Include a short printed note: if you send family updates, print a small insert once and tuck it into every envelope.
Timeline for 25 cards
Everyone crafts at a different pace, but here is a realistic breakdown that works for many cardmakers when the design is repeatable:
- Design and supply pull: 30 to 60 minutes
- Cutting and scoring: 45 to 90 minutes
- Die-cutting: 45 to 90 minutes
- Stamping sentiments and images: 30 to 75 minutes
- Assembly: 60 to 120 minutes
- Envelopes and addressing: 30 to 60 minutes
Split it across two or three evenings, and it feels genuinely enjoyable instead of frantic.
Troubleshooting
My sentiments are uneven
- Use a stamp positioner and stamp twice.
- Slow down your pressure and press straight down, not at an angle.
- Try a firmer surface under your paper, like a stamping mat.
Die-cuts are taking forever
- Reduce layers. One detailed die-cut plus a simple shape behind it is often enough.
- Cut all the same shapes at once before switching dies.
- Use wax paper between layers for sticky intricate dies.
My cards are warping
- Use less liquid glue, or switch to tape for large panels.
- Let wet media dry completely before attaching to the base.
- Press finished cards under a book for a few minutes if needed.
I am bored making the same card
- Keep the layout the same, but change one small thing: sentiment, gem color, or patterned paper.
- Make mini sets of 5, then switch to a second colorway.
Simple supply list
If you want a starting point, this is the kind of supply bundle that supports a clean, efficient holiday stack:
- Cardstock for bases (white, cream, kraft, or a holiday color)
- One coordinating patterned paper pad
- One stamp set with multiple holiday sentiments
- One focal die or stamp (tree, wreath, snowflake, ornament)
- Ink: black or dark brown plus one accent color
- Adhesive: tape runner, foam squares, fine-tip liquid glue
- Embellishment: one gem mix or one glitter paper accent
FAQ
How many cards should I make at once?
Stack size depends on your table space and attention span. I love working in groups of 10 to 20 for cutting and stamping, then assembling all at once. If you are new to this, start with 10 and see how it feels.
Is it faster to stamp first or cut first?
For most designs, cut first. When your pieces are already sized, stamping stays aligned with the finished layout and you are not trying to squeeze a sentiment onto a strip that is suddenly too short.
What is the fastest card style that still looks special?
A layered panel with a single focal die-cut and a heat-embossed sentiment looks high-end but repeats quickly. Add one gem or a tiny bow and call it done.
How do I keep cards feeling handmade if they match?
Let small variations happen. A slightly different placement of an enamel dot, a mix of patterned papers within the same color palette, or a tiny pop of glitter makes each card feel personal while the workflow stays efficient.
Wrap-up
If you take nothing else from this workflow, take this: repeat the boring parts, savor the creative parts. Cut everything, stamp everything, assemble everything. Your future self will thank you when you are sealing envelopes with a cup of something warm instead of panic-gluing snowflakes at midnight.
And if you want, jot down your steps after you finish this year. Next year you will have your own tried-and-true “holiday card recipe,” and that is when making a big stack starts to feel like a cozy tradition instead of a deadline.