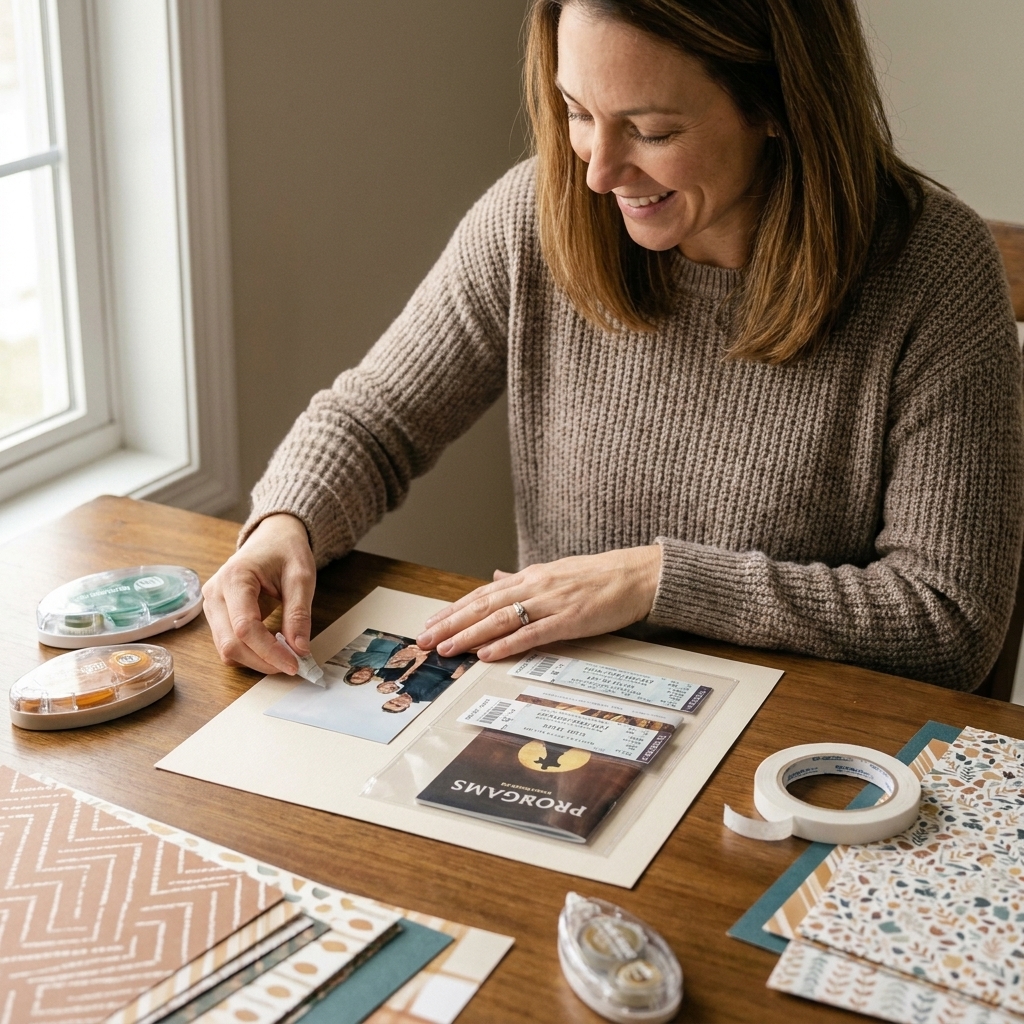
If you have ever watched a perfectly placed photo slowly slide down your layout like it is headed for a dramatic exit, welcome. Adhesives are the quiet heroes of scrapbooking, and picking the right one makes the difference between a page that stays crisp for years and a page that turns into a bumpy, curling mystery.
I have tested a truly embarrassing number of tapes, glues, dots, and foam squares over the years at my craft table, usually while muttering, “Why is this not sticking?” or “Why is this sticking to everything except my cardstock?” So today we are breaking it all down in plain English, with a focus on photo safety, archival friendliness, and real-life paper crafting situations.
And hi, I’m Chloe. When you see a “Chloe tip,” it’s something I do on my own pages after learning the hard way.

What “photo-safe” and “archival” mean
When you are scrapbooking, you are not just gluing paper. You are preserving memories. That is why you will see terms like photo-safe, acid-free, and lignin-free on packaging.
- Acid-free: Helps reduce yellowing and brittleness over time. Acidic materials can contribute to discoloration and breakdown as years pass.
- Lignin-free: Lignin is a natural component in wood pulp that can break down and yellow as it ages. You will most often see this on papers and cardstock, not adhesives.
- Photo-safe: Generally indicates the adhesive is formulated to be safe for photos. For keepsake layouts, look for acid-free and photo-safe claims from reputable craft brands.
My best rule: If an adhesive does not clearly state acid-free or photo-safe and you are using it on printed photos you love, skip it. Save mystery glue for quick classroom crafts, not your wedding album.
Quick cheat sheet
| Task | Best adhesive type | Why it works |
|---|---|---|
| Mounting photos | Tape runner or double-sided tape | Even coverage, minimal moisture, less warping |
| Heavy embellishments (chipboard, metal, layered clusters) | Strong liquid glue or heavy-duty double-sided tape | Grabs texture and weight better than light tapes |
| Vellum accents | Vellum-friendly adhesive dots, thin tape hidden behind layers | Minimizes show-through and staining |
| Die cuts and tiny pieces | Precision-tip liquid glue or micro dots | Control in small areas |
| Interactive elements (flaps, pockets) | High-tack liner tape (red-line style) | Holds seams and stress points |
| Dimension | Foam squares or foam tape | Lift, shadows, and sturdy support |
Tape runners and double-sided tape
If I could only keep one adhesive category for scrapbooking, it would be tape. Tape is clean, quick, and usually the least dramatic when it comes to paper warping.
Tape runners
Tape runners are those handheld dispensers that roll adhesive onto your paper. They are ideal for:
- Photo mats
- Patterned paper panels
- Journaling cards
- Everyday “get this page finished” assembly
What to look for: a permanent, acid-free runner with consistent coverage. Some runners lay down a dotted pattern, some lay down a solid line. Dotted patterns are often lighter hold or repositionable, but it really depends on whether the runner is labeled permanent vs repositionable.
Chloe tip: Burnish after you stick. A quick rub with a bone folder or even the side of a marker barrel helps the adhesive make better contact and reduces lifting at the edges.
Double-sided tape (including high-tack options)
Double-sided tape comes in rolls of varying widths. This is my go-to for anything that needs extra confidence, like:
- Attaching thick cardstock layers
- Building pockets
- Binding mini albums
- Securing long borders that like to peel up
Choose wider tape for heavier or larger items, and narrow tape for delicate edges and detailed pieces.
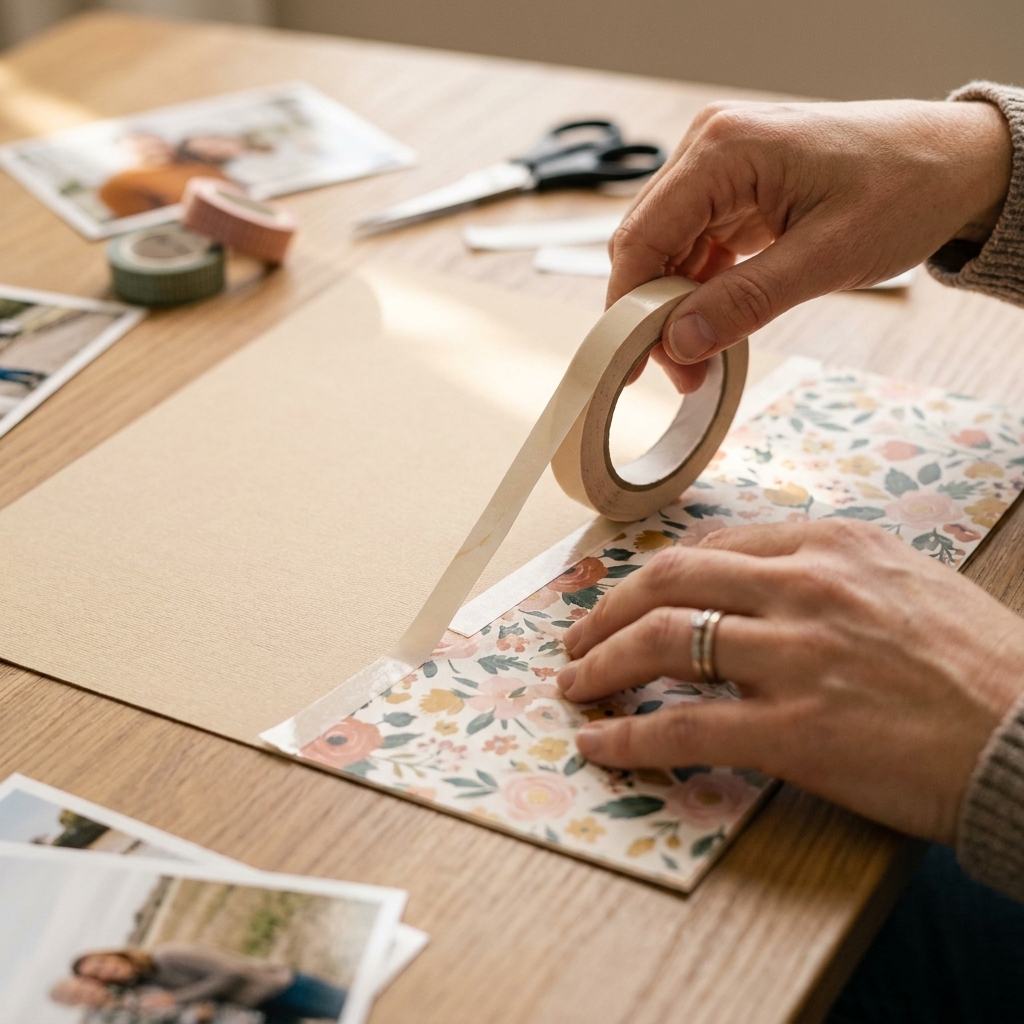
Liquid glues (with a few rules)
Liquid glue is wonderful when you need adhesive to sink into texture, grab uneven surfaces, or wiggle something into perfect alignment before it sets.
Best uses for liquid glue
- Layered die cuts
- Chipboard and wood veneer (depending on weight)
- Ribbon ends tucked behind paper
- Glitter cardstock, textured cardstock, and rough surfaces
Two common types
- Fast-grab tacky glue: thicker, strong hold, great for embellishments.
- Fine-tip craft glue: thinner, precision-friendly, great for tiny die cuts and letters.
How to avoid warping
Warping usually comes from too much moisture. Try this:
- Use tiny dots instead of a big swirl.
- Spread glue with a scrap of cardstock if you need full coverage.
- Press under a clean block or book for a minute if your paper curls easily.
Photo safety with liquid glue
Many scrapbook glues are labeled photo-safe, but I still prefer tape for mounting printed photos because it keeps the back of the photo dry. This matters even more for home inkjet prints, which can be more sensitive to moisture than lab prints. If you do use liquid glue for photos, use a thin, even layer and keep it away from edges where seepage can happen.
Glue dots and micro dots
Glue dots are those little sticky circles that come on a roll or in a dispenser. They are fantastic for “awkward” items that tapes hate.
Best uses
- Buttons (especially shank buttons)
- Twine and ribbon
- Sequin mixes and shaker bits on the outside of a page
- Small embellishments that you want to place quickly
Things to watch for
- Bulk: Glue dots can create bumps under photos or thin papers.
- Ooze and shine: Some dots can squish out if you press too hard.
Chloe tip: For skinny twine, I like to roll the twine gently over the dot instead of smashing the dot down. It keeps the dot from spreading out into a shiny halo.
Foam squares and foam tape
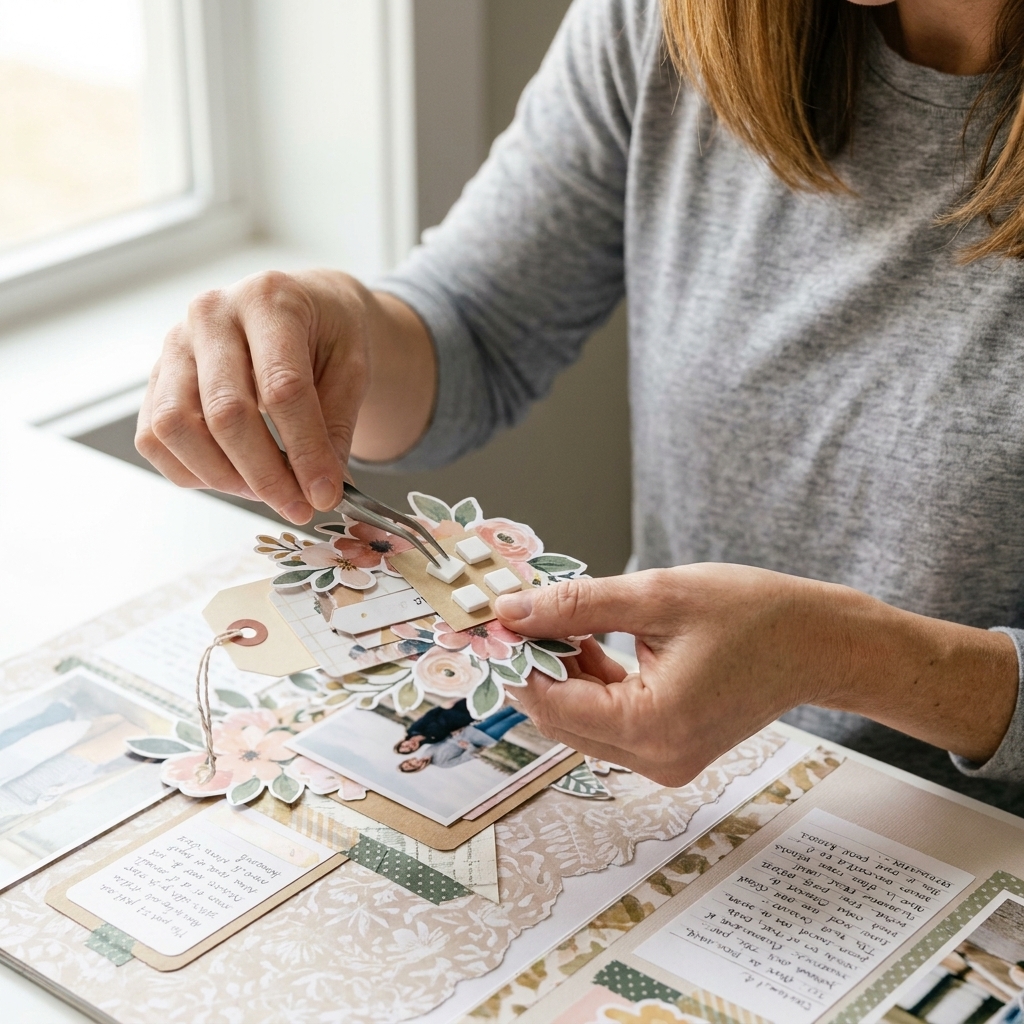
Foam adhesives are my favorite way to make a layout feel like it has little pockets of light and shadow. They are also surprisingly practical because they help support bulky clusters without relying on wet glue alone.
When foam is your best friend
- Titles you want to pop
- Layered embellishment clusters
- Chipboard pieces that need extra support
- Photos you want raised slightly above patterned paper
Foam squares vs foam tape
- Foam squares: fast and tidy, great for medium pieces.
- Foam tape: cut-to-fit, best for long sentiments, borders, and odd shapes.
Pro tip for heavy clusters
For chunky embellishments, I often use a combo: a few foam squares for height plus a small amount of strong liquid glue for grip. The foam holds the weight while the glue bites into texture.
Vellum without heartbreak
Vellum is dreamy and delicate and also very honest about your adhesive choices. Most adhesives show right through, and some glues can stain vellum with a cloudy or oily look.
Best ways to adhere vellum
- Hide tape behind something: Place thin tape behind areas covered by a photo, a label, a sentiment strip, or a layered cluster.
- Use tiny dots sparingly: Micro dots or vellum-friendly dots can work if you keep them behind printed or darker areas.
- Wrap and tuck: Wrap vellum around a cardstock layer and tape it down on the back where no one will see it.
What to avoid
- Big wet glue blobs under open vellum areas
- Cheap glue sticks that can leave ripples and later lift
- Overhandling, because fingerprints can show on vellum too
Chloe tip: If you are using vellum as a photo overlay, adhere the vellum at the corners and then cover those corners with enamel dots, tiny flowers, or a mini word strip. It looks intentional and hides the stickiness.
For heavy embellishments
Chipboard, metal charms, acrylic pieces, thick wood veneer, and layered dimensional clusters need more than a polite little tape runner.
My go-to approach
- Strong liquid glue for texture and irregular surfaces.
- High-tack double-sided tape for clean, instant hold on flat backs.
- Foam plus glue when you want dimension and strength together.
Prep matters
If something refuses to stick, it is often the surface, not you.
- Wipe acrylic and metal with a clean, dry cloth to remove skin oils.
- Make sure glitter cardstock is not shedding loose glitter where you need adhesive.
- Press firmly and give liquid glue a moment to grab before moving the page.
Common problems (quick fixes)
My tape is not sticking
- Check if your cardstock has a coating or heavy texture. Switch to liquid glue or stronger tape.
- Burnish with a bone folder after placing.
- Try placing adhesive closer to the edges for papers that curl.
My photo is buckling
- Use tape instead of liquid glue for mounting.
- Use multiple shorter strips of tape to distribute hold evenly.
- Let freshly printed photos dry fully before adhering.
Glue oozed out the side
- Let it dry, then gently rub it away with a clean fingertip or adhesive eraser.
- For wet glue, dab lightly with a dry cloth and do not smear.
Foam squares are lifting
- Make sure the paper is dust-free and not coated.
- Use more squares to support wide pieces, especially chipboard.
- Add a tiny bit of strong liquid glue alongside the foam for extra grab.
Storage and heat tips
Even the best adhesive can get fussy in extreme conditions. If you live somewhere hot or humid, or you store albums in an attic closet (no judgment), keep this in mind:
- Store finished pages and albums in a cool, dry spot away from direct sun.
- Store pages flat when possible, especially if you love dimension.
- If something keeps lifting in summer, step up to a higher-tack tape or add a tiny dot of strong liquid glue where it will not be seen.
My starter kit
If you are building your craft stash and want a simple set that covers nearly everything, this is what I recommend:
- Acid-free permanent tape runner for daily assembling and photos
- Strong double-sided tape for pockets, borders, and structure
- Precision-tip liquid glue for die cuts and detail work
- Tacky liquid glue for heavy embellishments
- Foam squares for dimension and cluster support
- Micro dots or vellum-friendly adhesive for vellum and tiny accents
Once you have those basics, you can sprinkle in specialty options based on your style, like extra-strong tapes for mini albums or adhesive sheets for intricate die cuts.
FAQ
Is a glue stick okay for scrapbooking?
For quick paper layers, a quality glue stick can work, but many are not strong enough for long-term layouts and can dry out or lift at the corners. For photos and keepsake pages, I prefer acid-free tape or a trusted liquid glue labeled photo-safe.
What is the best adhesive for photos?
A permanent, acid-free tape runner or double-sided tape is usually the best choice. It gives even hold without adding moisture that can cause photos to ripple. If you want a more reversible option for heirloom pages, photo corners are also worth a look.
How do I stick vellum without seeing adhesive?
Hide thin tape behind areas that will be covered, wrap vellum around a layer and secure it on the back, or use tiny dots behind printed or darker parts of the vellum so show-through looks intentional.
Are foam squares archival safe?
Many craft foam adhesives are labeled acid-free, but packaging varies. If you are working on heirloom layouts, check for acid-free and photo-safe language, and avoid unknown bargain foam that does not list archival info.
A final pep talk
If adhesives have made you feel a little bossed around, you are not alone. The trick is to match the adhesive to the job, and then let the adhesive do what it was designed to do. Tape for photos, glue for texture, foam for dimension, and a little stealth for vellum.
And if you ever peel something up and try again, that is not a mistake. That is just scrapbooking, my friend.