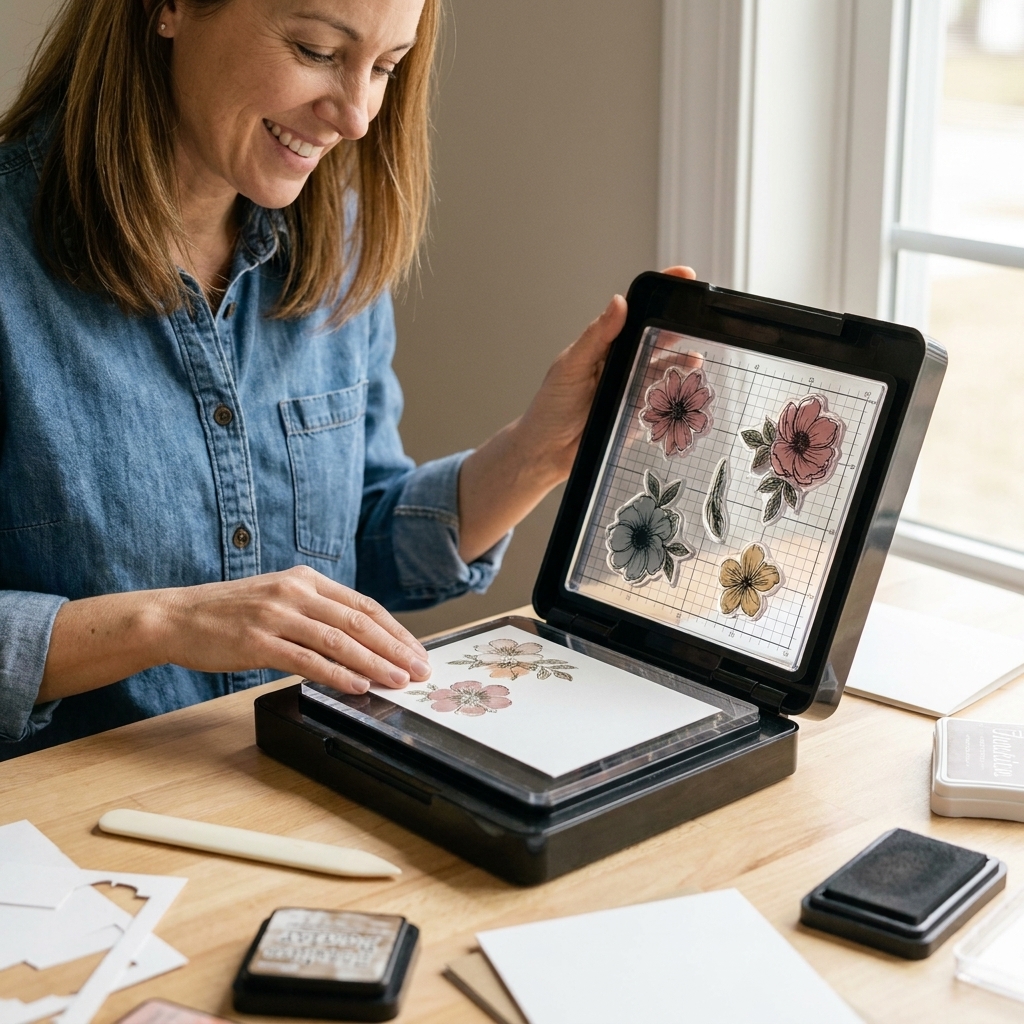
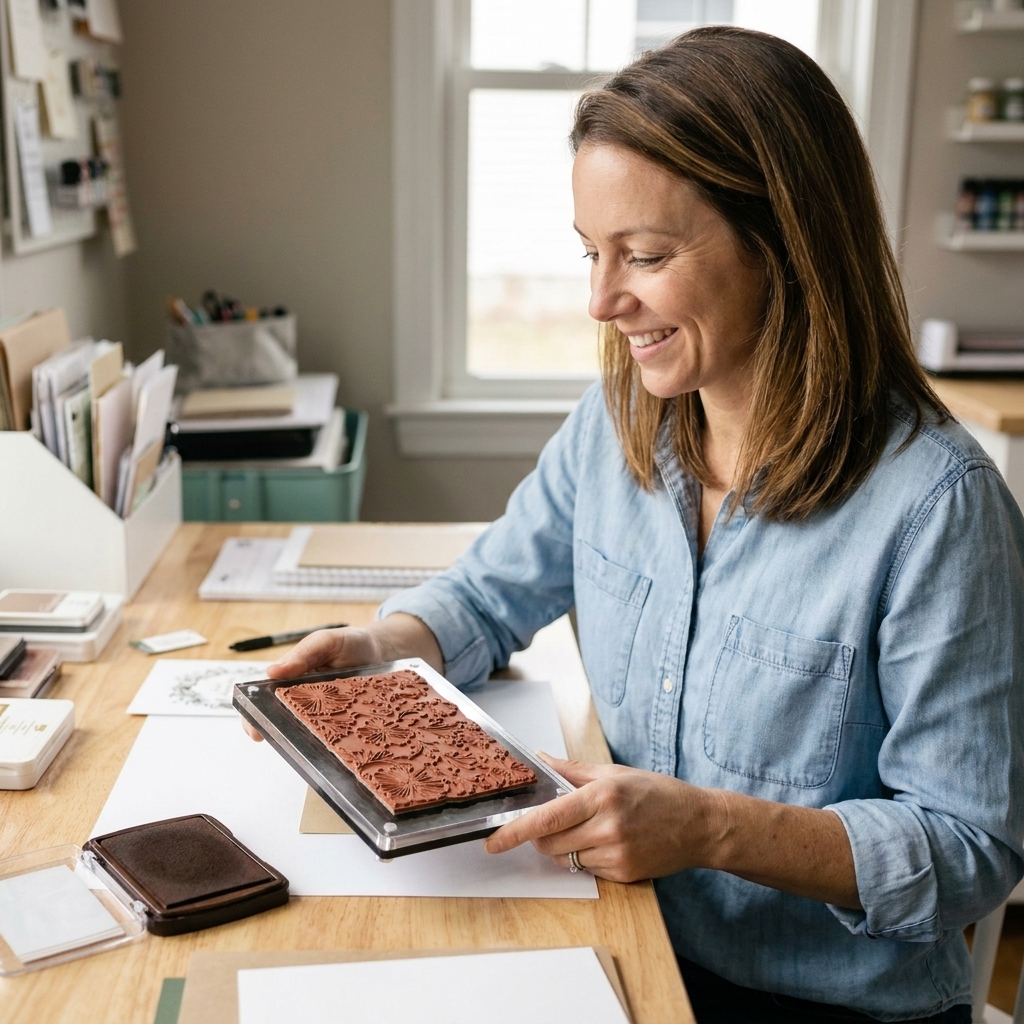
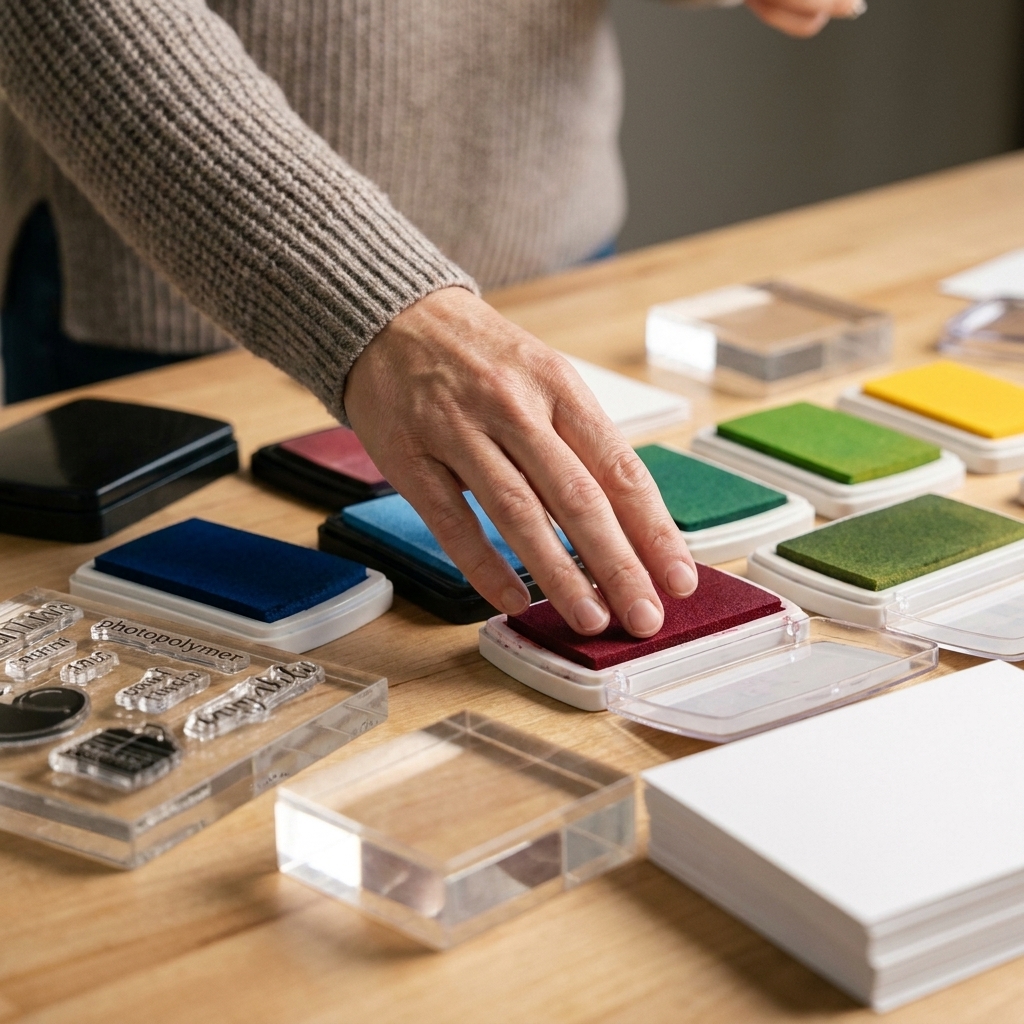
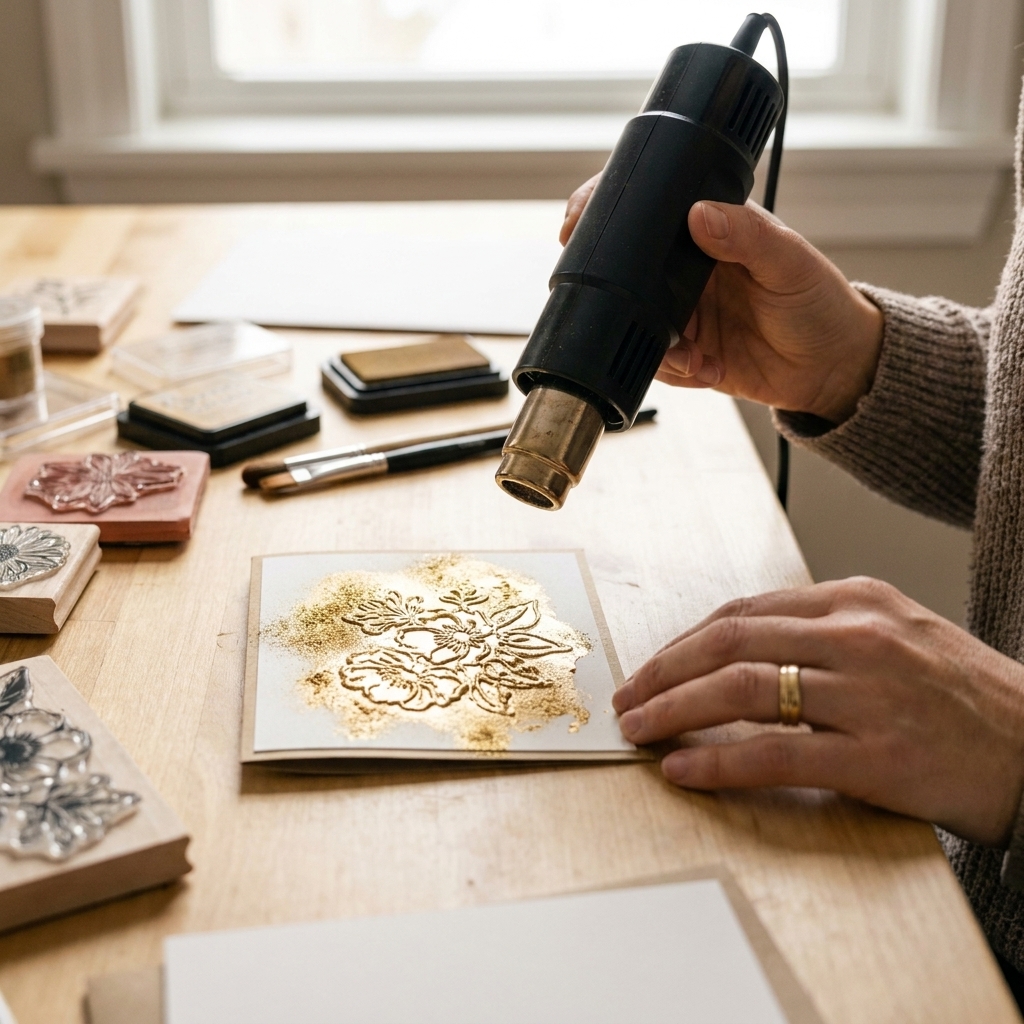
If you have a stamping platform like a MISTI, Stampwheel, or any hinged acrylic tool, you already know the obvious perk: you can stamp the same image twice for a darker impression. But the real magic happens when you treat it like a precision tool, not just a “second chance” tool.
These are my favorite advanced stamping platform techniques for leveling up your cards, scrapbook titles, and layered focal panels. Grab a cup of tea, pull up a chair, and let’s get those stamps working overtime.
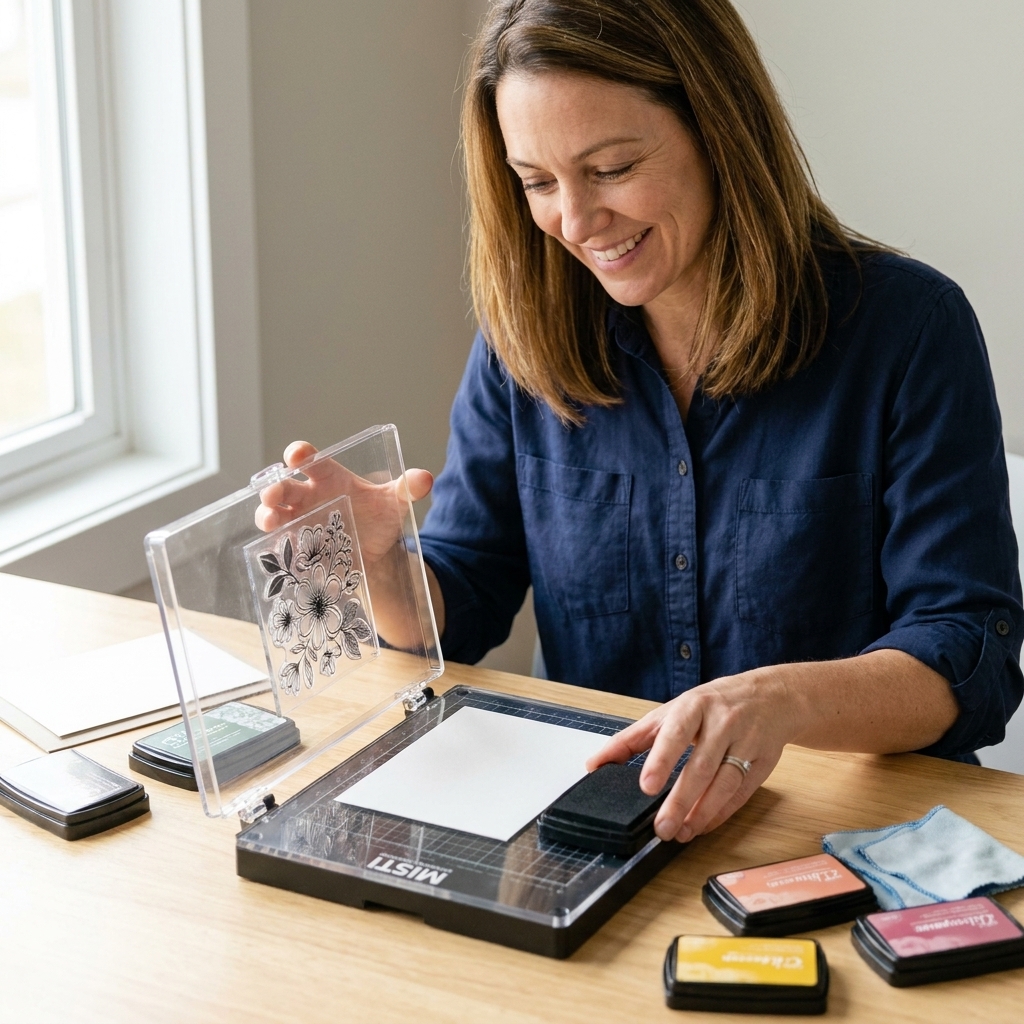
Before you start: quick setup
I learned this the hard way at my grandmother’s dining table: precision stamping is 50 percent technique and 50 percent prep. Do these three things and you will instantly get cleaner results.
- De-lint and de-static your cardstock. A quick swipe with an anti-static powder tool (or a clean dryer sheet in a pinch) helps reduce static cling that attracts embossing powder and lint.
- Use a firm, even stamping surface. If your platform allows, add the foam insert for photopolymer stamps and remove it for red rubber. That tiny height difference matters.
- Clean as you go. Mist stamp cleaner onto a cloth (not directly on the platform) to prevent sticky residue buildup around the base, hinge area, and magnets.
1) Layered stamping
Multi-step stamps can look intimidating, but a stamping platform turns them into a paint-by-number moment. The trick is using the platform as your registration system so each layer lands exactly where you want it.
How to do it
- Stamp the outline or base layer first in a light ink.
- Without moving your paper, clean the stamp and swap to the next layer stamp.
- Close the lid to pick up the layer stamp, then fine-tune the alignment before you ink. If it is slightly off, lift the lid, reposition the stamp on the lid (or on the panel), and close again until it lines up the way you want.
- Once aligned, ink and stamp. Repeat for additional layers.
Pro tips
- Start light, end dark. It hides tiny alignment quirks and adds instant dimension.
- Do a dry fit. Close the lid without ink first to confirm placement.
- If your set has tiny alignment dots, aim those first, then check the rest of the image.
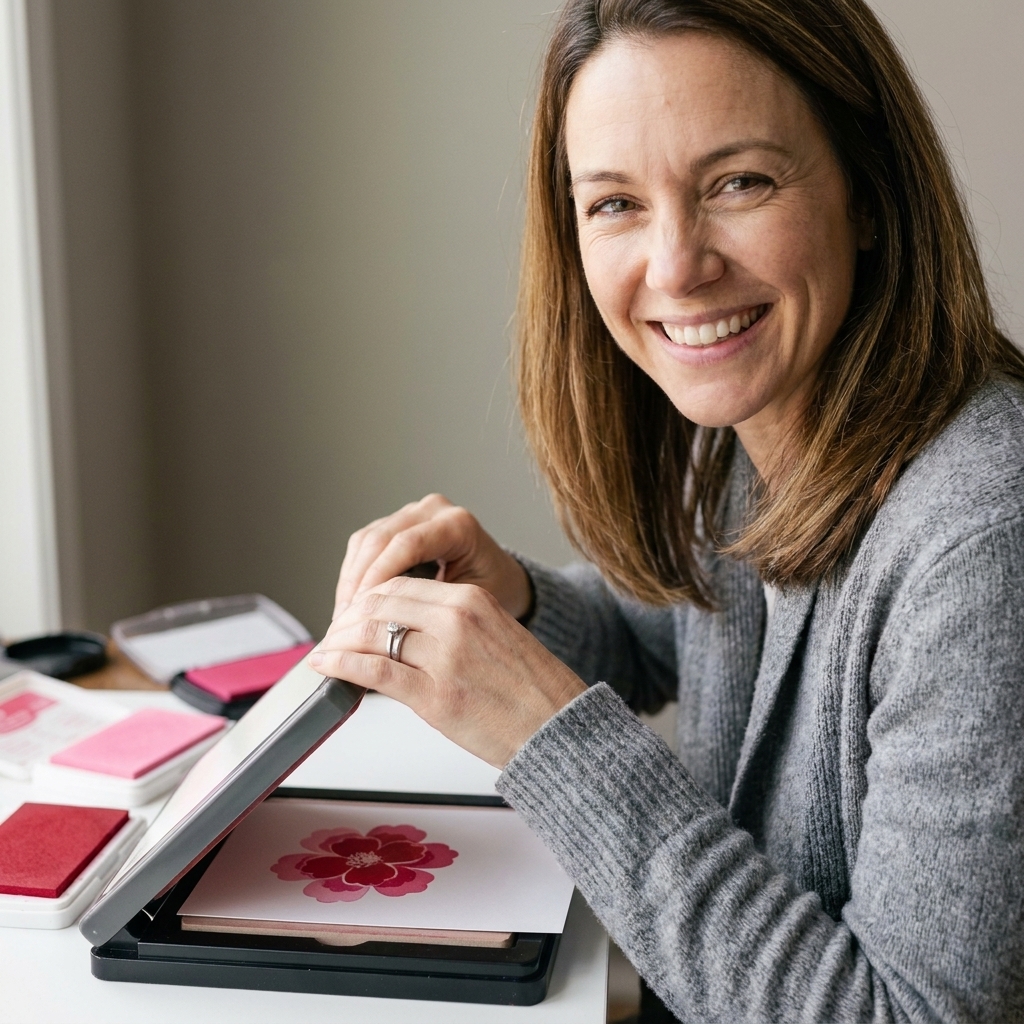
2) Hinge-step stamping
This one is a true stamping platform party trick, especially if you have a tool with stepped hinge notches (hello, MISTI). You stamp the same image multiple times in an evenly spaced line, without measuring, because the hinge positions create the spacing for you.
How to do it
- Place your cardstock in the platform and secure it with magnets.
- Position your stamp where you want the first impression and close the lid to pick it up.
- Ink and stamp at the first hinge position.
- Carefully lift the lid, then move the lid to the next hinge notch (step it down one).
- Ink and stamp again. Repeat for a third or fourth step if you want a full column.
Best uses
- Quick borders (stars, hearts, tiny florals)
- Evenly spaced words for modern scrapbook titles
- Clean “strip” backgrounds behind a sentiment
3) Repeat patterns with a grid
Want a perfectly spaced background pattern, like little hearts, stars, or a classy tone-on-tone script? Your stamping platform can act like a printing press if you give your cardstock a repeatable home base.
How to do it
- Create a paper window grid: trim a piece of scrap cardstock to fit your platform base and lightly pencil a grid, or use low-tack tape to mark intervals.
- Set up registration marks (a taped corner, pencil marks, or magnets as stops) so your panel can be moved to a new grid position and still return to the same straight alignment each time.
- Stamp one image, then move the paper to the next grid square using your marks. Keep the stamp in the same spot on the lid.
Why this works
Moving the paper within a controlled grid is often faster and more consistent than re-positioning the stamp repeatedly.
My favorite uses
- Mini icons behind a sentiment strip
- Elegant tone-on-tone wedding backgrounds
- Baby cards with evenly spaced tiny stars or dots
4) Wreath stamping
Wreaths are one of those designs that look effortless when they are done well and slightly lopsided when they are not. A stamping platform helps, but the real secret is giving yourself a repeatable rotation that does not drift.
How to do it
- Start with a square piece of cardstock (this matters). Lightly pencil a circle guide using a circle die, bowl, or compass.
- Place the square panel into the platform corner and secure it with magnets.
- Stamp your first greenery sprig at the top of the circle.
- Lift the panel, then rotate it exactly 90 degrees and place it back into the same platform corner. Stamp again. Repeat until you have four evenly placed anchor impressions.
- Now fill in gaps by rotating in smaller increments. Easiest options: use a wreath-builder template for clean 45-degree turns, or lightly pencil eight tiny tick marks around the circle so you always know where the next stop is.
- Switch to smaller filler stamps as you close gaps, then erase the pencil line once everything is dry.
Wreath sanity checklist
- Use three stamp sizes. A main leaf, a medium filler, and tiny dots or berries.
- Leave intentional breathing room. The sentiment needs a place to live.
- Stamp in odd numbers. Three larger clusters looks more natural than four perfectly matched ones.
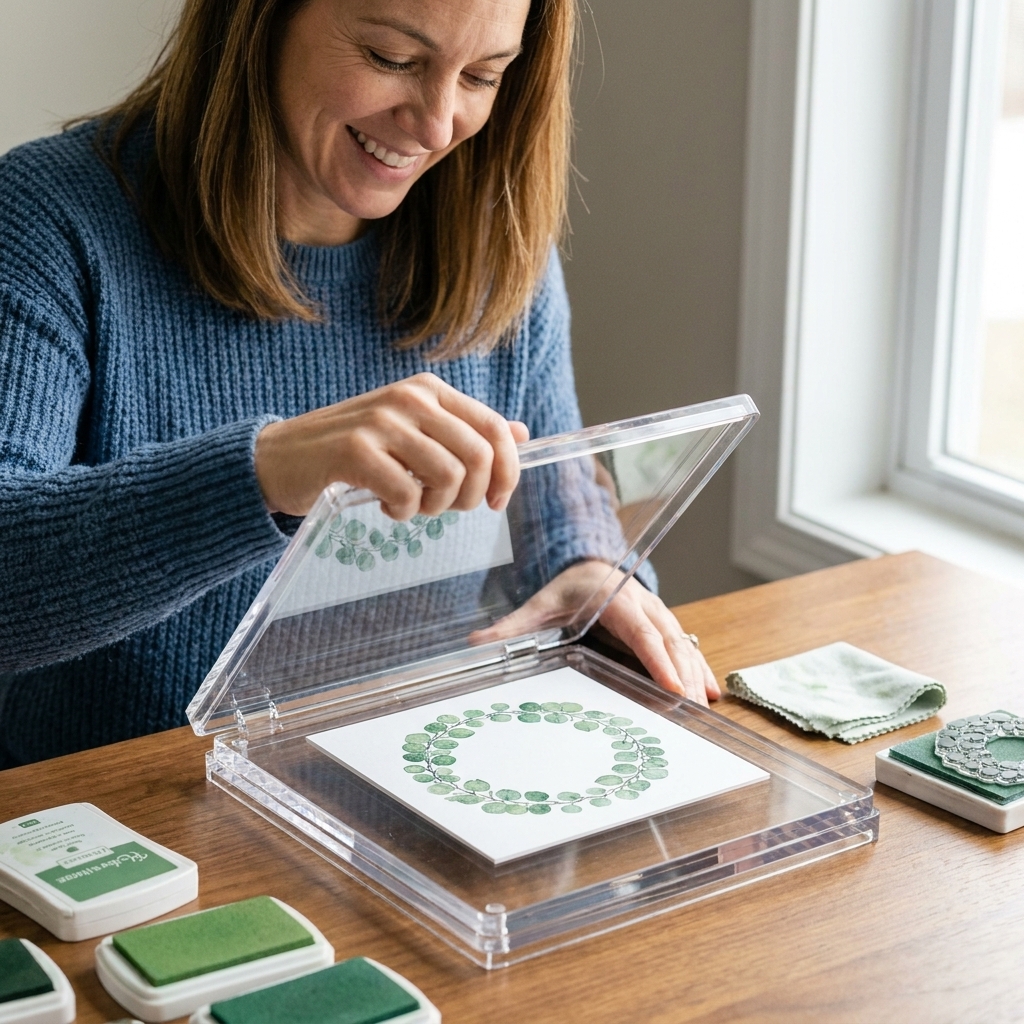
5) Mirror stamping
Need a mirrored image for a symmetrical design, like wings, stockings, or a perfectly matched floral corner? You can do it with a silicone mat or a gel press plate as your pickup surface. Think of it as a quick print-and-transfer, not a direct re-stamp.
How to do it
- Place a silicone craft mat (or another non-porous transfer surface) inside your platform base.
- Ink your stamp and stamp it onto the silicone mat.
- Without letting it fully dry, place your cardstock onto the stamped image and press evenly to pick up the mirrored print.
- Want it darker or crisper? Re-ink the stamp, stamp onto the silicone mat again, and repeat the transfer in the same spot on your cardstock.
Best inks for this
- Dye inks work nicely because they transfer cleanly.
- Pigment inks can work too, but give them more dry time and use gentle pressure to avoid smudges.
6) Masked partial stamping
Layered scenes are my weakness. Little houses tucked behind trees, flowers overlapping sentiments, a critter peeking from behind a fence. Partial stamping is how you get those overlaps without muddy edges.
How to do it
- Stamp your front image first (the one you want “closest”).
- Create a mask by stamping the same image on masking paper or a sticky note and cutting it out right on the stamped line.
- Cover the stamped image with the mask.
- Stamp the background image over it. When you remove the mask, the overlap looks perfectly intentional.
Platform hack
If you are stamping multiple background elements, keep your masked panel in the platform and work through the scene one stamp at a time. Your paper never shifts, so your layers stay tidy.
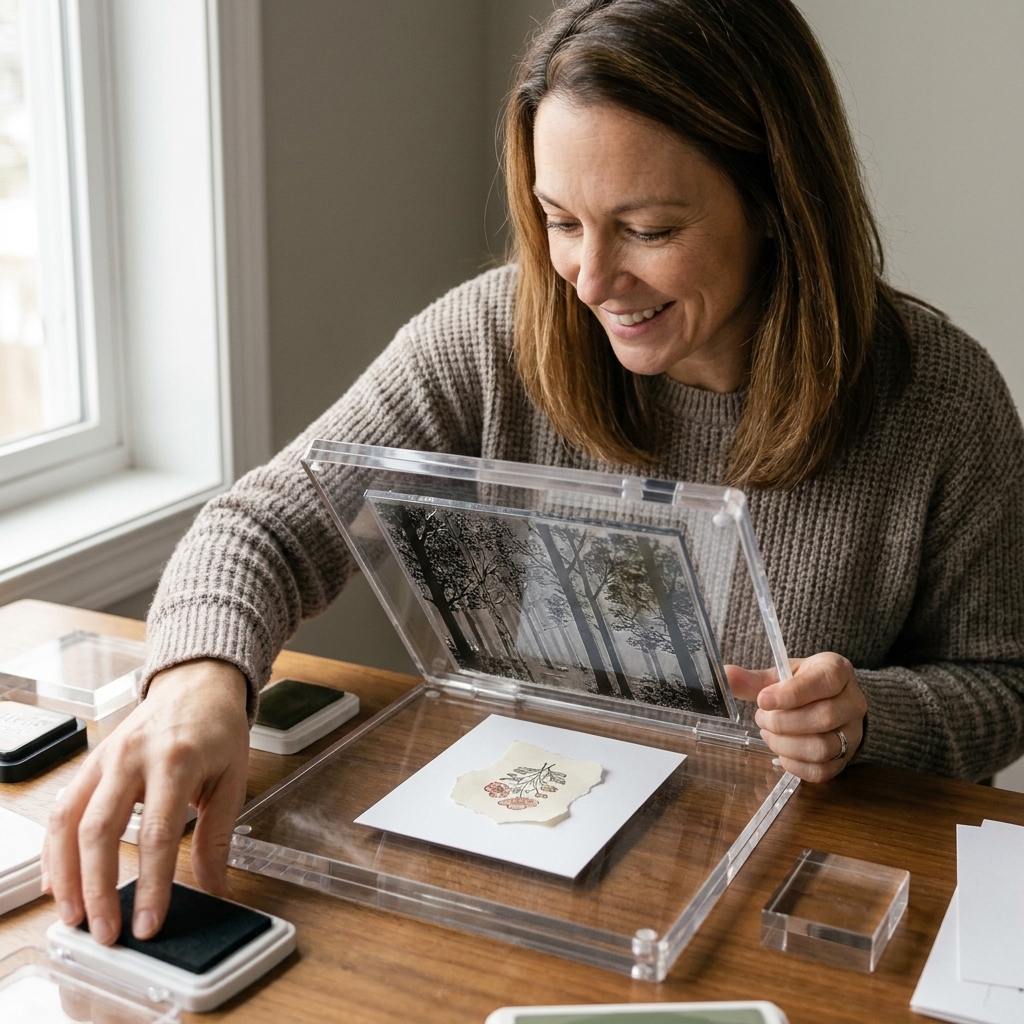
7) Two-tone inking
This is one of those techniques that makes people ask, “Wait, is that colored?” Two-tone stamping is simply inking one part of your stamp in a darker shade, then tapping a lighter shade on the rest.
How to do it
- Ink the full stamp with your lighter color.
- Gently tap the darker color onto just the areas you want shaded (for florals, the base of petals or the center is perfect).
- Stamp using your platform so you can stamp twice if you want a richer blend.
Why the platform helps
If your first impression is a little uneven, do not panic. Re-ink the same way and stamp again. The platform keeps your image aligned so the shading looks smooth instead of blotchy.
8) Batch sentiments
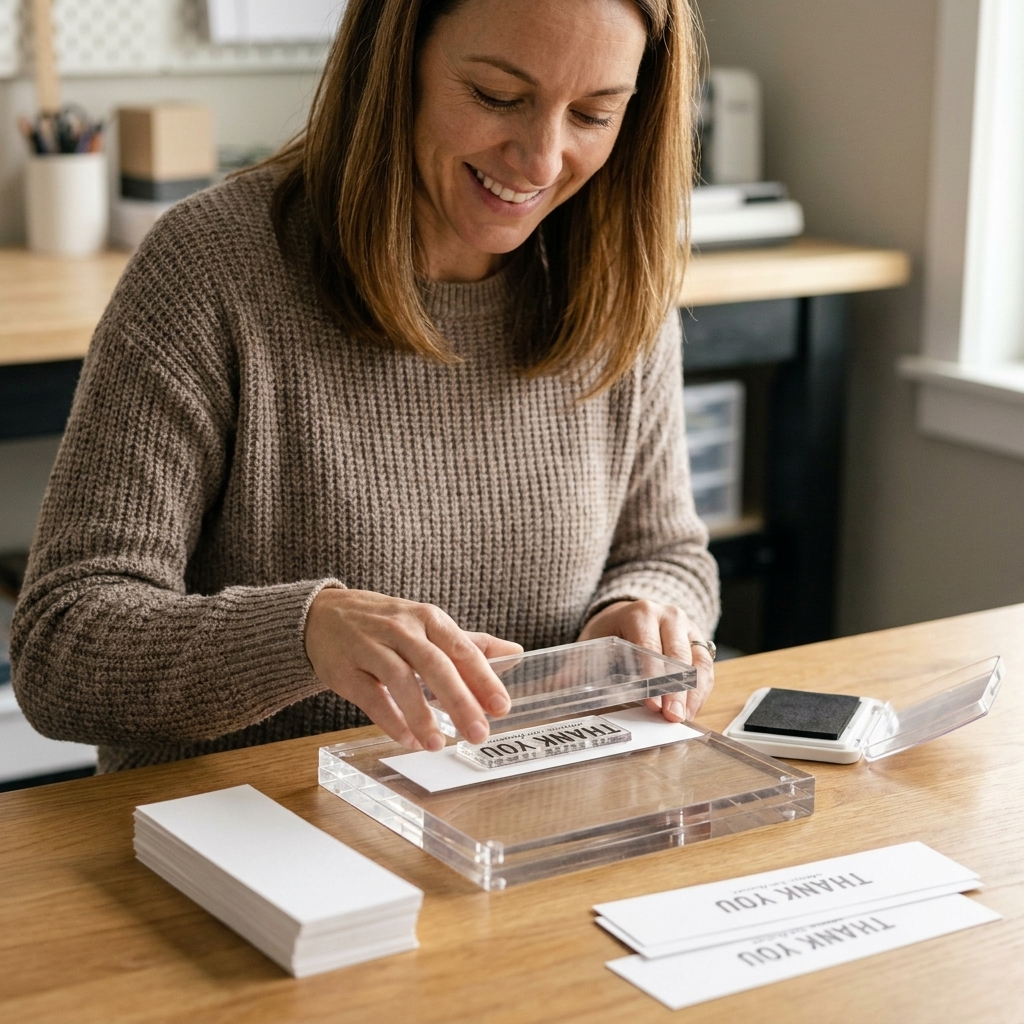
If you make cards in batches (holiday cards, thank you notes, teacher gifts), this is the technique that will save your wrists and your patience. A sentiment jig is just a repeatable placement setup so every greeting lands in the same spot.
How to do it
- Place a scrap panel in your platform and stamp your sentiment exactly where you like it.
- Use low-tack tape to mark the panel corner position on the platform base, or keep a pair of magnets as a stop.
- Swap in fresh panels one at a time, snugging them into the same position, and stamp away.
Extra-crisp tip
For tiny sentiments, use a very firm press and a second impression. Small fonts are where a stamping platform shines.
Troubleshooting
My stamped image looks blotchy
- Try lighter pressure with two impressions instead of one heavy press.
- Make sure your stamp is clean and your cardstock is smooth.
- If using photopolymer, confirm you have the foam mat in place.
- For large solid stamps, focus on even inking. Tap the ink pad gently across the surface (do not mash), and consider stamping with a foam mat underneath for more consistent contact.
My cardstock shifts when I lift the lid
- Use two magnets, one on each side of the paper, to prevent pivoting.
- Wipe the base clean. Ink smudges can reduce grip and make paper skate around.
My stamp is not sticking to the lid
- Wash new stamps with gentle soap and water to remove manufacturing residue.
- If your photopolymer is still slick, stamp it a few times on scrap to condition it. If you use an eraser, keep it very gentle to avoid abrading the stamp surface.
A sweet final thought
A stamping platform is basically the crafting version of training wheels, but in the best way. It gives you the confidence to try bolder designs because you know you can repeat, adjust, and build in layers without starting over.
If you want a fun little challenge: pick one technique from this list and use it on three cards this week. Do not aim for perfection. Aim for progress and play. That is where the pretty stuff happens.