Hand paper cutting is one of those quietly magical skills that looks impossibly fancy, but starts with something very simple: a sharp blade, a steady surface, and a little patience. If you have ever admired a delicate window on a handmade card or a lacy background peeking through vellum, you have already seen what careful hand cutting can do.
I learned the hard way at my grandmother’s dining table that paper cutting is less about “artistic talent” and more about good tools and good habits. In this guide, I’ll walk you through what to buy (and what you can skip), how to choose blades, and how to keep your hands happy while you cut.
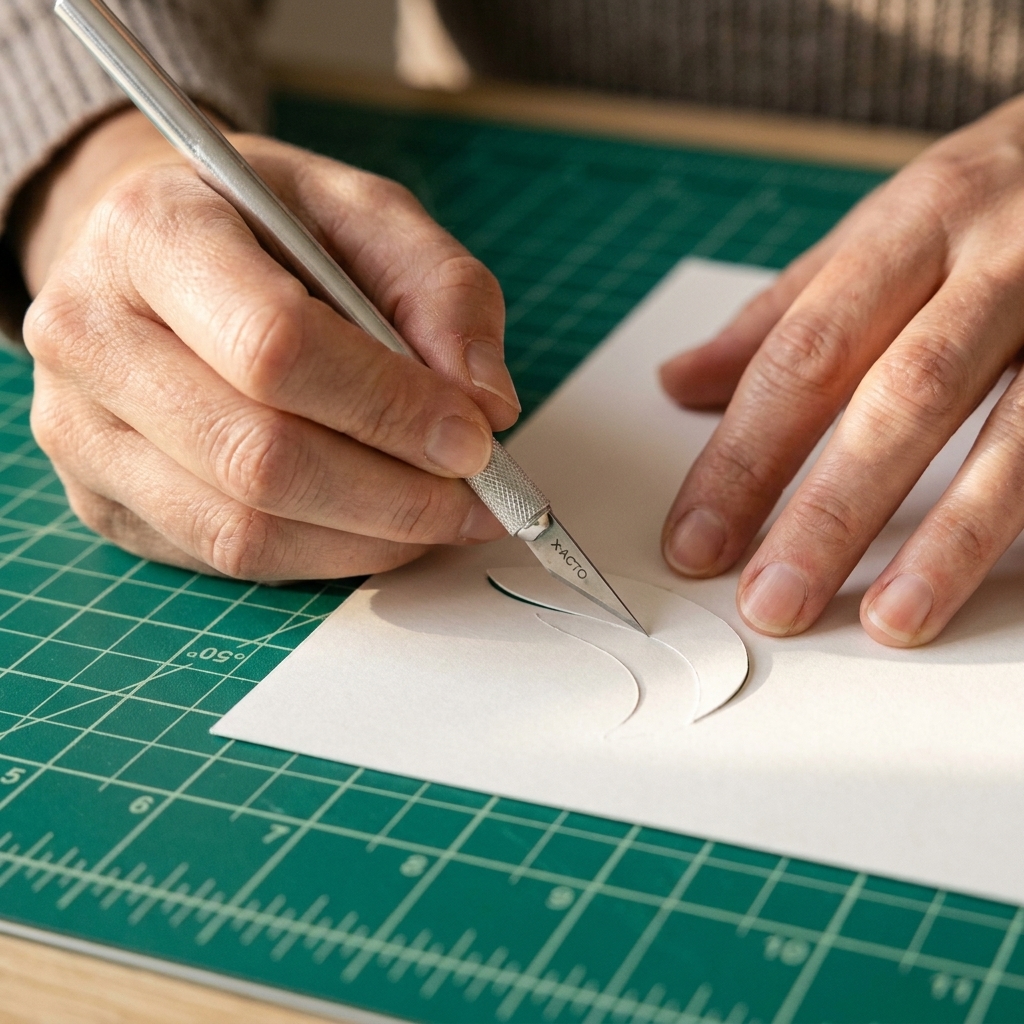
What is hand paper cutting art?
Hand paper cutting is the practice of cutting shapes, patterns, and fine details directly from paper using a handheld blade. In cardmaking and scrapbooking, it often shows up as:
- Intricate apertures (windows) in card fronts
- Delicate silhouettes like florals, butterflies, and foliage
- Paper lace effects made with tiny negative-space cuts
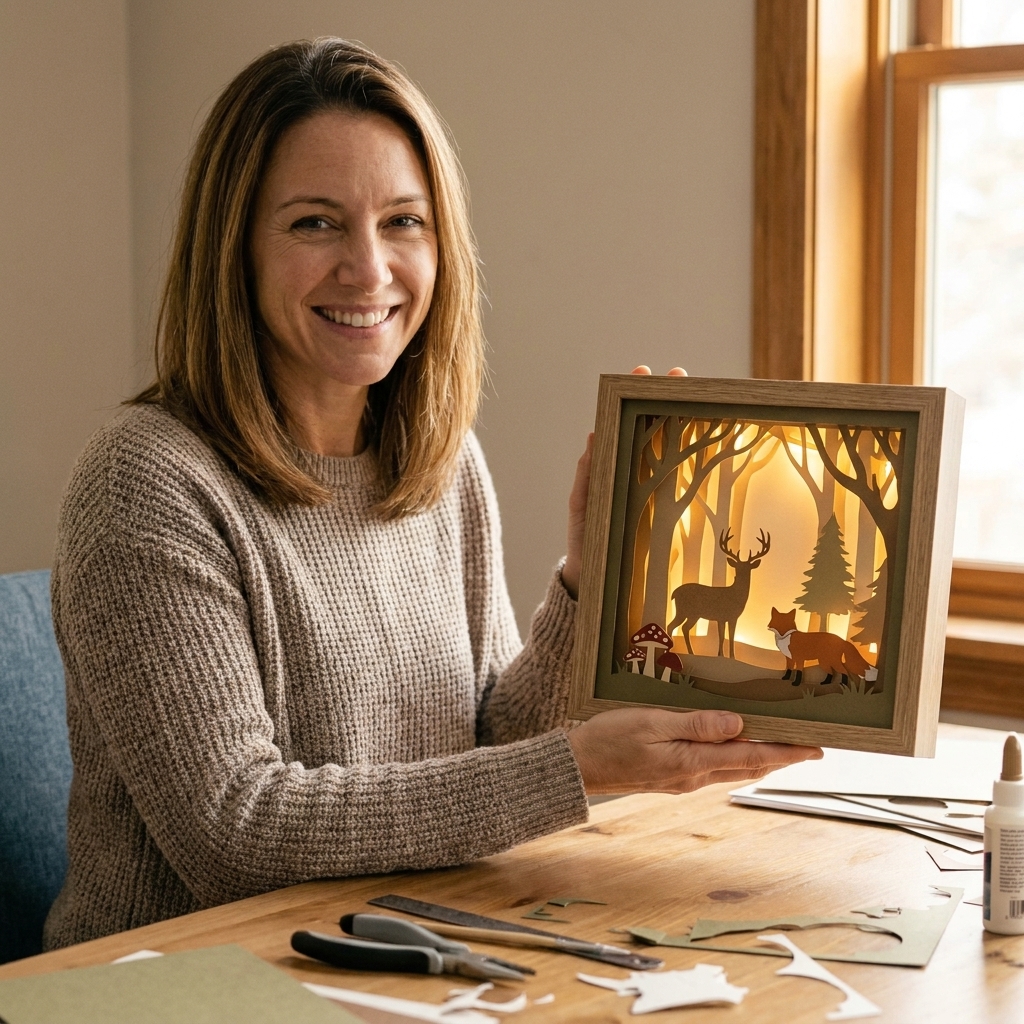
- Layered scenes where each layer is hand-trimmed for dimension
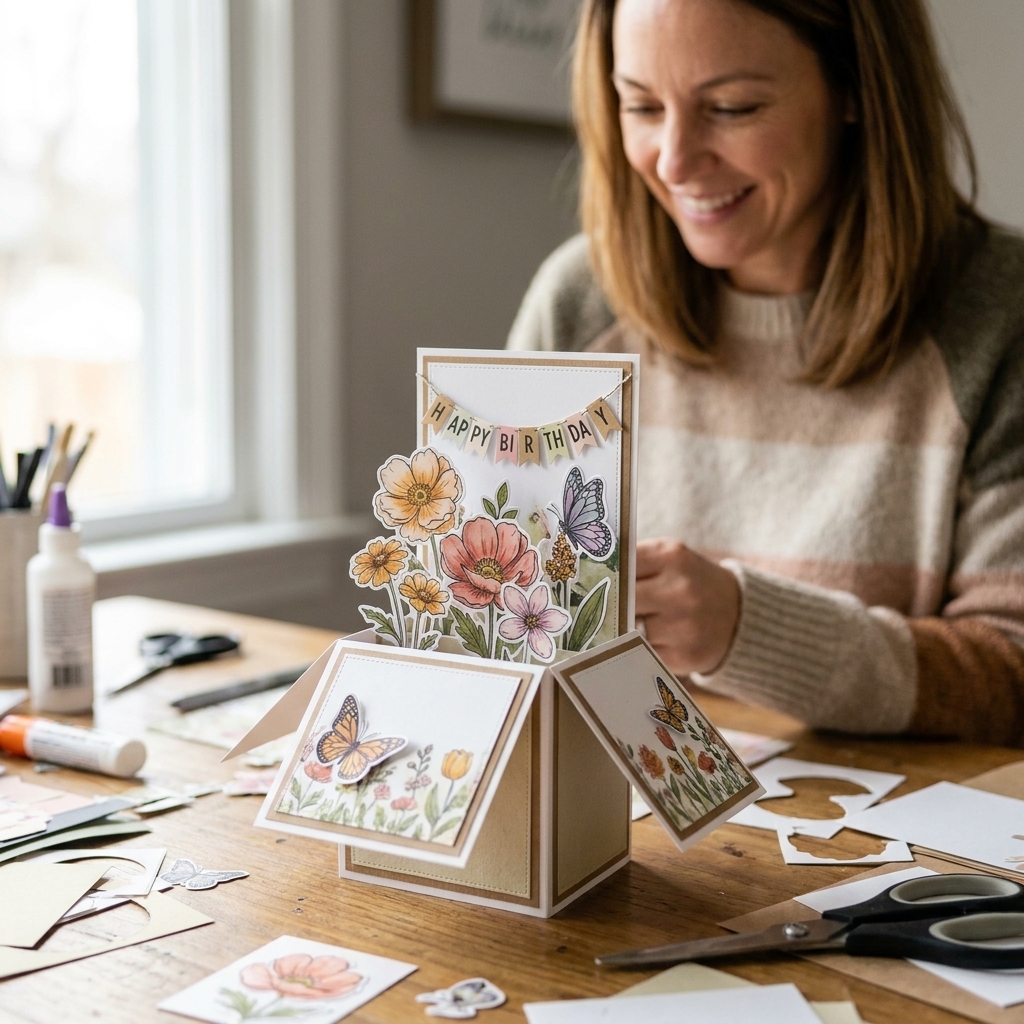
- Fussy cutting stamped or patterned images with scissors or a knife
The best part is you can do it with a very small tool kit, and your results improve quickly once your blade control clicks.
Your starter tool kit
You do not need a drawer full of gadgets to begin. Focus on these core tools first, then add extras as you discover what you love making.
1) A craft knife that fits your hand
Look for a knife that feels balanced, not tip-heavy, and that lets you hold it like a pencil without straining your grip. A comfortable handle matters more than people think, especially for fine details.
- Pen-style precision knives are great for small, controlled cuts and tight turns.
- Swivel (rotary) craft knives can help with curves because the blade rotates as you move, but they take practice.
- Heavier hobby knives can be steady for straight cuts, but may tire your hand faster for intricate work.
If possible, test the grip in your hand. If your fingers feel “pinchy” just holding it, you will feel it ten times more after 20 minutes of cutting.
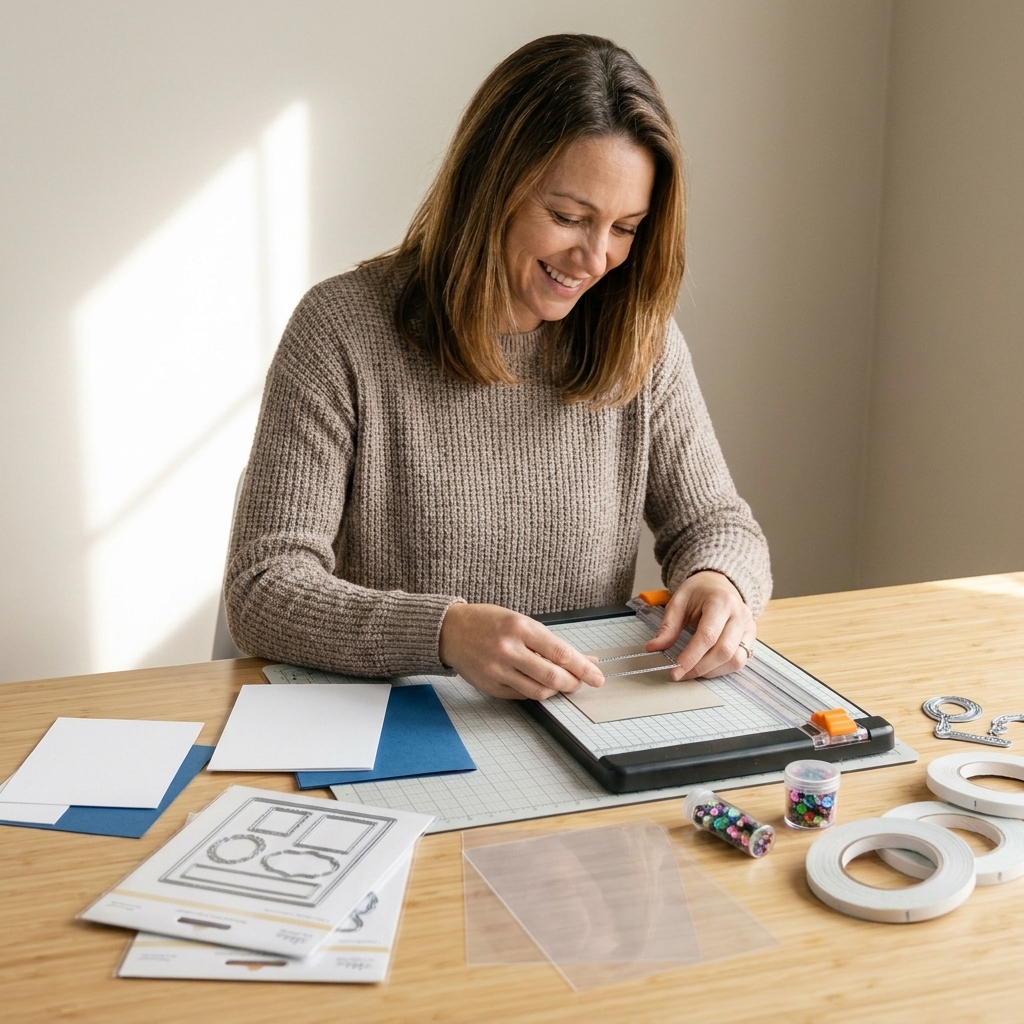
2) A self-healing cutting mat (non-negotiable)
A self-healing mat protects your table, supports smooth cutting, and can help reduce blade skipping. Choose a mat that is:
- Large enough for your typical cardstock size (A4 or 12x12 inch crafters may want a larger mat)
- Truly self-healing so it closes up after cuts and stays smooth
- Not overly slick, since a slippery mat can contribute to blade slips
Tip: rotate your mat occasionally so you are not always cutting in the same spot. It helps it wear evenly.
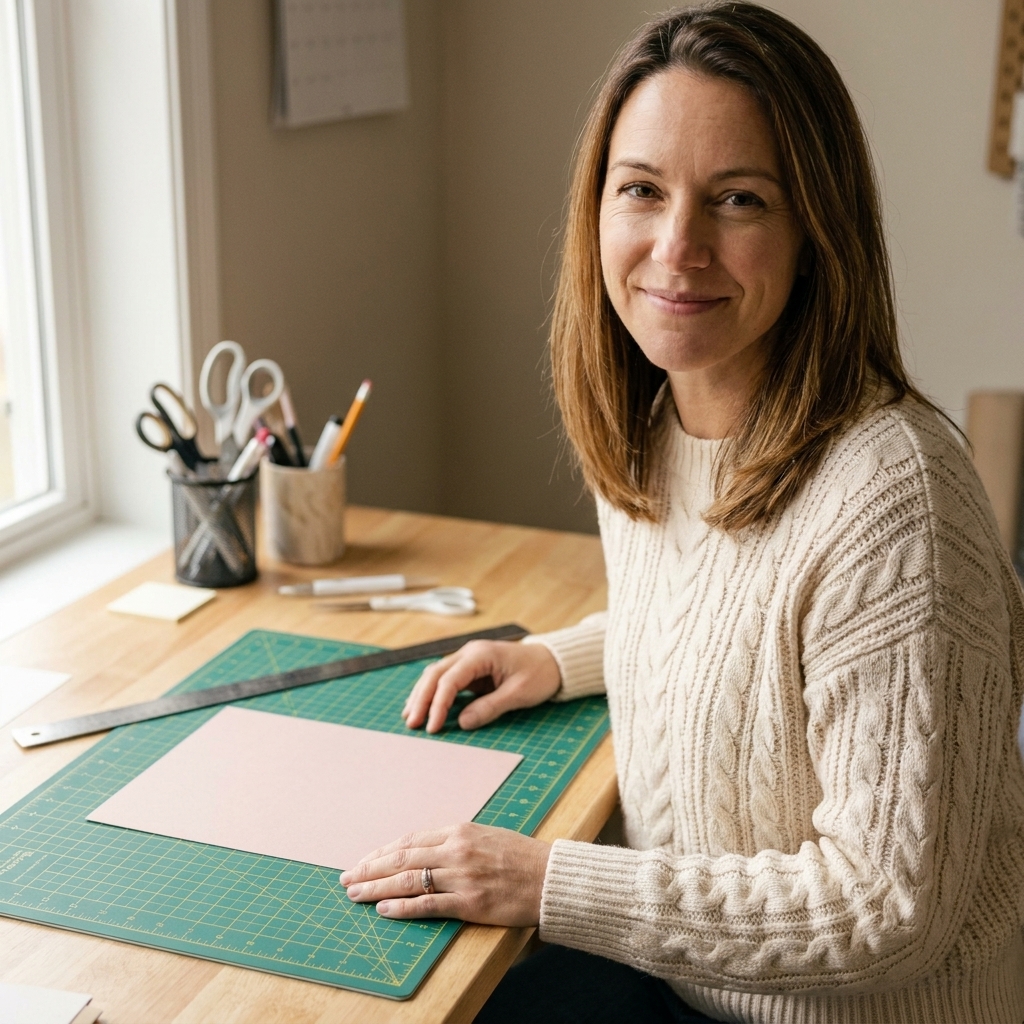
Understanding blades
If I could tattoo one crafting truth on my forehead, it would be this: a dull blade is more dangerous than a sharp one. Dull blades require more pressure, and pressure is what causes slips.
Common blade types (and what they are good for)
- Fine-point blades: Best for intricate corners, tiny interior cuts, and detailed work in cardstock. (In many hobby-knife systems, this is the classic #11 style shape.)
- Standard angled blades: A great all-purpose option for straight lines, gentle curves, and general cardmaking.
- Chisel blades: Helpful for straight cuts and trimming edges cleanly, less ideal for delicate curves.
For most cardmakers, a standard angled blade plus a fine-point blade covers nearly everything.
How often should you change a blade?
More often than you think. Swap your blade when you notice any of these:
- Your cut edges look fuzzy or torn instead of crisp
- You feel like you need to press harder
- The blade starts snagging or dragging in the paper
- Tight turns become difficult even on good cardstock
As a rough rule, if you are cutting heavy cardstock, glitter paper, or anything fibrous, your blade will dull faster. Keep spare blades handy so you are not tempted to “just finish one more section” with a tired blade.
Paper that cuts well
Not all paper cuts the same. If you are brand new, start with paper that forgives you a little.
Best beginner papers
- 80 to 100 lb cover cardstock (about 216 to 270 gsm): Sturdy enough to handle detail, but still cuts smoothly.
- Smooth, solid-core cardstock: Cuts cleanly and helps your edges look more even, especially on lighter colors.
Papers that can be tricky at first
- Glitter cardstock: Beautiful, but rough on blades and can cause drag.
- Handmade or heavily textured papers: Fibers can tear instead of slice.
- Very thin paper: It can buckle or rip if your blade angle is off.
If you love thin specialty papers, try adhering them to a lightweight backing (like copy paper) temporarily with a very light adhesive, then cut as a “sandwich” for more stability.
Cutting setup
A comfy, safe setup makes better cuts. Here is my “kitchen table craft” checklist.
Lighting
Bright, direct light reduces mistakes. A desk lamp angled from the side helps you see shadows around your blade line, which is surprisingly useful for staying on track.
Posture and arm position
- Sit with your shoulders relaxed, not hunched.
- Keep your cutting hand supported on the table when possible.
- Move the paper with your non-dominant hand rather than twisting your wrist into awkward angles.
Stabilize your paper
If your cardstock shifts, your blade will wander. Use one of these:
- A small piece of low-tack tape on the edge of the paper (test first so it does not tear)
- A couple of gentle clips away from your cut line
- Your non-dominant hand flat on the paper, fingers well away from the blade path
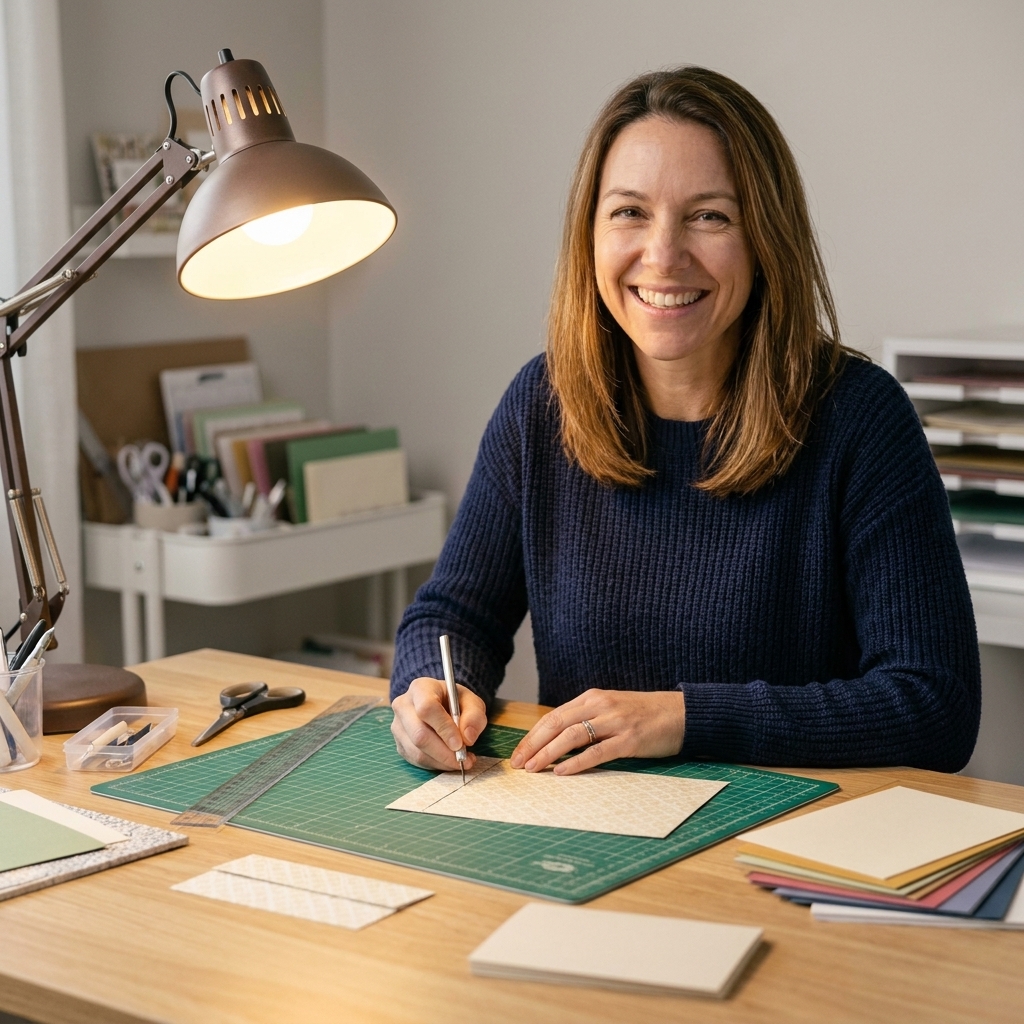
Templates and pattern transfer
If drawing freehand makes you nervous, let a template do the heavy lifting.
Simple ways to get a pattern onto paper
- Print and tape: Print your pattern, place it on top of cardstock, and secure the edges with low-tack tape. Cut through both layers, then peel the paper template away.
- Trace with a window or light pad: Tape your pattern to a bright window (or use a light pad), place your cardstock on top, and trace lightly in pencil.
- Transfer with graphite: Scribble a soft pencil on the back of your printed pattern, tape it down, and trace the lines to transfer them.
Whatever method you use, keep your pencil lines light. They erase more cleanly and are less likely to dent the paper.
Safe cutting habits
You can absolutely keep paper cutting cozy and calm, while still being smart about safety.
Always cut away from your fingers
This sounds obvious, but when you are turning paper for curves, your non-dominant hand can accidentally drift into the blade path. Make it a habit to pause, reposition your hand, then cut.
Use light pressure and multiple passes
Instead of forcing the blade through thick cardstock in one go, use two or three gentle passes. Your edges will be cleaner, and your blade is less likely to slip.
Optional: extra protection
If you are brand new, working for long stretches, or simply want peace of mind, a cut-resistant glove on your non-dominant hand can be a helpful training wheel. The real goal is still good hand placement, but a little extra protection can make you feel more relaxed.
Cap and store blades properly
- Retract or cap your knife whenever you set it down.
- Store spare blades in their case.
- Dispose of used blades in a sturdy container that cannot be punctured (an empty mint tin works well), then tape it closed before discarding.
Keep your cutting zone clutter-free
Tiny paper scraps can hide your cut line, and tools under your hand can bump your wrist. Clear scraps often. It feels fussy, but it saves mistakes.
Keep blades away from kids and pets
If you craft at a shared table, make “blade up, capped, and out of reach” your default. It is an easy habit that prevents the worst kind of surprise.
Prevent hand fatigue
Intricate cutting can make your hand cramp if you white-knuckle the knife. The goal is steady control, not brute force.
Choose an ergonomic grip
If your knife has a very thin metal handle and your fingers ache quickly, consider adding a soft grip sleeve or switching to a thicker, cushioned handle. Comfort is not “extra”. It directly affects precision.
Try the micro-break rhythm
Every 5 to 10 minutes, do a quick reset:
- Put the knife down
- Roll your shoulders back
- Open and close your hand a few times
- Shake your wrist gently
These tiny breaks keep you from tensing up without breaking your creative flow.
Turn the paper, not your wrist
For curves, keep your cutting hand steady and rotate the paper with your other hand. Your wrist will thank you, and your curves will look smoother.
Use a fresh blade sooner
If your hand is getting tired, check your blade before you blame your stamina. Needing extra pressure is a fatigue multiplier.
Clean cuts
Start with straight lines and simple curves
Before you tackle lace-level details, practice on basic shapes. Cut:
- Long straight strips
- Gentle waves
- Circles and ovals
- Leaf shapes
It is like warming up before a workout, but for your hands.
Use pivot points for corners
When you hit a sharp corner, stop with your blade still in the paper, lift and rotate the paper, then continue. This prevents overcut corners and keeps the point crisp.
For interior cuts, poke and park
To cut a shape in the middle of your cardstock (like a window):
- Poke a small starter hole inside the area you will remove.
- Insert the blade gently.
- Cut toward your line, then follow the outline slowly.
Pro tip: do not start exactly on the final cut line. Start a hair inside and ease into it. That tiny buffer helps avoid accidental overcuts.
Blade angle matters
For the cleanest edges, keep your blade as upright as you comfortably can. When you tilt too far, you can undercut the edge, which shows up later as a slightly beveled, ragged-looking line, especially on thicker cardstock.
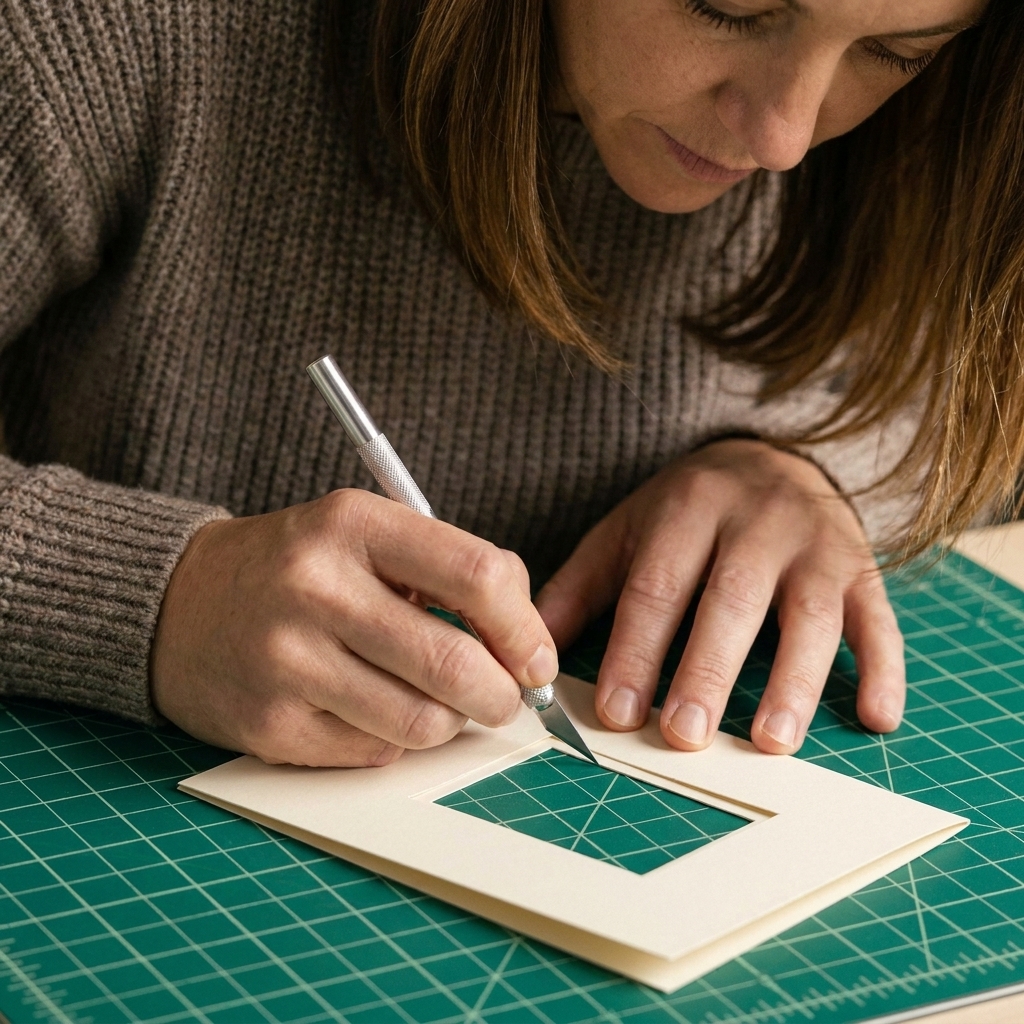
Helpful extras
Once you have your knife and mat, these upgrades can make cutting easier and safer.
Metal ruler with a cork back
A metal ruler gives you a solid edge for straight cuts without getting chewed up. A cork back helps it grip the paper so it does not slide.
Low-tack tape
Great for holding templates in place, masking off areas, or stabilizing cardstock while you cut. Choose a tape designed for delicate surfaces when possible.
Fine-tip tweezers
For lifting tiny negative pieces out of intricate cuts, tweezers are your best friend. They also keep your fingers away from freshly cut edges.
Sand eraser or very fine sanding block
If your cut edge has a tiny fuzz spot, a gentle pass can smooth it. Use a light hand so you do not pill the paper.
Finishing and protecting your cuts
A delicate cut looks its best when it stays flat, clean, and supported.
Clean up the tiny bits
A soft paintbrush (or a dry microfiber cloth) is perfect for sweeping away paper crumbs without catching an edge and tearing your work.
Keep pieces flat
If a cut panel curls, tuck it under a heavy book for a little while before you glue it down.
Adhesives that play nicely with detail
- Liquid glue with a fine tip: Great for tiny contact points. Less is more.
- Double-sided tape: Quick and clean for wider borders.
- Adhesive sheets: A splurge, but wonderful for intricate designs because the entire back becomes adhesive.
Quick troubleshooting
My paper is tearing, not cutting
- Change your blade
- Reduce pressure and use multiple passes
- Try smoother cardstock
My blade keeps slipping off the line
- Slow down and shorten your strokes
- Stabilize the paper with tape or a better grip
- Check that your mat is not overly scarred in one spot
My hands cramp quickly
- Loosen your grip and let the blade glide
- Switch to a thicker, more ergonomic handle
- Take micro-breaks and turn the paper instead of twisting your wrist
A first project
A lacy heart window card
If you want a confidence-boosting first make, try this. It looks detailed, but it is beginner-friendly.
What you need
- Card base (A2 or similar)
- Card front panel (contrasting color)
- Pencil and eraser
- Craft knife and fresh blade
- Self-healing mat
- Optional: vellum or patterned paper for backing
Steps
- Draw a heart on the back of your card front panel.
- Sketch small teardrop shapes around the heart edge to create a simple “lace” effect. Keep them larger than you think at first.
- Poke a starter hole inside the heart area.
- Cut the heart opening slowly, turning the paper as you go.
- Cut the lace teardrops one at a time, using short strokes.
- Erase pencil lines gently.
- Back the opening with vellum or patterned paper, then adhere the panel to your card base.
Keep your first version simple. You can always make the lace details smaller as your control improves.
FAQ
Is a craft knife better than scissors for detailed cutting?
For tiny interior cuts, sharp points, and intricate negative space, yes. Scissors are wonderful for fussy cutting larger shapes, but a knife is more precise when you need tight turns and clean corners.
Do I need a special mat, or can I use cardboard?
You can practice on thick cardboard in a pinch, but it will dull blades fast and can cause dragging. A self-healing mat is worth it for cleaner cuts and safer control.
What is the safest way to cut small details?
Use a fresh blade, cut with light pressure in short strokes, keep your non-dominant hand well away from the blade path, and turn the paper instead of contorting your wrist.
If you try hand paper cutting this week, start small and celebrate the tiny wins. Your first clean corner, your first smooth curve, your first little negative-space detail that pops when you lift the waste piece. That is the moment you realize: oh, I can do this.
And if you are anything like me, you will soon be eyeing every scrap of patterned paper thinking, “You would make a very cute cut-out.”