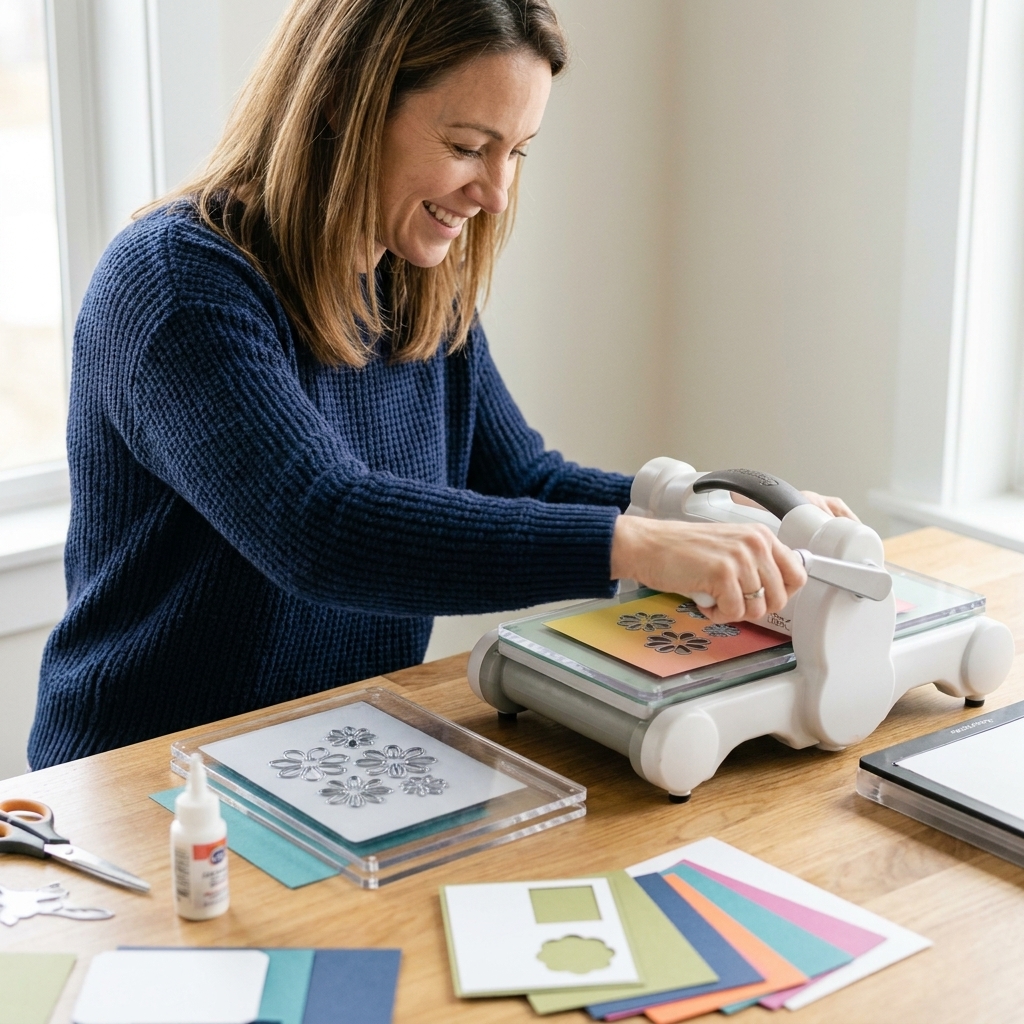
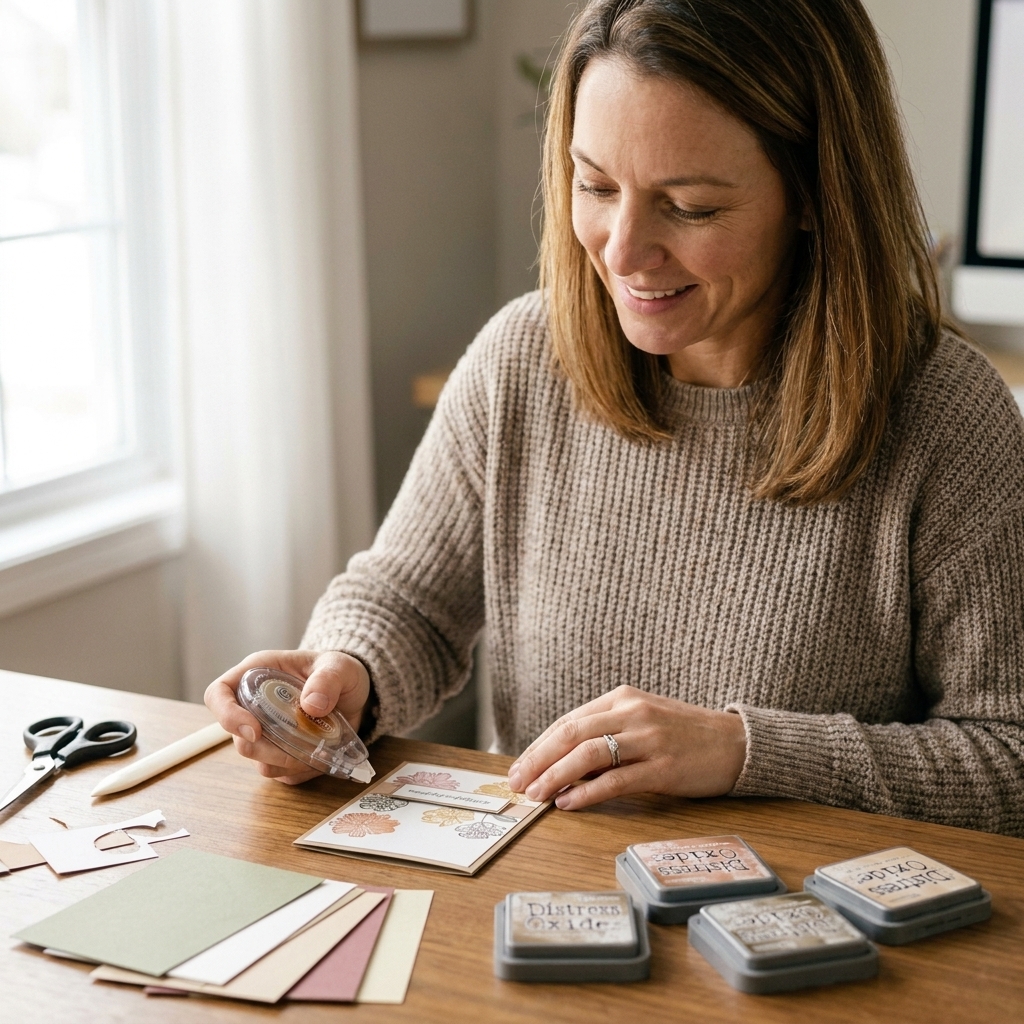
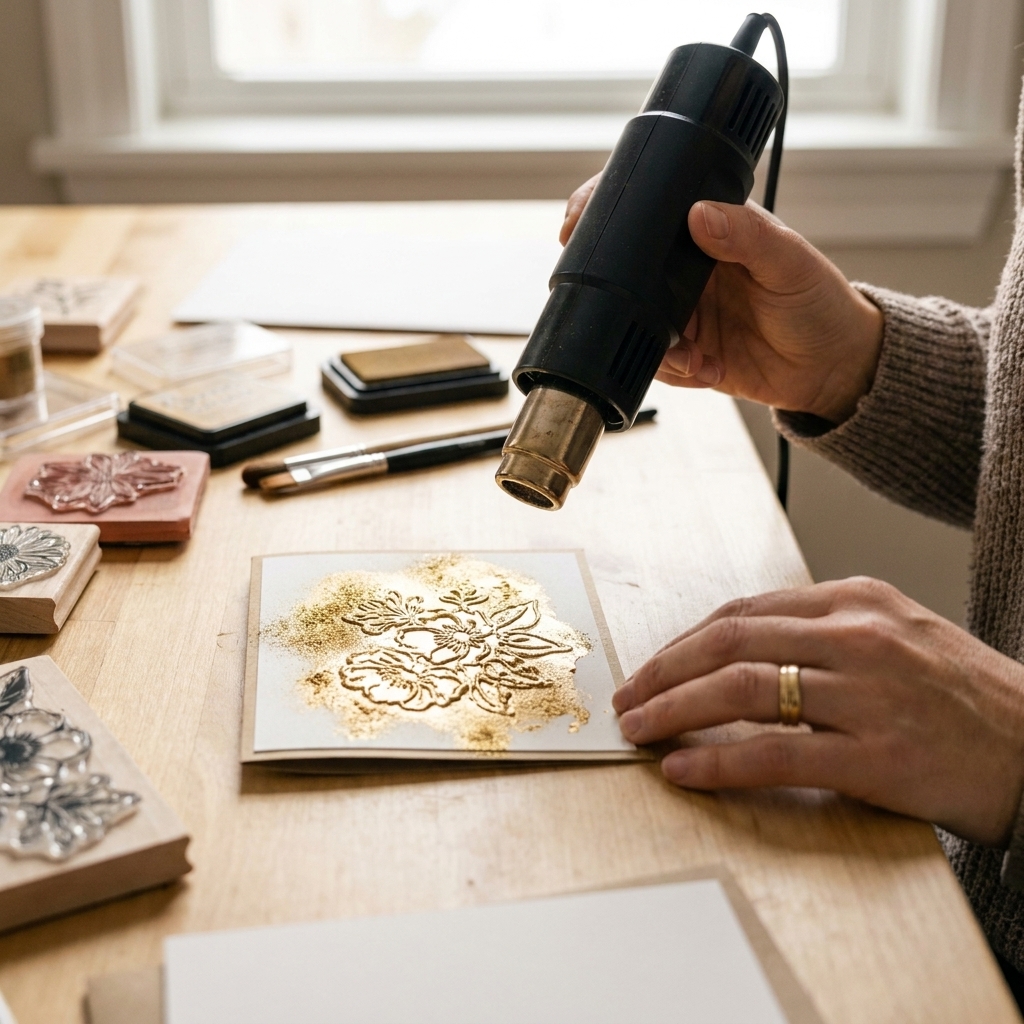
If you have ever picked up a card and heard that magical little rattle, you already know the appeal of a shaker card. It is interactive, it is joyful, and it looks far more complicated than it actually is. Today I am walking you through my beginner-proof method, plus the exact supplies that give you smooth shaking (not sad clumping) and a window that stays put.
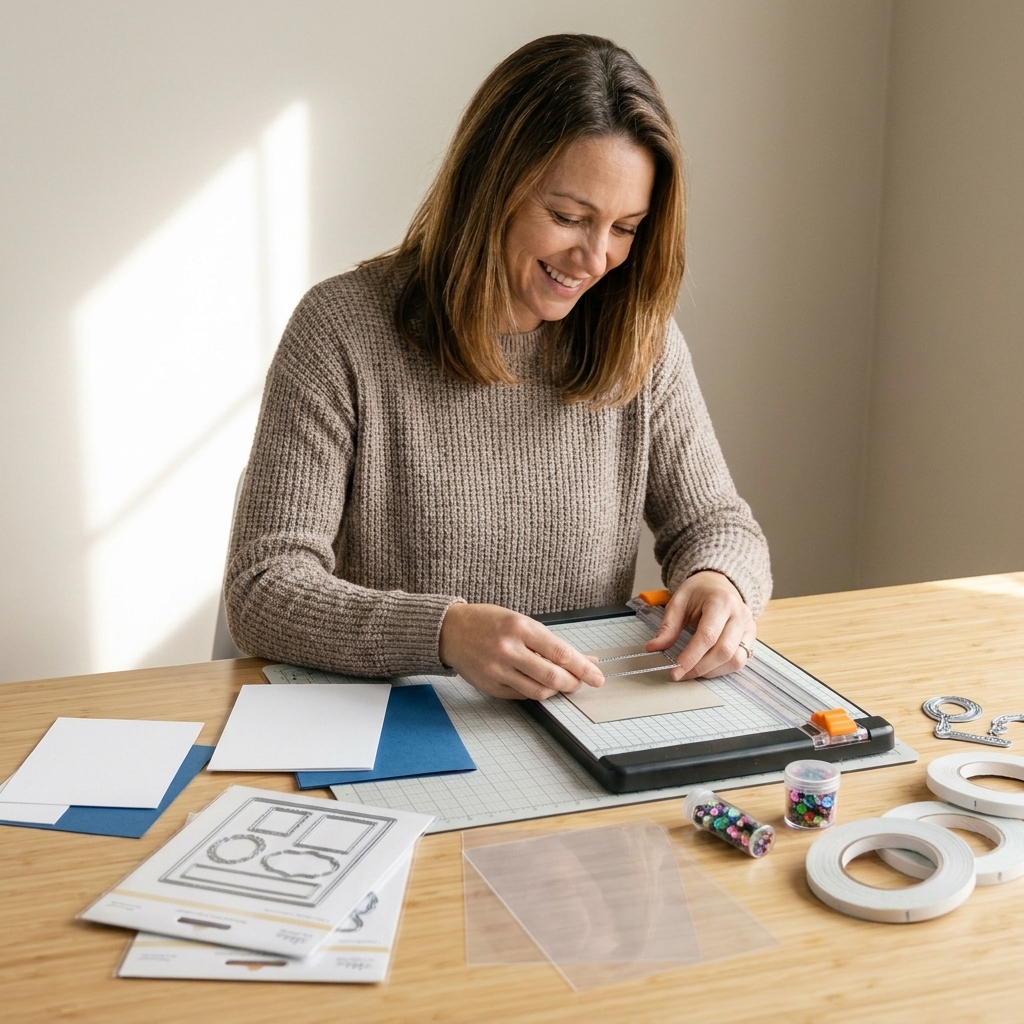
What is a shaker card?
A shaker card is a handmade card with a clear “window” and a tiny compartment inside. You fill that compartment with sequins, beads, glitter, confetti, or die-cut bits so they can move around when the card is tilted. Think of it like a snow globe, but flat and made of paper.
Supplies you need (and what matters most)
You can absolutely make a shaker with basics, but a few choices will make the difference between “wow” and “why is everything stuck in the corner?”
Cardstock
- Card base: A2 (4.25 x 5.5 inches) heavyweight cardstock. 80 to 110 lb cover works beautifully, or choose any sturdy card base stock that holds a fold without drooping.
- Top panel: A sturdy panel looks crisp around the window. I love 80 lb cover for easy die-cutting and clean edges.
- Backer panel: This is the background your shaker elements sit on. Patterned paper is adorable here.
Window plastic: acetate (or clear packaging)
- Acetate sheets (sometimes called transparency film) are the classic choice. Most papercrafting acetate is in the 4 to 10 mil range (about 0.1 to 0.25 mm). That thickness is usually perfect for a clear, flexible window that is easy to cut.
- If you want extra sturdiness: Thicker clear plastic can work too, but once you get into very stiff sheets (around 0.3 mm and up), it may be harder to cut cleanly and can add bulk. Use what you have, just test-cut first.
- In a pinch: Clear plastic from stamp packaging can work, just make sure it is clean, flat, and not overly bendy.
Foam tape (this is the make-or-break supply)
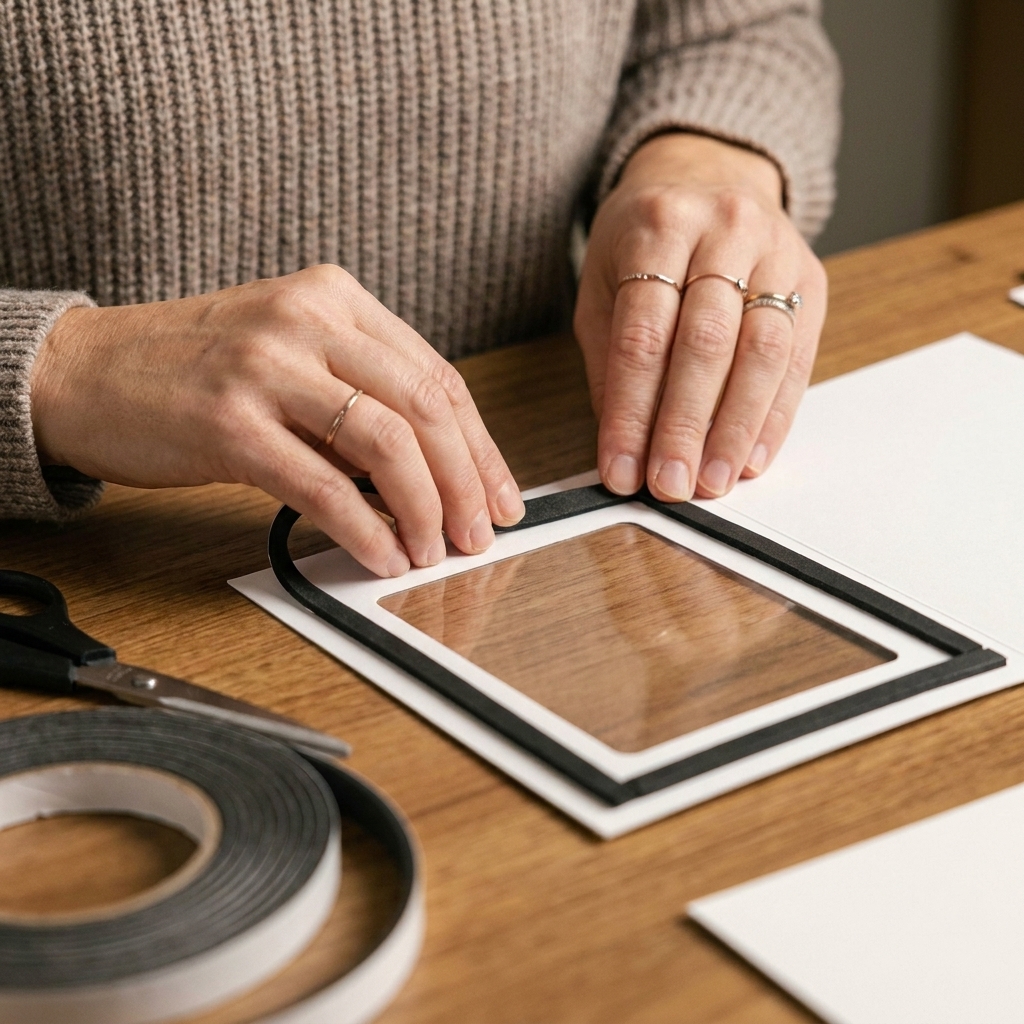
Foam tape forms the “walls” of the shaker compartment. You want height for movement and a seal tight enough that nothing escapes. Foam tape is often sold in millimeters, so I list mm here.
- Best for beginners: Strong, double-sided foam tape in 2 mm thickness.
- For chunkier fillers: Use 3 mm to 5 mm foam tape, or double-stack 2 mm tape.
- Skip: Super squishy craft foam strips that compress too easily. Your shaker can end up looking saggy, and elements may stick.
Adhesives
- Dry adhesive runner or strong double-sided tape: For attaching panels cleanly.
- Liquid glue (fine tip): Great for fussy areas, but keep it far from the shaker cavity so nothing oozes inside.
Shaker filler ideas (and what actually shakes well)
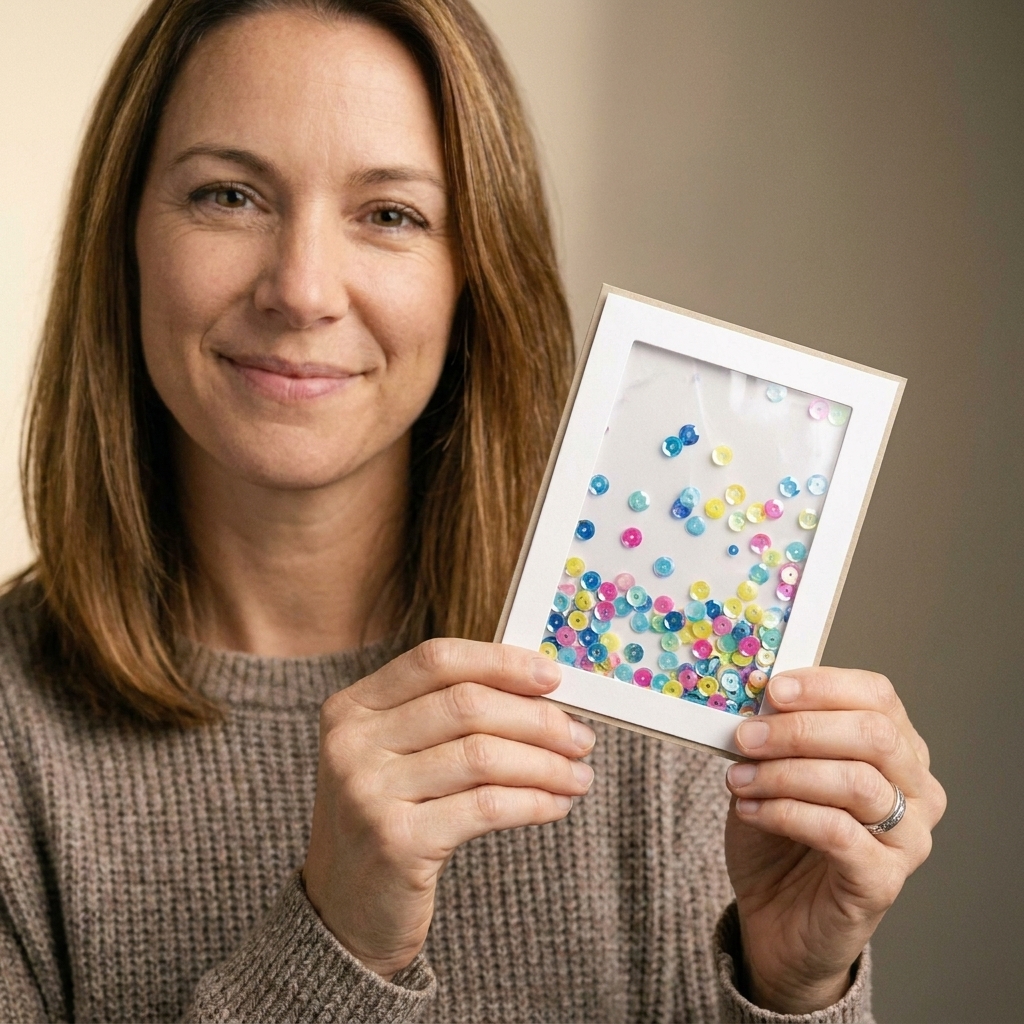
- Sequins: Classic, easy, moves well. Mix sizes for a fuller look.
- Seed beads: Great “sound,” very mobile, but they find gaps. Seal your foam tape carefully.
- Clay sprinkles: Cute and colorful, but choose smaller pieces unless your foam tape is tall.
- Fine glitter: Pretty, but it can cling to acetate with static and sneak out if your seal is not perfect.
- Die-cut shapes: Fun, but keep them small and lightweight for best movement.
Quick handling note: Shaker bits have a talent for escaping at the worst moment. Work over a tray or a piece of scrap paper you can funnel back into the jar, and keep tiny beads and glitter away from kids and pets.
Step-by-step: how to make a shaker card
I am describing an A2-sized card, but the same steps work for slimline and square cards too.
1) Create your window panel
- Cut your top panel slightly smaller than your card base, for example 4 x 5.25 inches, so you get a pretty border.
- Die-cut (or hand-cut) a window shape from the center. Circles and rectangles are the easiest to start with.
- Decorate now if you want stamping, ink blending, embossing, or sentiments on the front. It is much easier before the shaker is assembled.
2) Add acetate behind the window
- Flip your top panel over so the back is facing you.
- Cut a piece of acetate that covers the window with at least 1/4 inch overlap on all sides.
- Adhere the acetate using strong double-sided tape around the window opening.
Tip from my trial-and-error years: If your acetate looks a little cloudy, check for a protective film. Many acetate sheets have a thin peel-off layer on both sides.
3) Build the foam tape walls
- On the back of the window panel (on top of the acetate edges), apply foam tape in a closed shape around the opening.
- Butt edges tightly so there are no gaps. For curved windows, use thin foam strips or cut your foam tape into narrower pieces.
- If you are using seed beads or micro glitter, reinforce corners with a tiny extra piece of tape.
Sticky-edge check: Before you move on, look inside the frame. If any foam tape adhesive is exposed into the cavity, sequins will find it. Trim or reposition tape so the inner edge is clean.
4) Prep the shaker backer panel
- Cut a background panel the same size as your window panel (or slightly larger, depending on your style).
- Add any background stamping, ink blending, or patterned paper layers now.
5) Add the filler (how much is enough)
Less is more. Overfilling is the number one reason shakers do not move well.
- A good rule: fill the window area about one-quarter to one-third full.
- Mix in a few tiny beads with sequins to help everything move more freely.
6) Seal it shut
- Peel the release paper off the foam tape.
- Hold your window panel like a little tray, keep it level, and drop your filler into the opening so pieces do not land on the tape edges.
- Carefully align the backer panel over the foam tape and press firmly to seal.
7) Attach the shaker unit to your card base
- Use strong tape runner or double-sided tape on the back of the shaker unit.
- Center it on your folded card base and press flat.
Best foam tapes for smooth shaking
I am not picky about much, but foam tape is one of those supplies where quality really matters.
- Firm foam tape: Holds its height and makes a clean compartment. This usually gives the best shaker sound too.
- Black foam tape: A favorite for hiding the foam edge behind dark frames or busy backgrounds.
- White foam tape: Great for light, airy designs, but be sure your backer panel covers it so it does not show through the window.
Little trick: If you are worried about sequins sticking to the edge, use an anti-static tool on the inside edges before you seal the shaker. If you want to try cornstarch, use the tiniest amount on a soft brush and test first. Too much can leave residue or a hazy look over time.
Choosing acetate sheets (and avoiding cloudy windows)
- Clarity: Look for “clear acetate” rather than frosted transparency film.
- Thickness: 4 to 10 mil (about 0.1 to 0.25 mm) is common for cardmaking. It is clear, flexible, and easy to trim.
- Scratches: Store acetate flat in a sleeve or folder. Tiny scratches show up quickly on shaker windows.
If you are using heat embossing on the front panel, emboss first, then add acetate after everything cools down. Warped acetate is a heartbreak I do not wish on you.
Filler mixes that move well
If you want your shaker to glide and swirl instead of clump, try one of these beginner-friendly mixes:
- Sequins + seed beads: The beads act like little ball bearings and keep the sequins from stacking.
- Flat confetti + a few tiny beads: Confetti looks fun, beads help it move.
- Chunky clay sprinkles + tall foam tape: Use 3 to 5 mm walls so the pieces do not jam.
Static tip: New acetate loves to grab glitter and sequins like it has been waiting all day. An anti-static tool helps, or gently wipe the inside of the acetate with a dryer sheet before you seal the shaker.
Common problems (and easy fixes)
My shaker pieces are stuck
- Cause: Overfilled window, static, or adhesive exposed inside the cavity.
- Fix: Use less filler, treat with anti-static, and make sure the foam tape inner edges are clean with no sticky areas facing inward.
My shaker leaks beads everywhere
- Cause: Tiny gaps where foam tape meets, or the backer panel did not fully seal.
- Fix: Butt tape ends tightly, press firmly all around, and consider adding a second frame of thin double-sided tape around the foam tape perimeter for extra security.
The window is foggy or smudged
- Cause: Fingerprints inside the shaker, or protective film left on.
- Fix: Peel film from both sides before assembly, and handle acetate by the edges. If needed, wipe gently with a microfiber cloth before sealing.
The shaker looks bowed or saggy
- Cause: Foam tape too soft, or heavy embellishments on the front panel pulling it down.
- Fix: Use firmer foam tape, add support strips across wide windows, or switch to lighter embellishments.
Easy shaker card ideas
- Simple circle window: Frame it with a stitched circle die and add “Happy Birthday” above.
- Heart window: Perfect for Valentine’s Day or anniversaries with pink sequins and tiny pearls.
- Confetti sentiment: Use big die-cut letters on the front panel and let the shaker bits peek through around them.
- Snow globe vibe: White glitter + pale blue ink blending, with a stamped winter scene on the backer.
Shaker card FAQ
What can I use instead of foam tape?
You can use fun foam sheets (2 to 3 mm) cut into frames and adhered with strong double-sided tape. It is budget-friendly and gives a very even wall height. Just make sure every seam is sealed.
Can I use a laminating pouch instead of acetate?
Yes, if it is truly clear and lies flat. Cut it larger than your window and adhere it with strong tape. Test first, since some pouches have a slight haze.
How do I keep glitter from sticking to the window?
Use an anti-static tool on the inside of the acetate and avoid overfilling. Also consider mixing glitter with small sequins so the heavier pieces help keep movement going.
How thick should my shaker compartment be?
2 mm works for sequins and tiny beads. If you want chunky sprinkles or larger beads, go 3 to 5 mm or double up your foam tape.
My best first-shaker encouragement
Your first shaker card does not need to be fancy. Pick a simple window, use a small sprinkle of sequins, and focus on building a tight, even foam tape frame. Once you get that satisfying shake, you will be looking at every scrap of patterned paper in your stash like, “Yes, you are about to become a shaker background.”
If you make one, I hope it feels like sending a hug folded in half, with a little confetti party inside.