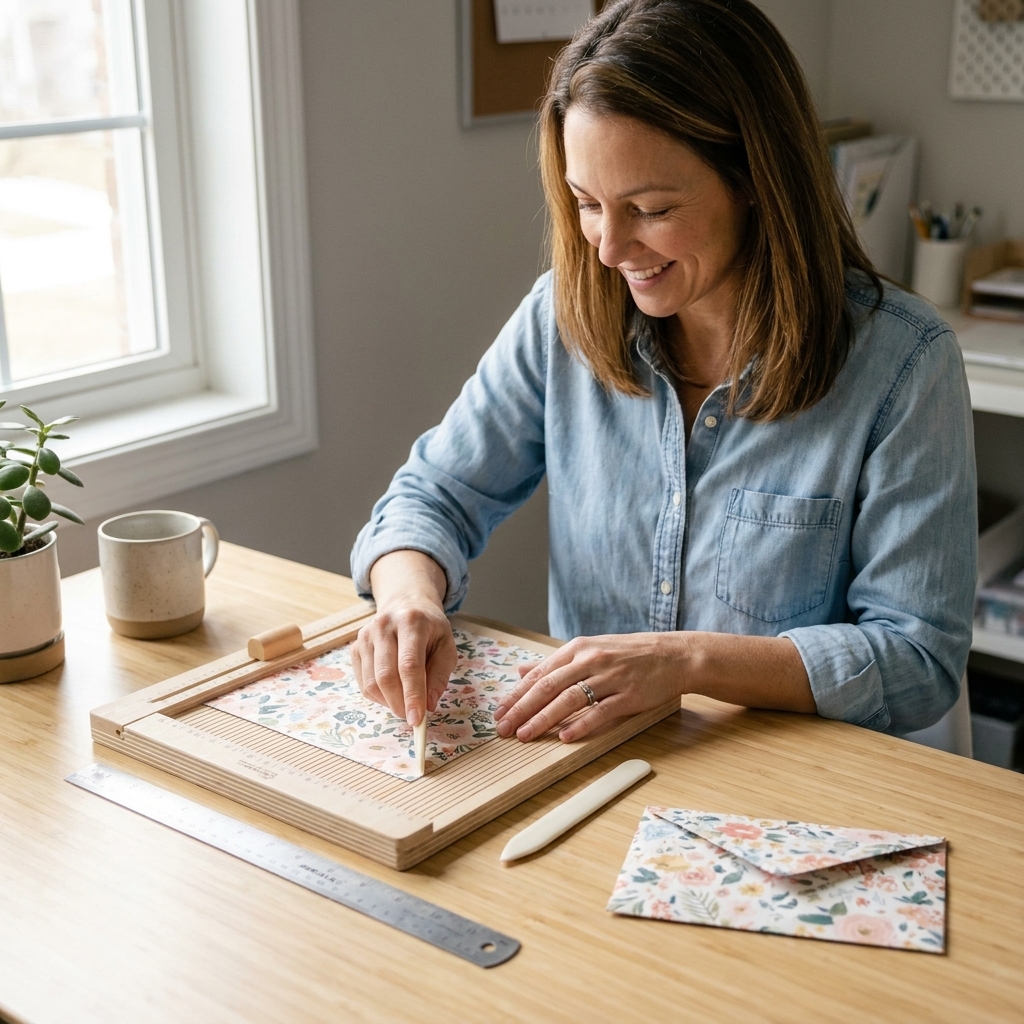
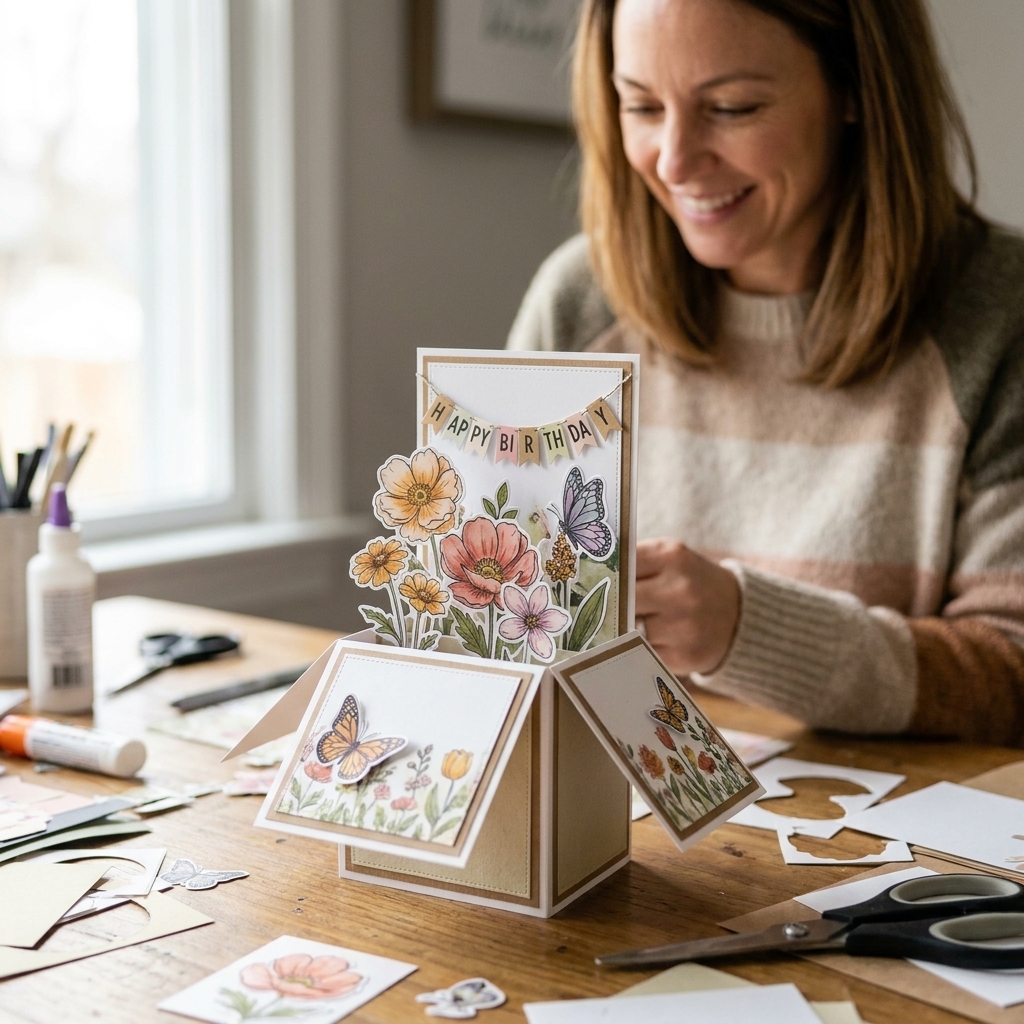
If you have ever wanted a card that makes someone say, “Wait… how did you DO that?!” a pop-up box card is it. It stands up like a tiny paper stage, lets you layer lots of cute images, and then (magic trick!) folds flat to slide into an envelope.
I learned this style after many, many happy experiments at my craft table, usually surrounded by a suspiciously large pile of patterned paper. I will walk you through the exact measurements, where to score, what to cut, what to fold, and how to decorate so your box pops open neatly every time and still collapses flat without a wrestling match.
Supplies
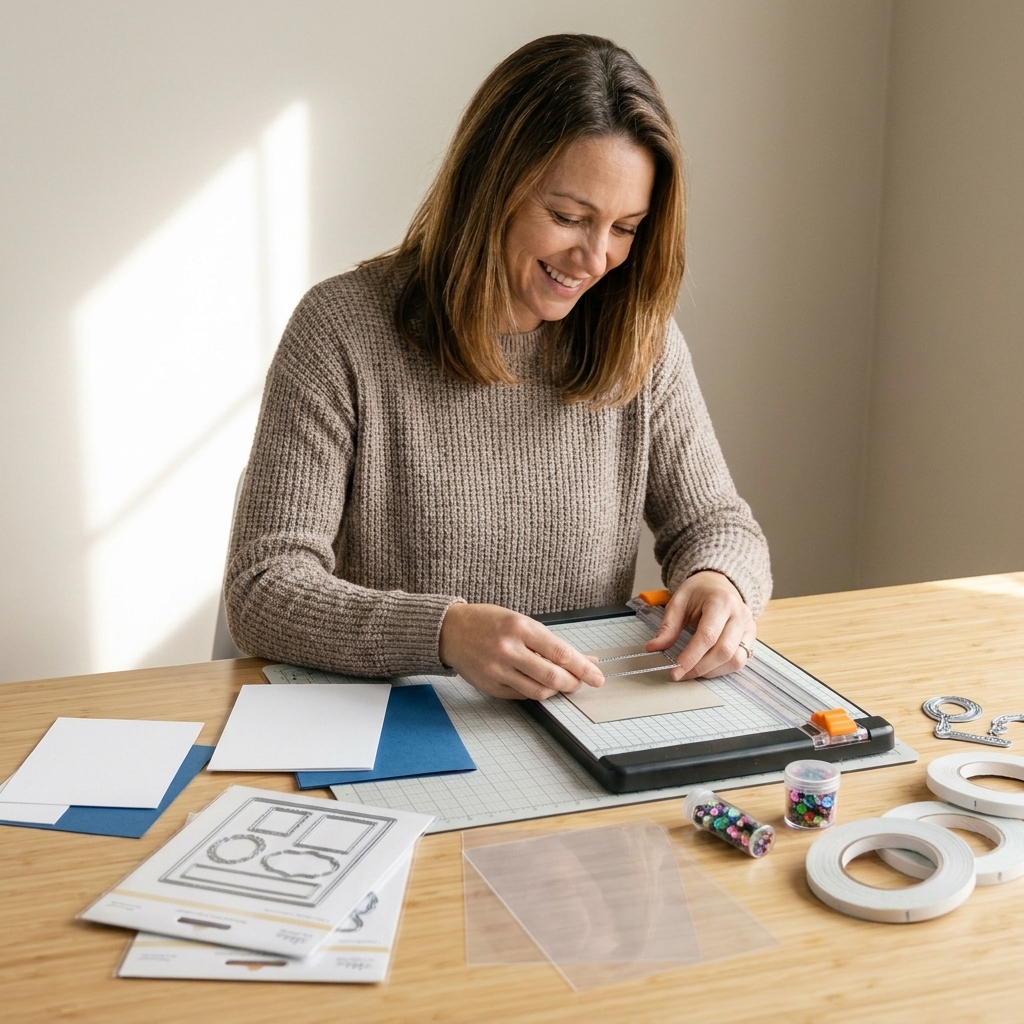
You do not need fancy tools, but accurate scoring makes a big difference with pop-up cards. Crisp folds help the box open smoothly and close flat.
- Cardstock: 80 lb to 110 lb for the base (too flimsy can buckle). Patterned paper is great for mats and panels.
- Paper trimmer
- Scoring board and bone folder (or a ruler and scoring tool)
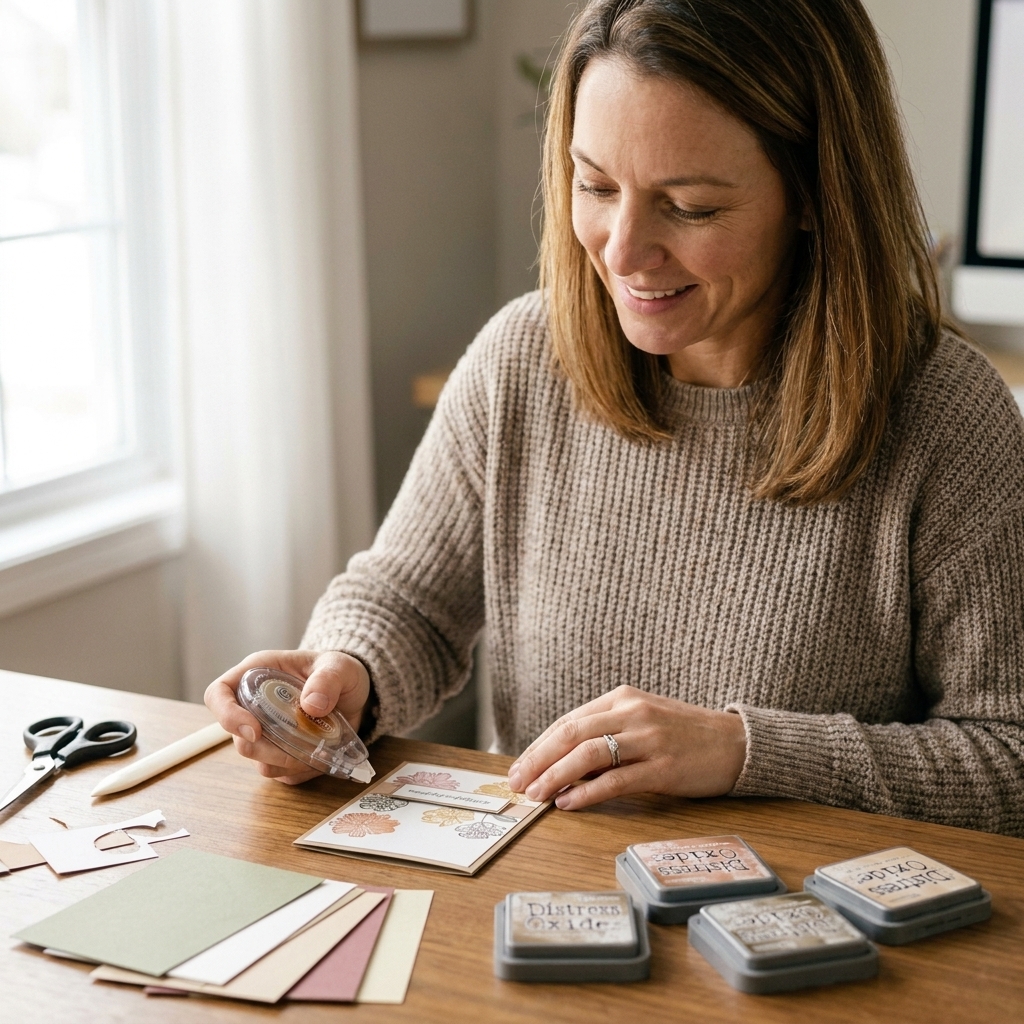
- Adhesive: strong double-sided tape or dry adhesive runner, plus liquid glue for small bits
- Scissors
- Stamps or dies for decorations (optional but fun)
- Embellishments: sequins, gems, ribbon (keep bulky bits off the back so it still mails nicely)
- Envelope: an A7 (5 x 7) often fits this finished size, but always test-fit if you decorate heavily
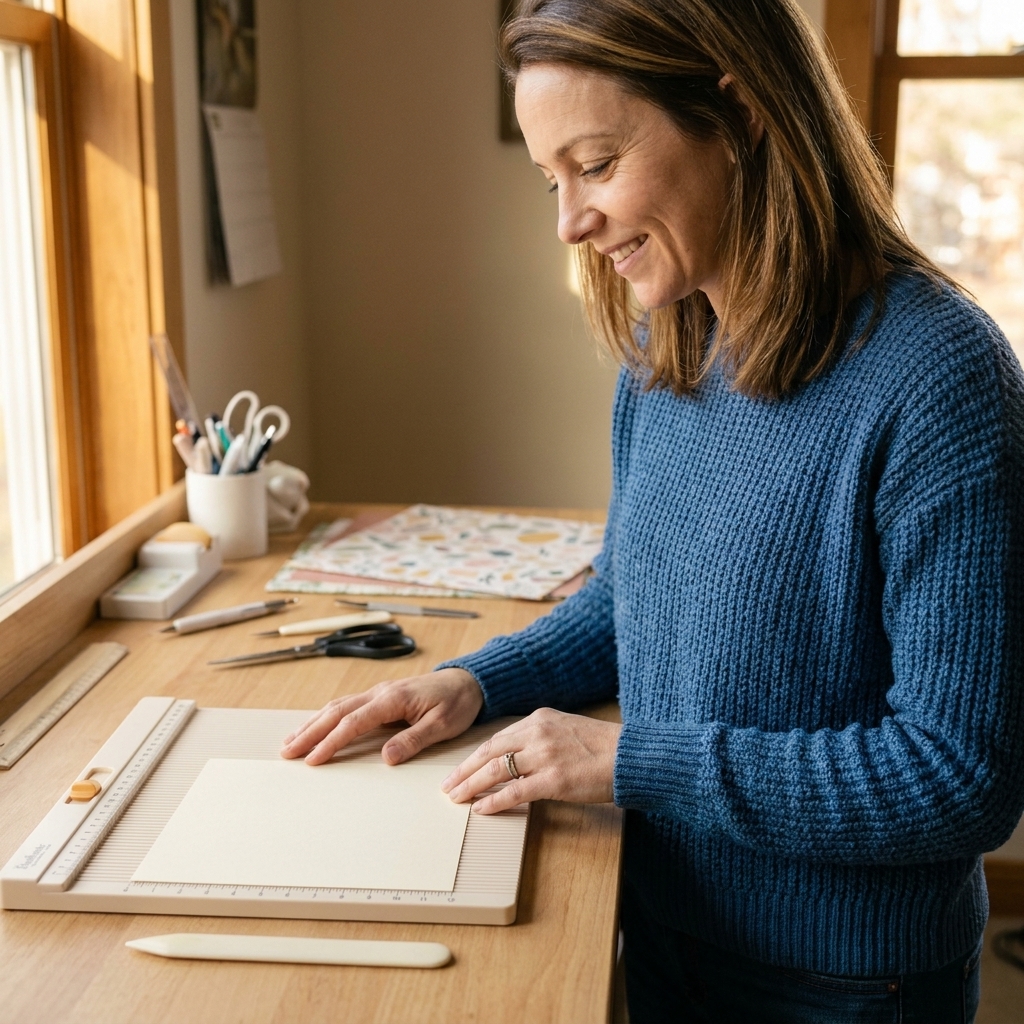
Size and measurements
This tutorial creates a classic pop-up box card that finishes at about 4 inches wide and 6 inches tall when standing open.
Important: A pop-up box card that folds flat is an open-ended tube. There is no glued floor and no folded-in bottom flaps. The “box” holds its shape because of the scored walls, and it collapses flat because the bottom edge stays completely uncut.
Folded-flat size (quick reality check): When you collapse it, the footprint is usually about 4 x 6 inches, plus whatever bulk your decorations add. That is why envelope fit and postage can vary.
Cut list
- Box base: 10 x 6 inches cardstock
- Optional decorative panels (for the sides): see Step 7 for panel sizes
- Insert strips (the pop-up supports inside): 2 strips of cardstock, each 1 x 6 inches
Chloe tip: If you are using heavily inked stamping, water-based coloring, or lots of die-cuts, choose a sturdy base cardstock. It helps everything stand upright instead of slumping like a tired little paper couch.
Step 1: Score the base
Take your 10 x 6 inch piece of cardstock and place it landscape style (10 inches wide, 6 inches tall).
You are going to create a 3-inch-tall box wall on the bottom and a 3-inch-tall flap section above it.
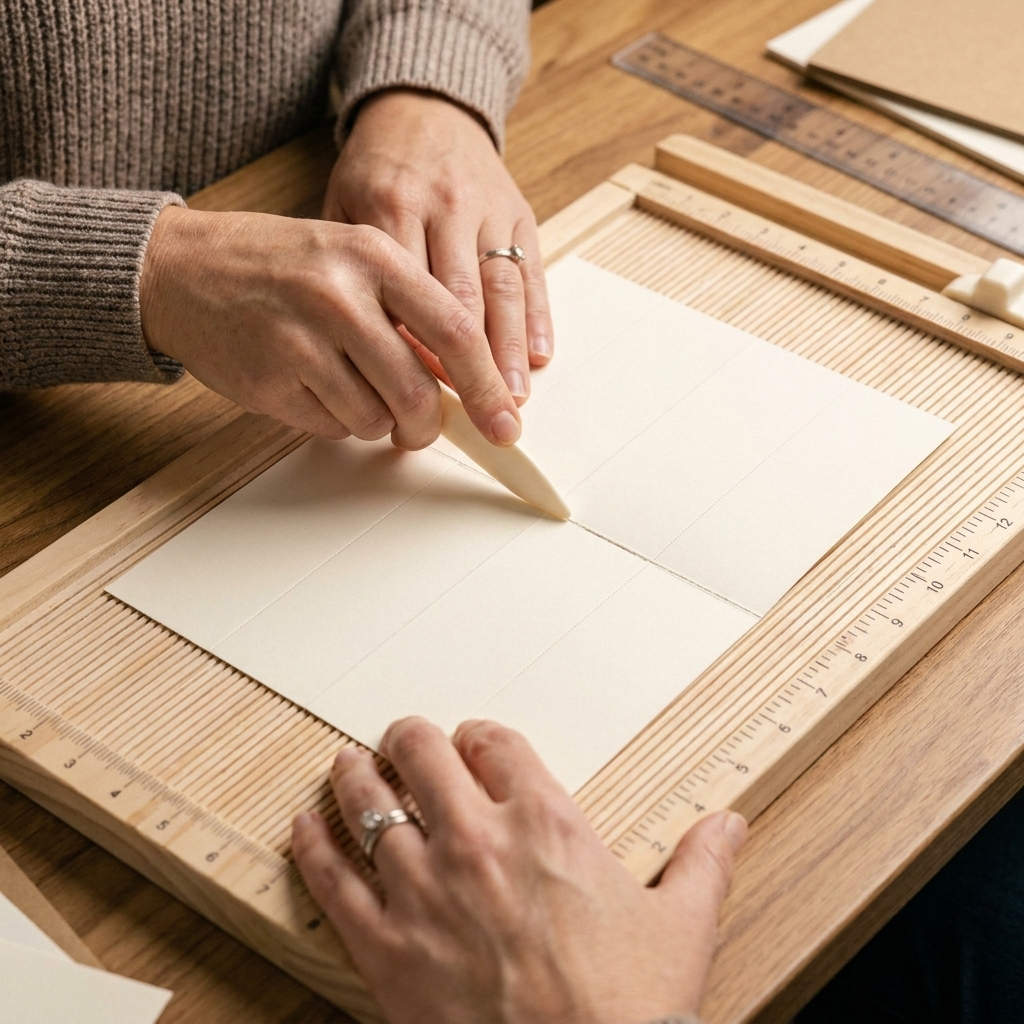
Score vertical lines
Score at:
- 2 inches
- 4 inches
- 6 inches
- 8 inches
This creates four 2-inch-wide box panels across 0 to 8 inches, plus a final section from 8 to 10 inches that becomes your overlap seam (glue tab area).
Quick note on bulk: That 8 to 10 inch section can work as a super sturdy overlap, but it can feel thick once folded. If you want a slimmer, more traditional glue tab, trim that last section down to 1 inch (or even 1/2 inch) before assembling. Everything else stays the same, you will just have less overlap at the seam.
Score the flap line
Score at:
- 3 inches from the bottom edge (across the full width)
This score line separates the bottom 3 inches (the box walls) from the top 3 inches (the flap section). The bottom stays intact, which is exactly what lets the card fold flat.
Step 2: Cut the top flaps
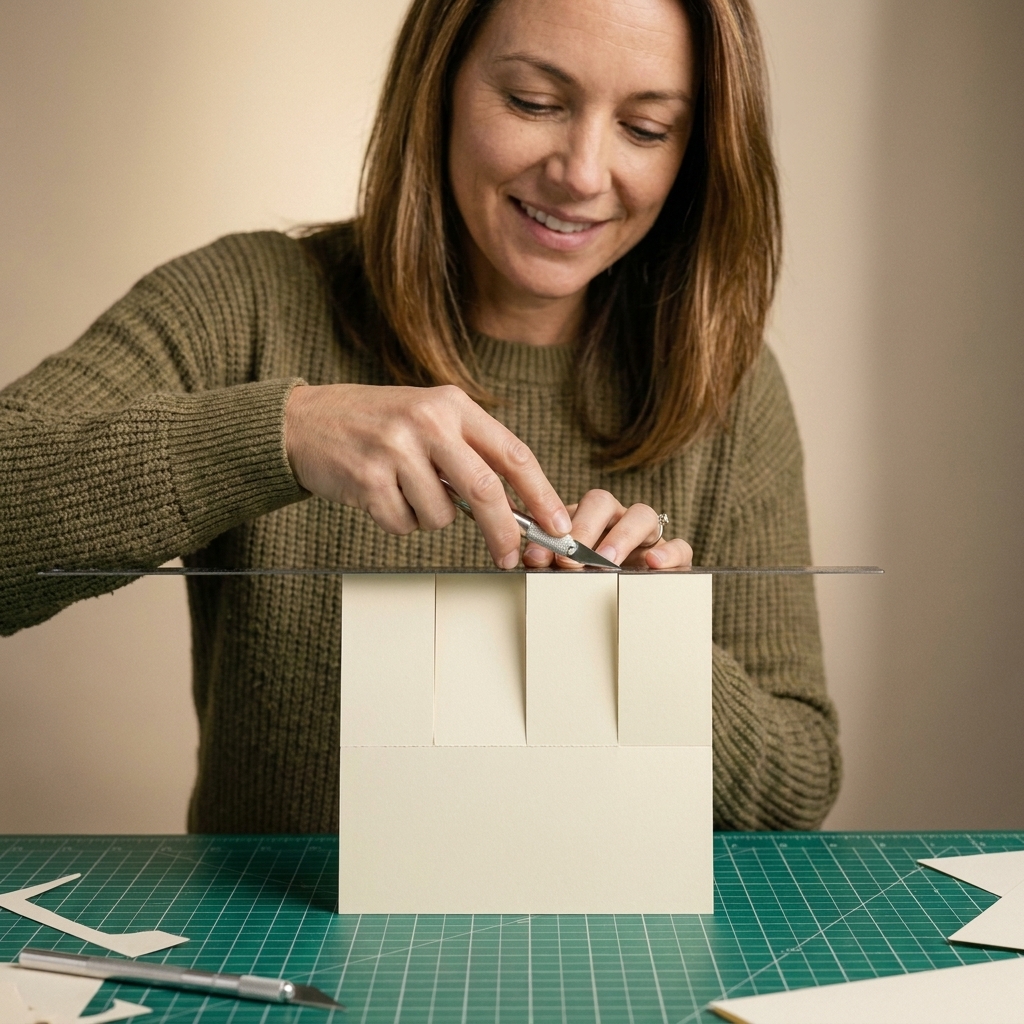
This is the signature pop-up box card look: flaps at the top that fold outward so you can see the little scene inside.
With the cardstock still landscape (10 inches wide), you will cut three slits to create four flaps across the four main panels (0 to 8 inches).
- Starting at the top edge, cut straight down on the vertical score lines at 2 inches, 4 inches, and 6 inches, stopping right at the 3 inch horizontal score line.
- Leave the 8 inch score line uncut. The 8 to 10 inch section is your overlap seam, and keeping it intact makes the side seam stronger and cleaner.
You should now have:
- Four top flaps across the four main panels
- A bottom portion that is completely uncut and continuous
Why this matters: Those uncut bottom walls are what collapse neatly. Any folded-in bottom flaps will overlap at the corners and lock up when you try to flatten the tube, which is paper engineering heartbreak.
Step 3: Fold and burnish
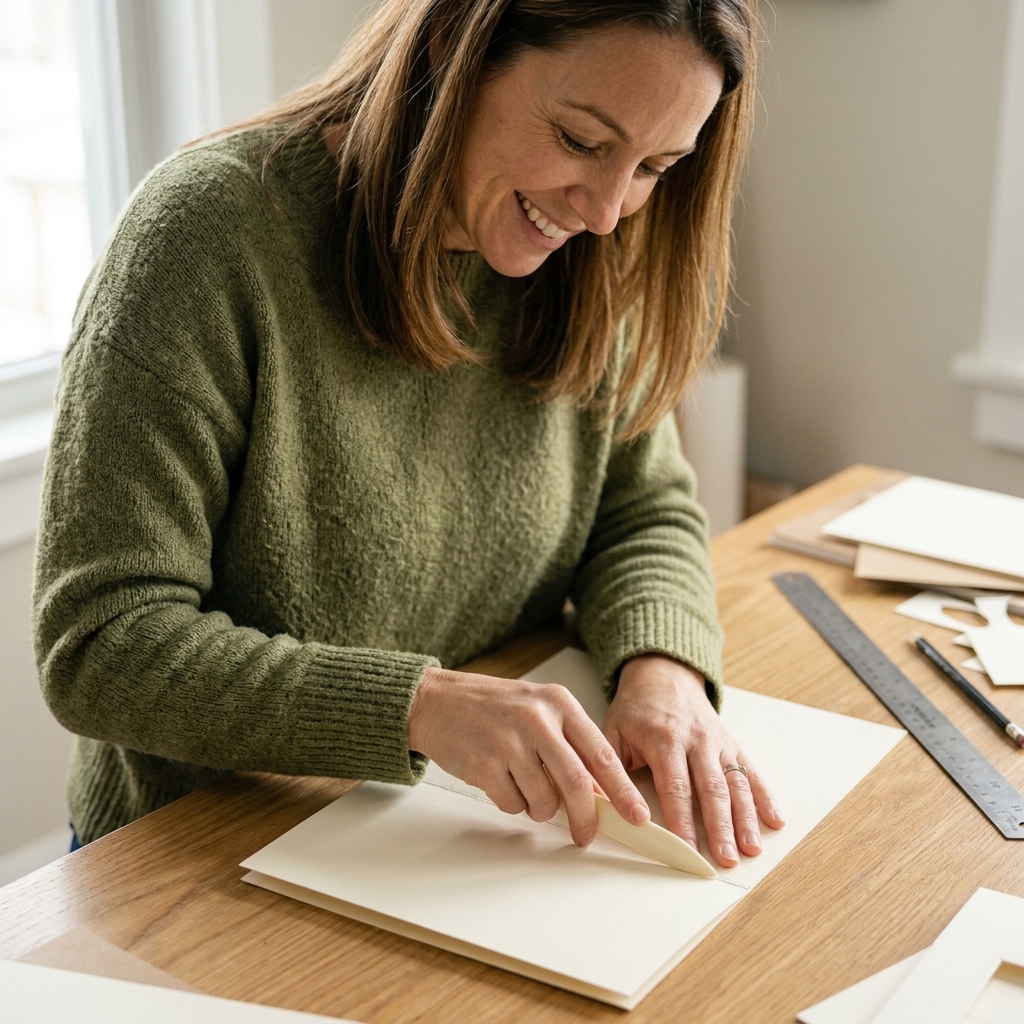
Fold on all score lines before you glue anything. It is the easiest way to keep everything square.
- Fold all the vertical score lines back and forth (mountain and valley) so the cardstock starts forming a tube shape.
- Fold the top flap section on the horizontal score line so the flaps can swing outward later.
- Use a bone folder to burnish every fold. Crisp folds are the secret to a pop-up box that opens smoothly and closes flat.
Step 4: Glue the tube
This is the part that makes it a “box card.” We are building the four walls, leaving the bottom open.
- Find the last section on the right side (between 8 and 10 inches). This is your overlap seam (glue tab area).
- Add strong double-sided tape to the glue tab, keeping it close to the edge.
- Bring the left edge (the 0-inch edge) around to form a tube and adhere it to the glue tab. Line up the top edges and the bottom edges so the tube is straight.
Test the flat fold
Before you go further, do a quick test:
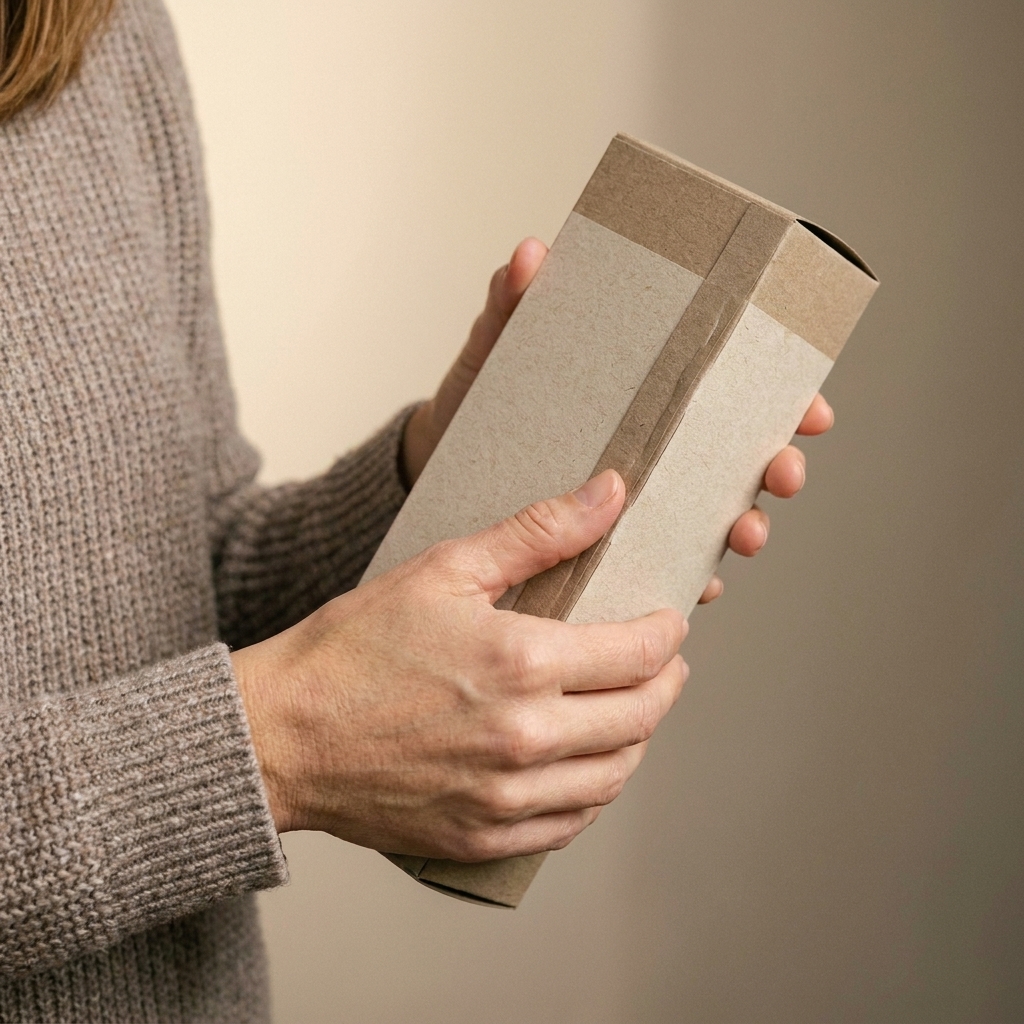
- Pinch the two opposite side panels and collapse the tube flat.
- Open it back up into a rectangle.
If it fights you, re-burnish the vertical folds. A well-scored tube should pop open and collapse like it has been practicing.
Mini fold guide: When you flatten it, two opposite panels fold inward (valley folds) and the other two fold outward (mountain folds). If your tube wants to twist, gently “train” the folds by collapsing it the same way a few times.
Step 5: Fold the flaps
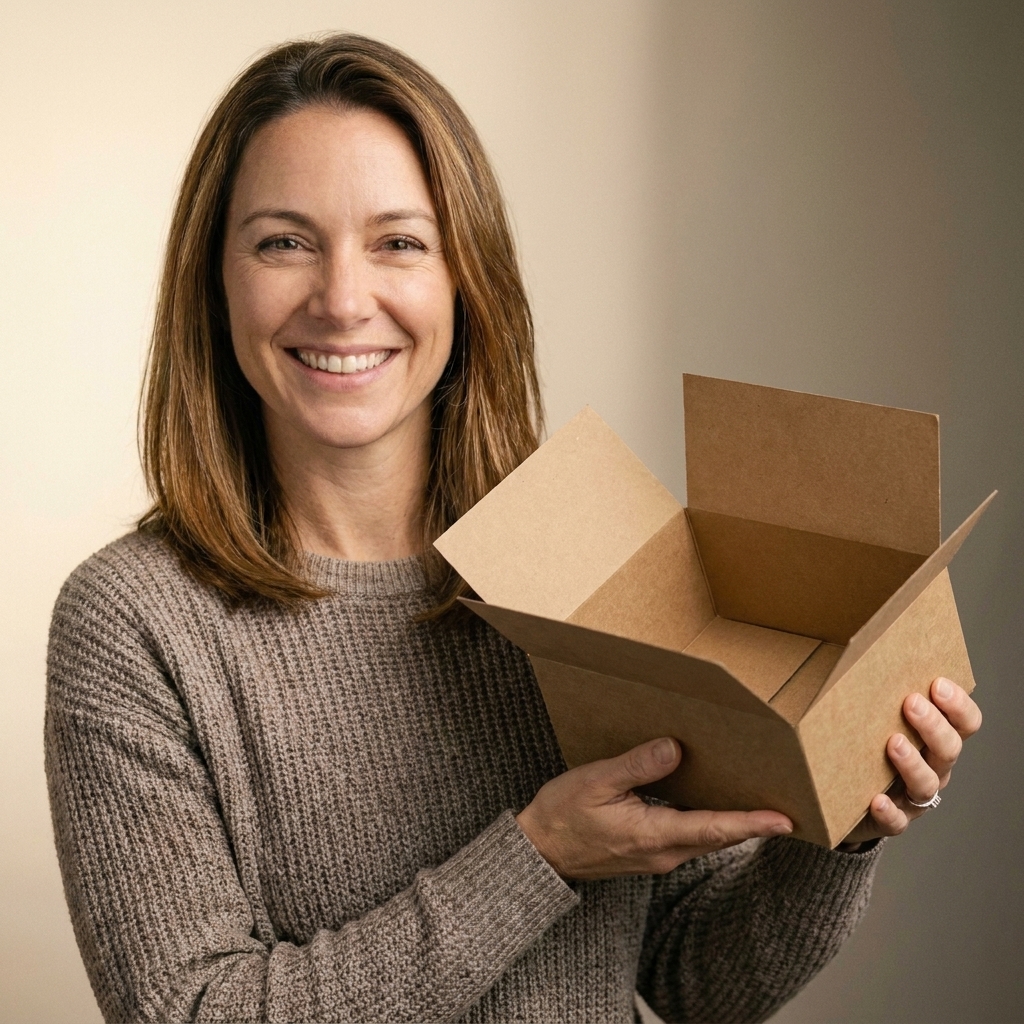
Stand your tube up and gently open it into its box shape.
- Fold the top flaps outward along the horizontal score line.
- Two flaps will be on the front and back, and two will be on the sides.
Those flaps are not just cute. They help the box feel finished and give you extra spots for decorating and sentiments.
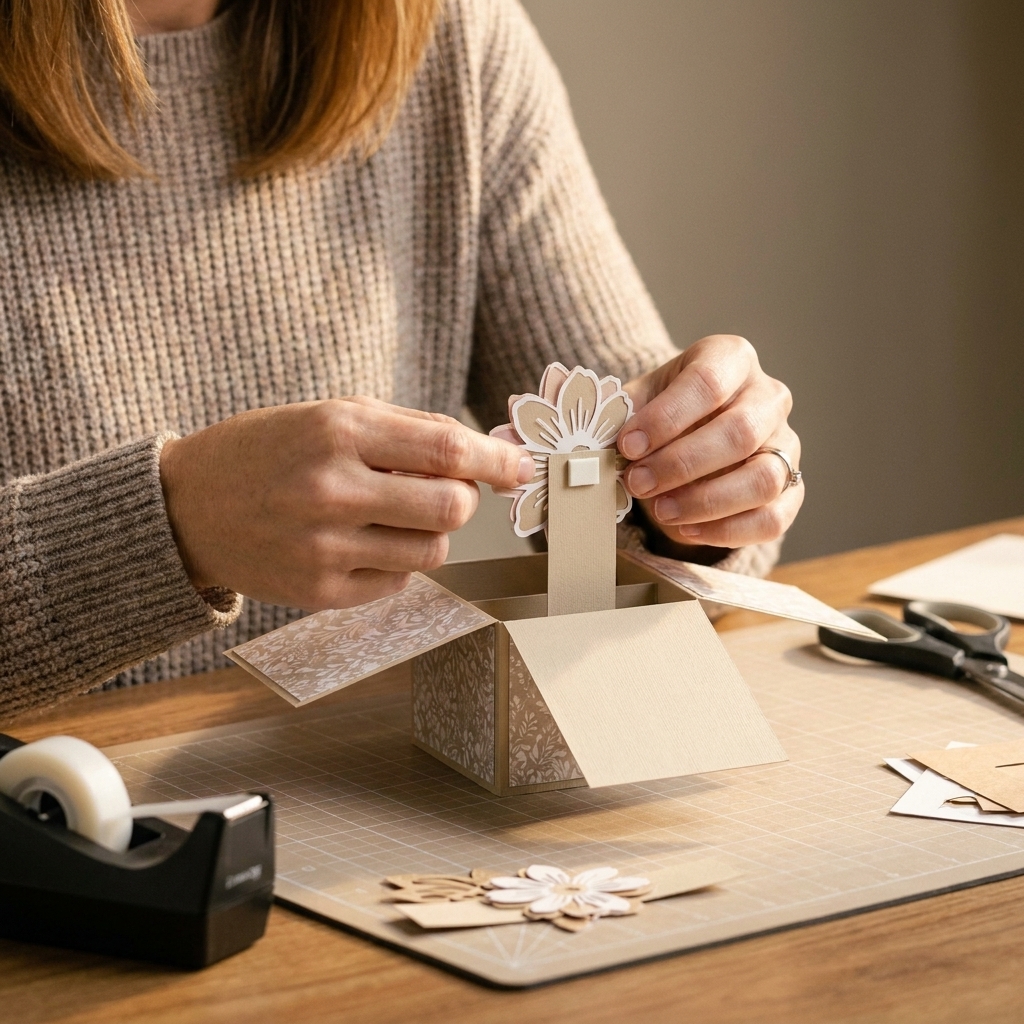
Step 6: Add inner strips
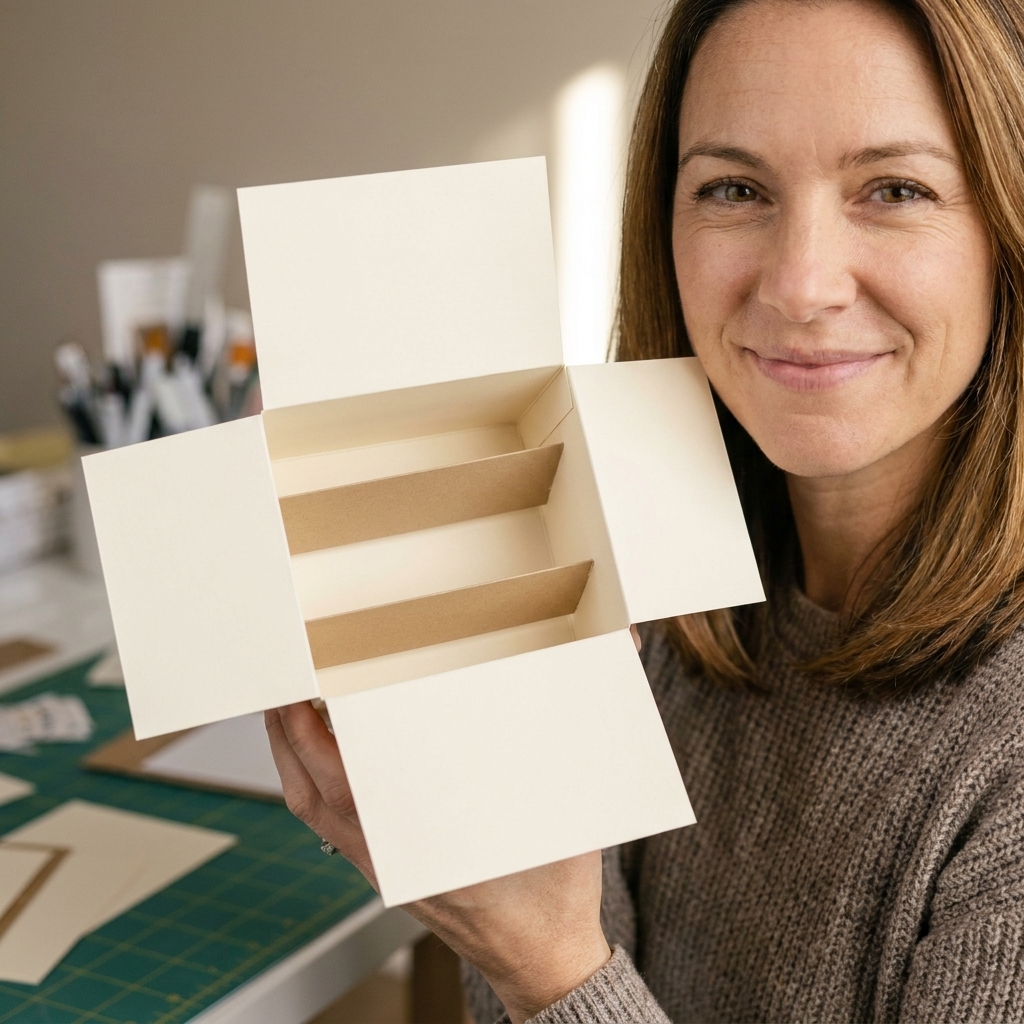
These strips are the “stage rails” that your die-cuts, stamped images, or little scenes attach to.
Prepare the strips
- Cut two strips at 1 x 6 inches.
- Score each strip at 1/2 inch from each end.
- Fold the 1/2 inch ends back to create small tabs.
Attach inside the box
Open your box so it is standing. Glue the strip tabs to the inside walls, spanning from one side to the other. You can place them at different heights for more depth.
- Strip 1: about 1 to 1 1/2 inches down from the top edge
- Strip 2: about 2 to 2 1/2 inches down from the top edge
Chloe tip: Before you commit with glue, dry-fit the strip and gently collapse the card flat. If it buckles, move the strip slightly lower or make sure the strip is not bowed.
Step 7: Decorate
Now the fun part, where your box turns into a tiny celebration scene.
Panel sizes
Each side panel is about 2 inches wide and about 3 inches tall on the box walls (below the flap score line). The flaps themselves can be decorated too.
- For the box walls (below the flap): try 1 3/4 x 2 3/4 inches (cut 4)
- For the flaps: try 1 3/4 x 2 3/4 inches (cut 4), then trim or notch as desired
If you prefer full coverage, you can cut panels closer to the edge, but leaving a little margin helps hide any tiny “not perfectly square” moments. We have all been there.
Ideas
- Layered die-cuts: florals, balloons, stars, snowflakes
- Stamped images popped up with foam tape
- Scene building: clouds on the back, grass along the bottom edge, characters on the strips
- Heat embossing on a flap sentiment for extra shine
Step 8: Add pop-ups
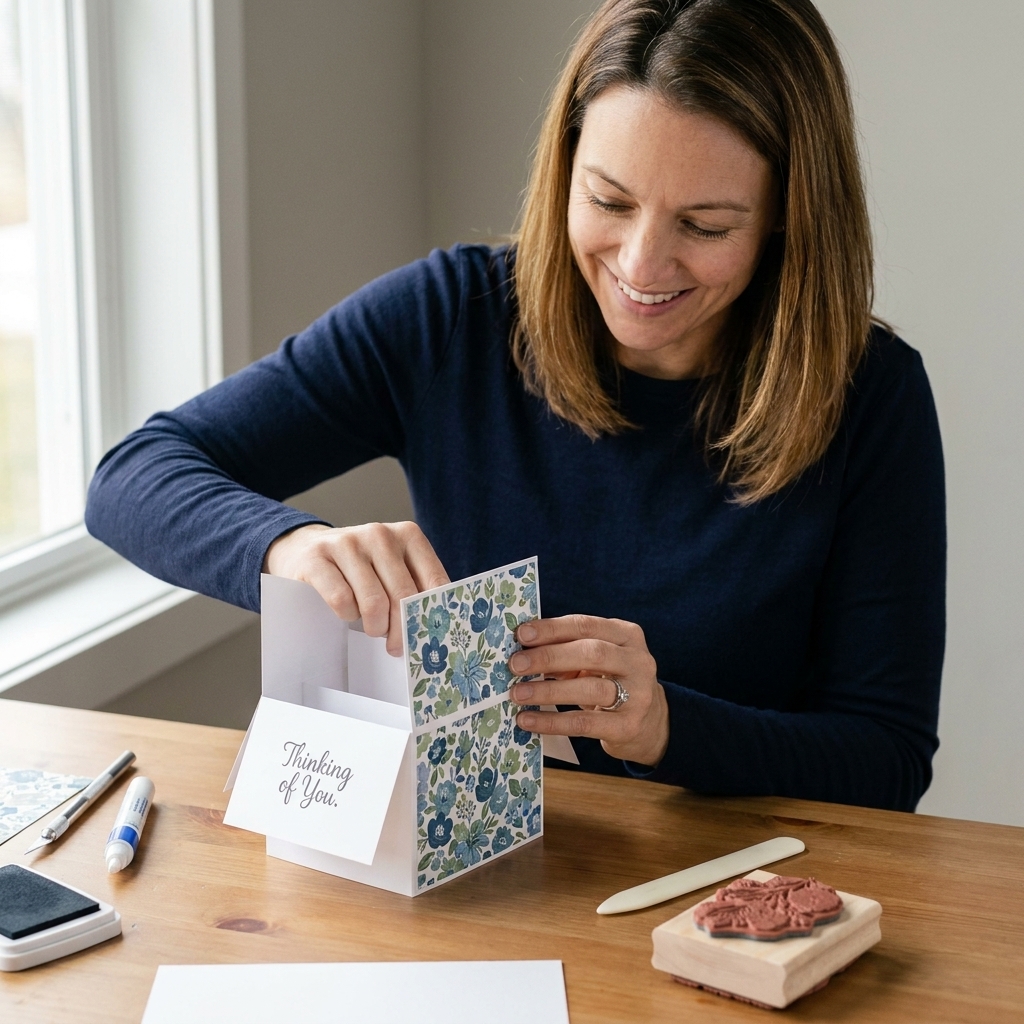
Attach your focal images to the inner strips using strong adhesive. For heavier die-cuts, a combination of tape runner plus a tiny dot of liquid glue keeps things secure.
- Place taller elements toward the back so they do not collide when closing.
- Vary heights and widths for depth.
- Keep delicate bits away from the fold lines.
Test as you go: After adding each element, gently collapse the card flat. If something catches, move it inward a hair or trim a small edge. This is the secret to a frustration-free finish.
Step 9: Fold and mail
A pop-up box card is happiest when it can travel safely.
How to close it
- Fold the pop-up elements gently inward if needed (do not force anything).
- Pinch the sides so the tube collapses flat.
- Let the flaps settle as you flatten it, then smooth everything with your hand.
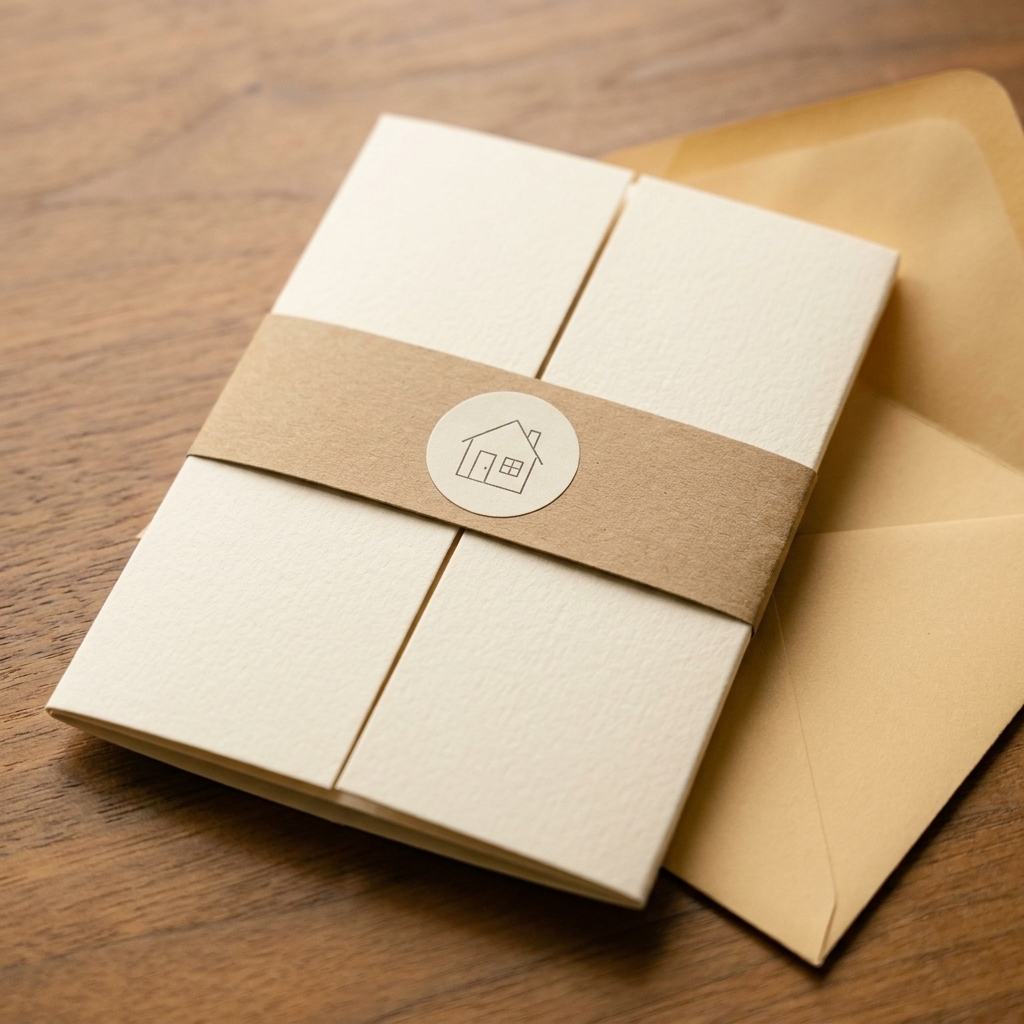
- Use a belly band, ribbon, or a low-profile paper clip to hold it closed.
Chloe tip: If your card feels extra chunky at the side seam, that is usually the overlap. Next time, try trimming the glue tab down to 1 inch (or 1/2 inch) before you assemble. Less overlap means less bulk, which makes mailing and closing easier.
Envelope and postage
- An A7 envelope (5 x 7) often fits most standard box cards. Still, do a quick test-fit before you add thick foam tape, big bows, or chunky layers.
- Postage depends on your country and your local mail rules for thickness and “dimensional” pieces. If it is bulky or lumpy, check your postal service guidelines or have it weighed at the counter.
- If you want the safest option, mail in a padded mailer or a small rigid mailer and tuck a note inside explaining how to open it.
Troubleshooting
It will not fold flat
- Check that the inner strips are not bowed outward. Reattach with a straighter span.
- Make sure pop-up elements are not extending past the box edges.
- Burnish all folds again. A soft fold often causes resistance when you close it.
- Confirm you did not accidentally cut or fold anything into a bottom floor. The bottom should be open and uncut.
It stands crooked
- Confirm your vertical score lines are at 2-inch increments.
- When you glued the side seam, the top edges or bottom edges may not have matched perfectly. Decorative panels can disguise minor misalignment.
The walls feel floppy
- Use heavier cardstock for the base next time.
- Make sure the vertical folds are sharply burnished.
- If you added a lot of heavy elements, add a third inner strip lower down to help support the scene.
Easy variations
- Taller box: Start with a taller base like 10 x 7 inches and keep the same 2-inch panel scoring. Choose where you want your flap score line (often 3 inches from the top works nicely).
- Wider box: Increase panel widths (for example 2 1/2 inches each) and adjust the starting cardstock width accordingly.
- Window front: Die-cut a window on one flap or on a box wall panel and back it with acetate. Keep adhesive flat so it still closes well.
- Shaped flaps: Banner-cut the flap edges, round the corners, or scallop them for a softer look.
If you try a variation, do a quick paper mock-up from scrap first. A “practice pop-up” saves your pretty cardstock from becoming the sacrifice.
Quick recap
- Cut base: 10 x 6 inches
- Score at: 2, 4, 6, 8 inches (vertical)
- Score at: 3 inches from the bottom (horizontal across the width)
- Cut top slits: from top edge down to the 3-inch score line at 2, 4, 6 inches
- Leave 8-inch line uncut so the 8 to 10 inch section stays as the overlap seam
- Bottom stays uncut and open-ended so it folds flat
- Inner strips: 1 x 6 inches, score 1/2 inch from each end
- Optional for less bulk: trim the overlap seam to 1 inch or 1/2 inch
FAQ
Can I make a pop-up box card with patterned paper?
You can, but I recommend using solid cardstock for the base and patterned paper for panels. Patterned paper alone is often too thin to hold the structure nicely.
What adhesive works best?
For the side seam and the inner strip tabs, use strong double-sided tape. For small die-cuts and layered pieces, liquid glue is perfect, especially when you need a few seconds of wiggle room.
Do pop-up box cards need extra postage?
Sometimes. If it is fairly flat when folded and not too bulky, it may mail like a regular card. If it feels thick or lumpy, it often needs additional postage. Since rules vary by country, check your local postal service guidelines for thickness or dimensional mail, or have it weighed at the counter.
If you make one of these, please promise me one thing: open and close it a few times just to enjoy the little paper engineering moment. It never gets old. And once you nail your first box card, you will start seeing themes everywhere, birthdays, baby showers, holidays, thank yous, you name it.
Happy crafting from my kitchen table to yours.