If you have ever looked at a layered paper shadow box and thought, “How is that even paper?” you are my people. Shadow boxes are basically the paper-crafting version of stage sets. You build depth one layer at a time, and suddenly a simple scene has distance, dimension, and that little bit of magic that makes someone pick it up and tilt it toward the light.
In this guide, I will walk you through the whole process: planning a design with believable depth, cutting clean layers, stacking with foam tape spacers, and adding optional LED backlighting without warping or messy wires.
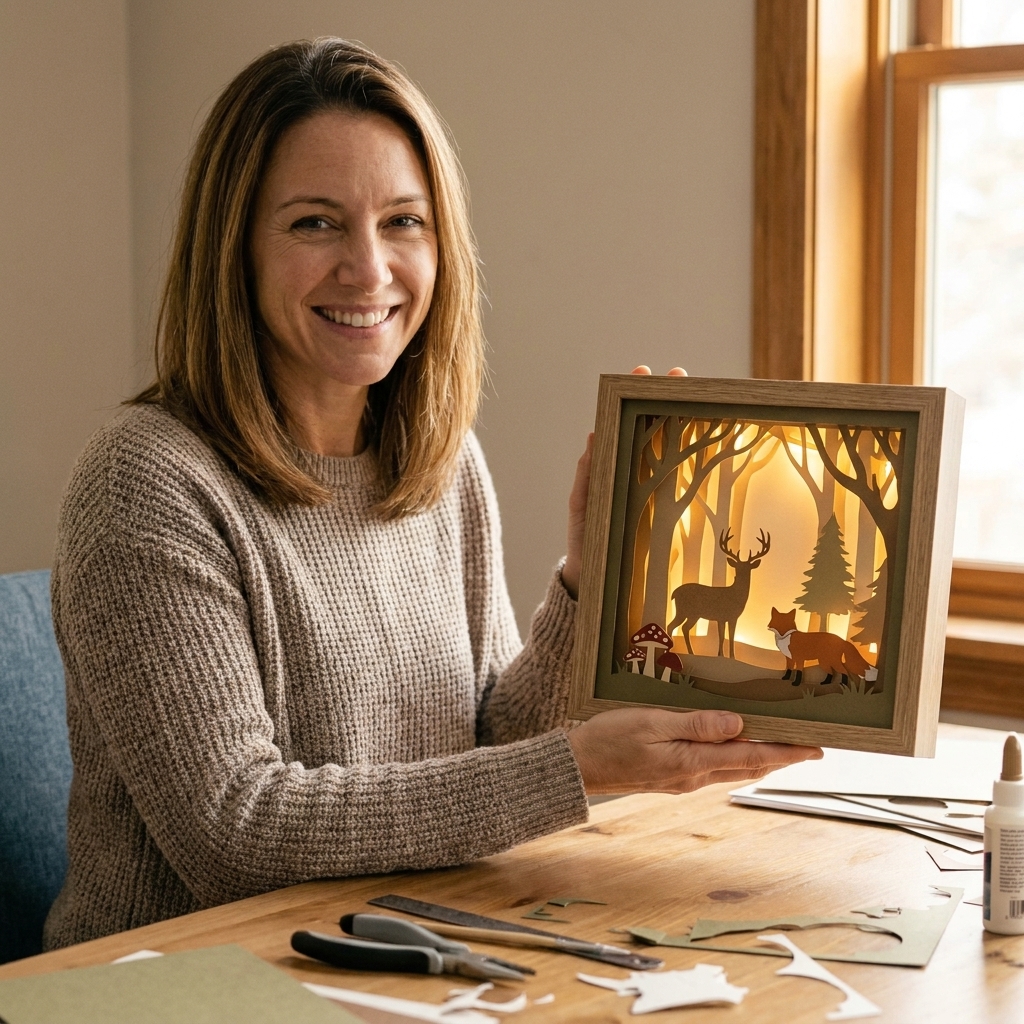
What makes it look 3D?
The secret is not just stacking layers. It is planning depth on purpose. A shadow box reads as realistic when you control three things:
- Value and contrast: darker or higher-contrast shapes feel closer, lighter shapes feel farther away.
- Scale: slightly larger foreground elements and smaller background elements instantly add distance.
- Spacing: consistent, deliberate gaps between layers create crisp “air” that your eye interprets as depth.
Think of it like a theater set: background scenery, midground props, foreground details, then a frame that acts like the proscenium.
Supplies and materials
Paper and structure
- Cardstock: roughly 65 lb to 110 lb. I love 80 lb for intricate cuts and 100 to 110 lb for frames and structural pieces. (Quick note: “lb” varies by paper type and region. If you shop by gsm instead, think about 175 to 300 gsm as a similar ballpark.)
- Shadow box frame: store-bought or handmade. Deeper frames make layering easier, but see the depth math below so you do not get surprised mid-build.
- Backing board: heavyweight cardstock, chipboard, or the frame insert.
- Acetate (optional): for a clean front “window” or shaker-style effects.
Adhesives
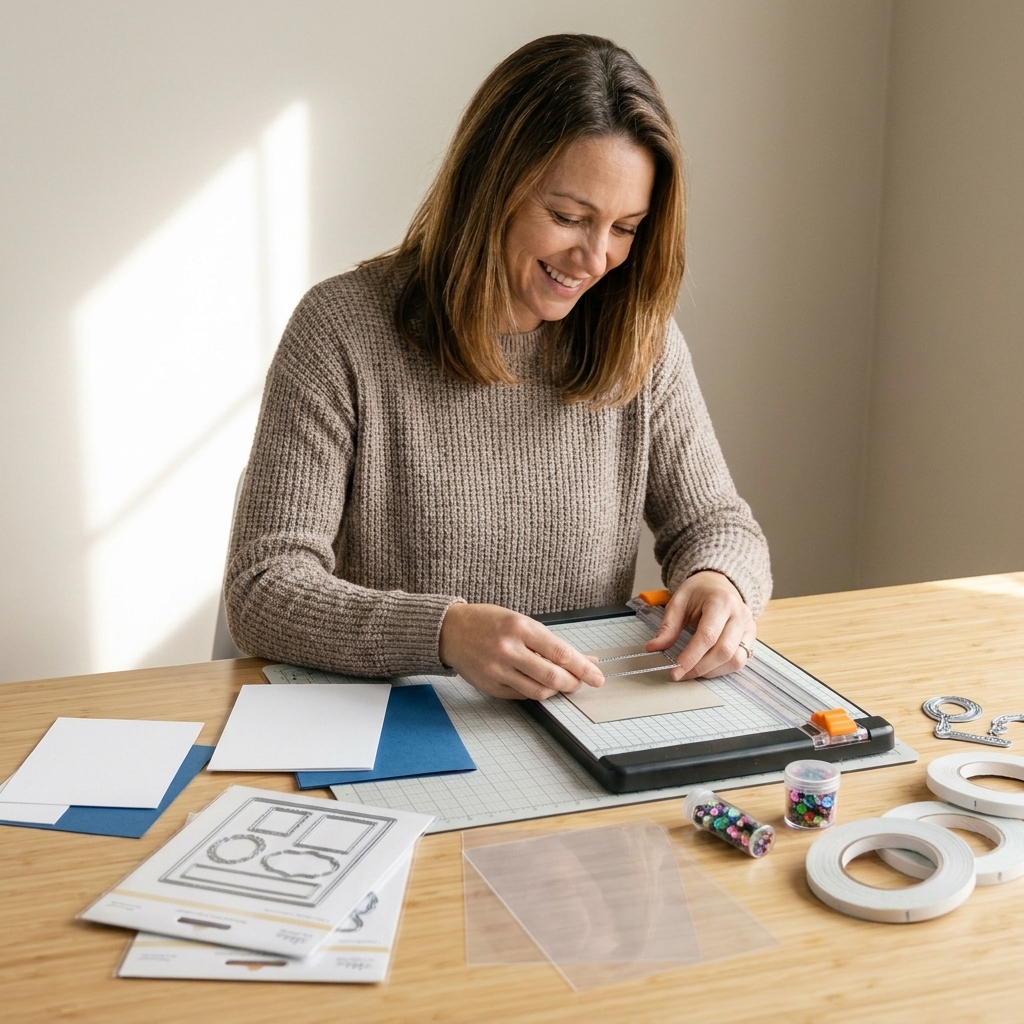
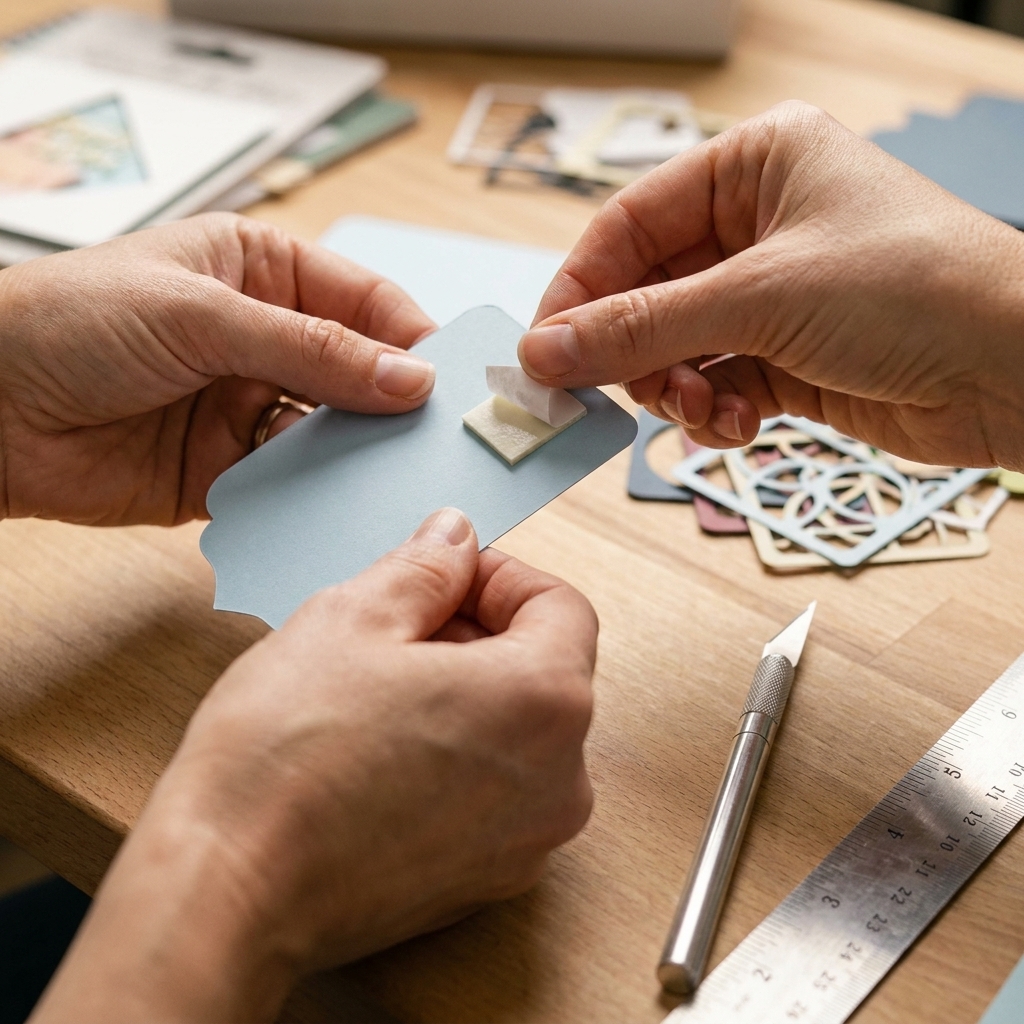
- Foam tape: 1 mm to 3 mm thickness. Use thin for delicate layers, thicker for dramatic depth.
- Liquid glue: for narrow tabs and tiny pieces (fine-tip bottle helps).
- Strong double-sided tape: for frames, edges, and mounting LEDs.
Cutting tools
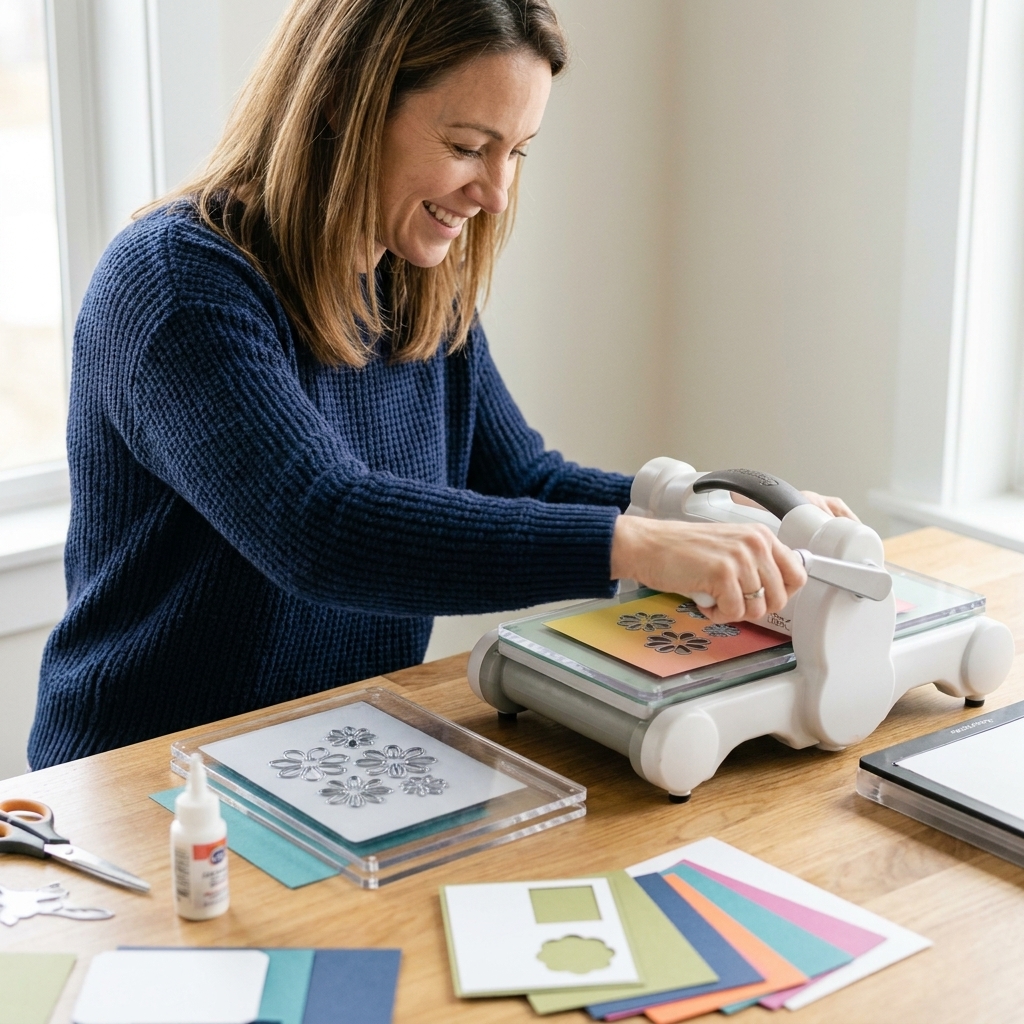
- Die-cutting machine and nested rectangle dies, or a digital cutter if you have one.
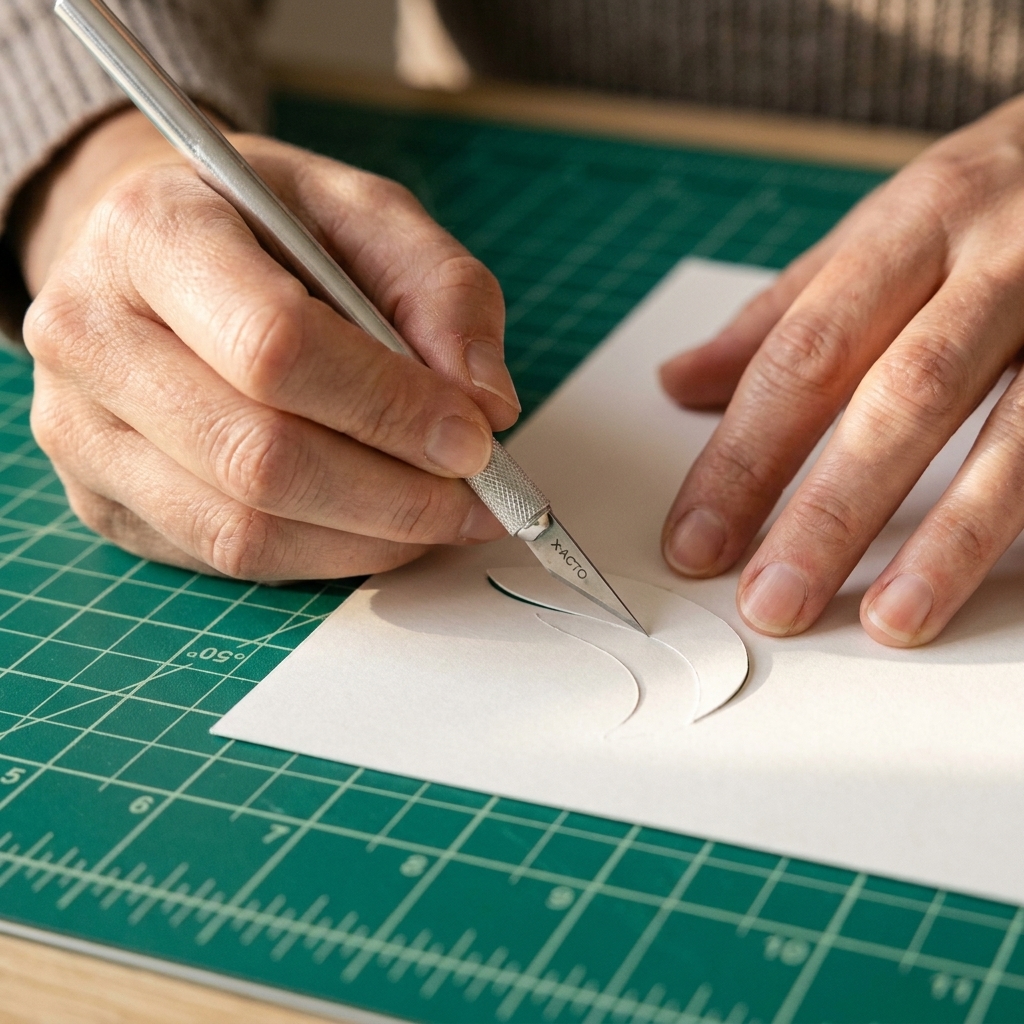
- Craft knife with fresh blades for interior windows and tight corners.
- Metal ruler and self-healing mat if hand-cutting.
Lighting (optional but so pretty)
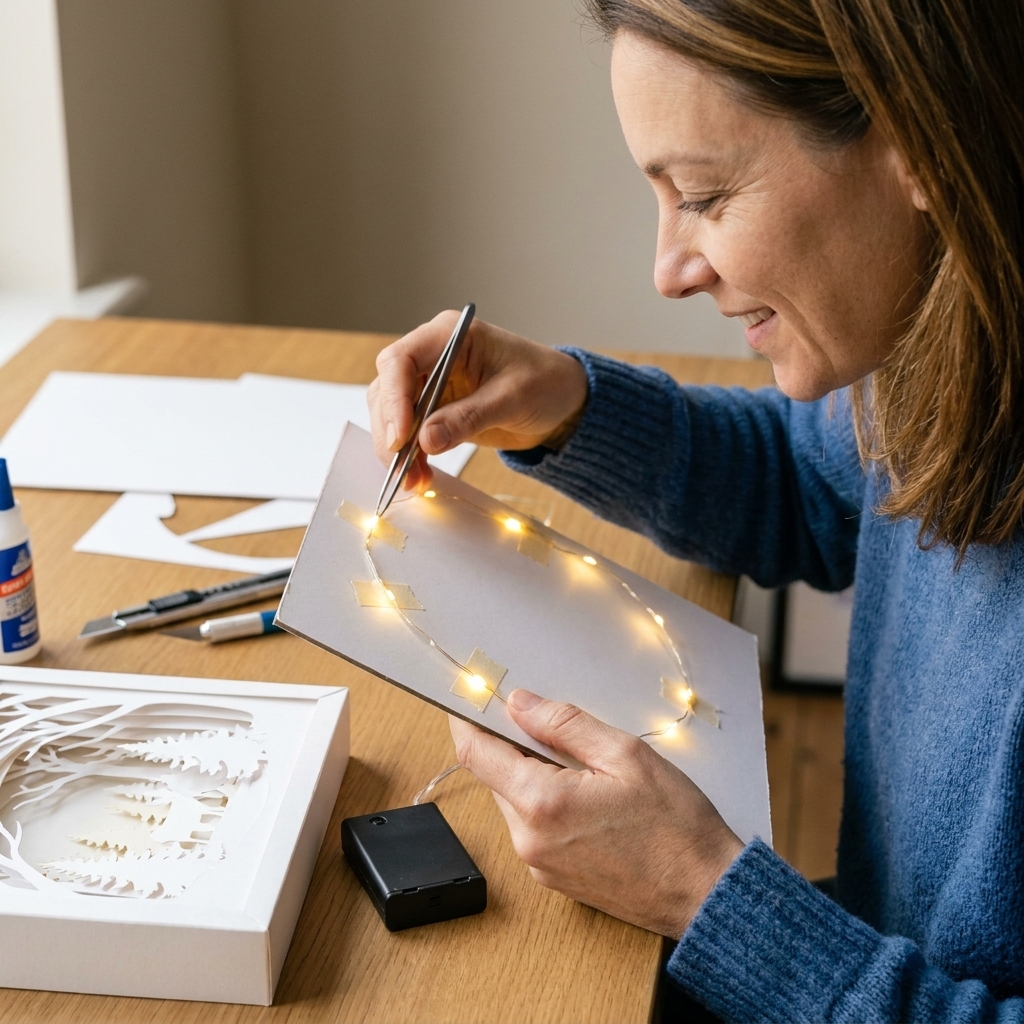
- Battery micro LED string lights or a battery LED strip (battery powered is simplest and tends to run cooler).
- Vellum as a diffuser to soften hotspots.
- Black tape or gaffer tape for light blocking.
Nice-to-have extras
- Anti-static pouch to reduce static cling and lint on dark cardstock.
- Tweezers for tiny die-cuts.
- Bone folder for crisp folds if you build your own frame.
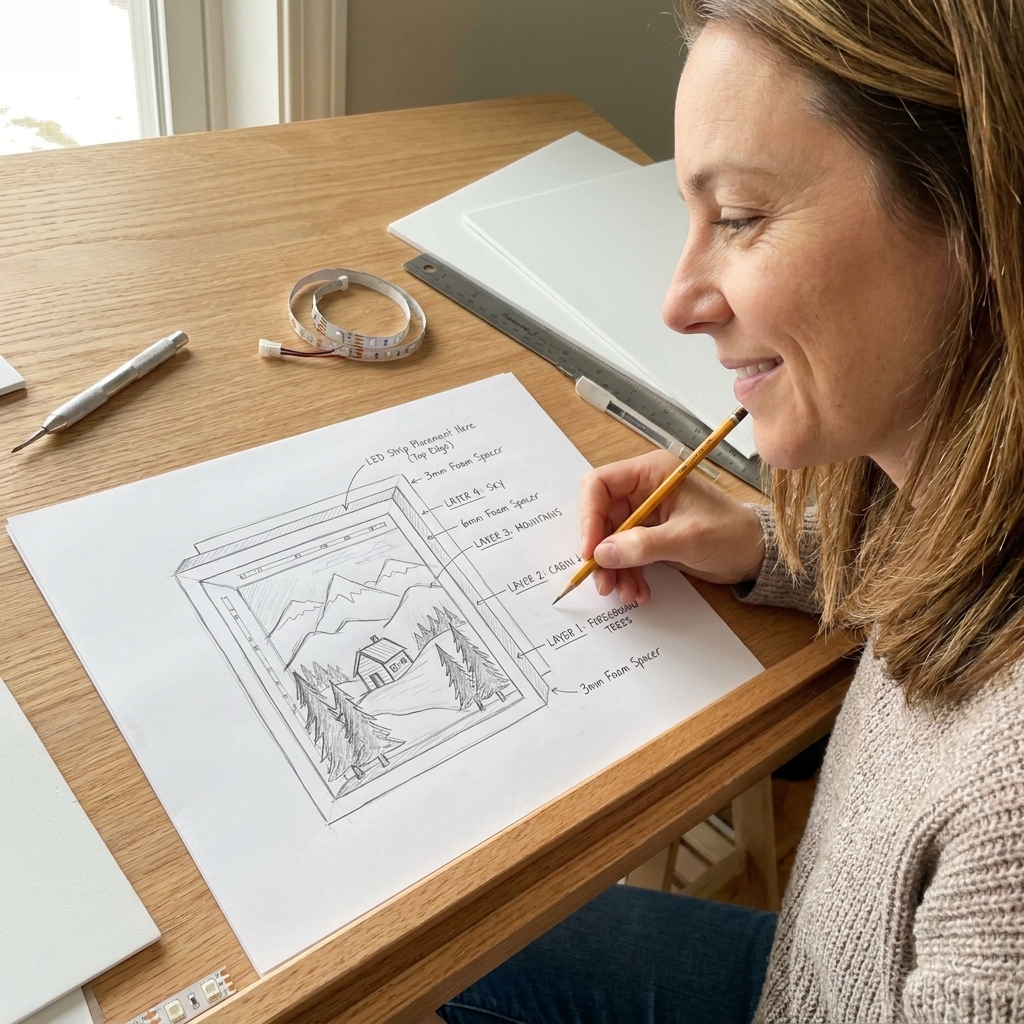
Plan the depth first
Before you touch cardstock, plan your layers like a little “depth recipe.” I do this on a sticky note or scrap paper, nothing fancy.
Step 1: Pick a scene
Great starter themes:
- Forest with trees (easy to separate into distances)
- City skyline (clean silhouettes)
- Ocean scene with waves and a boat
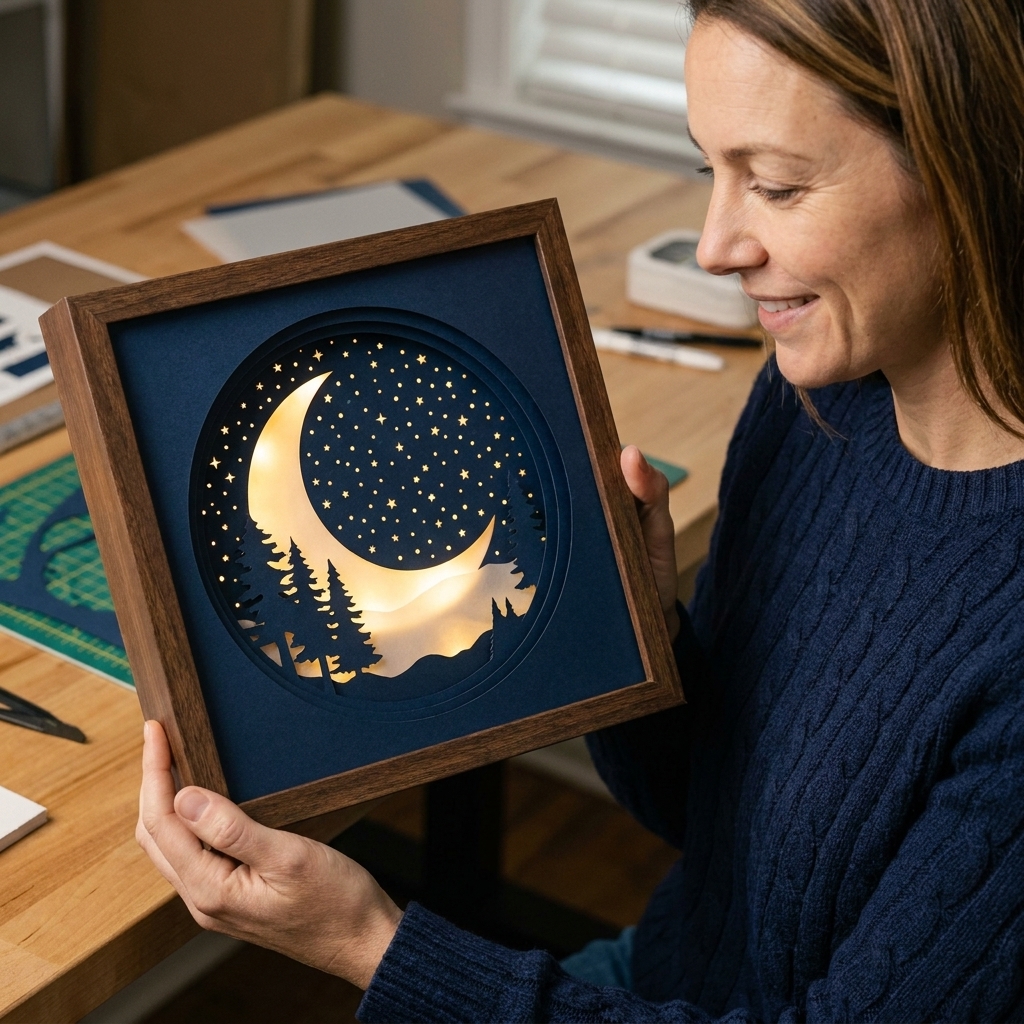
- Night sky with moon and stars (amazing with LEDs)
Step 2: Choose layer count
Most shadow boxes look balanced with 5 to 8 layers:
- Layer 1: background sky or wall
- Layer 2: far background shapes
- Layer 3 to 5: midground elements
- Layer 6 to 7: foreground details
- Layer 8: frame or top overlay
Step 3: Pick foam thickness
Pick a foam thickness and stick to it for a clean look. My go-to starting point is:
- 1 mm foam: detailed, delicate designs
- 2 mm foam: the sweet spot for most shadow boxes
- 3 mm foam: bold depth and dramatic lighting, but it can demand a deeper frame
Step 4: Make sure it fits (simple depth math)
Frames are where people get ambushed. A “1 inch deep frame” can be roomy or cramped depending on how the inside is built.
Use this quick rule of thumb:
- Total depth needed ≈ (number of foam gaps × foam thickness) + paper thickness + light and diffuser clearance
Practical example: 7 layers usually means 6 foam gaps. With 2 mm foam, that is about 12 mm just in spacers. Add the paper thickness and a little breathing room (especially if you are lighting), and you can land around 16 to 22 mm (roughly 5/8 to 7/8 inch) pretty quickly. If you plan to tuck lights behind the background, give yourself a bit more.
Step 5: Decide where the light will live
If you are adding LEDs, decide what you want to glow:
- Back glow: light behind the background layer for an even halo
- Hidden glow: light between layers for “windows” or moonlight rays
- Edge glow: lights tucked around the inside perimeter of the frame
Colors that add depth
This is where your patterned-paper-hoarder friend gently reminds you: not every gorgeous print belongs in the same shadow box. Depth is easier to see when the palette is controlled.
Use the “fade back” rule
- Foreground: richer color, higher contrast, heavier texture
- Background: softer tones, less contrast, smoother cardstock
Texture tips
- Embossed cardstock reads closer because it catches shadows.
- Glitter cardstock is best as a small accent layer (stars, snow, highlights) so it does not overpower the scene.
- Vellum is perfect for mist, fog, light beams, and soft snow layers.
Cut your layers cleanly
If you are die-cutting
- Use a metal shim only if needed, and keep it consistent so your cuts match.
- Run intricate dies twice, then gently poke out bits with a piercing tool.
- If cardstock looks fuzzy after cutting, it usually means your die is dull or your sandwich is too tight (too many shims or too thick a stack).
If you are using a digital cutter
- Do a tiny test cut in the corner first.
- Use a fresh fine-point blade for filigree layers.
- If cuts look fuzzy or torn, reduce pressure and make sure your mat is sticky enough to hold small details.
- Add bridges in very thin areas so delicate shapes do not tear when you lift the mat.
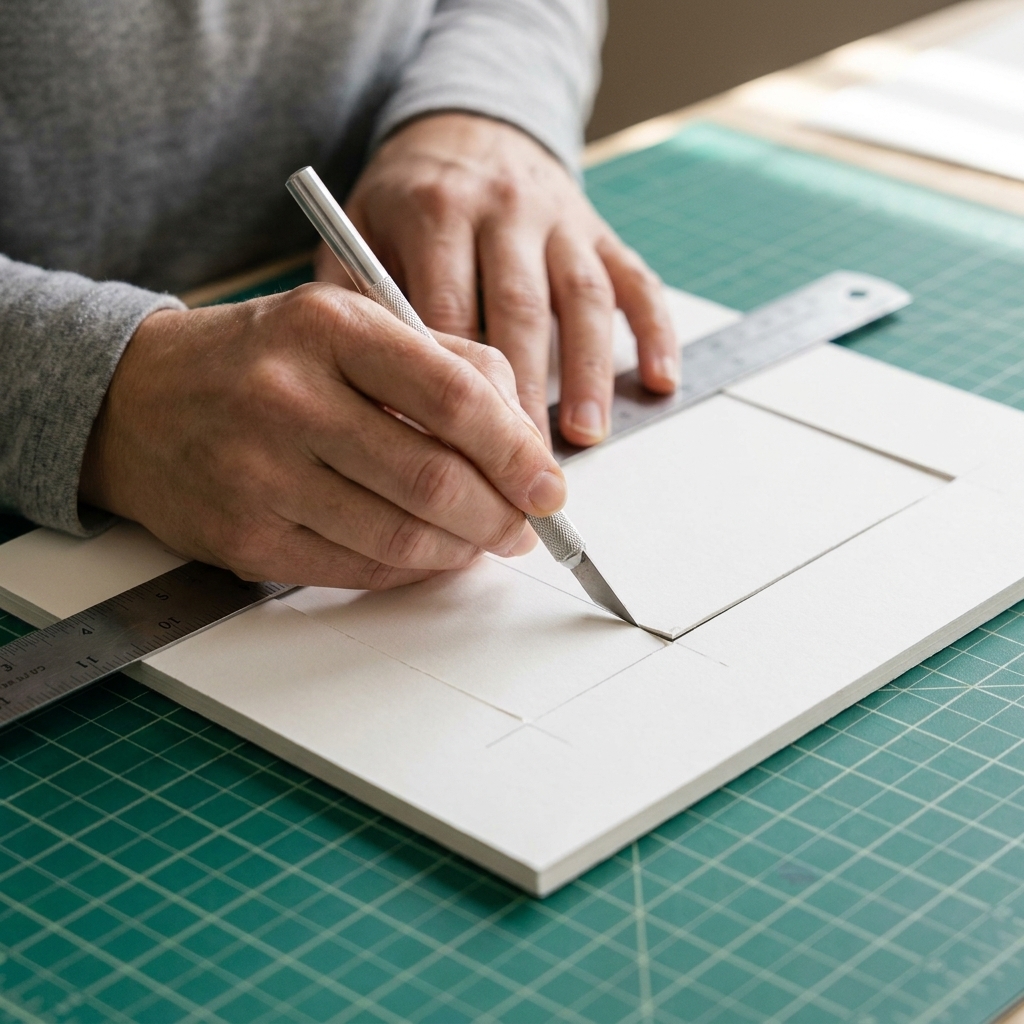
If you are hand-cutting
- Change blades often. Paper dulls blades faster than we want to admit.
- Rotate the paper, not your wrist, for smoother curves.
- For interior windows, start with a small puncture and cut out to the corners slowly.
Quick safety note: Fresh blades are safer than dull ones, but they still bite. Cut away from your fingers, take breaks when you get tired, and cap or retract blades the second you set them down.
Assembly with foam tape
Here is my calm, no-warping assembly routine. Take your time here. This is where shadow boxes go from “pile of pretty” to “wow.”
Step 1: Dry fit everything
Stack your layers without adhesive inside the frame or against the backing board. Check:
- Are any shapes getting accidentally covered?
- Does the focal point sit where you want it?
- Do you have enough depth for your foam tape stack and any lighting?
Step 2: Size layers to your frame opening
Frames usually have an inner lip (rabbet) that covers the outer edge of your art. Measure the visible opening, not just the frame size on the label.
- Cut your layers to match the backing size, but keep the “scene” artwork inside the visible opening.
- If your layers need to slide into a tight frame, trimming each layer 1 to 2 mm smaller than the backing can prevent buckling and corner crumples.
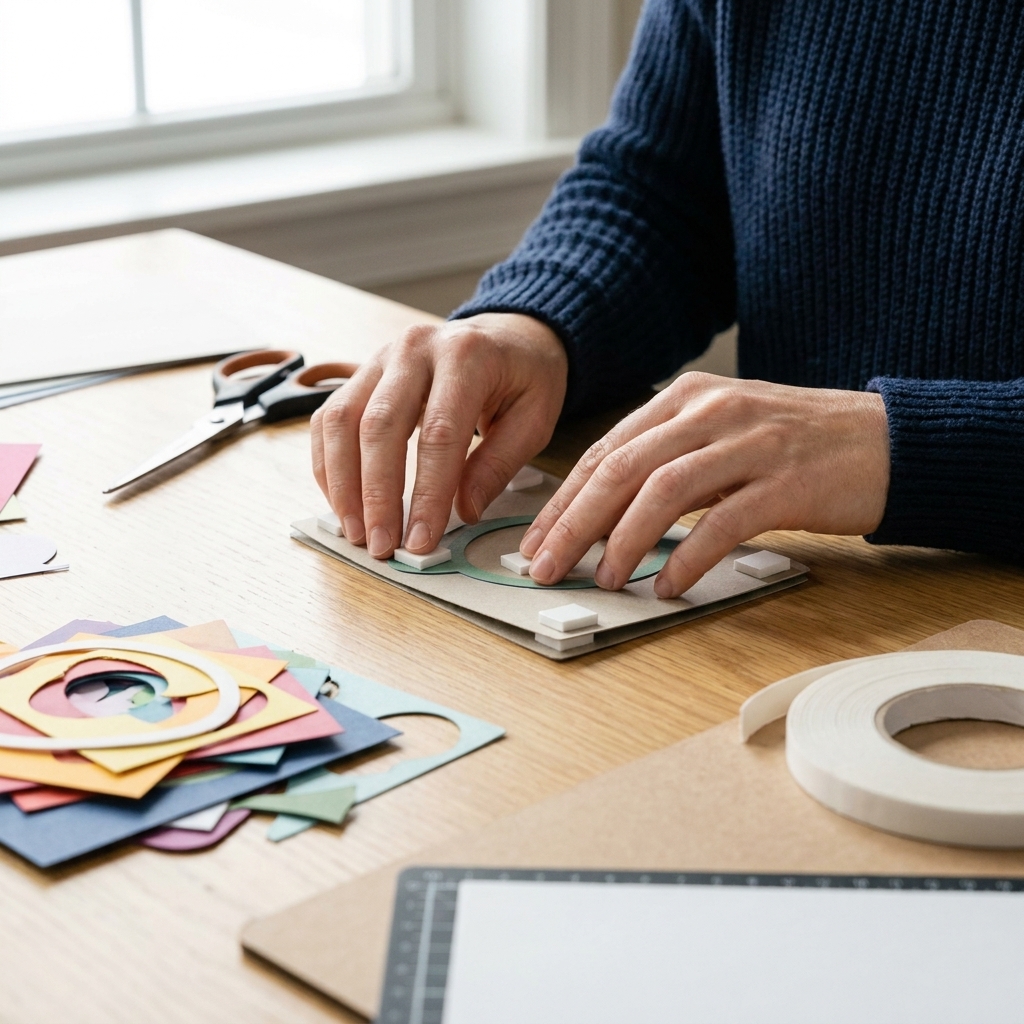
Step 3: Add foam tape like a picture frame
On the back of each layer, place foam tape around the perimeter first. Then add support in the middle where the paper might sag.
- Keep foam pieces at least 1/8 inch away from cut edges so they do not peek through.
- For thin outlines (tree branches, script words), use tiny foam bits or switch to 1 mm foam.
- Foam tape brands vary. If you are layering textured, glitter, or fibrous cardstock, do a quick stick test to make sure it does not lift over time.
Step 4: Stack from background forward
I always build on a flat surface:
- If you are not lighting, attach the background layer to the backing board.
- If you are lighting behind the background, mount the background on foam tape so it sits slightly forward (that “floating” look, but with an actual plan).
- Add the next layer, aligning corners and edges.
- Press gently and evenly, especially on intricate layers.
- Repeat until the foreground is in place.
Step 5: Seal with a frame layer
The final frame layer hides raw edges and makes everything look intentional. If you want a super clean finish, add a second “liner” frame behind the top frame to cover foam tape edges.
Add LEDs without bulk
Lighting turns your shadow box into a little nightlight and I am not even sorry for how obsessed I am with it.
Choose the right lights
- Stick with battery micro LEDs or other low-heat options.
- Before you seal the back, turn the lights on for a few minutes and check for hot spots and any tape that wants to peel.
- If your adhesive seems iffy, add a little backup: a cardstock strap over the wire, a dot of hot glue on the battery pack (not on delicate paper), or a strip of gaffer tape as a secondary hold.
Option A: Lights behind the background (easiest)
- Attach micro LED string lights to the backing board using strong double-sided tape (and a backup strap if needed).
- Cover with a vellum diffuser layer so you do not see individual points of light.
- Mount your background layer on foam tape so it sits in front of the lights.
Option B: Lights around the inside edge (bright and even)
- Run lights around the inner perimeter of the frame.
- Hide the wire path behind your outer frame liner or a strip of cardstock.
- Use black tape where needed to prevent light leaks out the sides.
Option C: Light between specific layers (spotlight moments)
This is gorgeous for windows, lanterns, stars, and moons.
- Cut small “light windows” into a layer and back them with vellum.
- Place LEDs in the gap behind that window layer, not pressed against the vellum.
- Test in a dark room before you fully seal the piece.
Battery pack placement
Keep it simple:
- If your frame has depth, tuck the battery pack behind the backing board with foam mounting squares.
- If you want access to the switch, create a hinged back panel with strong tape along one edge.
- Do not bury a switch you cannot reach. Future-you will not enjoy performing shadow box surgery.
Quick safety note: Keep LEDs and battery packs dry, do not leave lights running unattended for long periods, and replace batteries if you notice flicker or heat.
Frame options
Store-bought frames
Look for a frame with enough interior depth for your spacer stack and any lighting. Remove the glass if you prefer, or replace it with acetate for a lighter, safer window.
Make a paper frame
If you want a custom size, build a frame like a deep card base:
- Use 110 lb cardstock or lightweight chipboard wrapped in cardstock.
- Create box walls with score lines and tabs.
- Reinforce corners with strong double-sided tape plus a tiny bead of glue.
A handmade frame is also perfect when you want to match the exact color of your design.
Troubleshooting
My layers look crooked
- Work with a grid mat and align to corners.
- Add light pencil marks on the back as registration guides.
- Stick one edge first, then lower the layer like closing a book.
Foam tape is showing
- Move foam farther from cut edges.
- Add a thin “liner” frame layer to cover the perimeter.
- Use foam tape that matches your cardstock color or wrap foam edges with cardstock strips.
My paper is warping
- Use less liquid glue and more tape for large areas.
- Let painted or inked backgrounds dry fully before assembly.
- Store finished boxes flat until everything cures.
The lights look spotty
- Add vellum to diffuse.
- Increase the distance between LEDs and the visible layer.
- Use more lights spaced evenly rather than a few very bright points.
Ideas to try next
- Seasonal scenes: pumpkin patch, snowy village, spring florals
- Name or monogram: letters in the foreground with a patterned paper background
- Storybook silhouettes: a castle, a dragon, a fairy garden
- Wedding or baby keepsake: soft palette with vellum and tiny stamped details
- Mini shadow boxes: ornament-size versions using nested circle dies
Quick FAQ
How thick should my foam tape be?
For most designs, 2 mm is the easiest balance of depth and fit. Use 1 mm for very intricate layers, and 3 mm when you have a deep frame and want dramatic separation.
How many layers do I need?
You can get a lovely result with 4 layers plus a frame, but the classic “wow” shadow box look tends to land around 6 to 8 layers.
How deep should my frame be?
Use the simple depth math: (foam gaps × foam thickness) + a bit for paper thickness + any lighting clearance. If you are unsure, go deeper. You can always use thinner foam, but you cannot make a shallow frame magically taller.
Do I need a cutting machine?
No, but it helps. You can absolutely hand-cut simpler silhouette layers with a craft knife. If you are going for super delicate filigree, a machine will save your sanity.
How do I keep dust out?
Add a front window of acetate or the original frame glass. Wipe it clean before sealing, and try not to use foam adhesive that is overly tacky near the front opening.
What cardstock weight is best?
Use 65 to 80 lb for detailed cuts and 100 to 110 lb for frames and large base layers. If you shop by gsm, think roughly 175 to 300 gsm. Mixing weights is totally normal in one project.
One last pep talk
Your first shadow box does not need to be perfect. If one layer is slightly off or a foam square peeks out, I promise the person holding it will still feel that “hug folded in half” energy, just in a deeper, glowier format.
If you want, tell me your theme idea and your frame depth, and I can help you choose a layer count and foam thickness that will fit nicely.