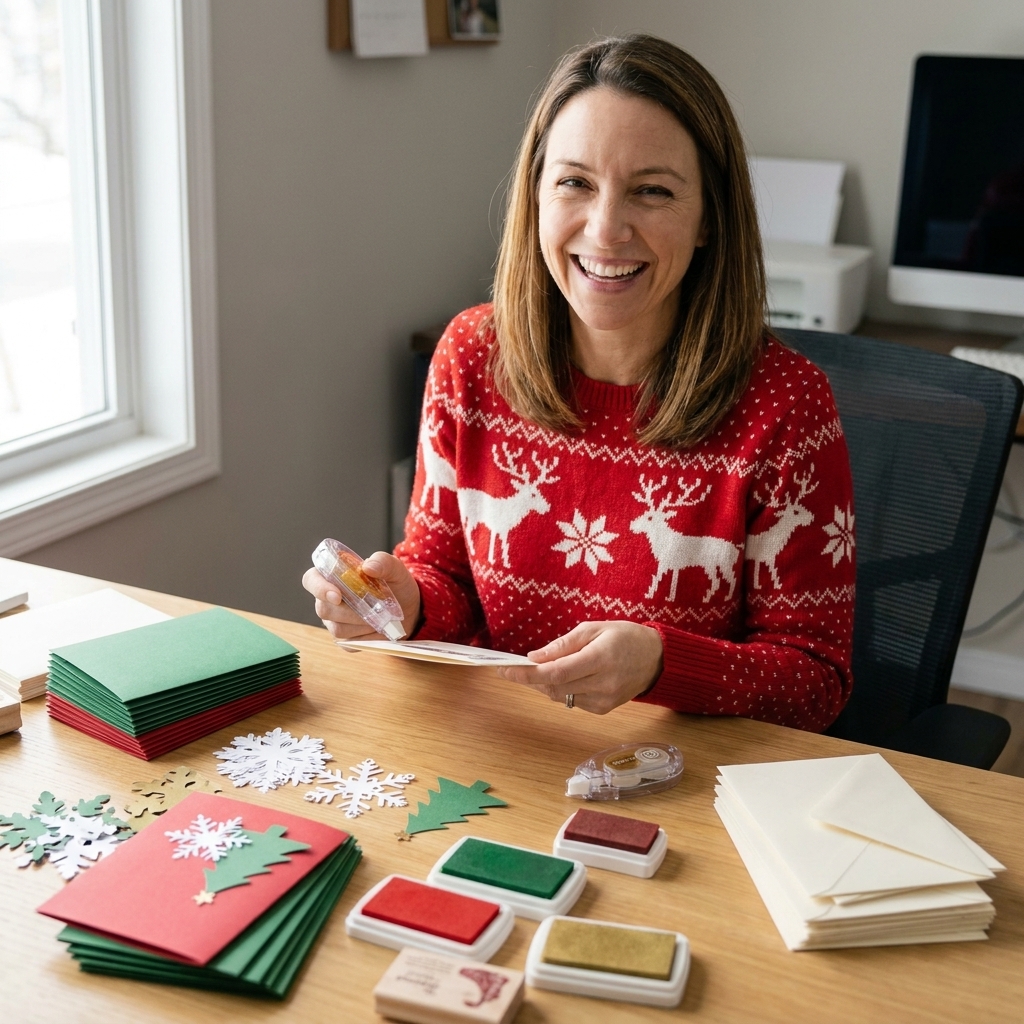
If you have ever looked at your craft desk and thought, “I have plenty of supplies… so why am I still out of the one thing I need?” you are in very good company. I started making cards at my grandmother’s dining table with a handful of scraps and a couple of ink pads, and honestly, those scrappy little sessions taught me the best budget habits I still use today.
The good news is you do not need a giant haul to make gorgeous handmade cards. You just need a few stash-stretching tricks and a willingness to look at everyday “stuff” like it is craft gold. Here are 10 of my favorite ways to make your supplies go further without sacrificing the fun part.
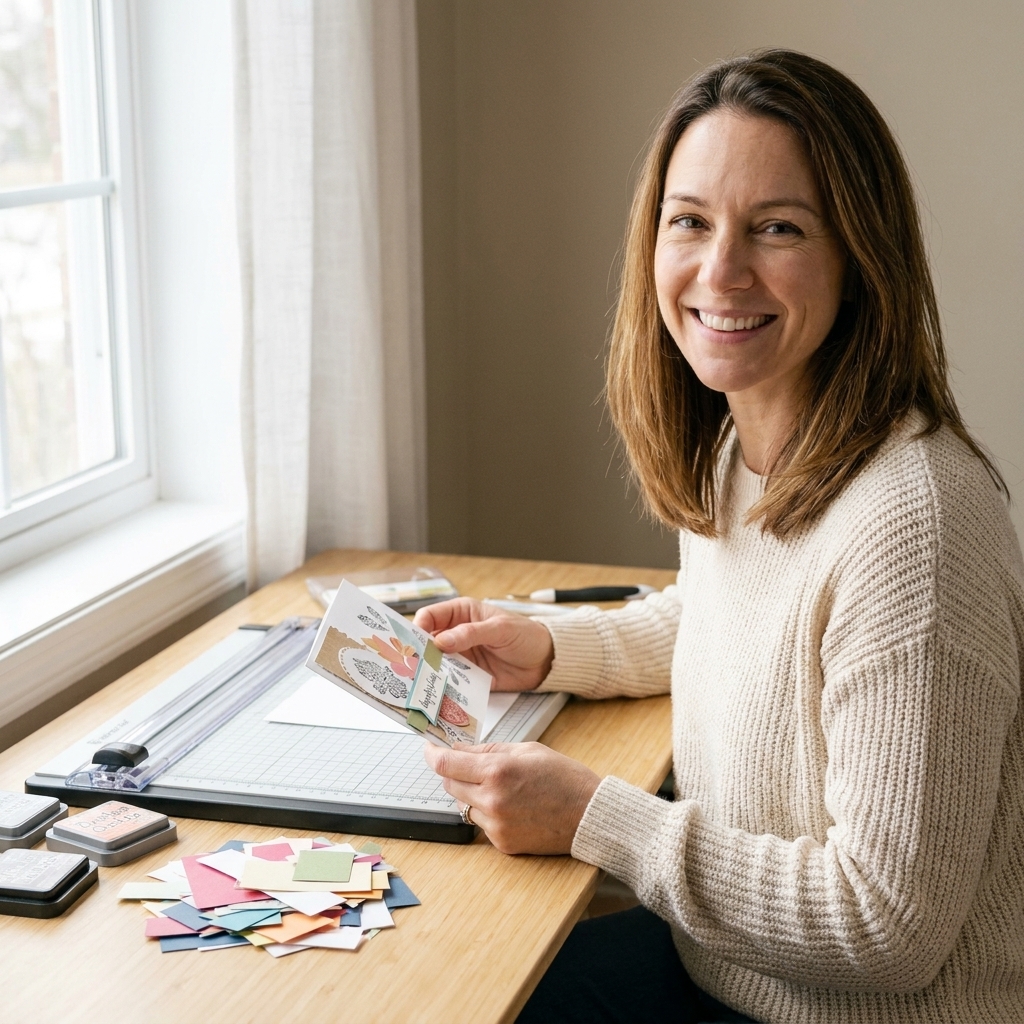
1) Cut patterned paper like a sampler
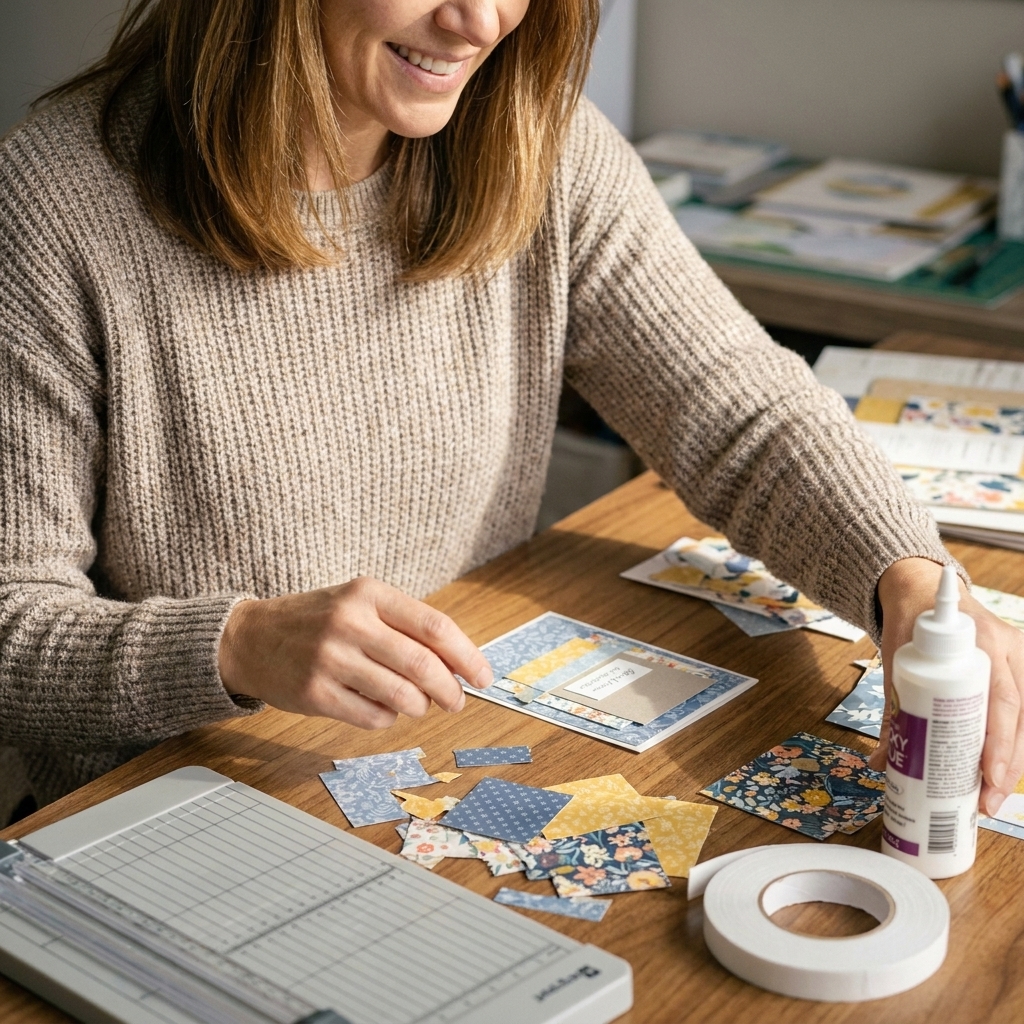
Patterned paper pads disappear fast when we use full panels. Instead, try treating your favorite patterns like they are precious fabric. Think small cuts with big impact.
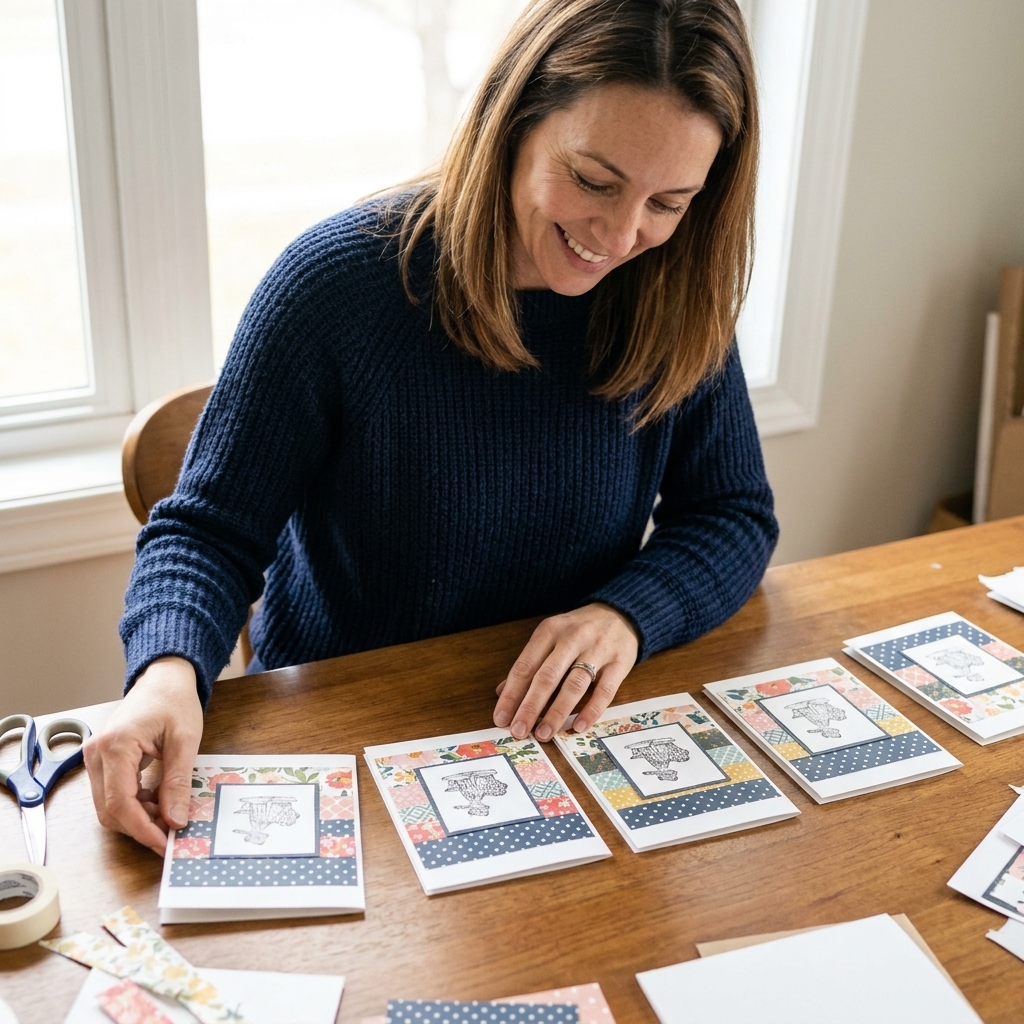
- Go for strips: 1/2 inch to 1 inch strips layered like a mini quilt instantly add style.
- Use windows: Cut a simple frame and let a smaller piece of pattern peek through.
- Try a 3 inch x 4 inch panel: It feels substantial but barely dents your pad.
My rule of thumb: if a pattern is extra cute, it becomes an accent, not the whole outfit.
2) Make a scrap system you will use
I am a proud hoarder of patterned paper, and yes, that includes the scraps. The trick is making them easy to grab.
- Sort by size: “Tiny bits,” “small rectangles,” and “big enough for a panel.”
- Store flat: A 12 inch x 12 inch envelope, an old pizza box lid (clean), or a slim folder works.
- Give scraps a purpose: Keep a running list: sentiments, banners, punched shapes, strip backgrounds.
When scraps have a home, they stop being guilt and start being free design fuel.
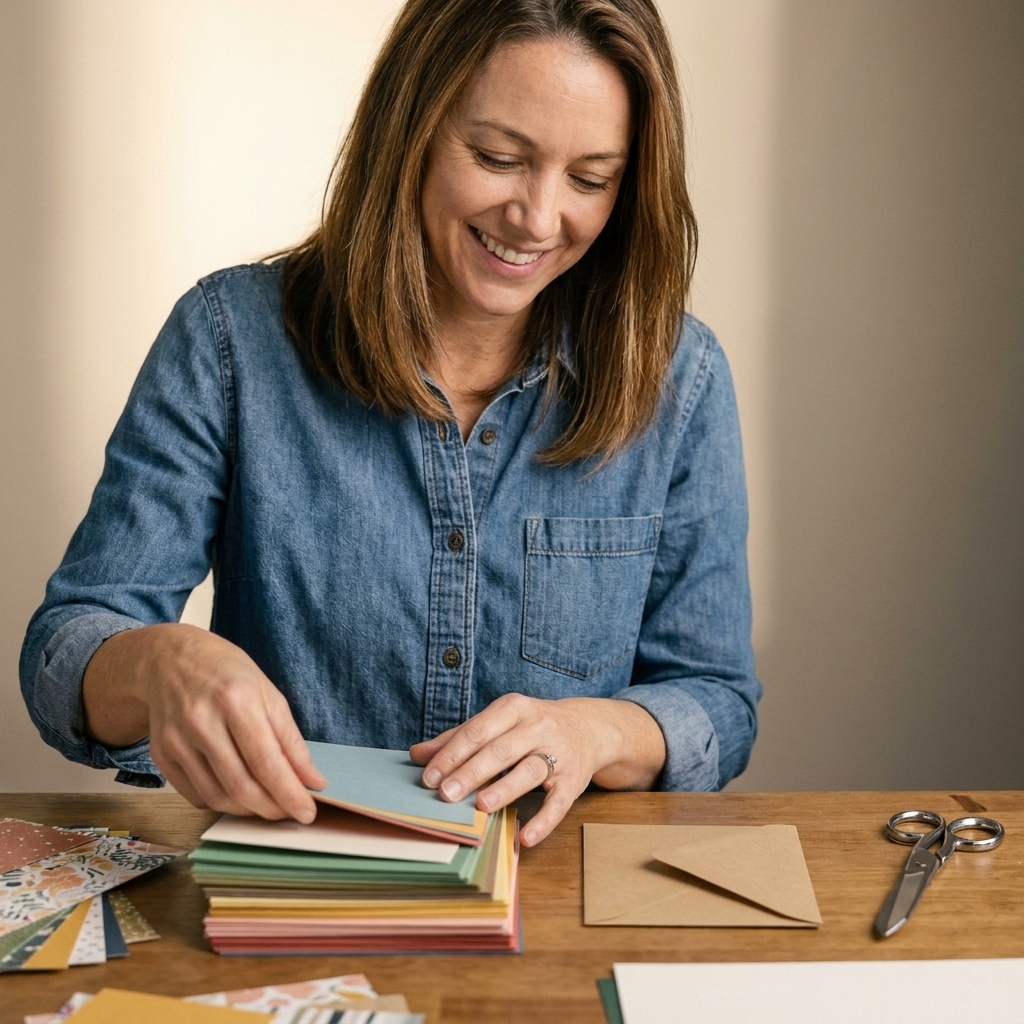
3) Make one stamp set a card series
If you buy one stamp set and feel like you need another to keep things fresh, try this instead: pick one set and make 6 to 10 cards in a mini batch using different techniques.
- Stamp tone-on-tone: Ink a background stamp with a slightly darker shade than your cardstock.
- Masking: Create depth by stamping in layers.
- Stamp and heat emboss: Same image, totally different vibe.
- Partial stamping: Let the design “fall off” the edge of the panel for a modern look.
This stretches your ink and paper, too, because you are working efficiently instead of starting over from scratch each time.
4) Make plain cardstock look fancy
Patterned paper is lovely, but plain cardstock is the budget workhorse. With a few quick techniques, it becomes anything you want.
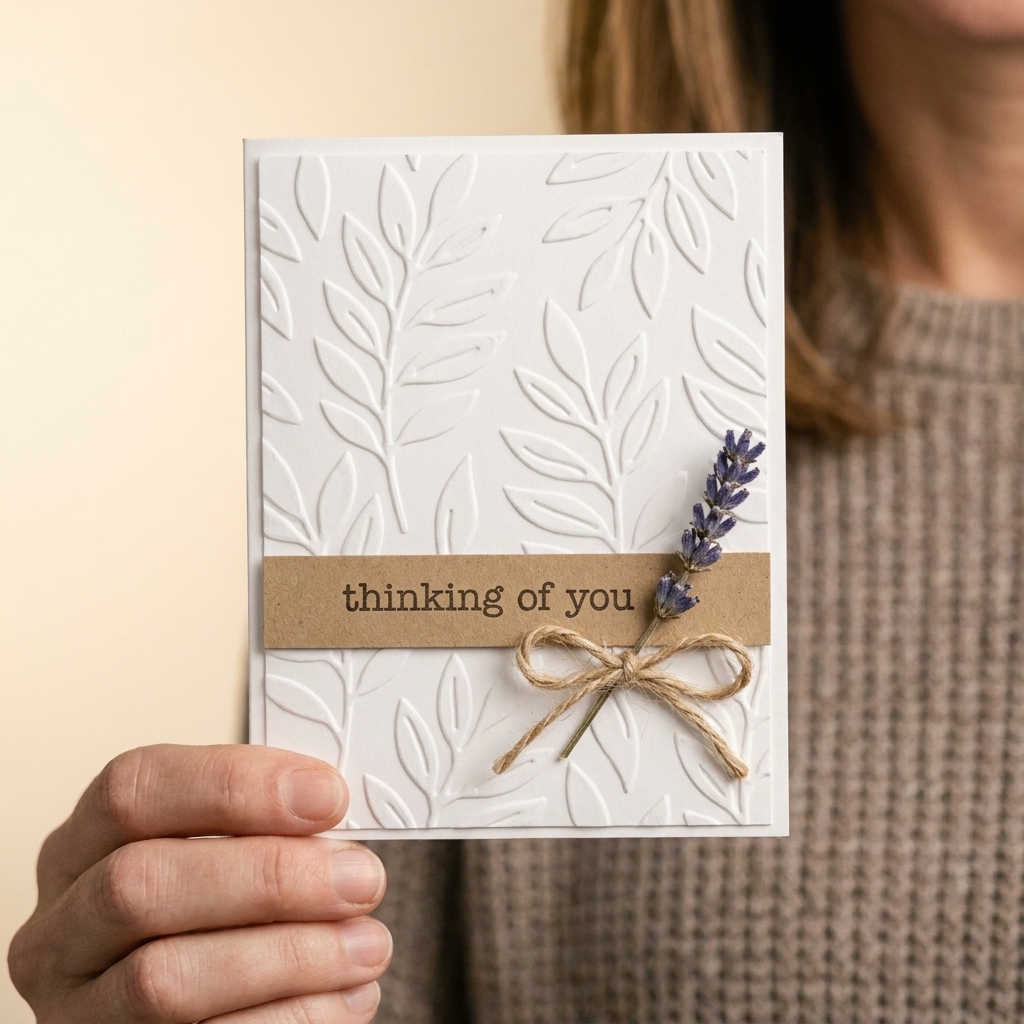
- Dry embossing: An embossing folder gives instant texture without using extra paper layers.
- No folder? Faux emboss: Score simple lines with a scoring board, bone folder, or the back of a butter knife and a ruler.
- Ink blending: Two inks and a blending tool can create a soft ombré background.
- Background stamping: Even a small stamp repeated creates a custom print.
- Splatter: Watered-down ink or watercolor gives that artsy finish in seconds.
When I am “saving” my patterned paper, I reach for texture. Texture reads expensive.
5) Repurpose packaging into card pieces
Before you toss cardboard packaging, look at it like free chipboard. Cereal boxes, cracker boxes, and backing cards from craft purchases can become strong bases for die-cuts and sentiments.
- DIY chipboard: Cut shapes from thin cardboard and cover with patterned paper.
- Raised sentiments: Layer two or three cardboard cuts behind a sentiment strip.
- Sturdy tags: Packaging makes a tag that does not flop around in the envelope.
Tip: Choose clean, low-odor cardboard (skip anything greasy or strongly scented), and do a quick envelope test. Bulkier layers can affect mailing and may need extra postage or a hand-cancel at the post office.
Extra tip: If the print on the packaging shows through thin paper, add a layer of cheap white cardstock in between.
6) DIY embellishments from home supplies
You do not need a cart full of embellishments. A lot of my favorites come from things already in the house.
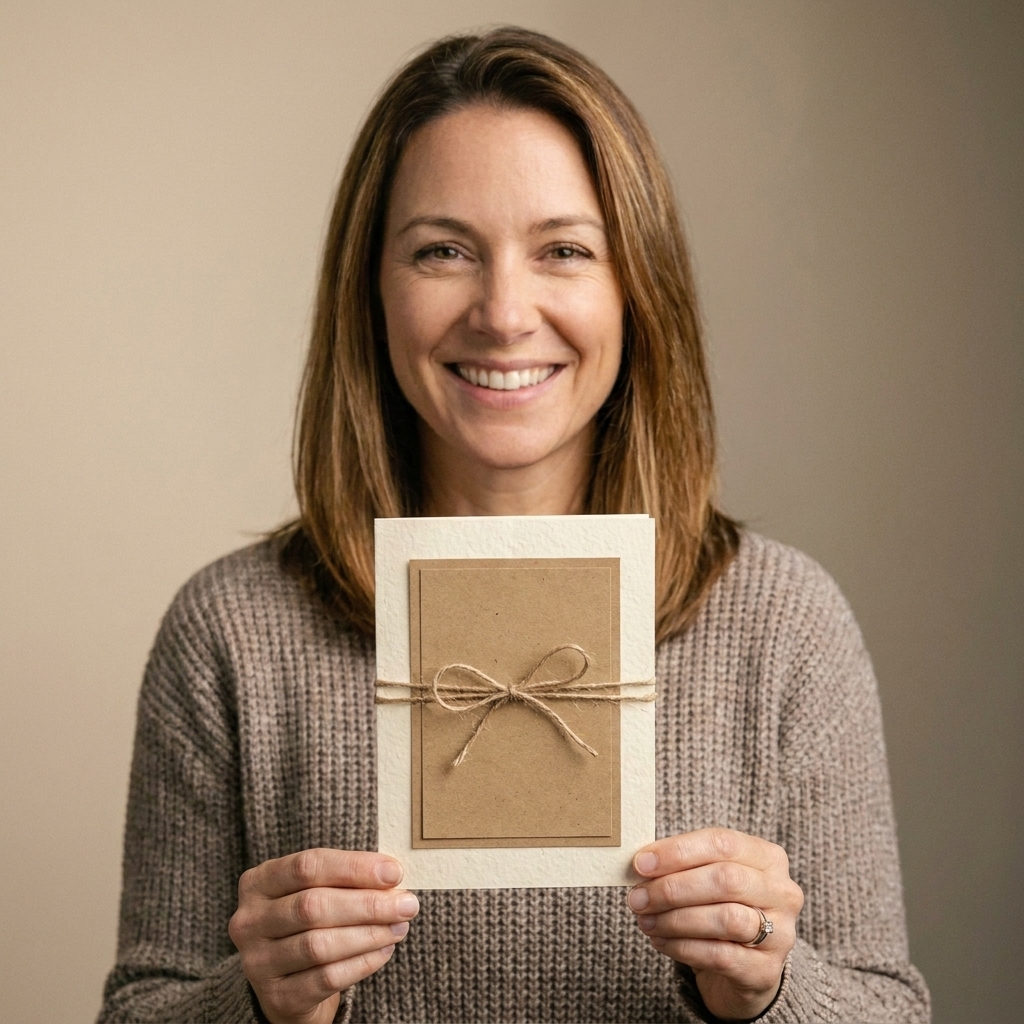
- Twine or sewing thread: Wrap it, knot it, or make a tiny bow.
- Buttons: Stitch them on with thread or faux-stitch with a pen.
- Baking parchment: Crinkle it gently for soft texture behind a focal piece.
- Old book pages: Punch circles or make tiny rolled paper roses.
These little touches add dimension without costing “embellishment money.”
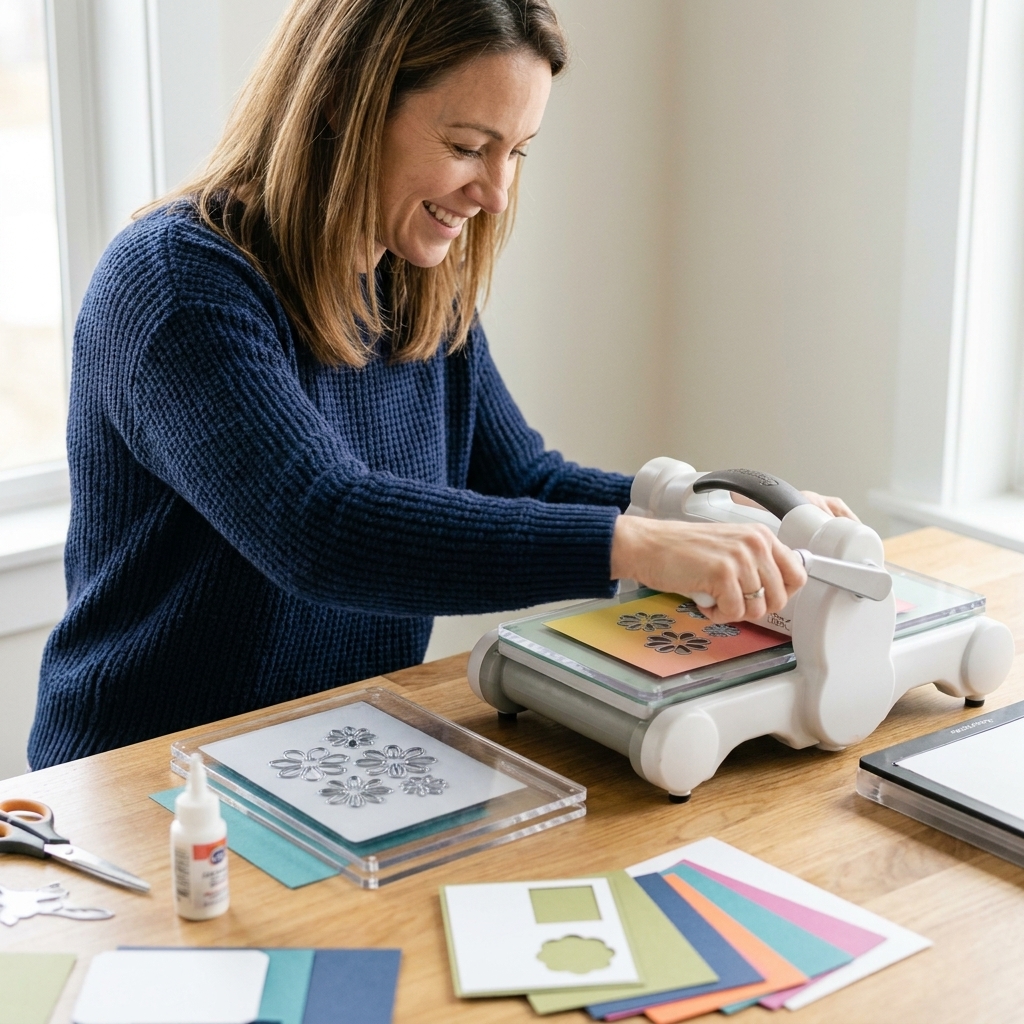
7) Stretch dies and punches with partial cuts
If you have one good die set or even just a circle punch, you can get so much mileage out of it by thinking beyond full cuts.
- Partial die-cut: Let half a floral die hang off the paper edge, then trim a clean border.
- Make borders: Cut the same shape repeatedly and line it up as an edge detail.
- Create peek elements: Use a circle cut-out as a window to show pattern beneath.
- No dies? Still works: Hand-cut simple banners, fishtails, and tags. A little wonky can look charming on purpose.
One shape becomes backgrounds, frames, borders, and focal points. It is like getting four tools in one.
8) Buy versatile basics (and refill smart)
When your budget is tight, prioritize supplies that support lots of styles. You can absolutely build a beautiful stash slowly, on purpose.
Workhorse basics
- White and black cardstock (good weight for card bases and layering)
- A2 card bases if cutting is a barrier, or a simple paper trimmer if you prefer DIY
- One good black ink for sentiments
- Foam tape or foam squares for dimension (used sparingly)
Refill tips that save money
- Choose multipurpose adhesive: A strong tape runner plus liquid glue covers most needs.
- Use foam strategically: Pop up only the focal element, not every layer.
- Pick a color family: A small set of inks in coordinating shades goes further than random singles.
9) Batch make cards to cut waste
Batching is one of the most budget-friendly habits because it often reduces the little waste moments, like cutting a panel wrong twice or pulling too many supplies out at once.
- Cut first: Prep 5 to 10 card bases and a stack of mats.
- Stamp sentiments in one session: Then trim into strips and store them.
- Assembly line your layers: Same sketch, different papers and focal pieces.
You will often use less adhesive, less cardstock, and less brain power. That last one is priceless.
10) Swap and trade with other crafters
This one feels like cheating in the best way. If you have craft friends, you have a budget advantage. Even one swap a season keeps things fresh without new purchases.
- Patterned paper share: Everyone brings 10 sheets, everyone leaves with variety.
- Die-cut trading: Cut extras while you craft and trade shapes you do not own.
- Stamp session: Meet up and stamp images onto your own cardstock, then color at home.
I love this because it adds the best ingredient of all: community. And community pairs very nicely with glue.
A quick use-it-up challenge
If you want a fun nudge, try this little challenge the next time you sit down to craft:
- Choose one patterned paper you have been hoarding.
- Cut it into four 3 inch x 4 inch panels and four sentiment strips.
- Make four cards using plain cardstock backgrounds with texture (embossing, scoring lines, ink blending, or stamping).
You will be amazed how “not that much paper” turns into a whole set of cards.
A handmade card is like a hug folded in half. And the best hugs do not have to be expensive.
Budget card making FAQs
What is the cheapest way to make handmade cards look polished?
Use a simple layout with strong contrast: a clean white (or neutral) base, one patterned accent panel, and a crisp sentiment in black ink. Add dimension with a single foam square behind the sentiment or a tiny bow.
What cardstock weight is best if I am trying not to waste paper?
For A2 card bases, I like cardstock in the 80 lb to 110 lb cover range (about 216 gsm to 300 gsm), depending on your scoring tool, your adhesive, and how you mail your cards. If you print directly onto your bases, many home printers are happiest closer to the lighter end, so test one sheet before you commit.
How do I avoid buying duplicates of what I already have?
Snap a quick photo of your inks, adhesives, and favorite stamp sets before you shop. Also, keep a small list of what you truly run out of regularly, like tape runner refills or foam squares. If you want an extra easy “shop your stash” boost, label one bin or folder “use next” and toss your newest scraps and half-used supplies in there so they stay visible.
How can I keep cards budget-friendly when mailing?
Dimension is gorgeous, but it can get pricey. Foam tape, chipboard, buttons, and bulky bows may require extra postage or a hand-cancel. If you are mailing a lot, keep one finished card as your “mail test” and check thickness before you make a whole batch.