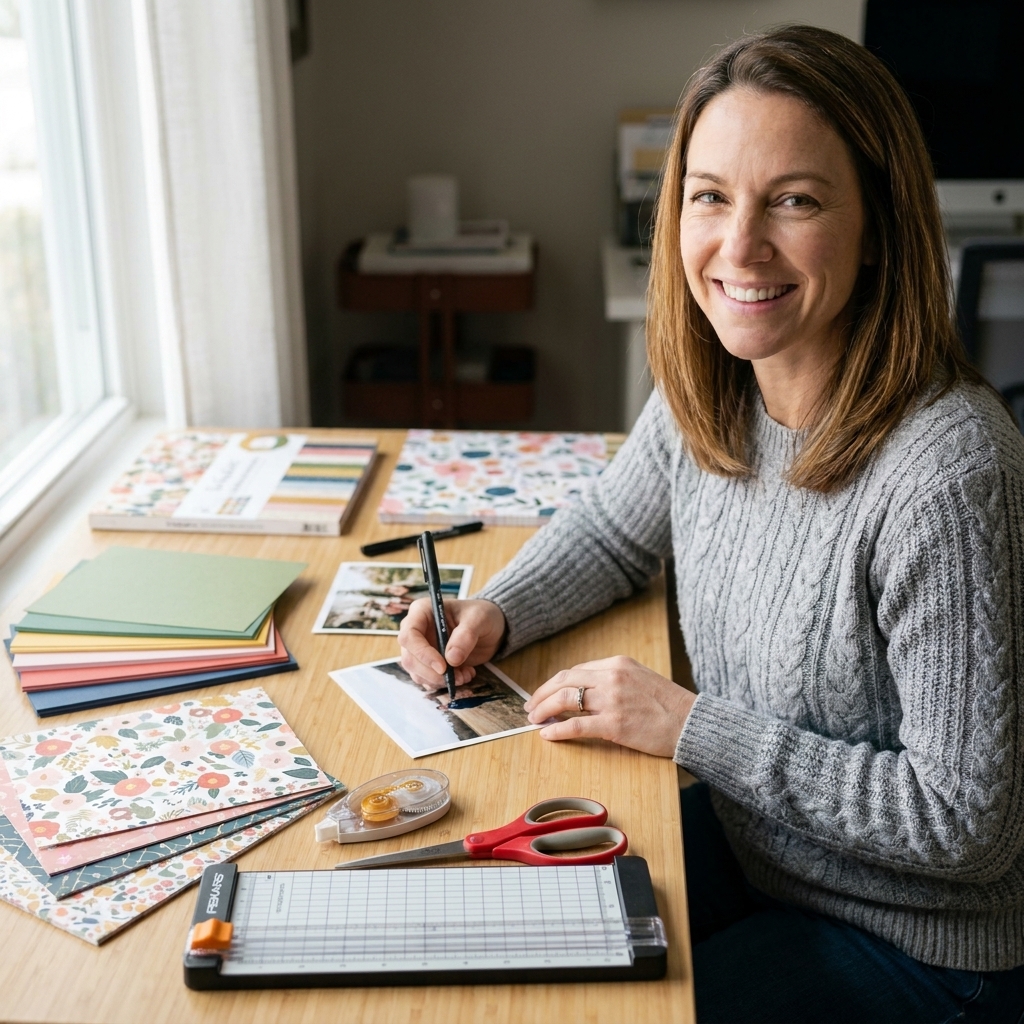
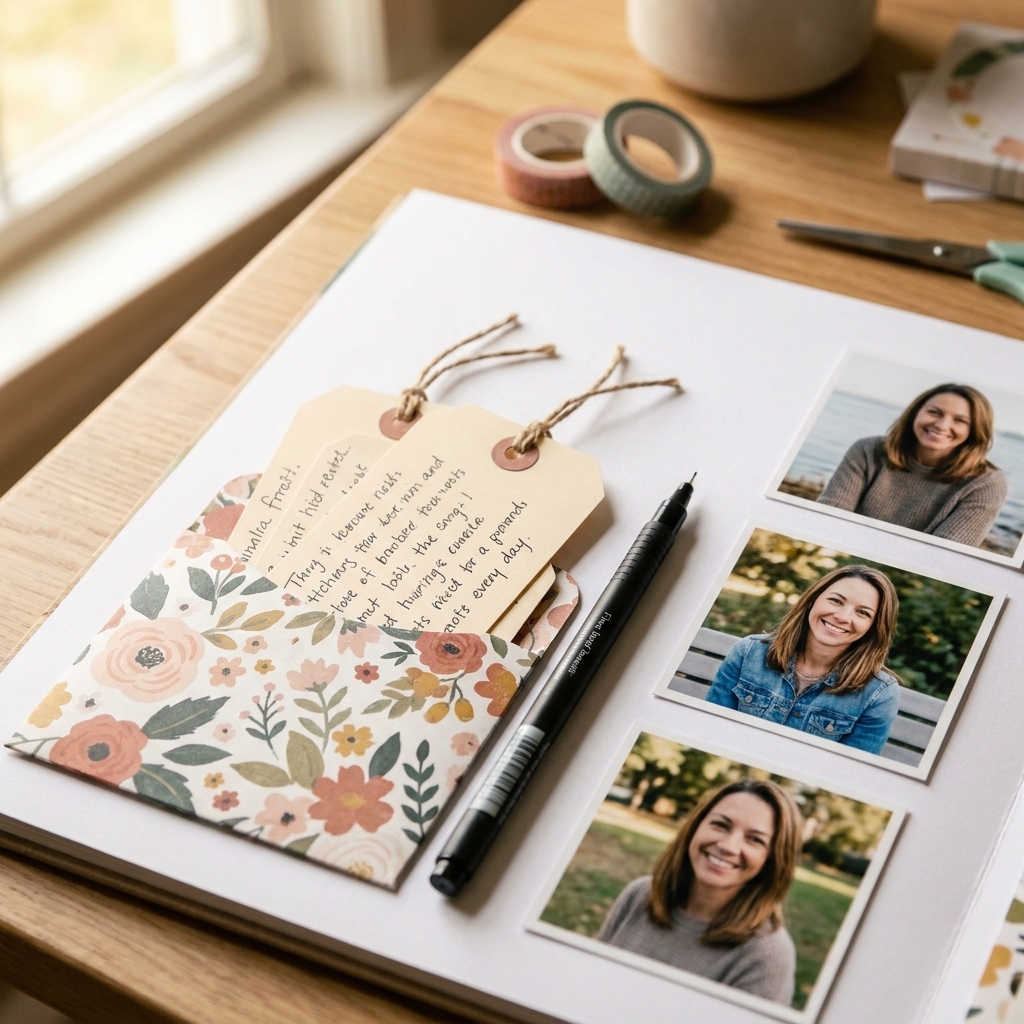
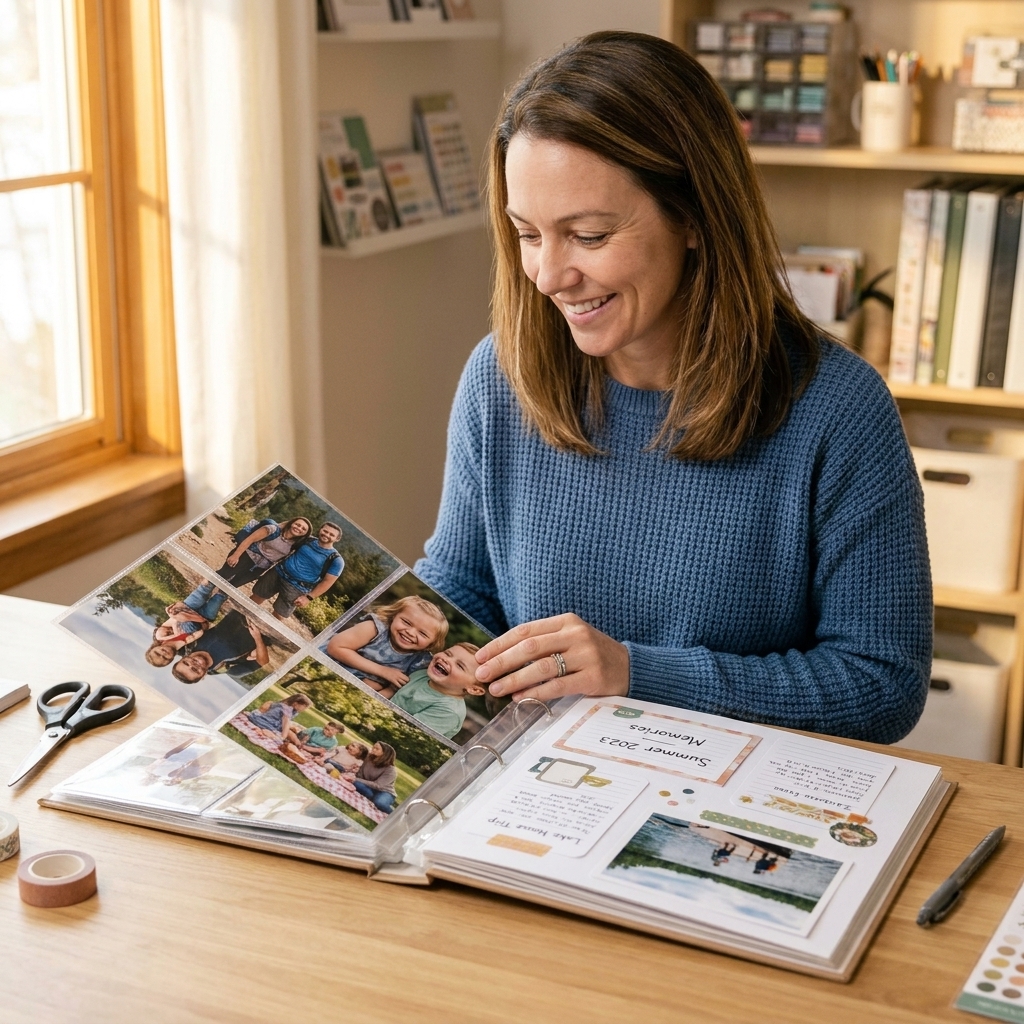
Whenever I hit that classic scrapbook freeze, you know the one where you have photos, pretty paper, and suddenly zero ideas, I reach for a sketch. Sketches are like a friendly little roadmap: they tell you where the big pieces go, but you still get to choose the scenery. The best part is you can use the same sketch for a birthday one week and a cozy everyday memory the next, just by changing your colors and embellishments.
Below are 10 of my most reusable scrapbook layout sketches. I’m describing them in a way you can build right on your table, no fancy measuring anxiety required. Grab your photos, a few coordinating papers, and let’s get you from blank page to finished page.
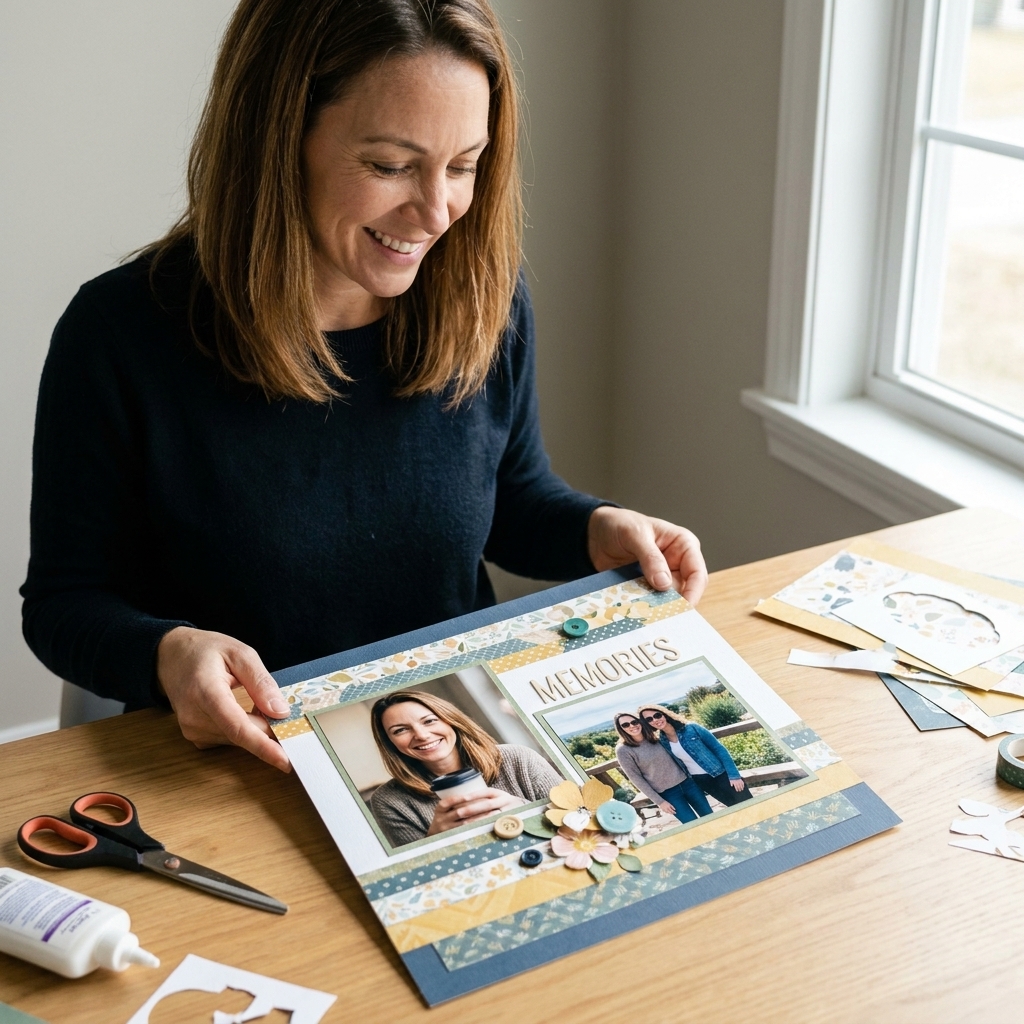
Before you start: my quick sketch-to-page process
- Pick your photo(s) first. Decide if you want one hero photo or a little set.
- Choose your format. 12x12, 8.5x11, or a two-page spread. These sketches work for all three with small tweaks.
- Commit to 2 to 4 papers. One neutral, one pattern, one “pop” color, and optionally a tone-on-tone.
- Build in layers. Mat photos, add a larger background layer, then sprinkle small clusters.
- Journal last. That way you can tuck it where it balances the page.
If you like to work clean, keep adhesive light until you’re happy with placement. If you’re like me and tend to glue with confidence and then regret with confidence, sticky notes are your best friend for auditioning pieces.
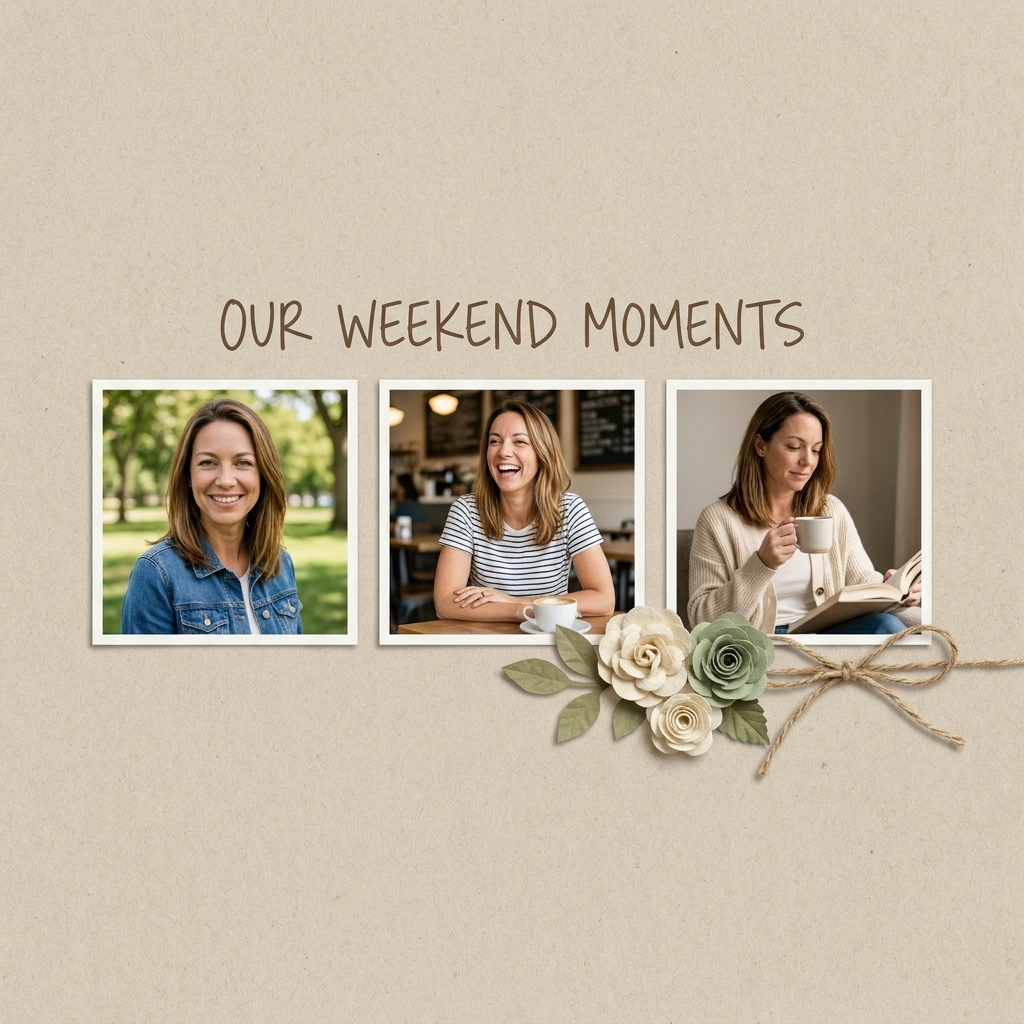
Sketch 1: The classic three-photo row
Best for: birthdays, school events, sports, day-at-the-park photos
Blueprint: Three photos (same size) lined up horizontally across the middle, with a title above or below and a small embellishment cluster on one end.
- Photo sizes to try: three 3x4s (portrait) or three 4x3s (landscape), or three 4x4s
- Easy theme swap: Change the strip behind the photos. A bold stripe reads “party,” a soft floral reads “everyday sweet.”
- Chloe tip: If one photo is weaker, mat it on a stronger pattern so it doesn’t disappear.
Sketch 2: One big hero photo with a side column
Best for: holidays, a favorite portrait, travel “wow” shots
Blueprint: One large photo takes up about two-thirds of the page. A vertical column on the right holds the title, journaling, and a few layered bits.
- Photo sizes to try: 5x7, 6x8, or an 8.5x11 print trimmed to fit with a margin
- Easy theme swap: Make the side column a stack of tags for Christmas, or a clean grid of tiny hearts for Valentine’s Day.
- Chloe tip: Add a thin mat around the big photo, then a slightly larger mat in vellum or a soft neutral. It looks fancy, but it’s just two rectangles.
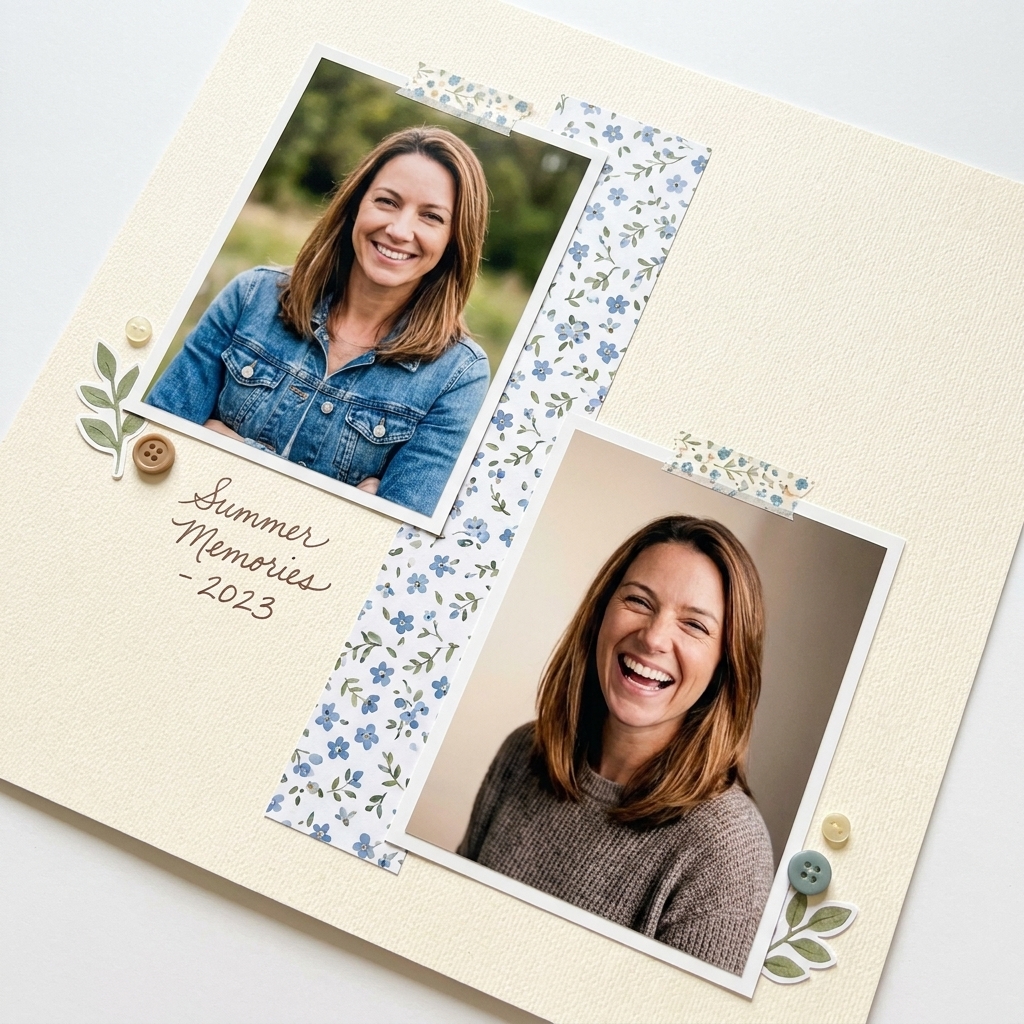
Sketch 3: Two-photo diagonal with a title cluster
Best for: playful moments, kids, pets, candid everyday stories
Blueprint: Two photos angled slightly, one higher left and one lower right, connected by a diagonal strip of patterned paper. The title sits near the center of the diagonal like a little signpost.
- Photo sizes to try: two 4x6s trimmed to 4x5, or two 3x4s
- Easy theme swap: Use a plaid diagonal for fall, glitter paper for birthdays, or a map print for travel.
- Chloe tip: Keep the angles subtle. Think “gentle tilt,” not “roller coaster.”
Sketch 4: The centered stack
Best for: memory keeping, baby pages, gratitude and everyday documentation
Blueprint: Everything stacks vertically down the center: photo block at top, title strip in the middle, journaling block below. Embellishments are small and balanced on both sides.
- Photo sizes to try: one 4x6 plus two 2x2s, or one 5x7 alone
- Easy theme swap: Swap the title strip from a banner shape (birthday) to a clean rectangle (modern everyday) to a stitched label (heritage).
- Chloe tip: If journaling scares you, write just three lines: where, who, and one tiny detail you do not want to forget.
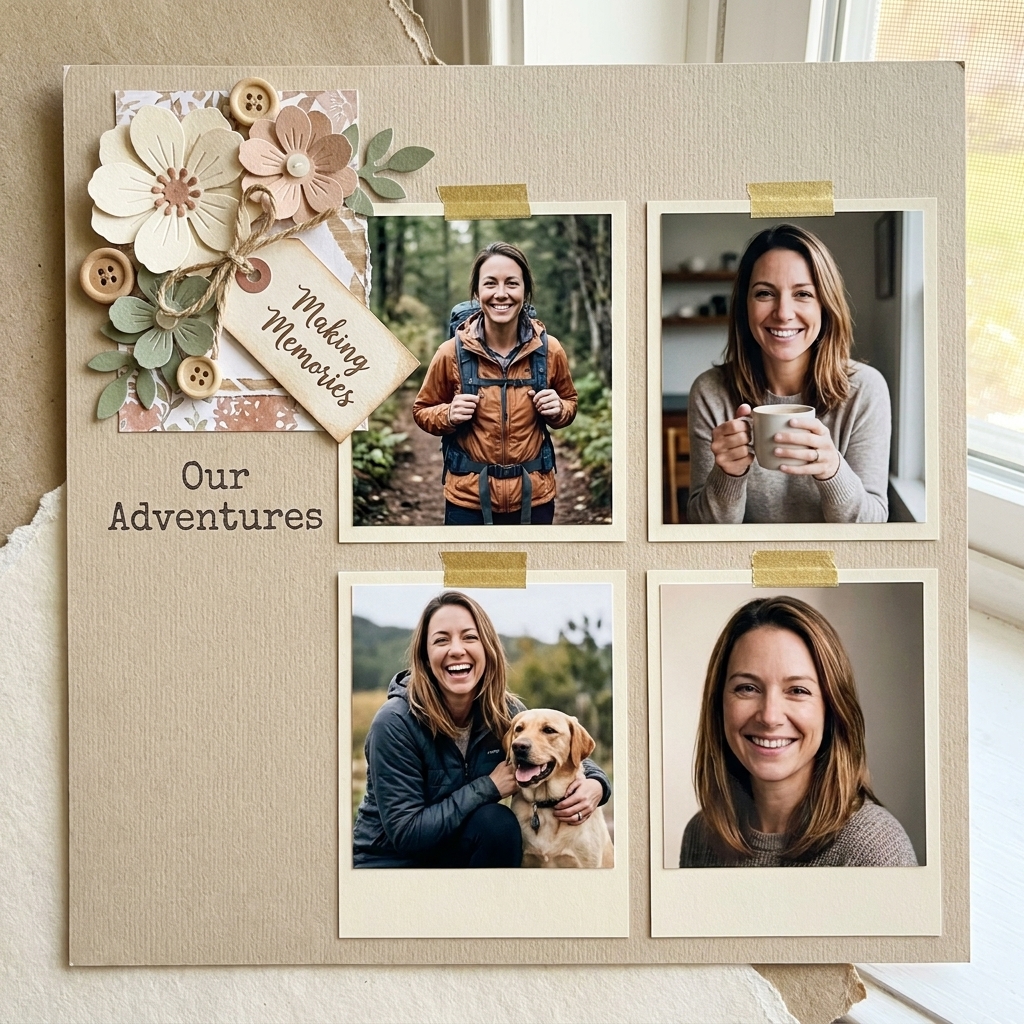
Sketch 5: Four-photo grid with a corner accent
Best for: holidays, weekend recaps, multi-moment stories
Blueprint: Four photos in a tidy 2x2 grid, with one embellished corner that holds the title and a cluster (think: top right corner gets the “cute stuff”).
- Photo sizes to try: four 3x3s or four 3x4s cropped to match
- Easy theme swap: Make the corner accent a wreath for Christmas, a sunflower cluster for summer, or a simple layered star for birthdays.
- Chloe tip: Grids love repetition. Repeat one enamel dot color in all four photo mats for instant cohesion.
Sketch 6: The L-shape photo block
Best for: travel, school, sports, events with lots of little moments
Blueprint: Photos create an L shape along the bottom and left side (or top and right if you flip it). The open space becomes your title and journaling zone.
- Photo sizes to try: one 4x6 on the bottom plus two 3x4s up the side
- Easy theme swap: Fill the open space with tickets and receipts for travel, or with die-cut icons for a holiday.
- Chloe tip: If the open area looks too empty, add a big soft patterned paper block first, then build your title on top.
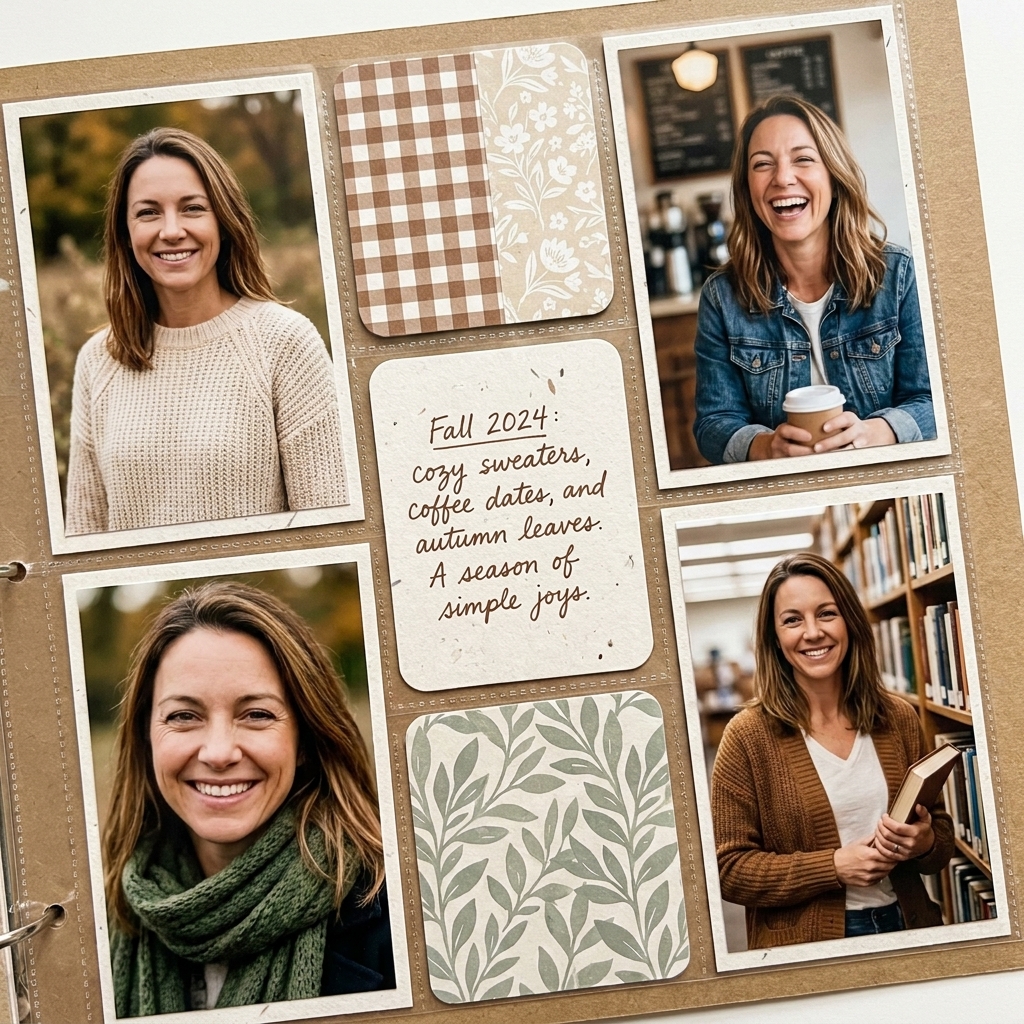
Sketch 7: Pocket card blocks
Best for: everyday stories, family life, seasonal snapshots
Blueprint: Break the page into 3x4 and 4x6 blocks, just like pocket scrapbooking, but everything is glued down on one page. One block is a photo, one is journaling, one is a patterned filler, and one is your title.
- Photo sizes to try: one 4x6 and two 3x4s
- Easy theme swap: Use seasonal filler cards (snowflakes, pumpkins, florals) without changing the structure.
- Chloe tip: Ink the edges of the blocks lightly if you want extra definition without adding bulk.
Sketch 8: Top banner with a photo cluster
Best for: birthdays, graduations, celebrations, party photos
Blueprint: A wide banner strip runs across the top. Under it sits a cluster of 2 to 3 photos with layered mats. Title tucks into the cluster, and embellishments trail from the banner down toward the photos.
- Photo sizes to try: one 4x6 plus two 2x3-ish mini prints, or three 3x4s
- Easy theme swap: Make the banner a soft gingham for spring or a bold confetti print for parties.
- Chloe tip: Banners are perfect for using up that paper you love but only have a small piece of. Let it shine up top.
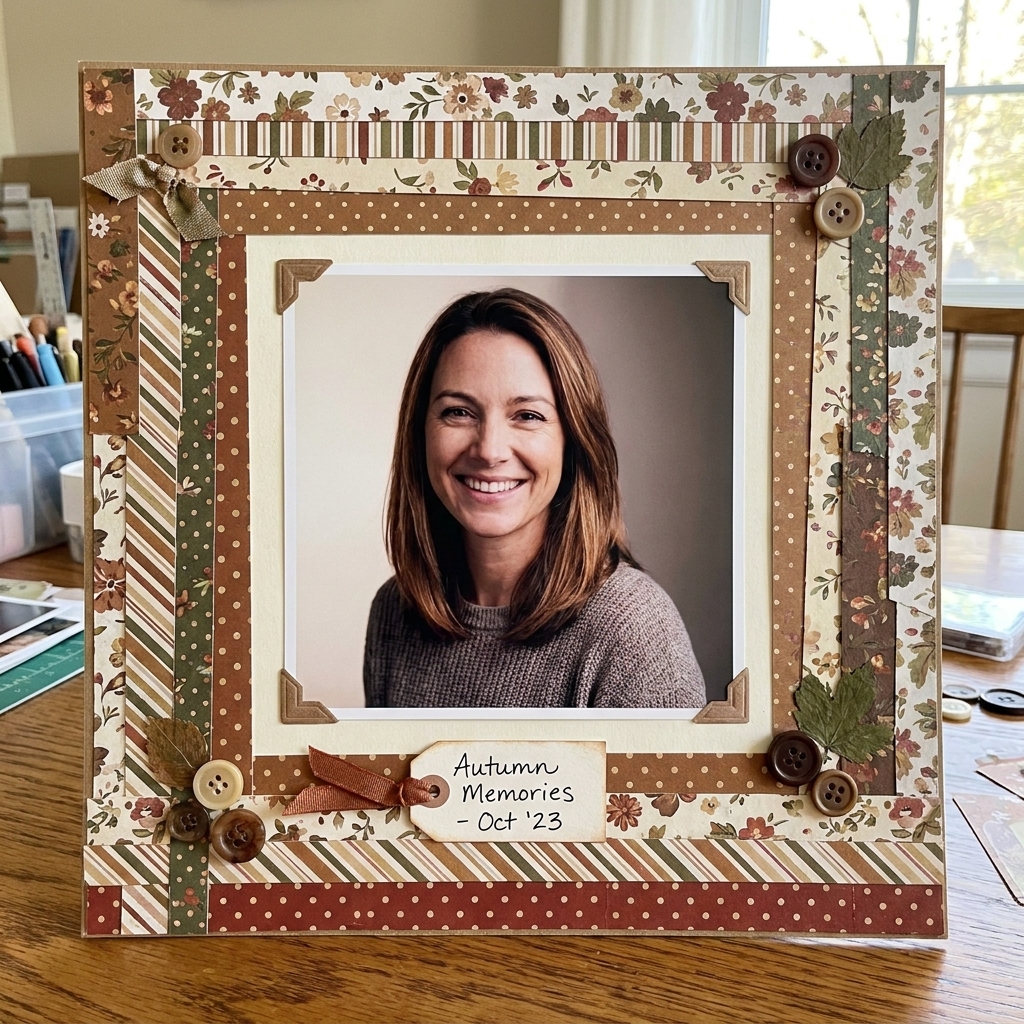
Sketch 9: A frame with a photo window
Best for: holiday traditions, heritage photos, yearly recap pages
Blueprint: Create a frame border around the edges with patterned paper strips. Inside the frame, place one medium photo and a journaling block. The frame does the heavy lifting, so the center can stay simple.
- Photo sizes to try: a 4x6 trimmed to 4x4 1/2, or a 4x4 with a generous mat
- Easy theme swap: Use rich tones and texture for fall and winter, or bright prints for birthdays and summer.
- Chloe tip: If you want a crisp frame, cut your strips first, then glue opposite sides before the remaining two. It keeps things straighter.
Sketch 10: The two-page mirror spread
Best for: vacations, holidays, big family gatherings, milestone events
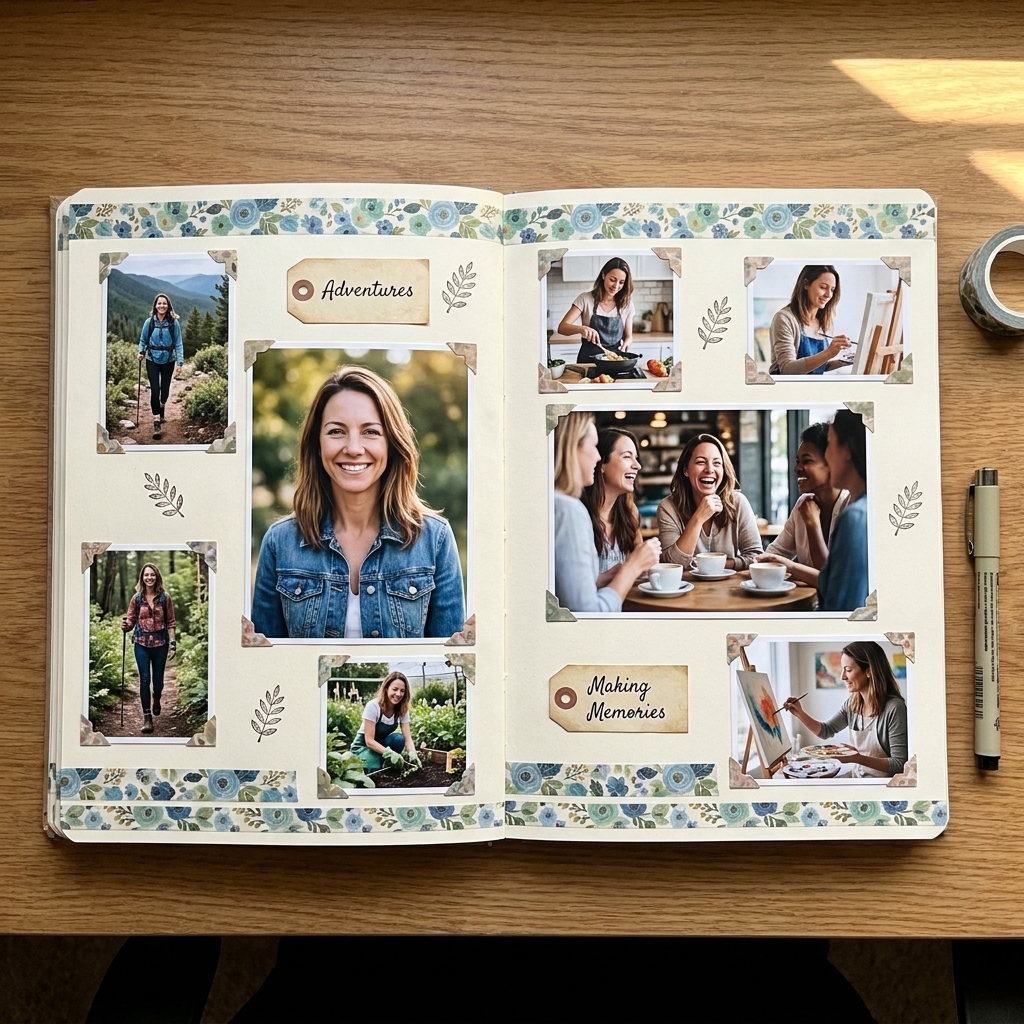
Blueprint: On a two-page spread, repeat the same elements on both pages like a mirror. For example: photo stack on the outer edges, title and journaling toward the center seam, and matching embellishment clusters.
- Photo sizes to try: four 4x6s total, or six 3x4s plus one 5x7 hero
- Easy theme swap: Keep the structure identical, then let your theme come through in icons and paper choices (snowflakes, seashells, balloons, florals).
- Chloe tip: Use the same two patterned papers across both sides. It instantly unifies the spread, even if the photos are a mix of lighting and locations.
Make any sketch match any theme
1) Swap the shape, not the placement
Keep the sketch exactly the same, but change the shape language. Rounded corners and scallops feel sweet and playful. Sharp corners and clean rectangles feel modern. Deckled edges feel cozy and vintage.
2) Let one story item lead
For birthdays, make it candles. For Christmas, a tiny ornament. For travel, a mini map snippet. Choose one repeating icon and scatter it in threes across the page.
3) Use a simple color recipe
If your photos are busy, try: 1 neutral + 1 color + 1 pattern. If your photos are soft, you can get away with: 2 patterns + 1 calm solid.
4) Change scale to change the vibe
Big title, fewer embellishments feels bold and modern. Smaller title with layered clusters feels cute and detailed. Same sketch, totally different personality.
Supply checklist
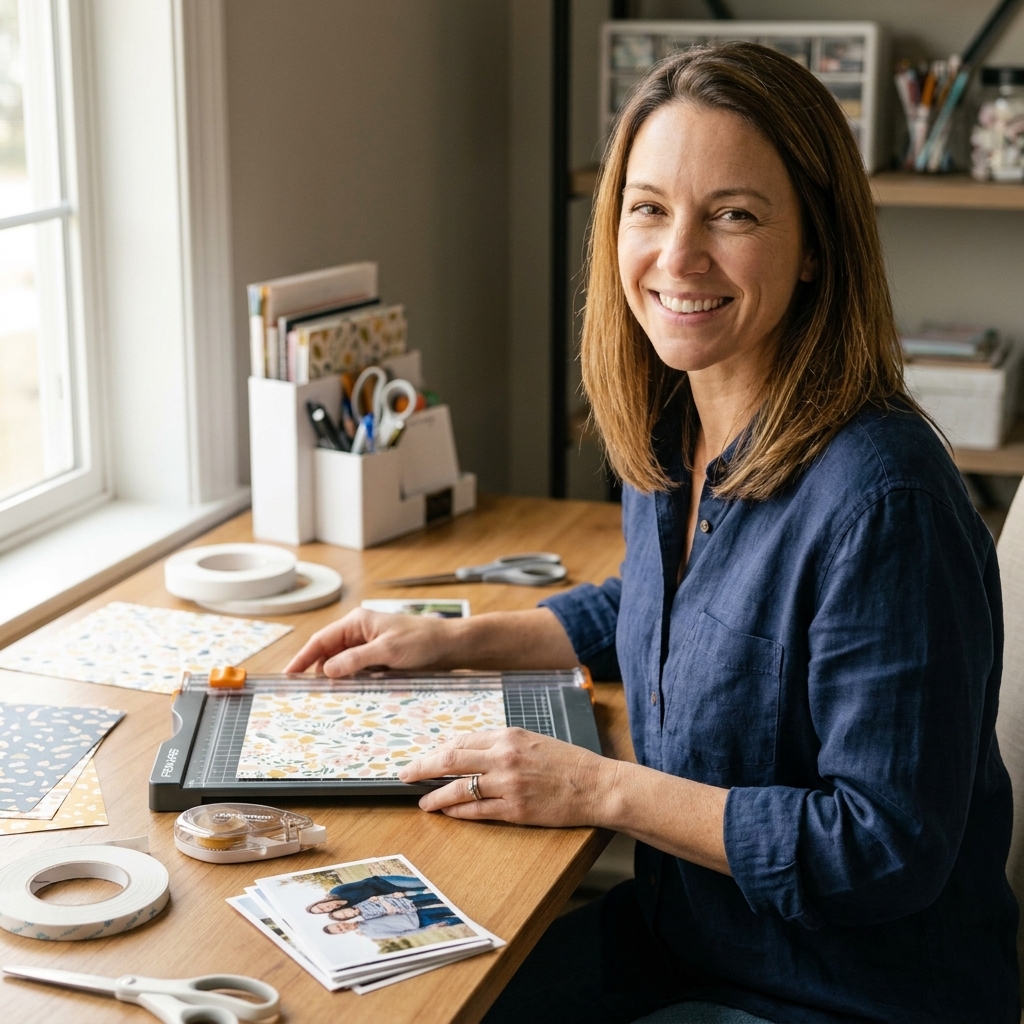
- Paper trimmer and a ruler (even a simple clear one)
- Adhesives: tape runner for flat pieces, foam tape for dimension, liquid glue for tiny bits
- Cardstock for mats (white, black, or kraft is a lifesaver)
- A few label shapes or tag dies (or pre-cut tags)
- Alphabet stickers or a stamp set for titles
- Enamel dots or tiny gems for quick finishing touches
Troubleshooting
My photos do not fit the sketch
Crop them. I promise it is not a scrapbook sin. Trim a 4x6 to a 4x5 or 4x4 and suddenly everything behaves. If you cannot crop, widen your mats and let the sketch breathe. Also, remember you can rotate the whole sketch. If your photos are all portrait, turn a horizontal row into a vertical column and keep everything else the same.
It looks too flat
Add dimension in just two places: pop the title and one embellishment cluster on foam tape. That’s it. You do not need foam everywhere to get a finished look.
It feels cluttered
Pull one pattern paper out and replace it with a solid. Then reduce embellishments to three: one near the title, one near the photos, one near the journaling.
I hate my title placement
Try this little trick: place the title so it touches two things. For example, touching the photo mat and a patterned strip. When a title connects elements, it feels intentional.
Quick FAQ
Do I need to draw these sketches first?
Nope. You can lightly pencil a few rectangles on scrap paper, or just use the descriptions as your guide. I often build right on the page by placing paper scraps down first.
Can I use these sketches for 8.5x11 pages?
Absolutely. The easiest adjustment is reducing the number of photos by one, or trimming mats thinner so the design does not feel squeezed. For example, Sketch 1 becomes two photos across with your title tucked on the open side.
How do I keep layouts from looking the same if I reuse a sketch?
Change two things: your title treatment (stickers vs stamping vs die-cuts) and your feature element (banner, tag stack, big floral, stitched frame). Same sketch, brand new feel.
A little pep talk
If you take nothing else from this page, take this: you do not need a brand-new layout idea for every single story. A reliable sketch is a crafty superpower. Pick one sketch, pull three papers, and start layering. Your photos deserve to live somewhere other than your phone camera roll, and you deserve the joy of finishing a page.
If you try one of these sketches this week, start with Sketch 1 or Sketch 4. They’re my “I just need a win” layouts, and they rarely let me down.