If you have ever looked at a stack of photos and thought, “I love these, but I do not have the time to scrapbook right now,” pocket page scrapbooking is about to become your new best crafty friend. It is the cozy middle ground between doing nothing (hello, camera roll chaos) and spending an entire weekend building one perfect 12x12 layout.
Pocket scrapbooking uses divided page protectors and pre-designed journaling cards so you can slide your photos and stories into place quickly. Think of it like making mini layouts inside little pockets. It is fast, forgiving, and totally customizable, even if you only have 20 minutes after dinner.
What it is (and why it saves time)
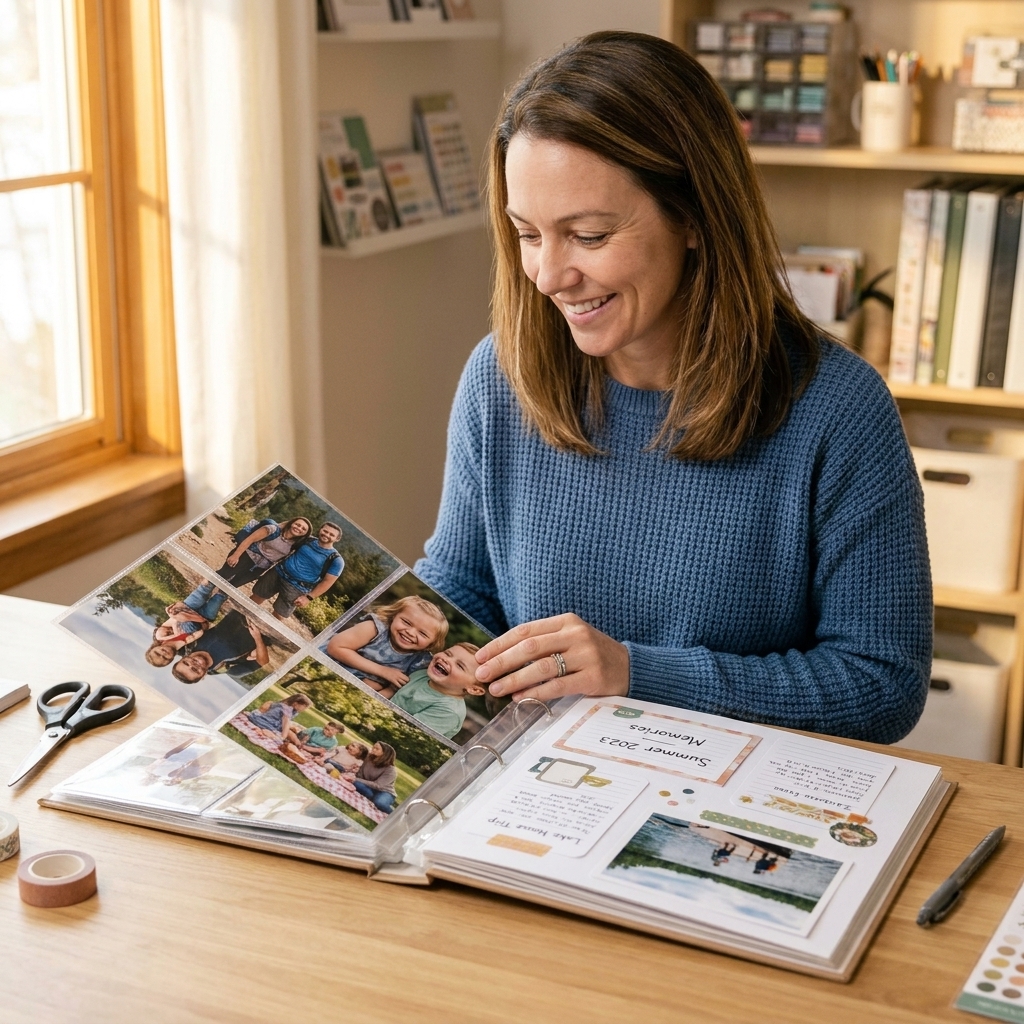
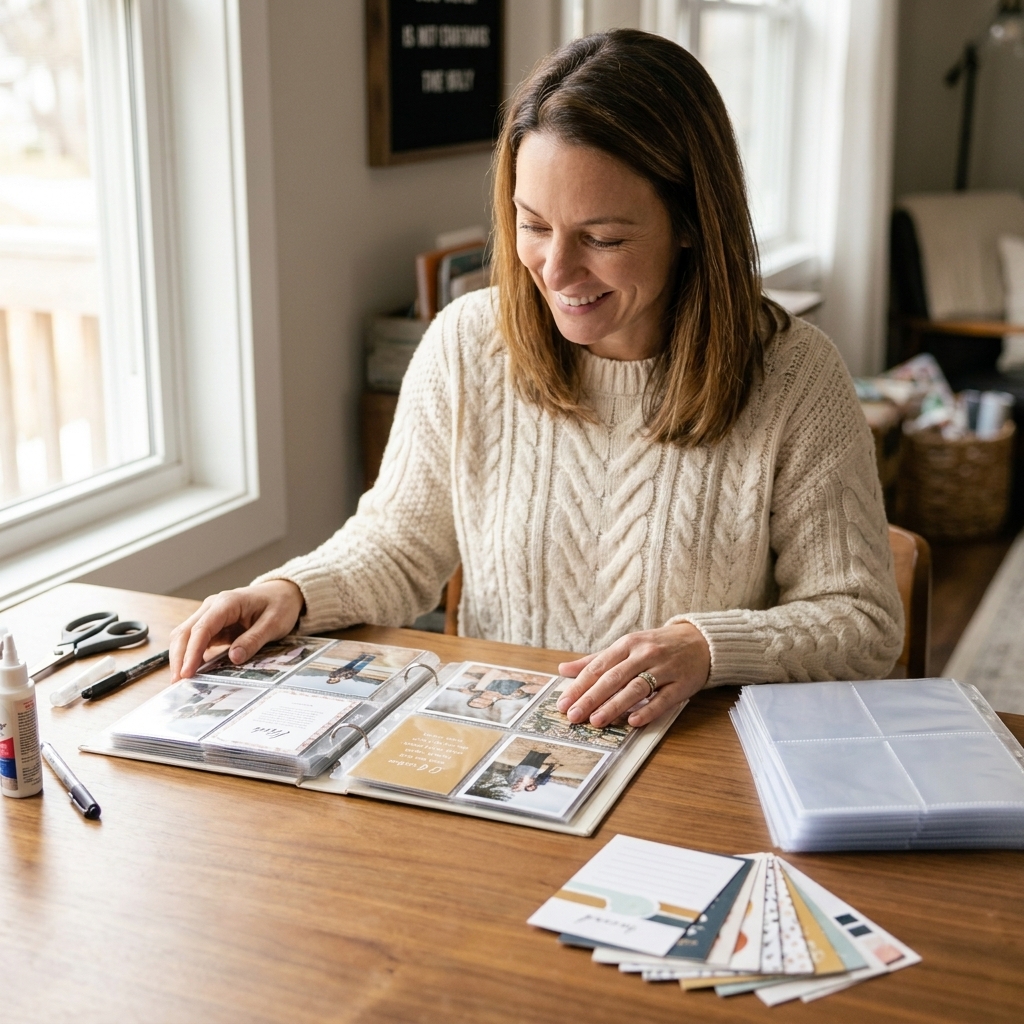
Pocket page scrapbooking is a memory keeping style that relies on divided page protectors. Instead of designing every page from scratch, you work within a set of pockets, usually 3x4 and 4x6. You add:
- Photos (printed to fit the pockets)
- Journaling cards (pre-made or handmade cards for titles, stories, lists, and dates)
- Simple embellishments (stickers, labels, stamps, washi tape, enamel dots, tiny die-cuts)
The big time-saver is the structure. When the page already has pockets, you do not have to reinvent the wheel. You just choose what to put in each spot, add a little story, and you are done.
And my favorite part: pocket pages are wonderfully “real life” friendly. If a week is messy, your pages can be simple. If a week is magical, you can go all out.
Supplies to start
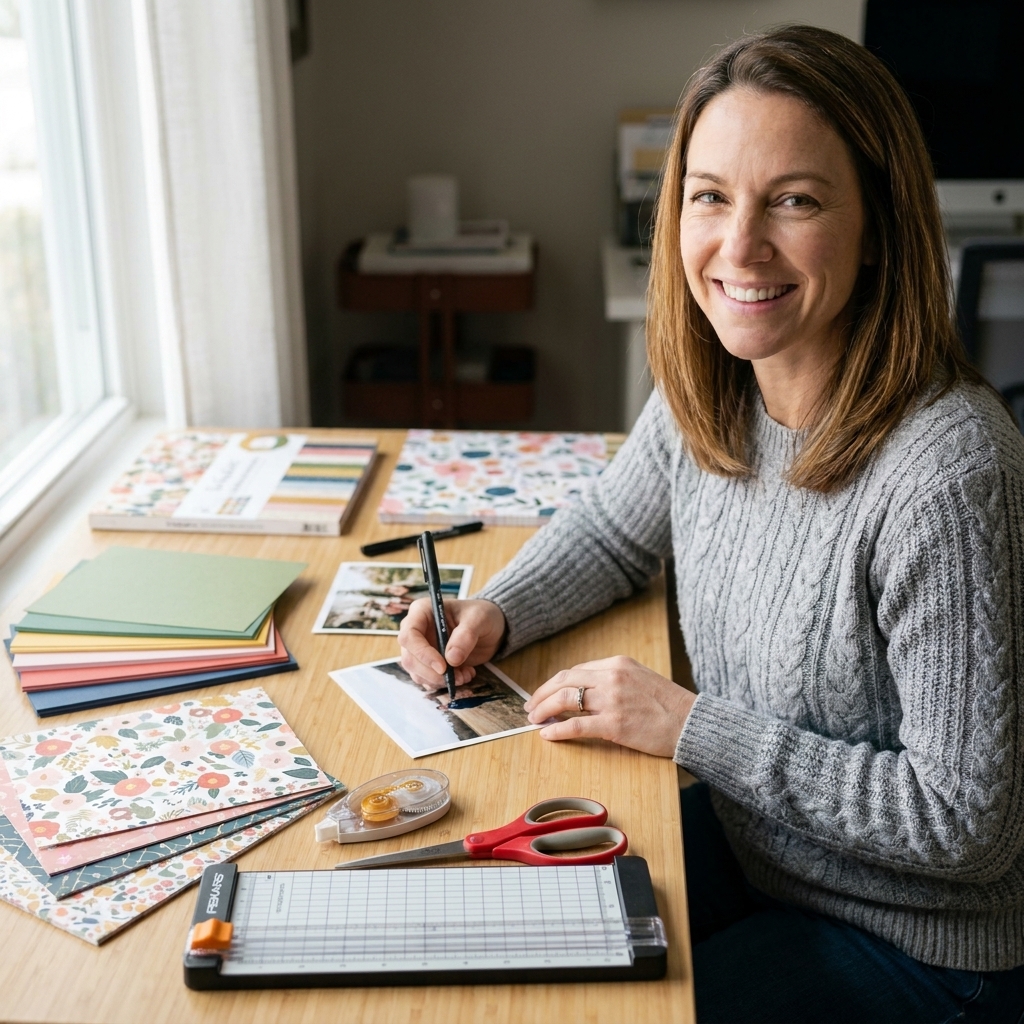
You can start pocket scrapbooking with a short supply list. No fancy cutter required, although I do love a good paper trimmer.
Basics
- Album: 12x12 albums are common, but 6x8 is incredibly approachable for beginners.
- Divided page protectors: look for layouts like nine 3x4 pockets (a 3x3 grid), mixed pockets (3x4 and 4x6), or full-page 12x12 protectors for occasional traditional layouts. If longevity matters to you, look for polypropylene protectors (PVC-free).
- Journaling cards: pre-designed card packs, printable cards, or cards you cut from patterned paper. (Bonus points for acid-free paper if you are thinking long-term.)
- Printer or photo printing method: home printer, local photo lab, or an online print service.
- Pen: an archival or pigment-based, acid-free pen for journaling. I prefer a smooth black ink that dries quickly.
Nice-to-haves (that make it even faster)
- Date stamp for quick, consistent dating
- Corner rounder if you like soft edges on journaling cards
- Small stamp set with phrases like “today,” “weekend,” “love this,” and “currently”
- Thin washi tape for quick color and easy layering
- Photo corners if you want photos removable without adhesive
Pick a format
One of the first decisions is how you want to organize your pages. There is no wrong answer. Choose the one that matches your current season of life.
Weekly spreads
Great for busy families, school seasons, or anyone who wants a steady rhythm. A weekly spread can be as simple as 4 to 6 photos and a few lines of journaling.
Monthly recaps
If weekly feels like too much, monthly is a breath of fresh air. You can include highlights, favorite quotes, a “currently” card, and a handful of photos.
Everyday moments
This is perfect if you want to document life without calendar pressure. You simply fill pages as you go: a Saturday pancake breakfast, a soccer game, a silly pet moment, a cozy rainy day.
If you are unsure, start with everyday moments. It is the most forgiving, and it still builds a meaningful story over time.
Page protector layouts
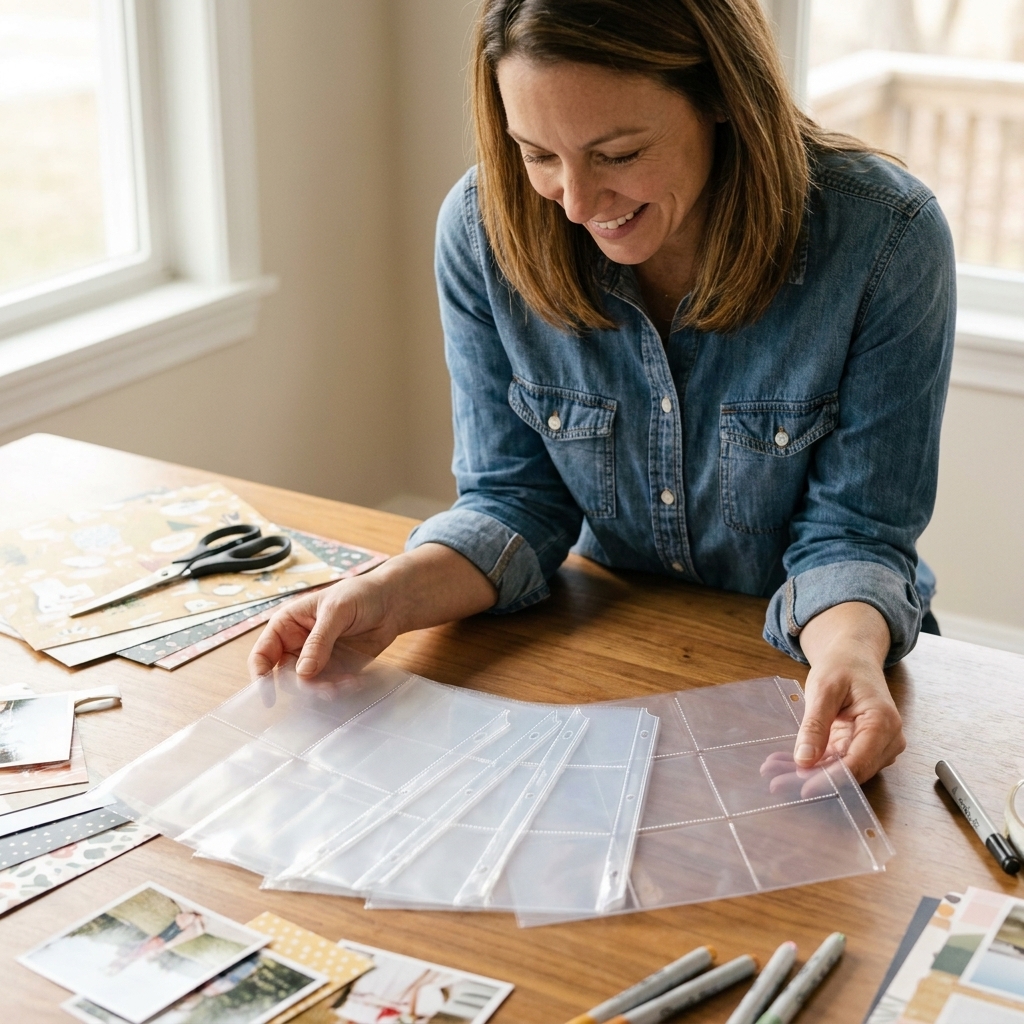
Divided page protectors come in different pocket arrangements. Here is how to choose without overthinking it.
Nine-pocket pages (all 3x4)
Best for lots of small photos, journaling cards, and a clean grid look. These are fabulous if you like symmetry and you enjoy working with 3x4 cards.
Mixed pocket pages (3x4 and 4x6)
Best all-around option. You can feature one larger photo or a longer journaling card in the 4x6 pocket and fill the rest with supporting bits.
Full-page protectors
These are great for:
- Kids artwork
- School certificates
- Brochures and memorabilia
- One special photo you want big and bold
My suggestion: keep one main style (mixed pockets is easiest), then sprinkle in a different layout when it fits your story.
Journaling cards
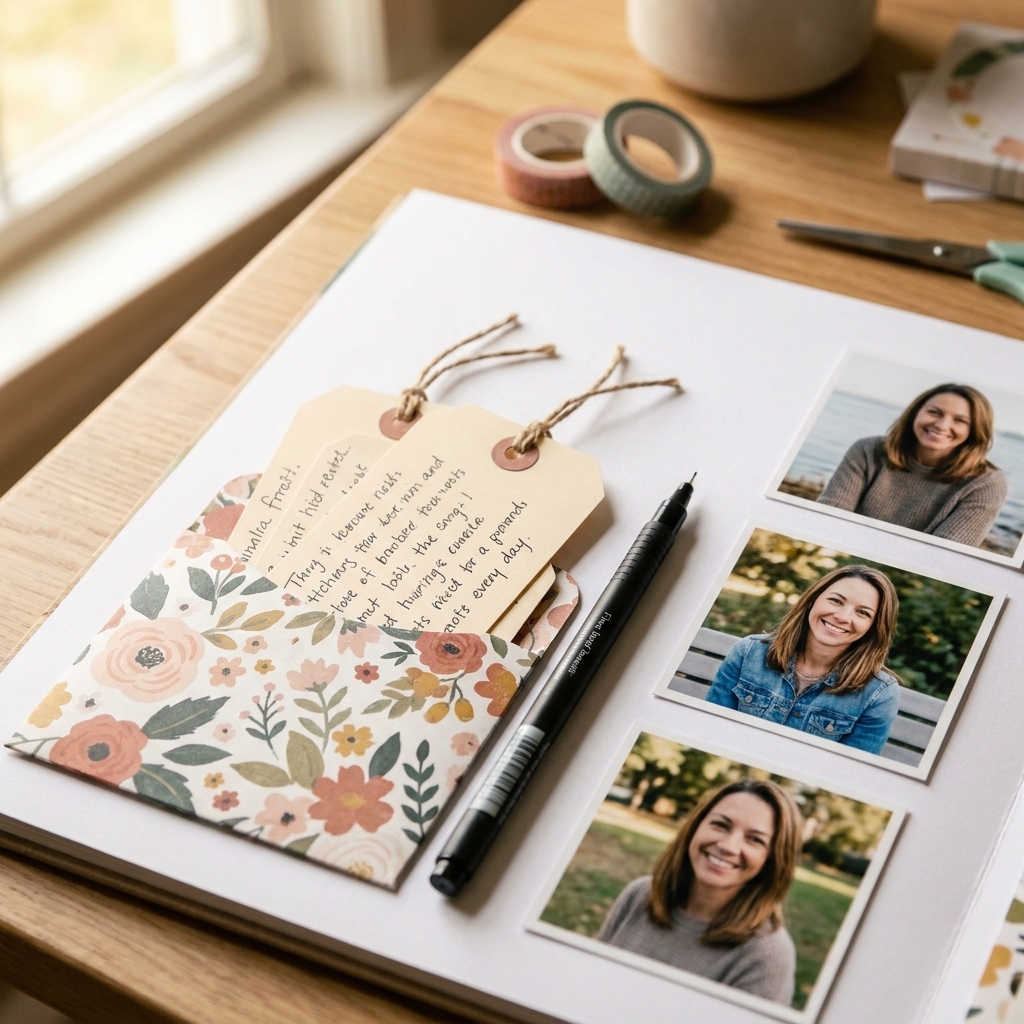
Journaling cards are what make pocket pages feel finished fast. You can buy them in coordinated packs, print them at home, or make them from patterned paper. The key is that they give you a quick place to write, title, or decorate without designing from scratch.
Card types to keep on hand
- Title cards: “Week 12,” “Weekend,” “Currently,” “Hello Today”
- Story cards: lined or blank spaces for writing
- List cards: favorites, funny things said, grateful moments
- Date cards: month and year, or a tiny calendar style
- Filler cards: patterns, icons, or simple color blocks to balance busy photo pages
If journaling feels intimidating, start with one sentence. You can always add more later. Even a quick “We made brownies and the kitchen looked like a chocolate storm” will make you smile years from now.
Printing photos for pockets
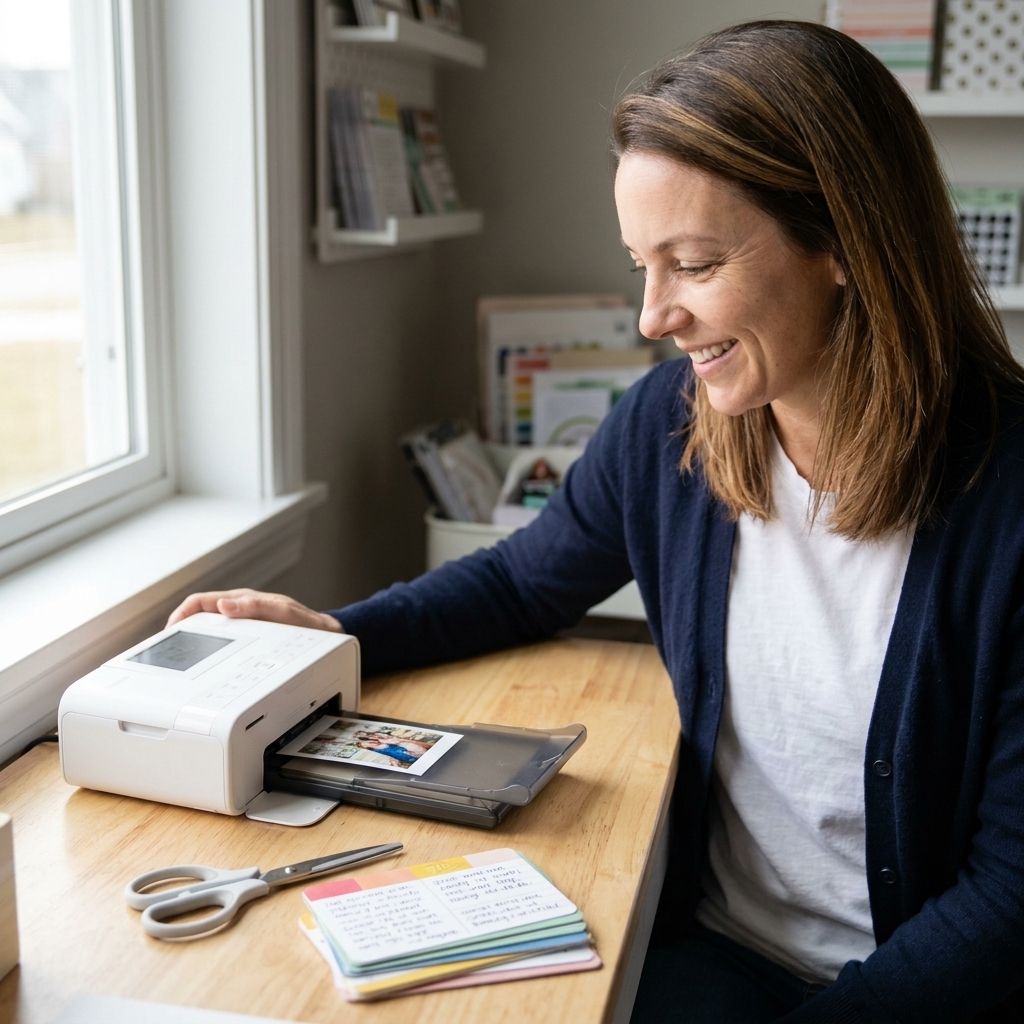
The simplest way to keep pocket scrapbooking speedy is to print photos that already fit your pockets.
Common pocket sizes
- 3x4: perfect for everyday snapshots, kids quotes, and small moments
- 4x6: great for a main photo, a journaling card, or a simple title card
Easy printing options
- Split a 4x6 into two 3x4s: many print apps and online labs have templates that let you place two 3x4 photos on one 4x6 print (trim them apart at home).
- Collage prints: a 4x6 collage can hold multiple tiny moments when you have lots of photos but limited pockets.
- Use pocket templates: several services offer preset 3x4 and 4x6 designs so your sizing is done for you.
My no-stress approach
- Pick 6 to 10 photos for the time period you are documenting.
- Choose 1 to print as a 4x6 “hero” photo.
- Print the rest as 3x4s, or crop them so they work at 3x4.
Quick tip from someone who has absolutely printed the wrong size before: double-check orientation. A vertical photo in a horizontal pocket can still work, but it may require trimming or backing with paper.
A simple workflow
When pocket scrapbooking clicks, it is usually because you have a repeatable routine. Here is mine, written exactly like I do it at my kitchen table.
Step 1: Gather your ingredients
- photos
- page protectors
- a small stack of journaling cards
- pen, date stamp, a few stickers
Step 2: Test the pockets first
Slide everything in before you commit. Move cards around until it feels balanced. Most pieces can simply sit in the pockets, but if you want to keep a photo and card perfectly aligned, you can tack them together with a tiny bit of adhesive.
Aim for a mix of:
- close-up faces
- one wider scene shot
- one journaling spot that anchors the story
Step 3: Journal (short is fine)
Write who, what, where, and why it mattered. If you only have energy for one thing, write names and dates. Future you will be so grateful.
Step 4: Add light embellishments
Think sprinkles, not a full frosting job. A label, a tiny die-cut, or a stamped word is usually enough.
Step 5: Slip it in the album
Once it is in the protector, it is protected from fingerprints and everyday handling, and it is officially finished and ready to live in your album. That is the magic.
Quick design tips
Pocket scrapbooking can be quick and still look cohesive. These are the little tricks I lean on when my brain is tired.
- Repeat a color: pick 2 to 3 colors from your photos and echo them in cards or stickers.
- Use one bold card: one high-contrast journaling card instantly adds structure.
- Build a visual triangle: place three small embellishments around the page so your eye travels naturally.
- Leave some breathing room: not every pocket needs something busy.
- Use consistent handwriting: same pen, same ink color, and suddenly everything feels intentional.
If your page feels off, swap one patterned card for a solid or a simple grid. It calms everything down fast.
Memorabilia without the bulk
Receipts, ticket stubs, kid drawings, and little keepsakes are everyday-life gold. The trick is keeping your album from turning into a lumpy brick.
Easy options
- Flat memorabilia: slide it into a 4x6 pocket or trim and back it with cardstock.
- Bulky items: photograph it, then include the photo and a short note about it.
- Extra-special items: use a full-page protector and keep it separate from pocket pages.
I love taking a quick phone photo of something dimensional (like a birthday candle with a silly shape), then including that photo in the spread. It preserves the memory without the album bulk.
Pocket-friendly embellishments
Because pocket pages live behind plastic, a few supplies shine more than others.
My favorites
- Flat stickers: word strips, small icons, alphas
- Labels: perfect for dates and names
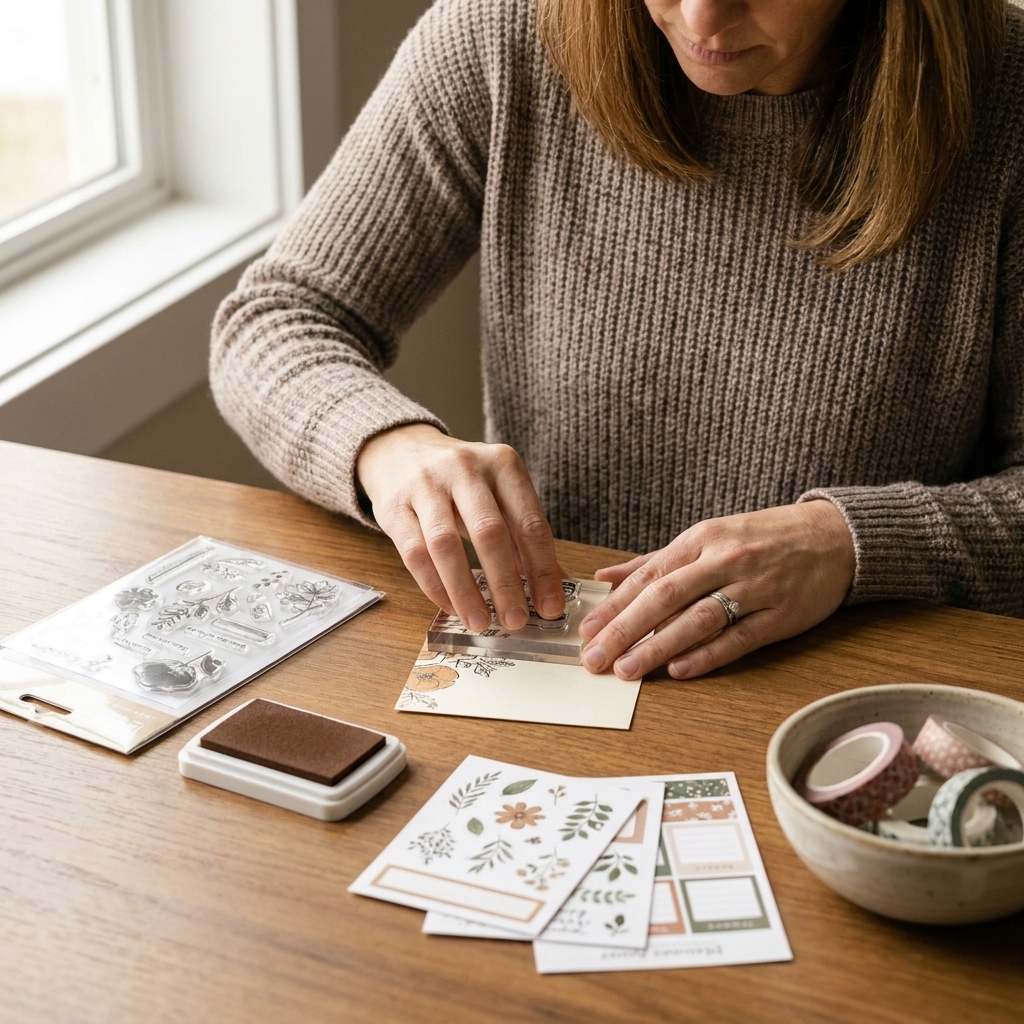
- Washi tape: adds color and can “ground” a card or photo edge
- Stamps: tiny sentiments and dates look crisp on journaling cards
- Thin die-cuts: great when they are truly flat
If you love chunky embellishments, save them for traditional layouts or use them sparingly so your pages still turn easily.
Keep up without burnout
Let me say this gently, from one paper lover to another: you do not have to document everything. Pocket scrapbooking works best when it supports your life, not when it starts bossing you around.
Low-pressure goals
- One page a month
- One spread per season
- One life lately page when you feel like it
A tiny kit you can grab anytime
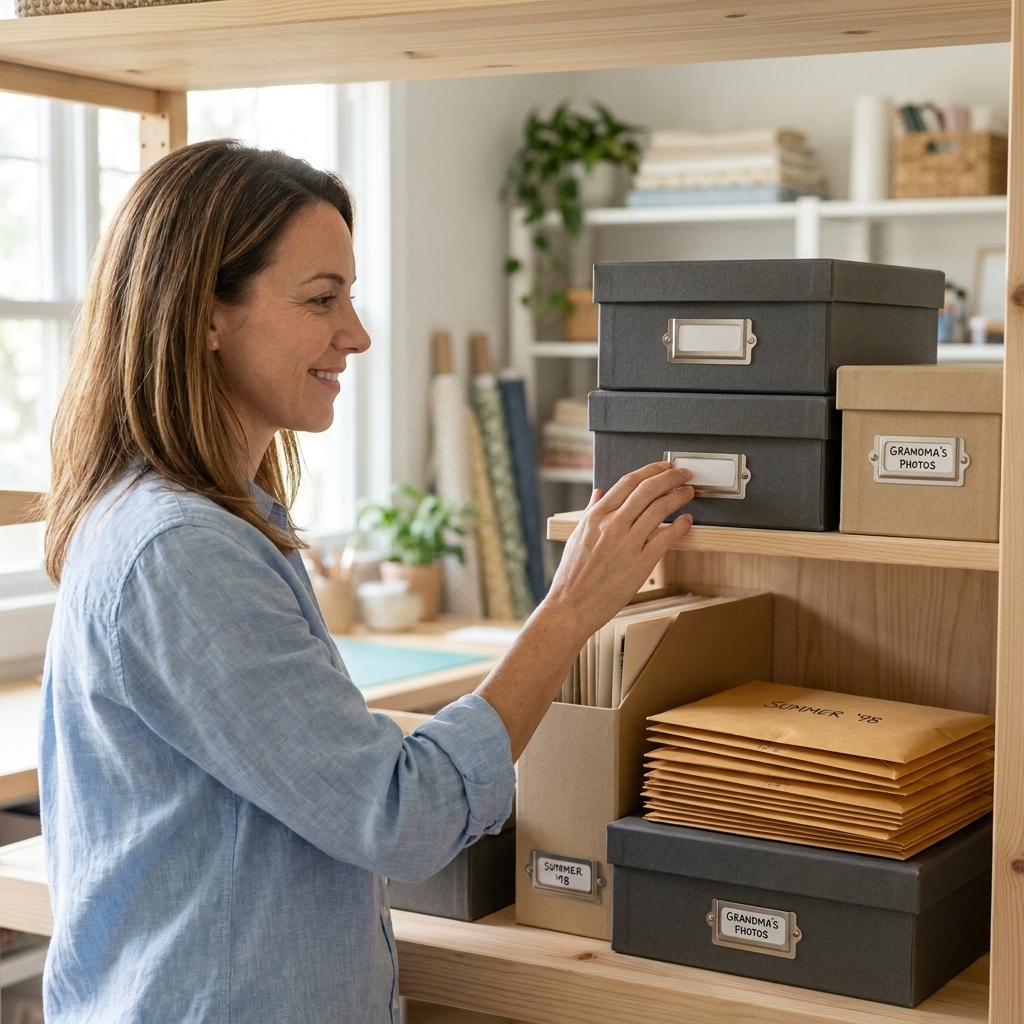
Keep a small box or pouch with:
- a black pen
- date stamp
- a few neutral journaling cards
- a sticker sheet you love
- adhesive (optional, but handy)
This little grab-and-go kit is what makes it realistic to scrapbook in short bursts.
First page idea
If you want a super easy first project, try this:
- Use a nine-pocket page protector.
- Print 6 photos from one day (3x4).
- Pick 3 journaling cards (3x4): one title card, one story card, one filler card.
- Arrange: title in the top left, story in the center, filler in the bottom right.
- Add the date and one tiny sticker, then call it done.
You will be surprised how complete it feels, and how quickly you will want to make the next one.
Troubleshooting
My page looks too busy.
Swap one patterned card for a solid, and remove one embellishment. Busy pages usually need less, not more.
I hate my handwriting.
Type and print your journaling on cardstock, then trim to fit a pocket. Or use a simple all-caps style with a fine-tip pen.
My photos do not match my cards.
Go neutral. Black, white, kraft, and simple grid cards make everything feel cohesive.
I am behind.
You are not behind. You are living. Pick one recent moment and start there. Momentum matters more than catching up perfectly.
Quick FAQ
Is pocket scrapbooking good for beginners?
Yes. The pocket structure removes a lot of design pressure and helps you finish pages faster, which is the best motivation boost.
Do I need a specific brand of journaling cards?
No. Use any cards you like, print your own, or cut 3x4 and 4x6 pieces from patterned paper. If it fits in the pocket and tells your story, it works.
What size album should I start with?
If you want something easy to handle, start with 6x8. If you already love 12x12 scrapbooking, go with 12x12 and enjoy the extra space.
Can I mix pocket pages with traditional layouts?
Absolutely. I love adding a full 12x12 layout for a big event, then using pocket pages for everyday moments in between.
One last pep talk
Pocket page scrapbooking is not about perfection. It is about preserving the small, ordinary, wonderful pieces of your life in a way you can actually keep up with. Start simple, keep it doable, and let your album be a home for memories, not a museum of masterpieces.
If you make your first pocket page this week, I am cheering for you from my craft table, probably with ink on my fingers and a suspiciously growing pile of “must save” patterned paper.