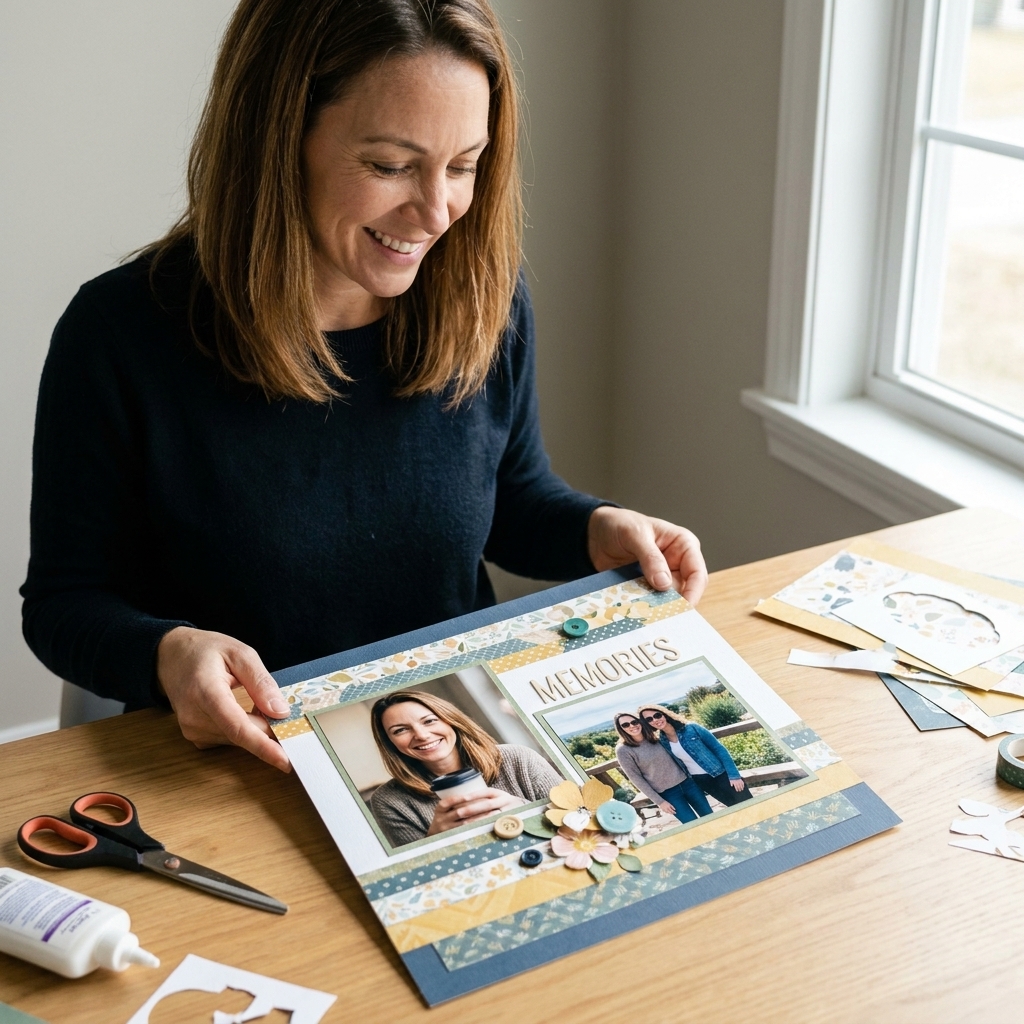
If you have ever stared at a pile of photos and pretty paper and thought, “I want to make something… but I have no idea where to start,” you are in the right spot. Your first scrapbook page does not need to be fancy, matchy-matchy, or worthy of a craft show. It just needs to tell a story you love.
I learned at my grandma’s dining table with a pair of not-so-sharp scissors and a glue stick that did its best. The magic was never perfection; it was preserving a moment. So grab a snack, clear a little space, and let’s build your first layout together.
Scrapbooking basics (no pressure)
A scrapbook layout is usually a single page (most commonly 12x12 inches, but 8.5x11 is wonderfully beginner-friendly too) that combines:
- Photos (the star of the show)
- Background papers (cardstock and patterned paper)
- Journaling (a few words that make the memory real)
- Embellishments (stickers, die-cuts, stamps, washi, little extras)
- A title (optional, but fun)
Your goal is not to use every supply you own. Your goal is to help Future You remember how it felt.
Essential supplies for your first scrapbook page
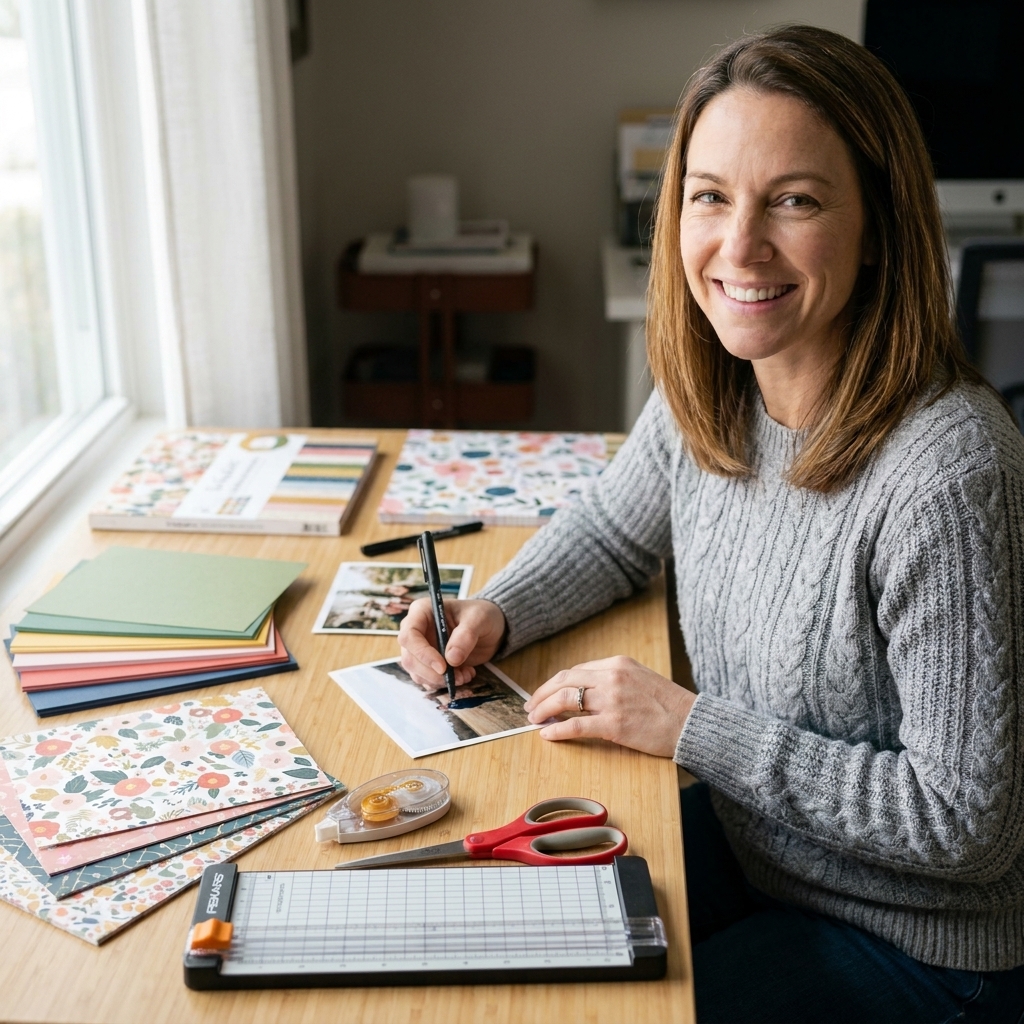
You can absolutely start with the basics and add tools as you go. Here is what I consider the true starter kit.
Must-haves
- Album and page protectors: Choose 12x12 or 8.5x11, and make sure your album, protectors, and page size match exactly. Page protectors help keep layouts clean and can reduce bending from everyday handling.
- Cardstock: A few solid colors (white, black, kraft, and one or two colors you love) will carry you far.
- Adhesive: An adhesive runner or double-sided tape for flat items, plus a glue pen or liquid glue for tiny pieces. If you are memory keeping for the long haul, look for photo-safe, acid-free adhesives so they are less likely to yellow over time.
- Scissors: One comfortable pair beats three fussy ones.
- Paper trimmer: Not required, but it makes straight cuts quick and less stressful.
- Photos: Matte prints are often easier to glue and tend to show fewer fingerprints than glossy ones. If your photos are glossy, use a strong tape runner or photo corners so they stay put.
- Journaling pen: Look for an archival, acid-free, fade-resistant pen, ideally with pigment-based or archival ink. Black is classic.
Nice-to-haves (save these for later if you want)
- Foam squares for pop-up dimension
- Washi tape for quick color and easy layering
- Corner rounder punch if you love a softer look
- Stamps and ink for dates, sentiments, patterns, and texture
- Die-cuts or stickers for instant embellishing
Beginner-friendly adhesive tips (because adhesive can be… a journey)
- Use less than you think. For patterned paper mats and photo mats, a line or dots near the edges is usually enough.
- Keep wet glue away from photo edges. If you love liquid glue, use tiny amounts and press with clean hands.
- Pop-ups go last. Add foam squares after you are sure everything is in the right spot.
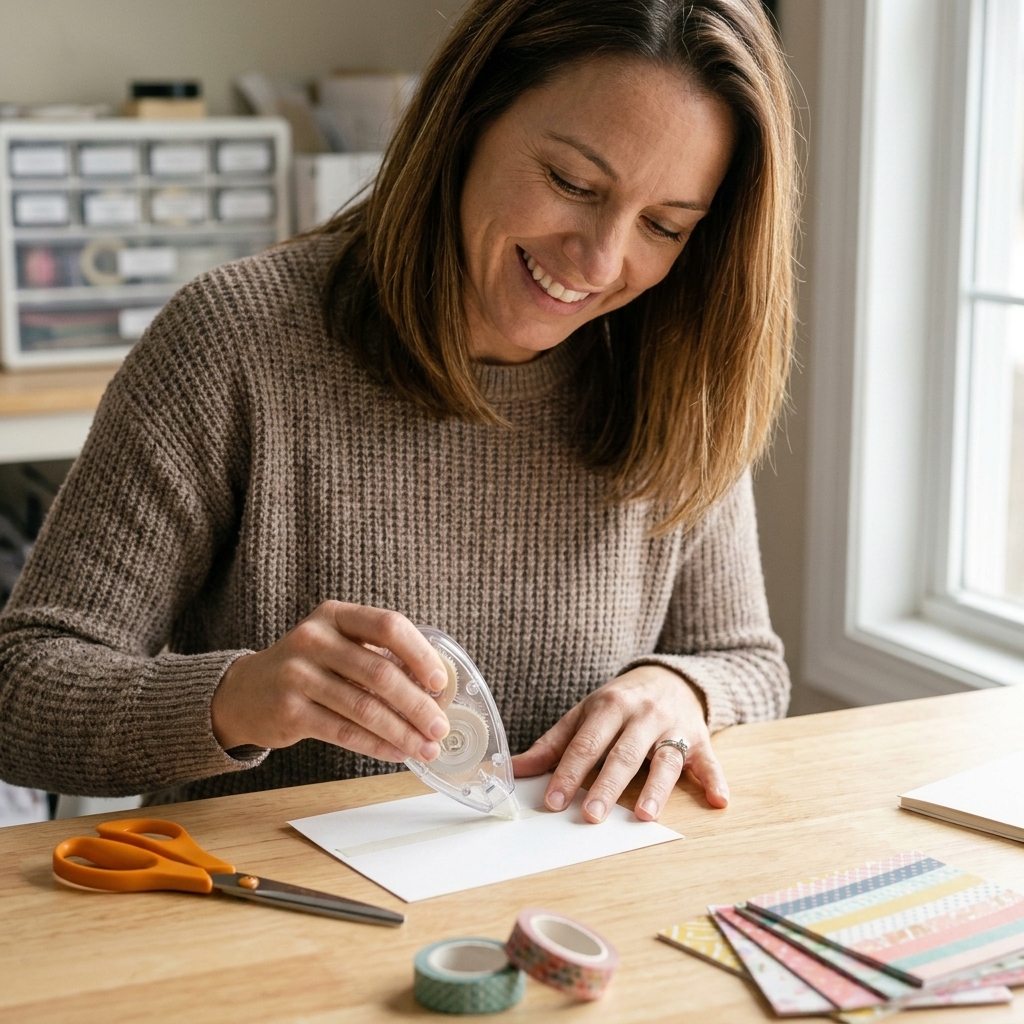
Pick a simple project
When you are brand new, the easiest memories to scrapbook are the ones with a clear theme. Try one of these:
- A birthday
- A weekend trip
- First day of school
- A holiday morning
- A “currently” page (favorite things right now)
- A single event with 3 to 5 photos
My favorite first layout formula: one big photo + two smaller photos + a short journaling block. It looks polished without feeling complicated.
Simple design principles
You do not need art school. You just need a few friendly guardrails.
1) Start with a photo plan
Choose 3 to 5 photos that tell the story. Too many photos can feel crowded fast. If you have 20 photos you love, that is a sign you have a two-page spread in your future, not a sign you failed.
2) Use a color palette (3 colors is the sweet spot)
Pick:
- One main color (pulled from a photo works beautifully)
- One supporting color
- One neutral (white, cream, kraft, gray, black)
This is the easiest way to calm down “too much cute paper” syndrome. Ask me how I know.
3) Build with layers
Layering is just stacking paper like a cozy little lasagna. Try:
- Background cardstock
- A large patterned paper panel
- A smaller contrasting mat under photos
- Little strips tucked behind for texture
4) Create a visual triangle
Place embellishments in three spots around your photos (top-left, bottom-right, and near your title, for example). Your eye will bounce around the page in a pleasing way.
5) Leave breathing room
White space is not “empty,” it is what makes your photos and details stand out. If your page feels busy, remove one embellishment and one patterned layer. Instantly calmer.
Step-by-step: your first layout
Here is a beginner-friendly workflow you can repeat for almost any page.
Step 1: Gather and edit your photos
Choose your story, then pick photos that support it. If needed, crop in closer to faces and details. Simple cropping can make a page feel more intentional.
Step 2: Pick your page size and base
Choose 12x12 for classic scrapbooking, or 8.5x11 for easier printing and trimming. Start with a sturdy cardstock base.
Step 3: Choose papers that match the mood
Ask yourself: is this memory bright and playful, soft and cozy, bold and dramatic? Pull papers that match the feeling, not just the colors.
Step 4: Make a quick sketch
On a scrap paper, draw:
- Where photos will go
- Where a title might sit
- Where journaling will live
This saves you from the dreaded “moving things around for 45 minutes” spiral.
Step 5: Arrange everything before you glue
Lay down your background layers, then photos, then title, then embellishments. Take a quick phone photo of your arrangement. It is a great safety net if something shifts.
Step 6: Adhere in the right order
- Background paper first
- Large mats and layers
- Photos
- Journaling block
- Title
- Embellishments last
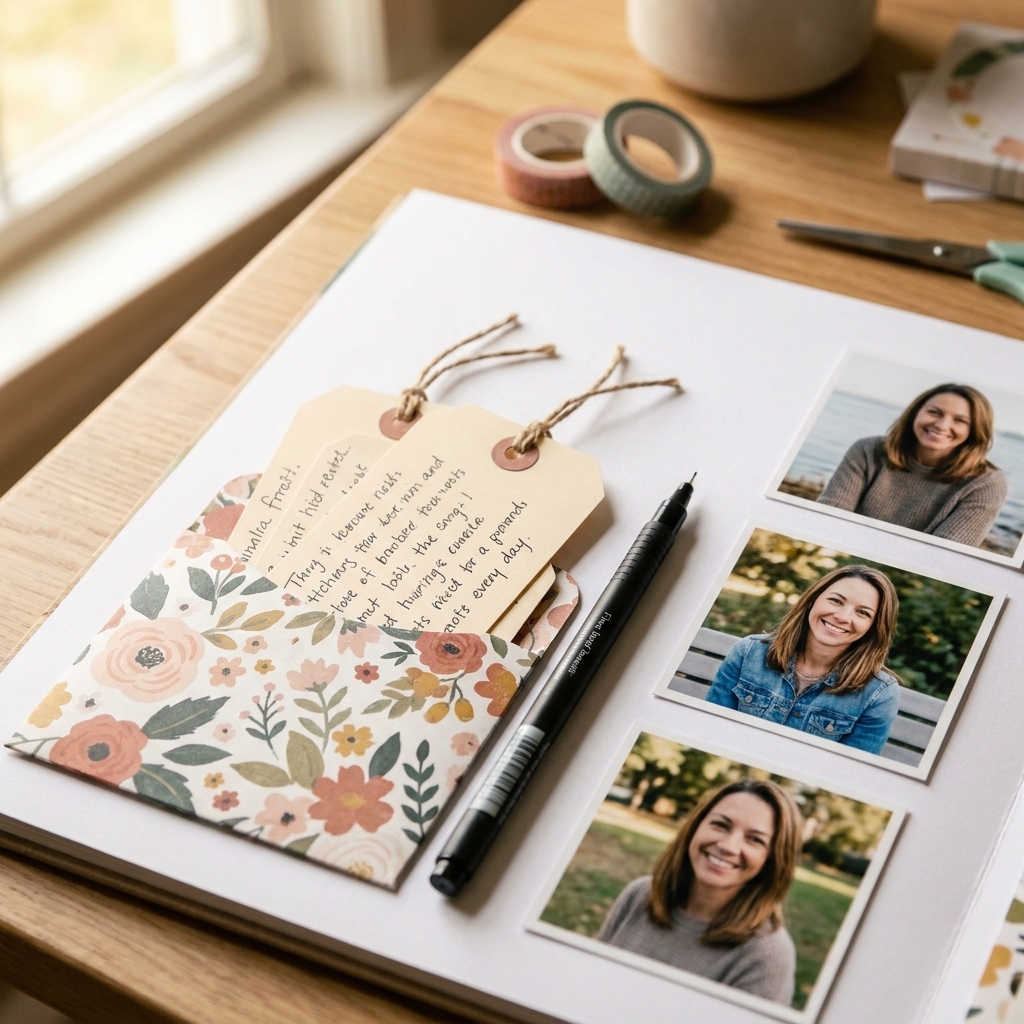
Step 7: Add journaling (keep it simple)
If journaling makes you nervous, start with one of these:
- The who/what/where: “Sunday brunch with Mom at Maple Cafe.”
- The feeling: “We laughed until our cheeks hurt.”
- The tiny detail: “It rained, so we shared one umbrella.”
Even two sentences turns a pretty page into a real memory keeper.
Step 8: Final check
- Are photos the main focus?
- Is there one spot that feels too busy?
- Did you include a date somewhere (even tiny)?
- Will your album close comfortably, especially if you used foam squares or chunky embellishments?
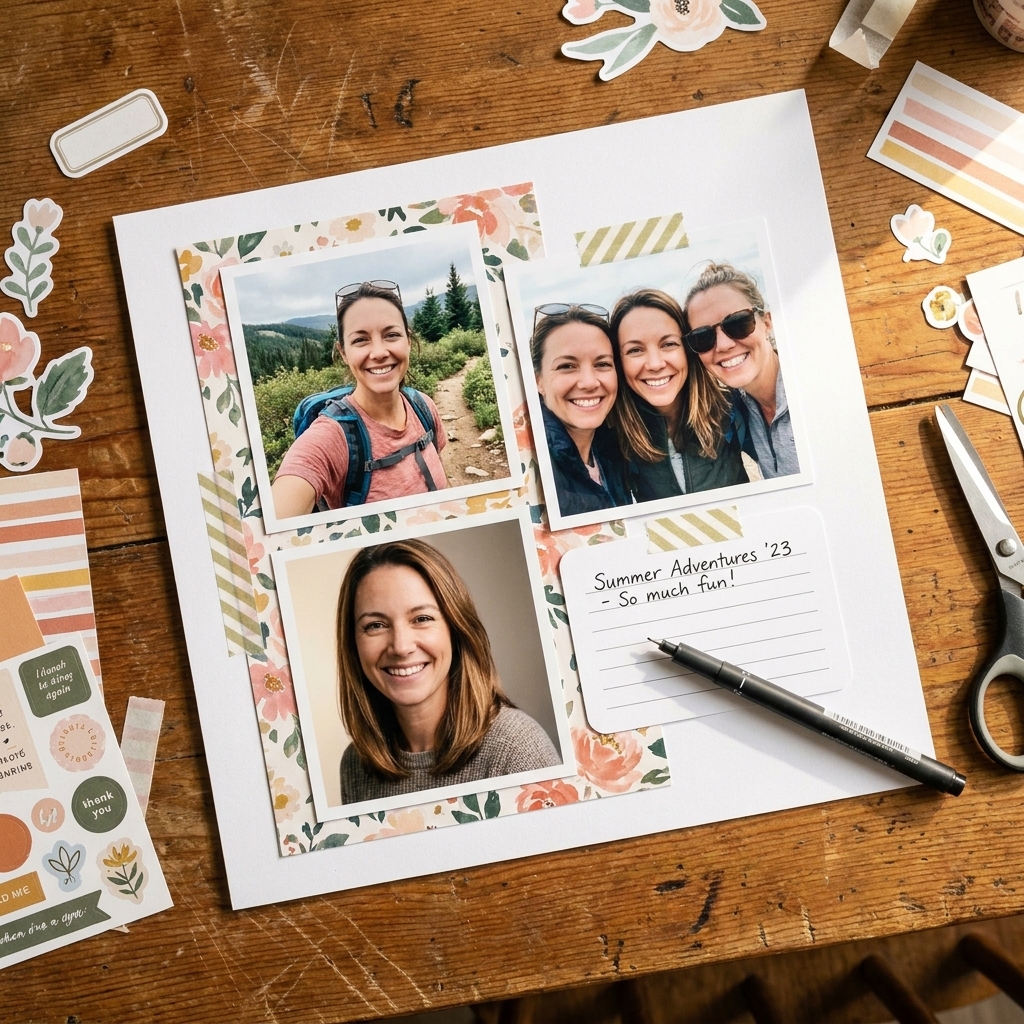
Easy layout ideas
The “one big photo” page
Use one 4x6 or 5x7 photo as the focal point. Add a title strip, a small journaling card, and a few embellishments clustered in three spots.
The “grid” layout
Line up 4 photos in a simple grid with even spacing. This looks clean and modern, and it is almost impossible to mess up.
The “banner and strip” layout
Put two or three horizontal paper strips across the page, then tuck photos slightly under the strips. Finish with a banner or bunting embellishment.
Common beginner mistakes
- Using every embellishment in the pack. Fix: pick a “hero” embellishment and two supporting ones.
- Photos blending into busy paper. Fix: add a simple cardstock mat behind photos (white, black, kraft).
- Wavy paper from wet glue. Fix: use tape runner for large areas, and let liquid glue dry under a book.
- Crooked everything. Fix: embrace a tiny tilt on purpose, or use a ruler and trimmer to straighten key pieces.
- Not leaving space for journaling. Fix: add a journaling card or a small block of light cardstock.
Store and protect your pages
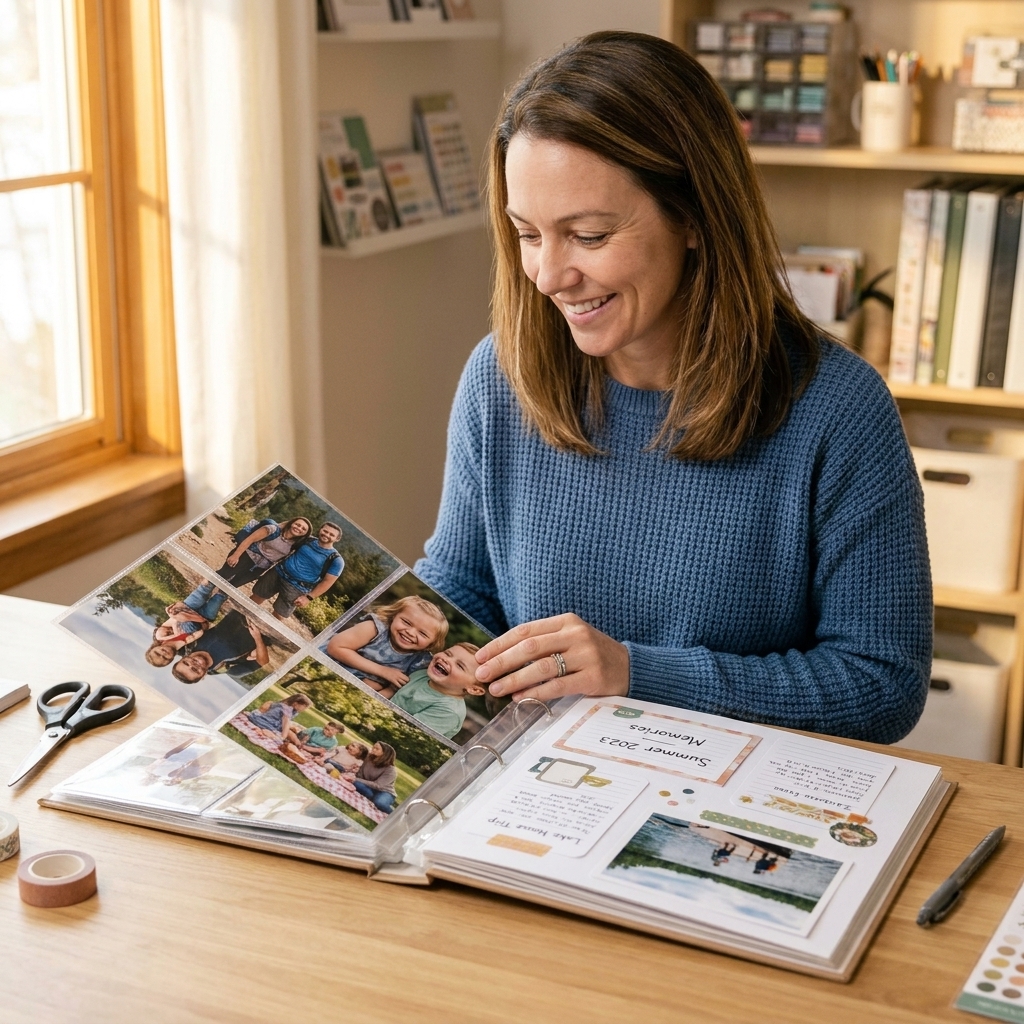
Scrapbooks are meant to be flipped through, loved on, and passed around, so protection matters.
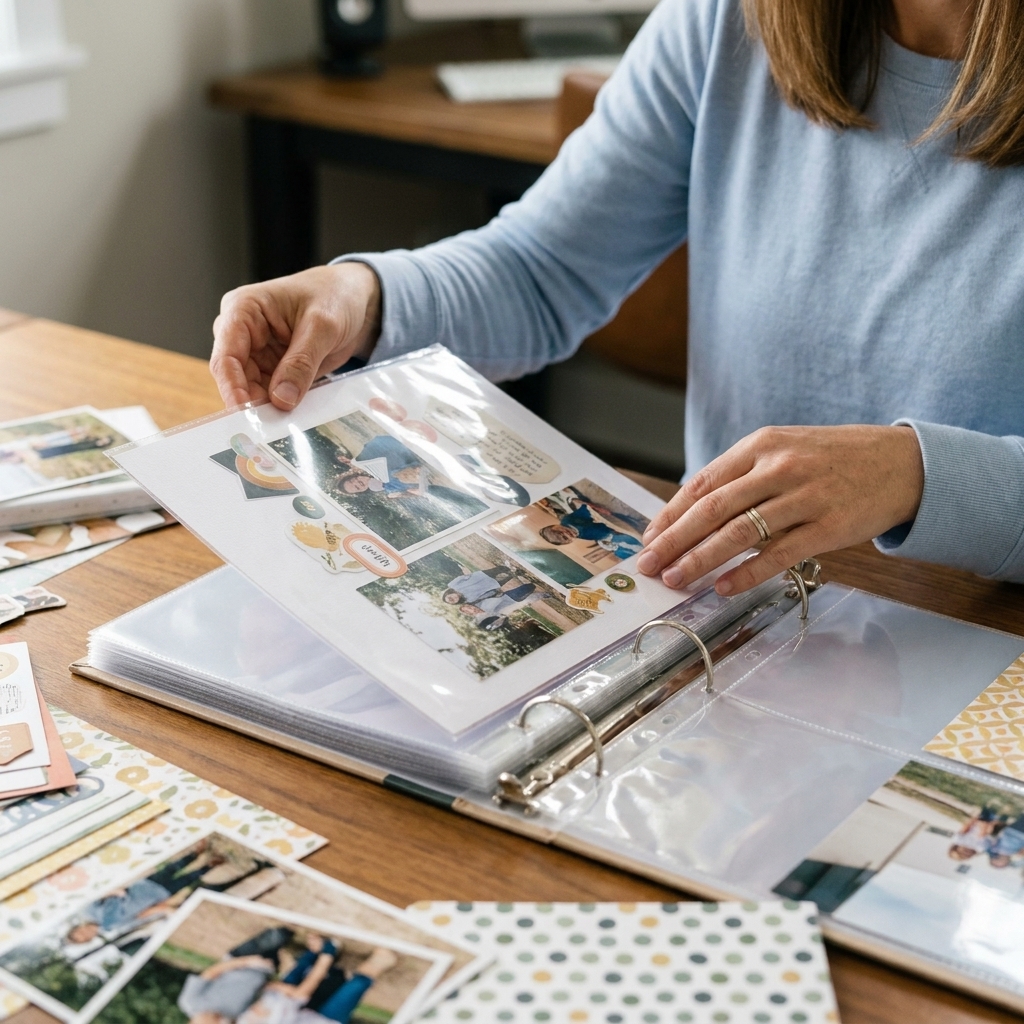
- Use page protectors and slide finished layouts in as soon as the glue is fully dry.
- Store albums upright like books, not stacked flat if you can help it.
- Keep away from heat and humidity, especially if you used dimensional foam or thicker embellishments.
- Choose acid-free supplies when possible for longer-lasting pages.
- Give chunky pages room: D-ring and post-bound albums tend to handle dimension more comfortably than tightly packed albums.
Mini checklist
- Pick 3 to 5 photos for one story
- Choose a 3-color palette plus a neutral
- Select 2 to 3 papers and 1 small embellishment set
- Make a quick sketch
- Arrange, snap a phone photo, then glue from background layers upward
- Add journaling and a date
- Slip it into a page protector and celebrate
That is it. You made a memory you can hold.
FAQ
What scrapbook size is best for beginners?
8.5x11 is wonderfully approachable because it is less space to fill and paper trimming is simpler. 12x12 gives you more room for multiple photos and chunky embellishments. Pick the size that feels less intimidating, not what you think you “should” do.
Do I need special scrapbooking paper?
No. Start with cardstock and a couple patterned papers you love. If you are scrapbooking for long-term memory keeping, acid-free and lignin-free papers are a good idea, but do not let that stop you from starting.
How do I scrapbook if I am not “creative”?
Use a repeatable recipe: photo block + journaling card + title strip + three embellishments. Creativity grows with reps, not with pressure.
Should I scrapbook in chronological order?
Only if that makes you happy. I bounce around constantly. Scrapbook the stories you are excited about right now. Momentum matters more than perfect organization.
How many photos should go on one page?
For your first layout, aim for 1 to 5 photos. One strong photo with a little journaling is often the most striking page in an album.
A cozy next step
Once your first page is done, do one more using the same simple layout. Repetition is how you build confidence. And if you get stuck, remember: a handmade scrapbook page is like a hug folded in half. It does not have to be perfect to be meaningful.