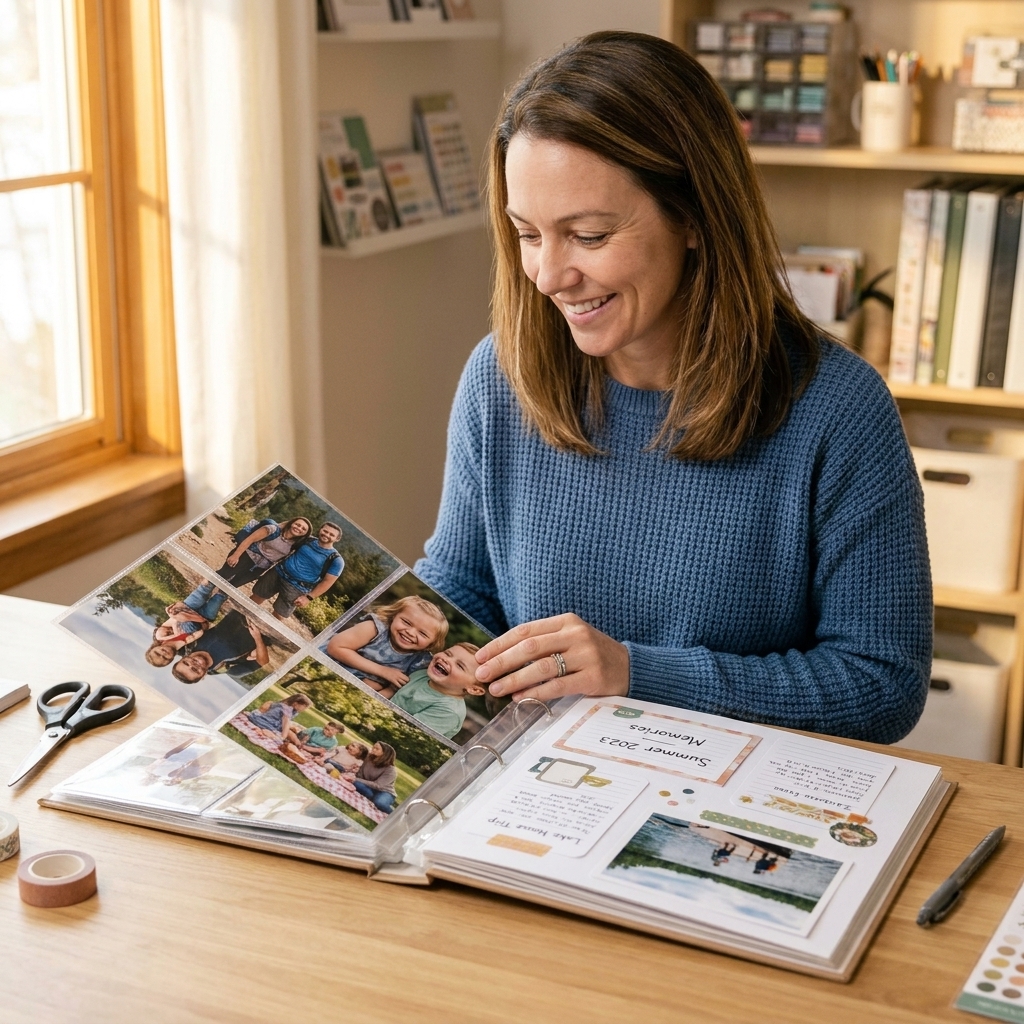
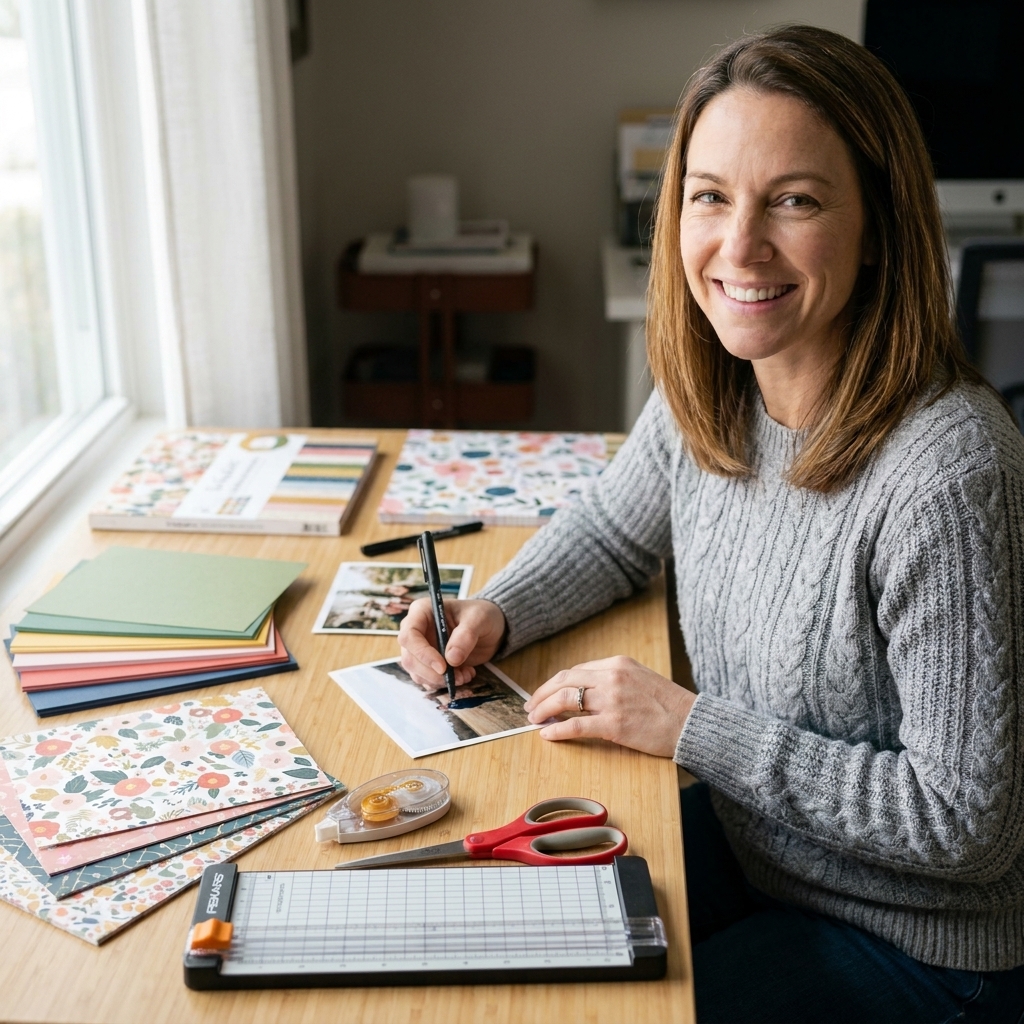
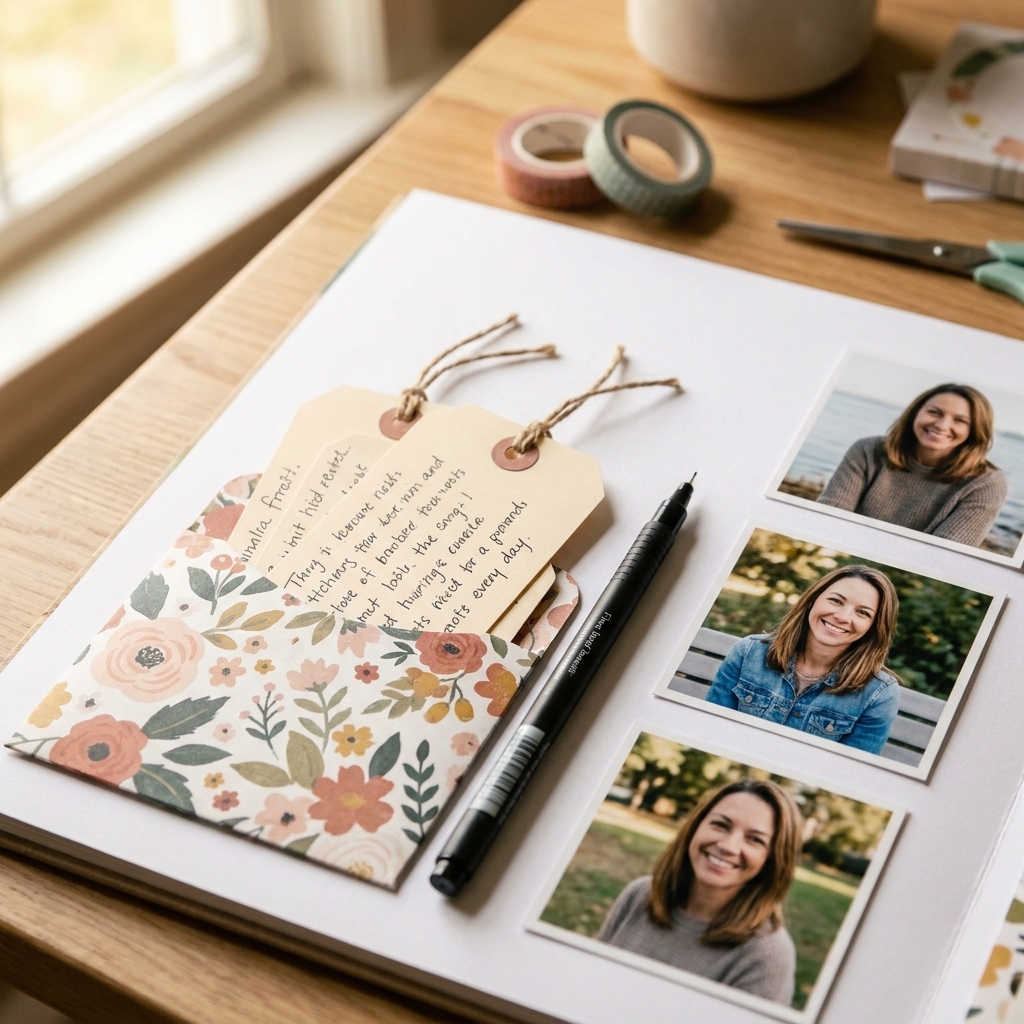
There is something magical about real-life memorabilia. A crinkled ticket stub, a pressed penny, a chunky enamel pin, even that little paper wristband you swore you would not lose. The only problem is that scrapbooks are built for paper, and memorabilia is not always polite about staying flat.
Over the years at my craft table, I have learned two golden rules for bulky keepsakes: give the item its own space (so your page stays smoother) and use removable or flexible attachment (so you are not fighting your album later). Below are my favorite clever, sturdy methods that keep pages flatter, protect page protectors, and help your album spine breathe.
Before you stick anything down
Quick prep saves so much heartache later, especially with heavy items.
- Use sturdy bases. If you can, build on heavyweight cardstock or a double-layered page base. Thin paper plus a coin often leads to ripples, especially once the album is stored upright or under pressure.
- Mind your page protectors. Hard edges can scratch or dent protectors, and some adhesives can leave residue that may cloud plastic over long storage, especially with heat and pressure.
- Test thickness at the spine. Slide your page into the album and close it gently. If it fights you, you need either a flatter method or a dedicated “bulky page” section of the album.
- When in doubt, go removable. For valuable items, choose a method that lets you take it out without tearing your layout.
Materials I look for
- Acid-free cardstock (especially for pockets and reinforcement layers)
- Photo-safe, acid-free tape (dry adhesive tends to behave better than wet glue around edges)
- PVC-free clear sleeves such as polypropylene, polyester, or archival acetate (the packaging usually says “PVC-free” or “archival-safe”)
1) Gusset pocket
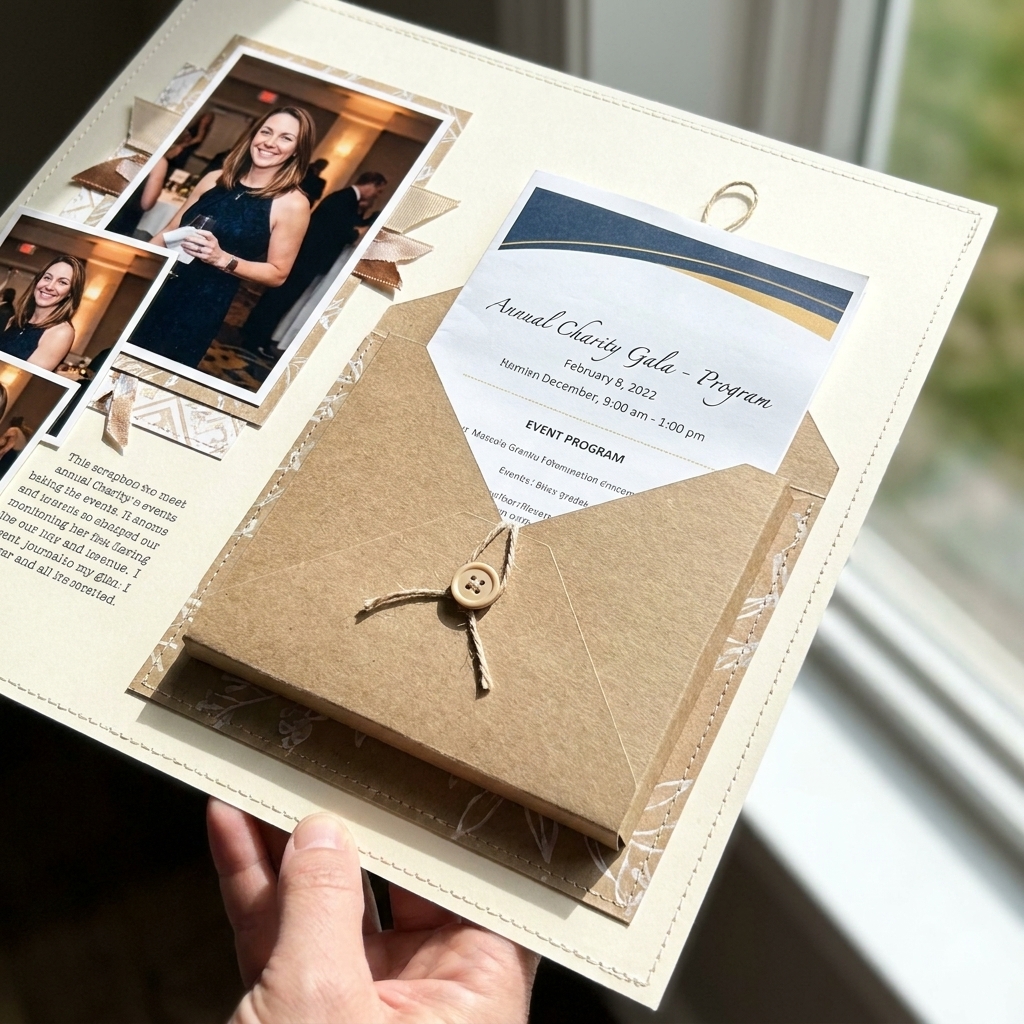
If you only try one method from this list, make it this one. A gusseted pocket gives thickness somewhere to go, instead of forcing your entire page to bow.
Best for
Event programs, folded brochures, matchbooks (unstruck), bulky ticket bundles, confetti packets, small souvenirs.
How to do it
- Cut a pocket panel from cardstock (I like 80 to 110 lb).
- Score a strip along the sides and bottom where the pocket will attach. That scored strip becomes your gusset depth, and 1/4 inch to 1/2 inch is a good starting range.
- At the corners, cut little angled notches so the folds sit neatly.
- Fold the scored strips inward to create the gusset.
- Adhere only the gusset strips to your page using strong double-sided tape so you are not dealing with glue seep.
- Add a thumb notch or a ribbon pull so you can remove the item easily.
Chloe tip: If your memorabilia is thick, make the gusset deeper, and keep the pocket opening facing away from the album spine. That way nothing catches when you flip pages.
2) Protector pocket
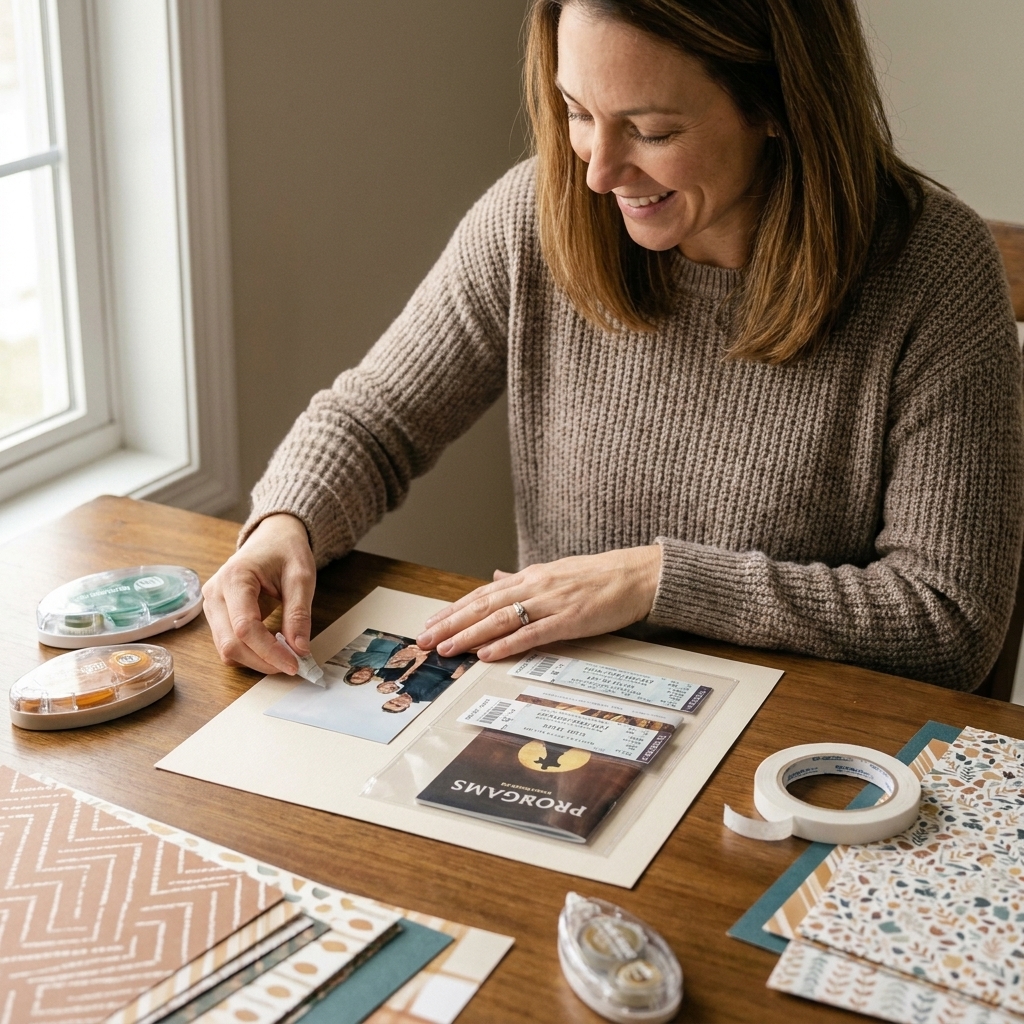
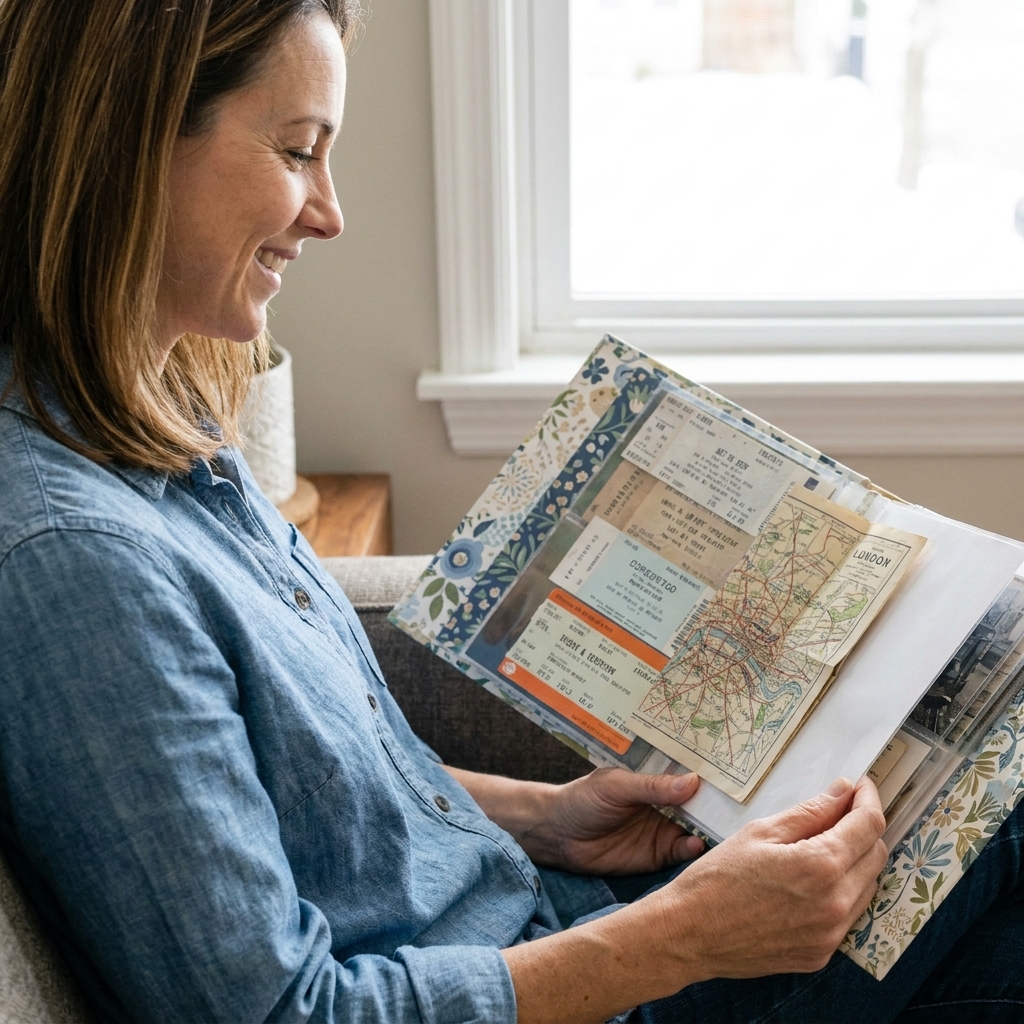
Sometimes the easiest solution is also the most album-friendly: let the page protector do the work. Instead of forcing thickness onto your decorated page, add memorabilia inside an extra protector or in a pocket-style protector page.
Best for
Programs, maps, pamphlets, photo booth strips, wristbands, flat but awkward sizes.
How to do it
- Choose a protector that fits your album (12x12, 8.5x11, or pocket pages).
- Slip your memorabilia in a pocket (or add a second protector back-to-back if it is wide and needs support).
- Add a simple cardstock insert behind it so it looks intentional, not like it is floating.
- If the item slides, add a small paper stop at the bottom with a scrap of washi tape on the insert, not on the memorabilia.
Chloe tip: If an item has gritty edges or staples, tuck it into a smaller clear sleeve first, then put that sleeve into your page protector. Your protectors will stay clearer longer.
3) Shadow frame
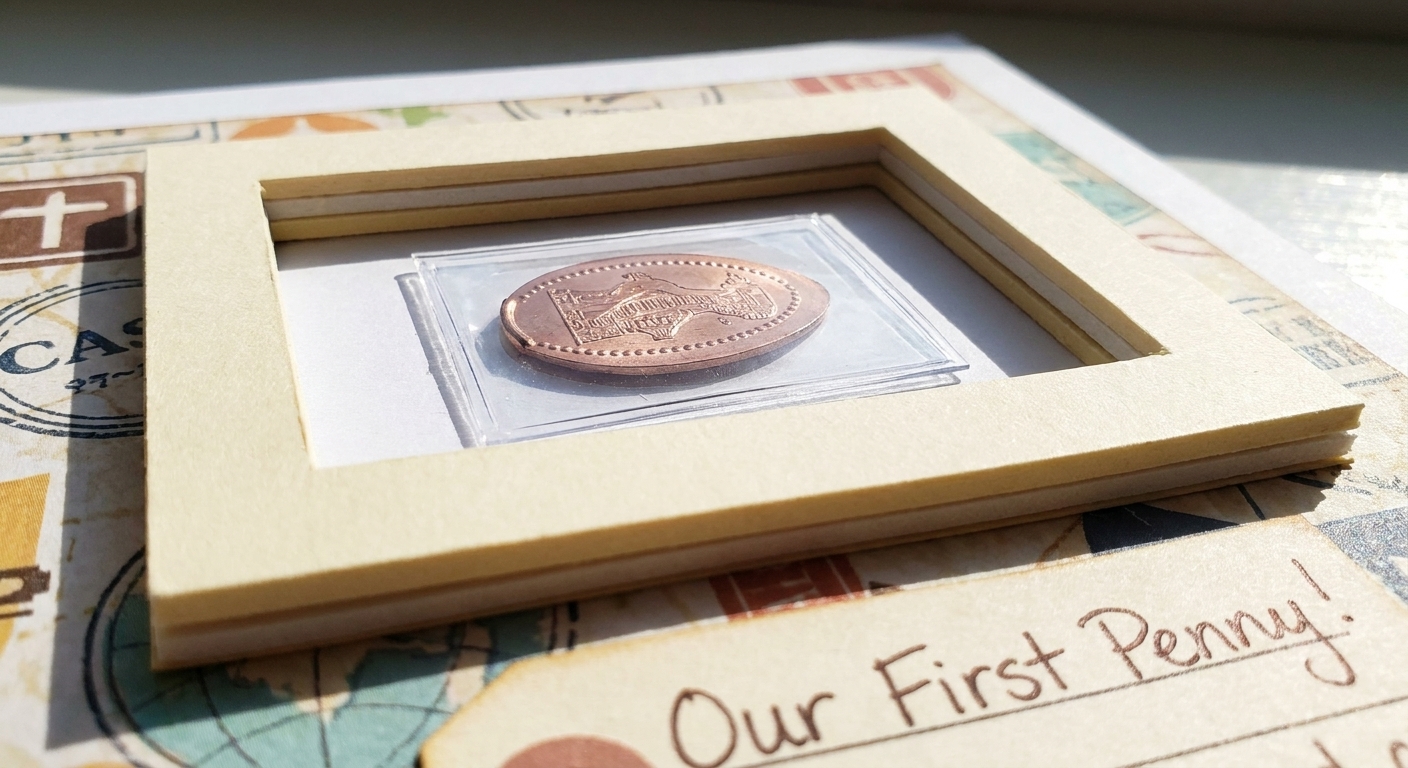
When you want a memorabilia piece to be part of the design, a shadow frame keeps the bulk contained inside a defined “well.” It looks polished, like a tiny museum display on your page.
Best for
Pressed pennies, coins in a sleeve, small charms, arcade tokens, small shells, thick patches.
How to do it
- Cut a window frame from sturdy cardstock (or chipboard for extra strength).
- Stack layers of foam tape behind the frame to create depth. More layers equals more room.
- Line the “floor” area (the base behind the window) with cardstock.
- Place your memorabilia inside the window area.
- If you do not want it to rattle, use a tiny removable glue dot on the sleeve (not the keepsake), or snug the fit by adding one more foam layer.
- Close it up by adhering the frame down firmly.
Important: I do not recommend sealing bare metal directly into a frame with wet glue. If the item is valuable, place it in a tiny clear sleeve or wrap it in acid-free tissue first.
4) Clear mini envelope
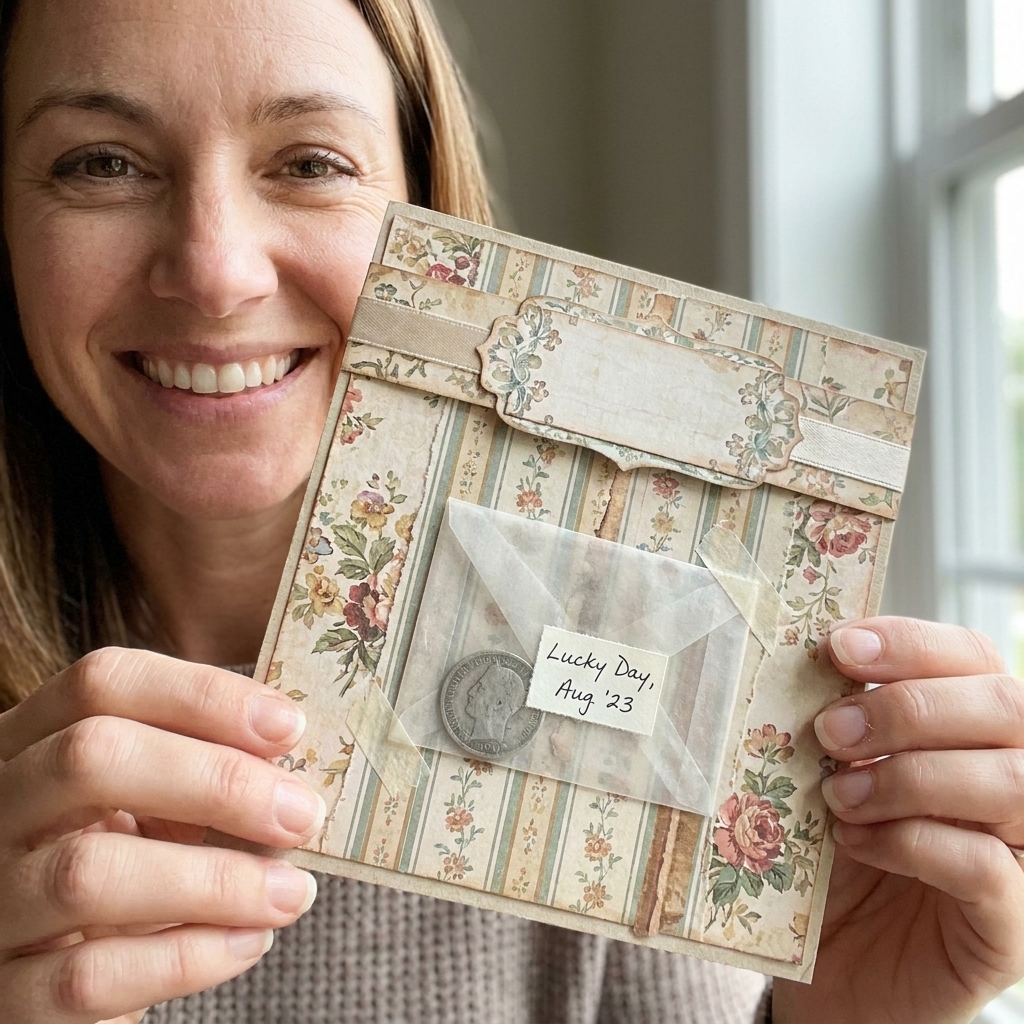
Clear mini envelopes are one of my favorite “looks fancy but takes five minutes” tools. They keep odd-shaped keepsakes from snagging and let you take the item out later without tearing anything.
Best for
Coins, confetti, keys, pins (with backs secured), tiny souvenirs, stitched patches.
How to do it
- Choose a clear envelope sized slightly larger than your item.
- Mount the envelope onto the page using sturdy tape along the edges.
- Decorate around it like a photo mat so it feels integrated.
- For extra security, add a belly band (a strip of paper that wraps across the envelope) to keep it closed.
Chloe tip: If you hate the “shiny plastic” look, layer vellum behind the envelope so the contents still show, just softer.
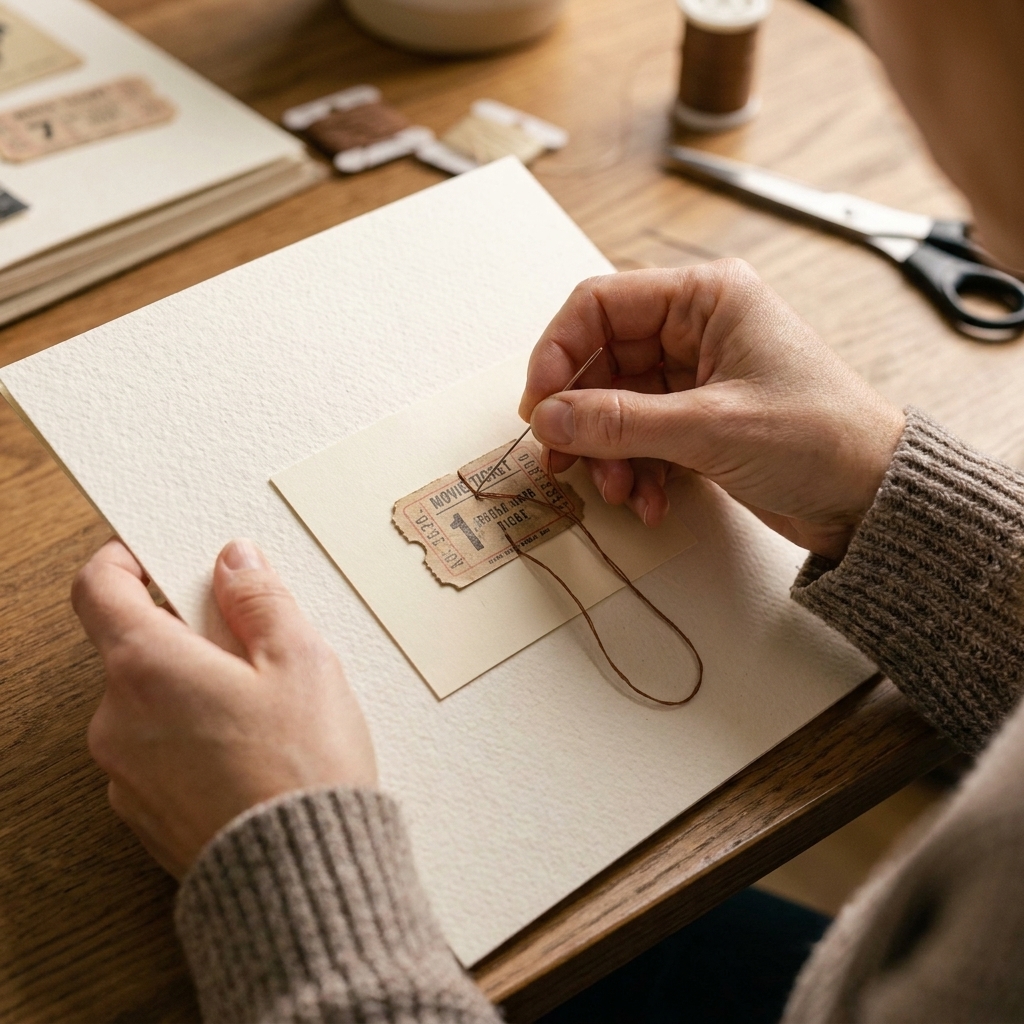
5) Stitch and reinforce
For flat but stubborn memorabilia, stitching can be stronger than most adhesives, and it avoids the lumpy feel of glue puddles. The secret is adding a reinforcement layer behind the page so your stitches do not tear through over time.
Best for
Ticket stubs, fabric wristbands, laminated passes, thin patches, cardstock tags, receipts (copied first).
How to do it
- Place the item where you want it.
- Add a cardstock “backer” behind the page in that area (glued or taped down) to strengthen it.
- Use a craft needle and pierce holes first, or use a sewing machine on a long stitch length.
- Stitch around the edges with a simple rectangle or an X pattern.
- Tie off threads securely on the back and cover with a small piece of cardstock for a clean finish.
Chloe tip: For delicate paper like old tickets, stitch through a clear photo corner or a thin strip of vellum instead of stitching the ticket itself.
6) Belly band
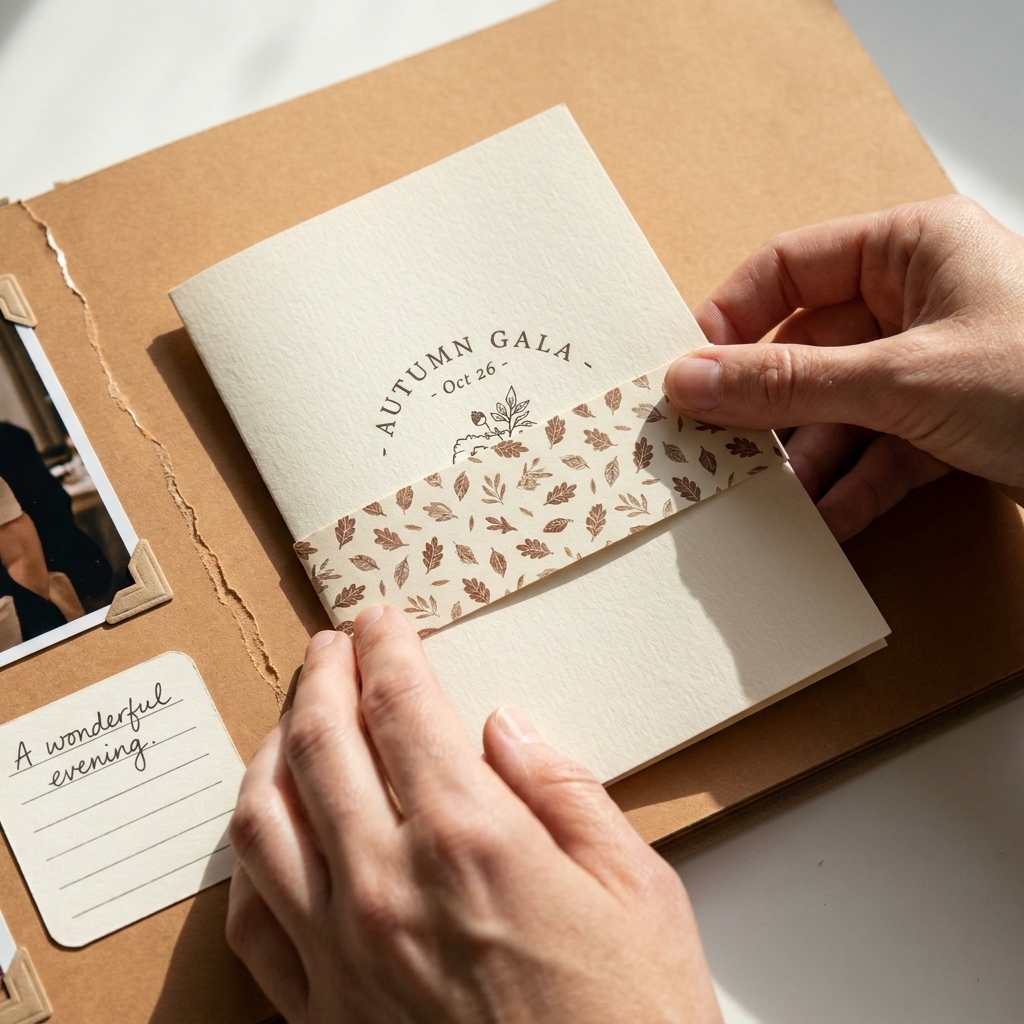
A belly band is a paper strip that holds memorabilia in place by tension instead of stickiness. I love this method for anything you might want to remove, or anything that does not play well with glue.
Best for
Folded programs, thick tickets, small notebooks, postcards, pamphlets, small packets.
How to do it
- Cut a strip of cardstock or patterned paper long enough to wrap across your memorabilia area.
- Adhere only the strip ends to your page, leaving the middle loose as a tunnel.
- Slide the keepsake underneath the band.
- Add a small tab to the keepsake so it is easy to pull out.
Chloe tip: Make the band a design feature by adding a sentiment strip, date, or tiny cluster on one side. Practical can still be pretty.
7) Acetate sleeve
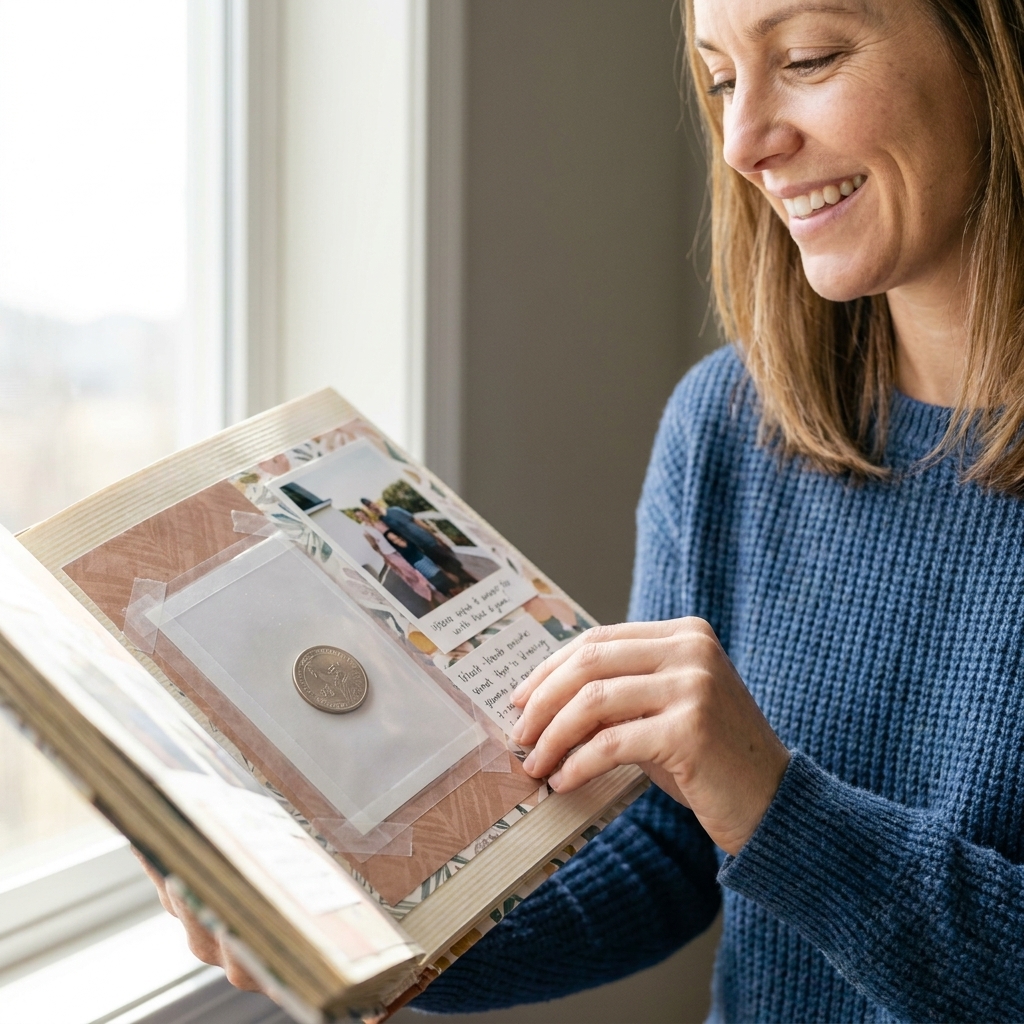
Coins, pins, and anything with sharp edges can be the enemy of page protectors. A custom sleeve creates a smooth barrier so nothing pokes, scratches, or leaves residue on your layout.
Best for
Coins, arcade tokens, enamel pins, medals, small keychains, small plastic souvenirs.
How to do it
- Cut a rectangle of PVC-free acetate or archival clear plastic (polypropylene also works) large enough to fold around your item.
- Fold it like a little pouch.
- Seal two sides using strong double-sided tape or dry adhesive strips.
- Slip the item inside.
- Mount the sleeve to your page using tape along the sleeve edges.
Safety note: If you are including a pin, secure the pin back firmly and consider adding a small piece of cardstock inside the sleeve so the pin cannot shift and poke.
Keep your album from bulking up
I say this with love as someone who has absolutely made a “brick album” before: bulk adds up. A few simple habits keep your spine happy.
- Cluster bulky items together. Put thickness-heavy pages in one section instead of scattering them every few pages.
- Use an album with room to grow. D-ring binders and post-bound albums with extenders handle dimension better than tight strap-hinge styles.
- Alternate bulky and flat pages. A flatter page between dimensional ones helps the stack settle more evenly.
- Consider a memorabilia insert. One dedicated pocket page for the big stuff can save an entire layout.
Preservation notes
A quick heads-up from the “learned it the hard way” department: some memorabilia is fragile even when it looks fine today.
- Thermal receipts fade. If it is a receipt, parking stub, or anything printed on shiny thermal paper, scan it or photocopy it and scrapbook the copy. You can still store the original in a sleeve behind the page if you want.
- Some papers and inks can discolor nearby pages. Newsprint, pamphlets, and heavily dyed items can transfer over time. A clear sleeve or a thin sheet of acid-free paper as a barrier helps.
- Matchbooks: Even unstruck, they are still a fire risk some people prefer not to store in an album. A quick photo of the matchbook on the page can capture the memory without keeping the whole thing.
Quick FAQs
Will hot glue work for heavy memorabilia?
It can hold, but I avoid it for scrapbooks. Hot glue can create hard lumps, soften in heat, and it is usually not labeled acid-free or archival-rated. If you need strength, I prefer mechanical solutions like pockets, bands, sleeves, or stitching.
What is the safest option for valuable keepsakes?
Go removable and protected: a clear sleeve inside a pocket, or a page protector pocket page. Keep adhesives off the keepsake whenever possible.
How do I attach something metal safely?
Metal can stain, corrode, or transfer discoloration over time, especially if moisture gets trapped. Use a sleeve, envelope, or acetate pouch as a barrier, and store it clean and dry before it goes into your album.
My page is already warped. Can I fix it?
Often, yes. Remove the item if you can, then add a reinforcement layer (a second sheet of heavyweight cardstock) behind the warped area and reattach using a pocket or sleeve method that gives the bulk space.
A sweet finishing touch
Once your memorabilia is secured, add a tiny journaling spot explaining why you kept it. Not just “Concert 2024,” but “We sang every lyric in the parking lot afterward.” That is the hug-folded-in-half part, and it is what turns a chunky keepsake into a story you will love flipping through for years.