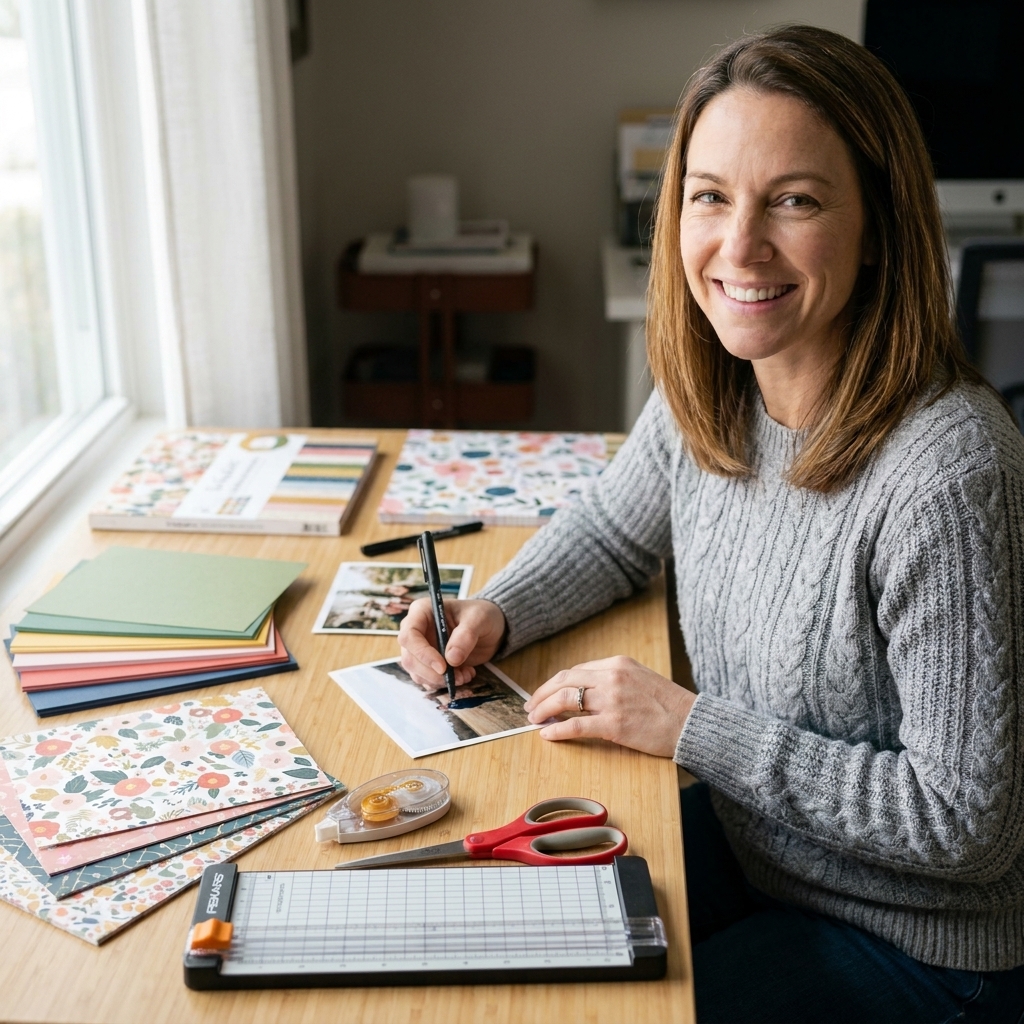
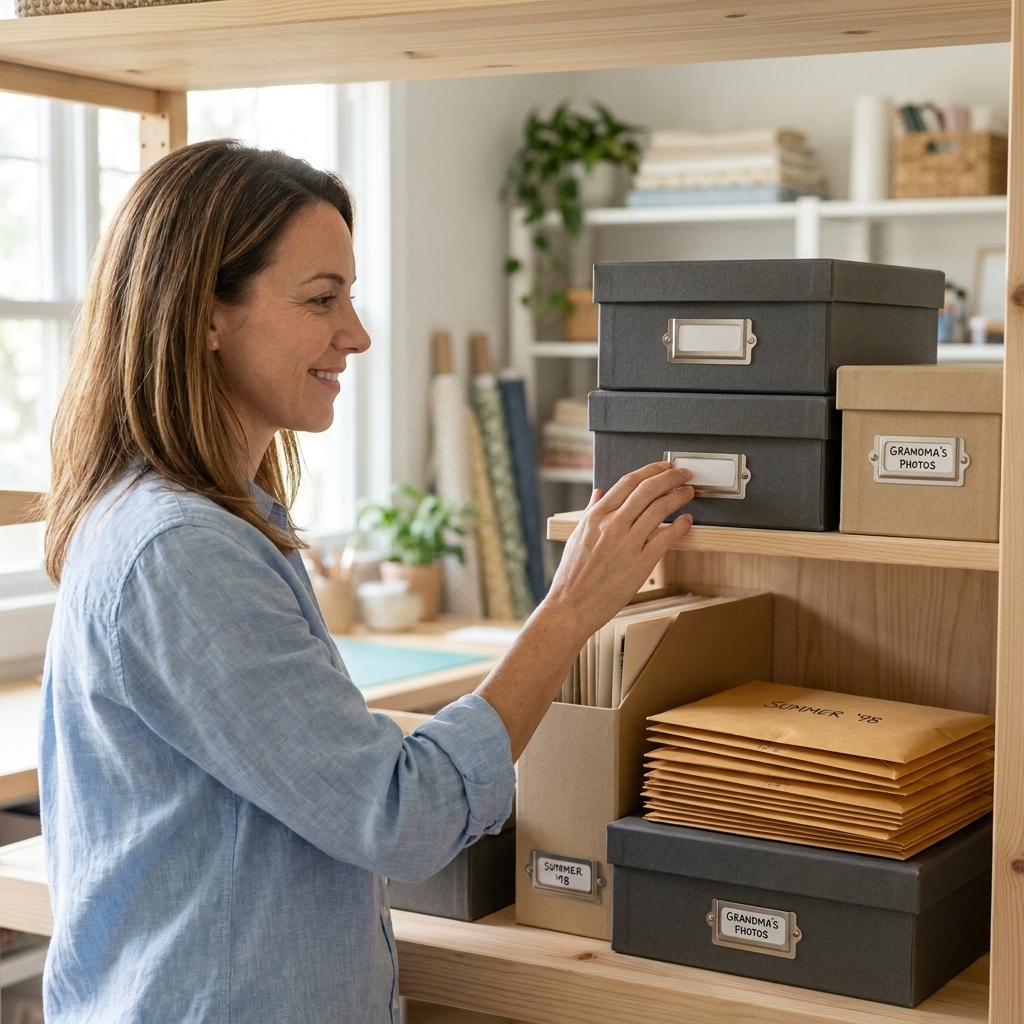
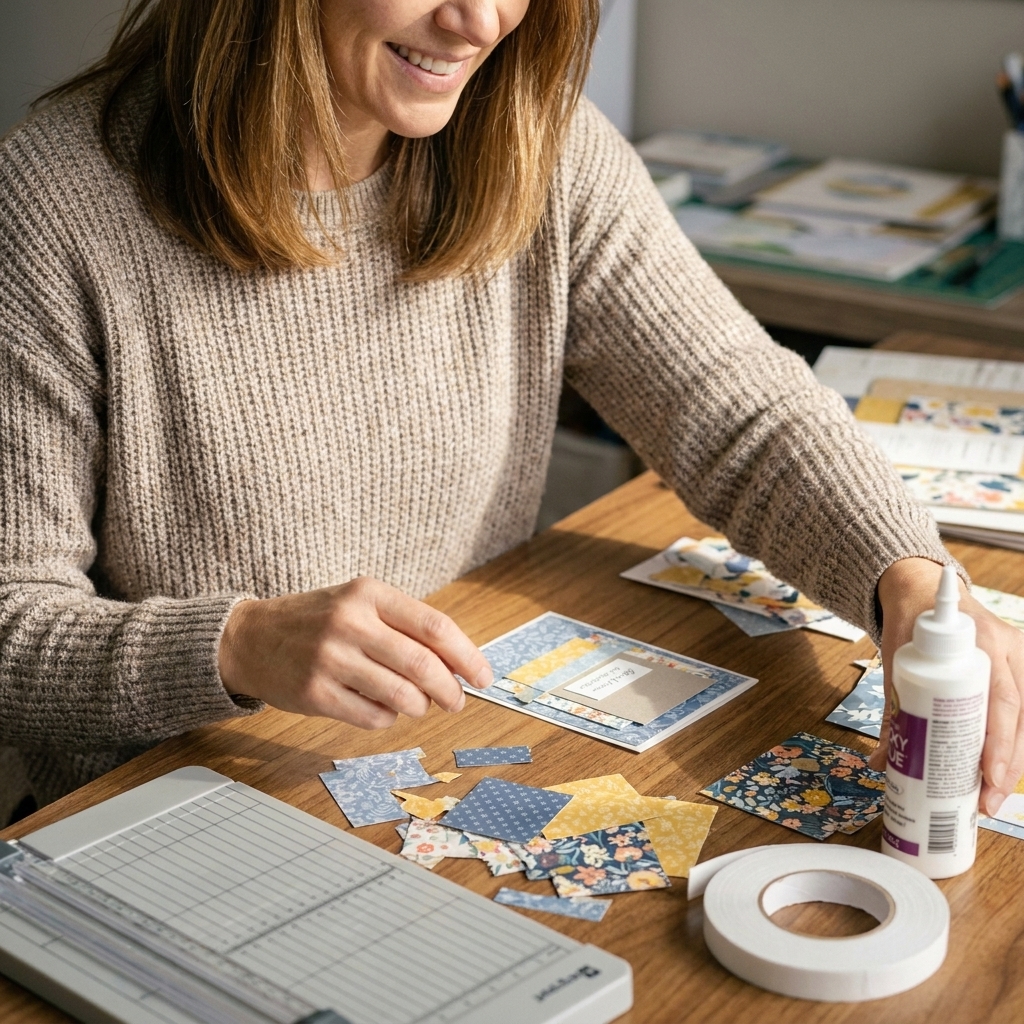
If you have ever finished a gorgeous layout and then stared at it thinking, “Okay, but what do I say?” you are in the right place. Photos capture the moment, but journaling captures the why, the who, the tiny details you will forget, and the feelings you cannot see in a snapshot.
I learned this at my grandma’s dining table, surrounded by paper scraps and ink pads. She always told me, “Write it down, sweetheart. The story is the keepsake.” So today I’m sharing 15 creative scrapbook journaling ideas that go way beyond a basic caption, without requiring fancy handwriting or a creative writing degree.
Before you start: pick a style
You can mix these ideas on one page, but it helps to decide your “voice” first. Here are three easy options:
- Story style: a short paragraph like you’re telling a friend what happened.
- Bullet style: quick facts and favorite moments.
- Quote style: one great line, lyric, or a sentence someone said that day.
And just so you hear it from me clearly: your handwriting doesn’t need to be perfect. Print, type, stamp, scribble, or write in tiny all caps like a detective. It all counts.
1) Hidden journaling pocket
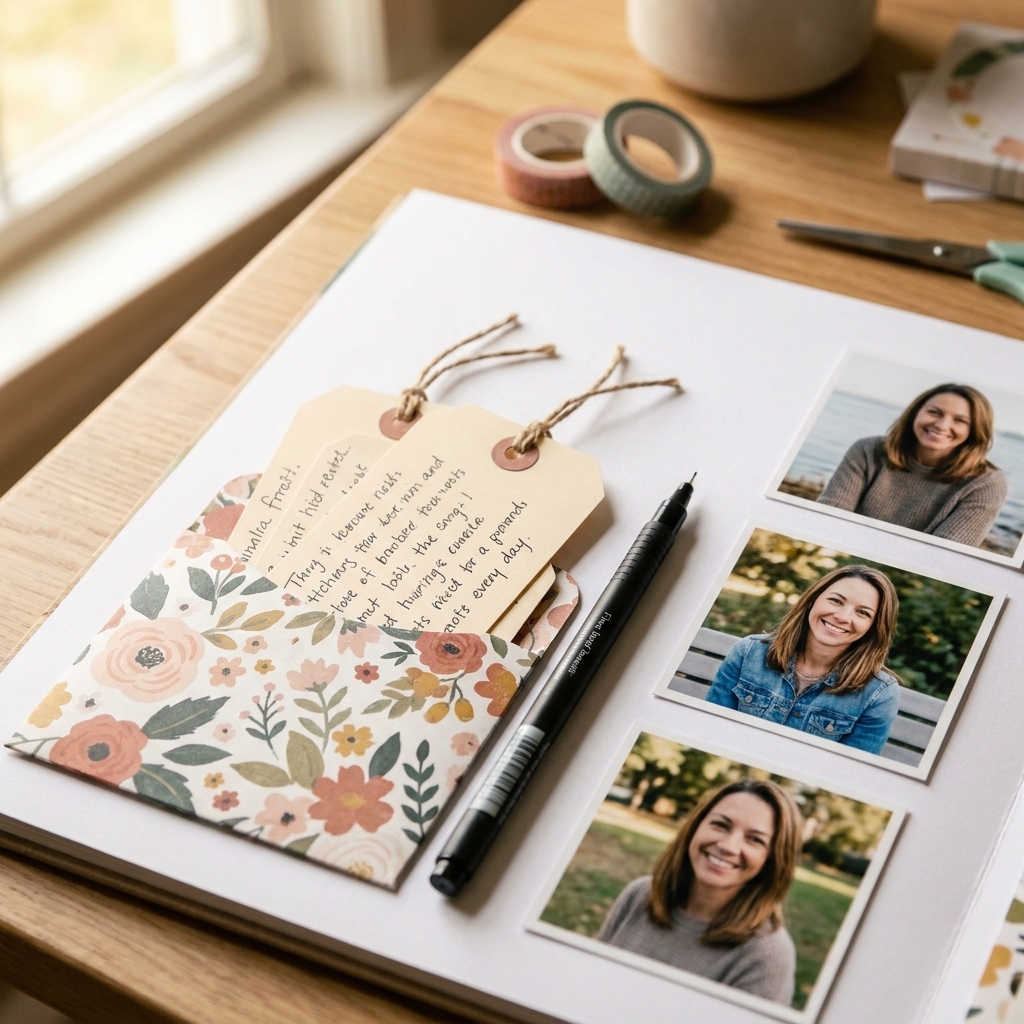
This is my number one recommendation if you want a clean layout but have a lot to say. Create a simple pocket from patterned paper, tuck a journaling card inside, and let the photos shine.
How to do it
- Cut patterned paper slightly larger than your journaling card.
- Score three edges (left, right, and bottom), then fold them in to create the pocket.
- Adhere to the page on the sides and bottom only.
- Add a thumb notch (a circle punch works great) so the card slides out easily.
Tip: Ink the pocket edges lightly to make the opening visible without adding clutter.
2) Tag stack journaling
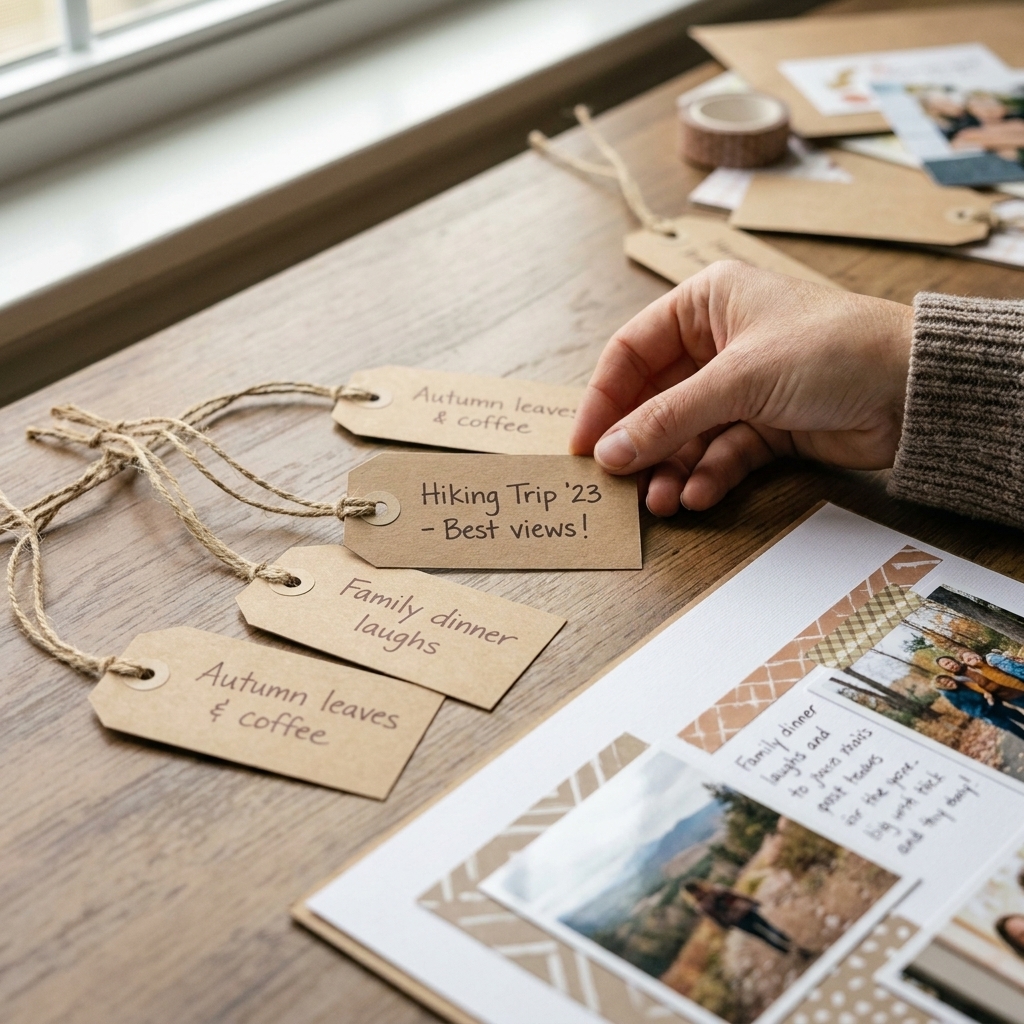
Tags feel like happy little secrets. Write one thought per tag: a funny quote, a detail you loved, a lesson learned.
Bundle them with baker’s twine, ribbon, or even a tiny book ring. Tuck the stack into a pocket, under a photo corner, or behind a cluster.
3) Flip-up photo journaling
If you don’t love writing in the open, hide your journaling under a photo flap. It’s interactive, and it uses the space you already have.
Adhesive tip from my trial-and-error years
Hinge the photo on one edge (top is easiest for beginners) with strong double-sided tape, then add a little washi tape over the hinge for reinforcement. Liquid glue can wrinkle some photo papers if it’s over-applied, especially on certain home inkjet prints.
4) Window envelope note
A small window envelope adds texture and makes your journaling feel like a letter. Slide in a folded note or mini card. This is especially sweet for memory-keeping with kids, weddings, or big life updates.
- Stamp the envelope lightly for pattern.
- Seal it with a wax-style sticker or a simple circle-punch “seal.”
- Write your journaling like a note to future you.
5) Receipt strip journaling
Grab a thin strip of cardstock and journal in a long, skinny column like a receipt. It’s perfect for listing what you did, ate, watched, or bought during a trip.
Extra fun: Add tiny stamped icons like a cup, camera, heart, or airplane between lines.
6) Typed journaling
If handwriting makes you freeze up, type your journaling instead. Use a simple font and print on regular paper, vellum, or thin cardstock. Ink the edges or mat it on patterned paper so it feels intentional.
My favorite ways to use typed text
- Thin strips tucked into clusters
- A block of journaling behind a vellum overlay
- One sentence per strip, staggered like a tiny poem
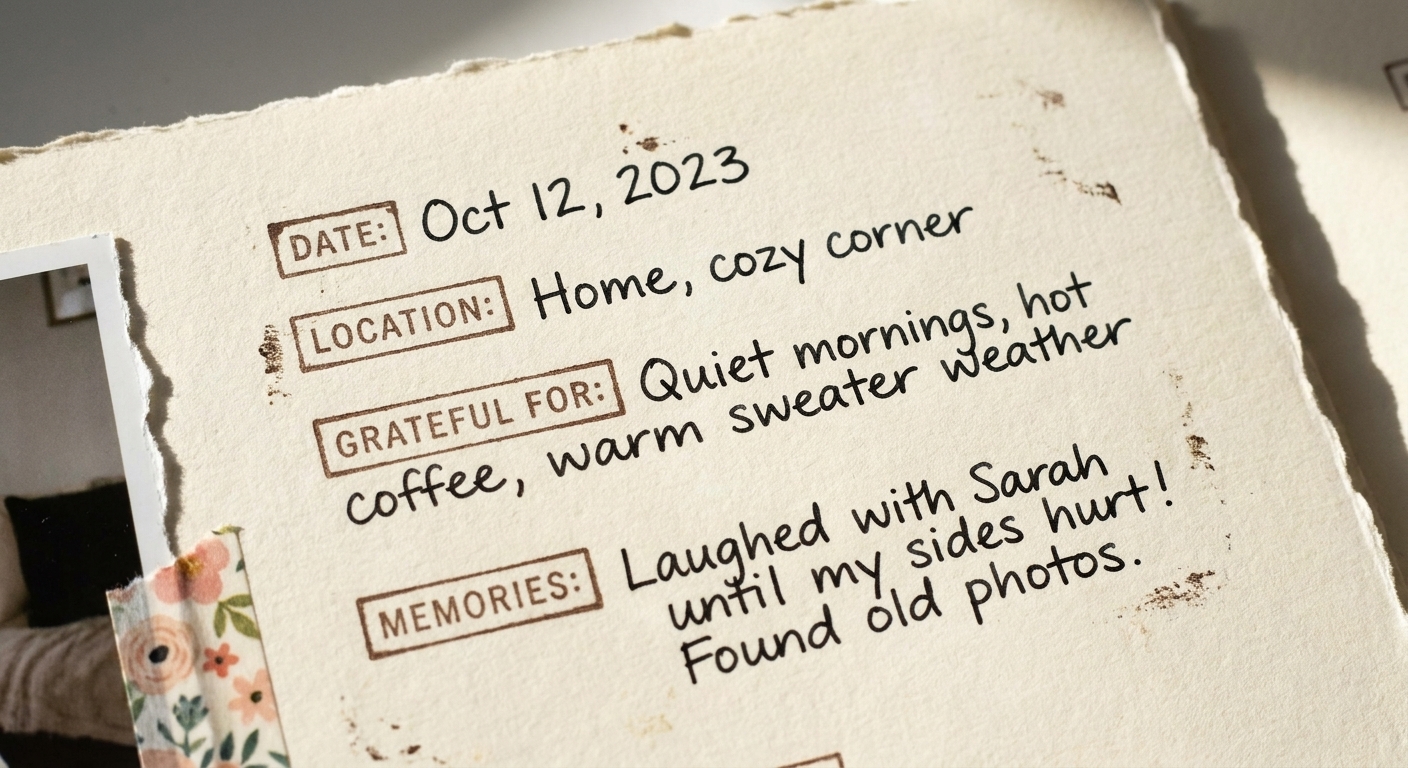
7) Stamped prompts
Stamps aren’t just for decoration. Use them as starter sentences so your journaling flows.
- Today I noticed: ____
- My favorite part: ____
- I never want to forget: ____
- Next time I will: ____
Stamp the prompt in a light ink color, then write your answer in a darker pen. It looks layered and purposeful.
8) Tiny captions everywhere
Instead of one big paragraph, add lots of mini labels: the location, the date, the weather, the snack, the song in the car. These little details are exactly what vanish from memory first.
Easy supply win: Use a label maker, alphabet stamps, or pre-cut label stickers from your stash.
9) Map journaling
Print a small map snippet (hometown, vacation spot, road trip route) and journal along the edges or in the open spaces. Your words become part of the journey.
- Circle meaningful spots with a tiny enamel dot or sticker.
- Draw a stitched line with pen from point A to point B.
- Add a short note at each stop.
10) Acrostic title
This is a fun trick when you can’t think of what to write. Choose a word that matches your theme, then write each letter down the page and build a line from it.
Example (BEACH):
- Breezy hair and sandy toes
- Everyone laughing at the waves
- Afternoon ice cream dripping fast
- Crabs we tried to catch
- Home with sun-kissed cheeks
You can hand-letter the word in chunky letters and keep the lines simple.
11) Journaling in shapes
If your page feels like it needs a focal point, make the journaling the focal point. Write inside a die-cut shape or a hand-cut shape.
Shapes that work
- Speech bubble for something someone said
- Heart for gratitude or love stories
- Circle for “round-up” lists
- Long banner for a timeline sentence
Practical tip: Write your journaling first, then cut the shape out. It’s much less stressful than trying to write neatly inside a tiny shape after cutting.
12) Conversation bubbles
Some memories deserve to be captured exactly as spoken. Add speech bubbles and journal the actual quote: the kid logic, the sweet partner comment, the hilarious friend one-liner.
Keep it short and let it be imperfect. Real-life quotes are scrapbook gold.
13) Vellum overlay journaling
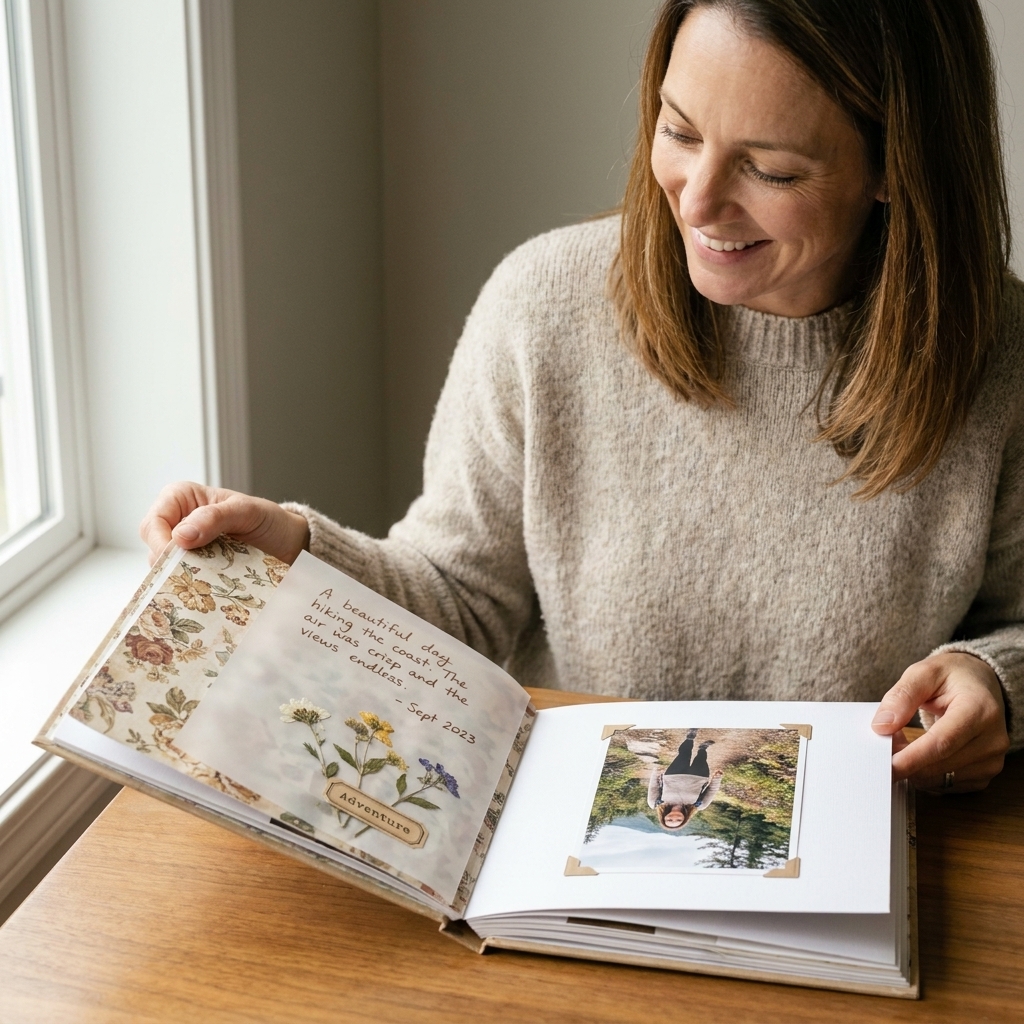
Vellum is my not-so-secret trick for adding lots of text without overwhelming the design. Print or write your journaling on vellum, then layer it over a photo or background paper.
How to attach vellum cleanly
- Hide glue behind a sticker or embellishment.
- Use a mini staple in a corner for a cute, casual look.
- Attach with brads if your page has a vintage vibe.
14) Timeline strips
When your memory is more about the sequence than one moment, try timeline journaling. Cut thin strips and write one time, moment, or step per strip.
- 9:00 AM: packed snacks
- 11:30 AM: arrived and got lost
- 2:15 PM: best photo of the day
- 5:40 PM: feet hurt, heart full
Layer the strips in a tidy stack, like a mini list you can skim.
15) Prompt cards
Sometimes you just need a nudge. Keep a small pile of prompt cards in your scrapbook tote and pull one when you’re stuck.
My go-to prompts
- What surprised me was…
- The best detail no one can see in the photo is…
- I want to remember the sound of…
- This day mattered because…
- If I could step back into this moment, I would…
You can handwrite answers, type them, stamp them, or do a mix. The goal is simply to capture the heart behind the photos.
Tips for small spaces
- Back-of-photo journaling: jot a few lines on the back of a print, then attach it with photo corners or a hinge so it can be lifted.
- Borderline journaling: write along the edge of the page, a mat, or a strip of washi (archival pen recommended), then let it blend into the design.
- Micro list: three bullet points only: favorite moment, funniest detail, and one thing you learned.
Supplies that help
You don’t need a huge haul, but a few basics can make journaling feel less intimidating.
- Pens: look for pigment-based archival ink pens labeled acid-free or photo-safe, and test them on your materials for bleed-through or smearing
- Adhesives: strong double-sided tape for pockets and flaps, plus an acid-free glue runner for paper layers (avoid using “wet” glue directly on photos unless it’s specifically photo-safe)
- Cardstock: smooth white for stamping and writing, plus a neutral (kraft is my forever love)
- Stamps: small phrases, dates, and simple icons
- Tools: corner rounder, mini stapler, circle punch for thumb notches
Legibility tip: If your background paper is busy, mount your journaling on a solid cardstock block, or use a darker pen for contrast. Your future self will thank you.
Quick rules I swear by
- Write like you talk. Your future self wants your voice, not perfection.
- Include one specific detail. Weather, smell, a quote, a tiny mishap.
- Do it in layers. Start with a title or one sentence. Add more later if you want.
- Date it. Even just month and year helps so much down the line.
A handmade page is already a love letter. Journaling is the part where you sign your name.
FAQ
How much should I write?
Enough to capture what you don’t want to forget. That might be one sentence, or it might be a full story tucked into a hidden pocket. If you feel stuck, aim for three things: who, where, and why it mattered.
What if I hate my handwriting?
Type it, stamp it, use a label maker, or write in small all caps. You can also journal on a tag and tuck it away so the focus stays on the design.
What pens last the longest?
Look for fade-resistant, waterproof, pigment-based pens labeled archival, acid-free, or photo-safe, and test on your paper and any coated photo surfaces. Give ink a moment to dry before you add vellum, pockets, or page protectors.
Pick one and try it
If you’re staring at a half-finished layout right now, choose just one technique from this list and run with it. My gentle suggestion: start with a hidden journaling pocket or a flip-up photo. They’re forgiving, fun, and they give your story a cozy place to live.
And if you’re anything like me, you’ll finish the page and immediately want to make just one more, because journaling is what turns a pretty layout into a real keepsake.