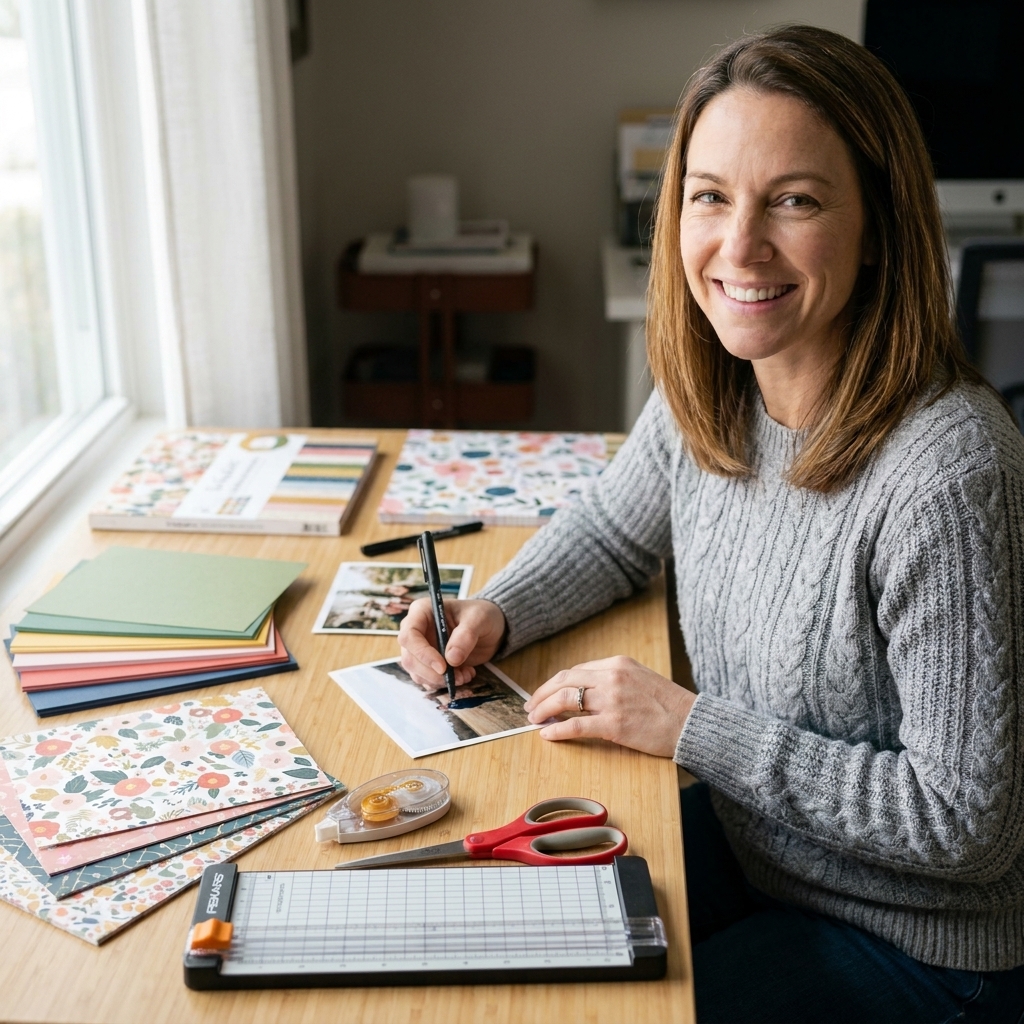
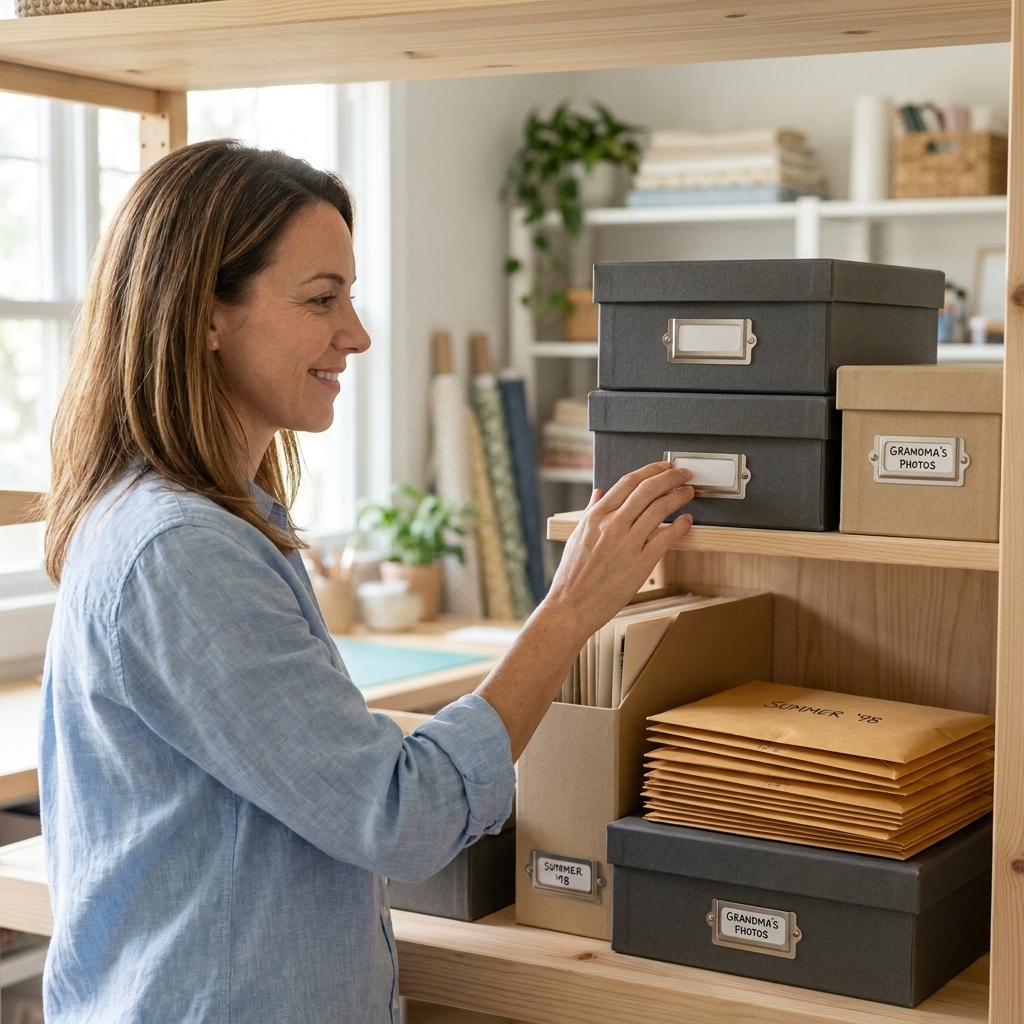
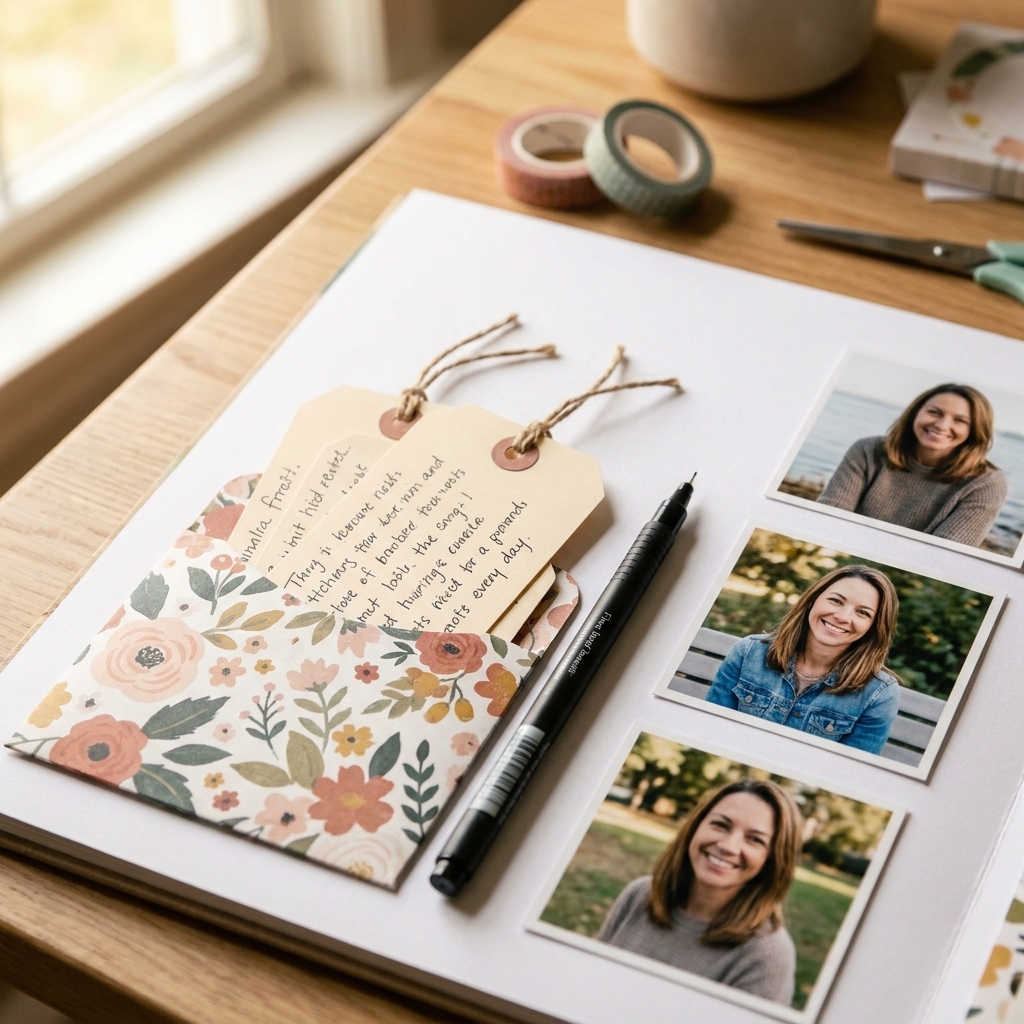
If you have ever opened your camera roll after a trip and thought, “How am I supposed to scrapbook all of this?”, you are in very good company. Travel albums are magical, but they can also get messy fast if every page uses a different color palette, a different font, and a totally different vibe.
My goal for you is simple: by the end of this process, your album will feel like one complete story, not a stack of random pages. Think coordinated, calm, and intentional, with plenty of room for your personality to peek through.
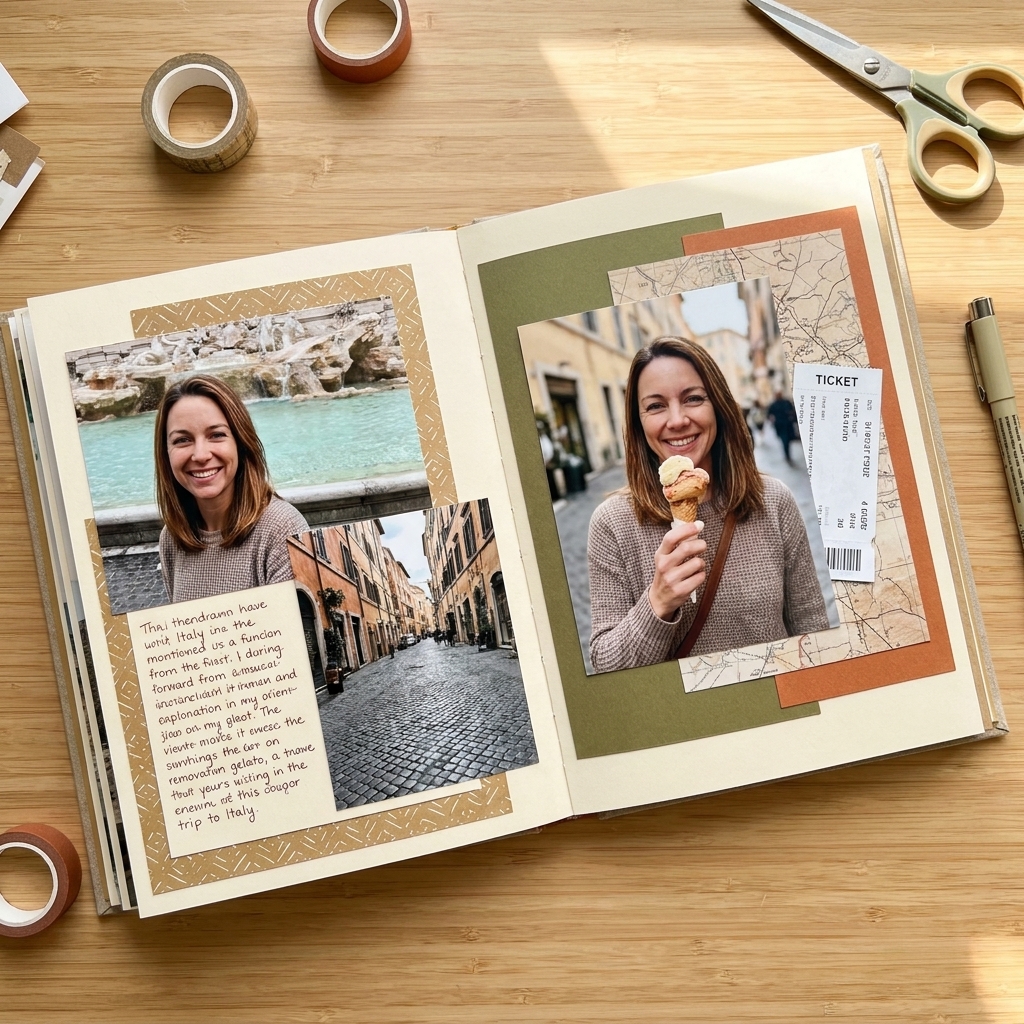
Before you start: choose your album
The album format quietly sets the tone for everything that comes after. Pick it first so your layouts fit from day one.
Pick a size that matches your photo habits
- 12 x 12: best if you love lots of photos per page, big scenic shots, and roomy journaling.
- 8.5 x 11 (US Letter) or A4: great for at-home printing workflows and keeping layouts clean and streamlined.
- 6 x 8 or traveler notebook style: perfect for short trips, highlight reels, and a cozy, “portable story” feel.
Decide: chronological or theme-based?
For an album that feels pulled together, either approach works. The key is committing early.
- Chronological: Day 1, Day 2, Day 3. Easiest for journaling and memory keeping.
- Theme-based: Food, views, people, funny moments, shopping, nature. Great if your photos are a bit jumbled.
My personal travel-album sweet spot is chronological with a few themed “mini chapters” tucked in, like a full spread just for food or one page for the best skyline photos.
Step 1: Curate photos fast
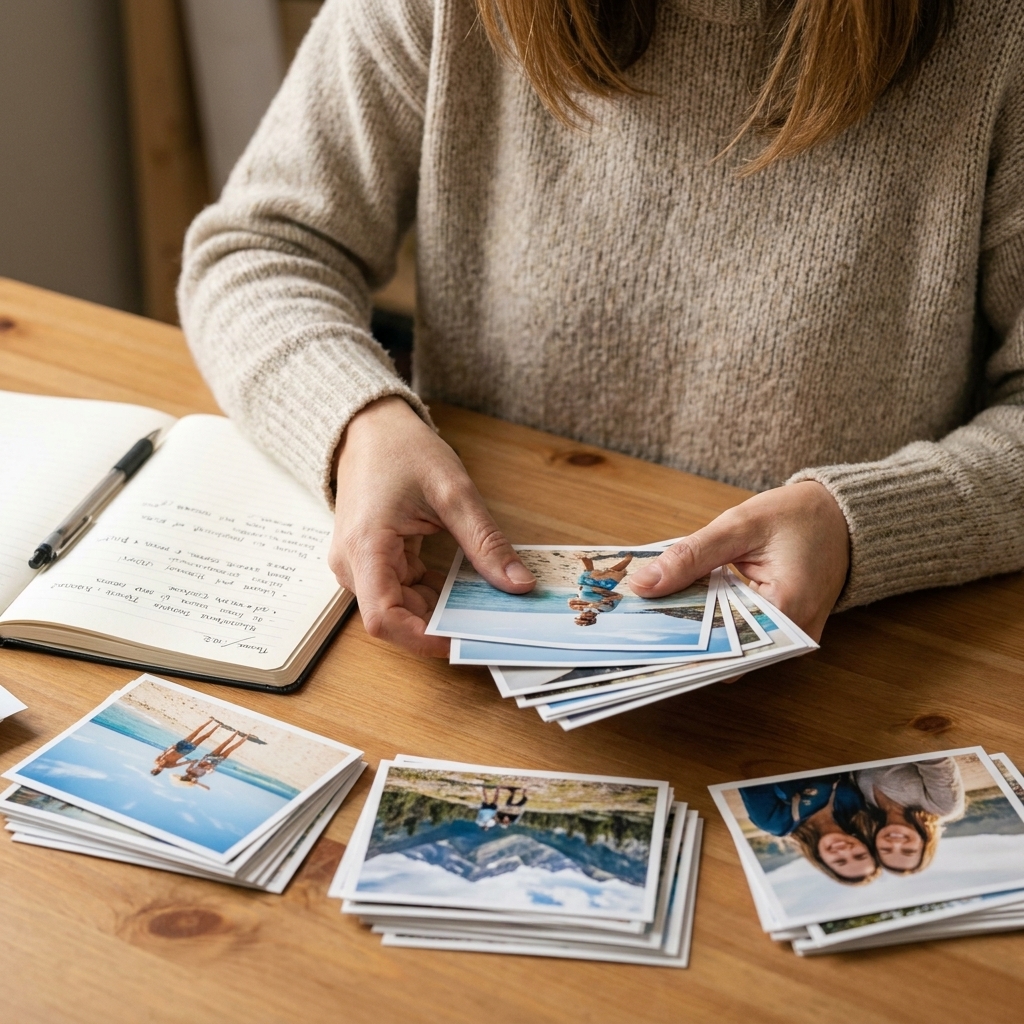
Curating is where consistency begins. The goal is not to scrapbook everything. The goal is to scrapbook the best version of your trip story.
Do a fast three-pass sort
This is the method I use when I have hundreds of photos and zero patience left.
- Pass 1: Delete the obvious. Blurry, duplicates, accidental screenshots, half a finger over the lens. Bye.
- Pass 2: Star the “anchor” photos. These are your strongest storytellers: the landmark, the favorite dinner, the best group shot, the one that instantly takes you back.
- Pass 3: Choose the supporting cast. For each anchor photo, pick a few detail shots: the menu, the hotel view, the street sign, the outfit, the silly moment.
A simple photo count rule
If you want your album to feel unified, keep your photo density consistent. Choose one of these and stick with it for most pages:
- 1 to 3 photos per page: clean, modern, lots of white space.
- 4 to 6 photos per page: classic scrapbook feel, still breathable.
- 7+ photos per page: “photo diary” style, best with simple paper choices.
If you love lots of photos, you can absolutely do it. Just plan on calmer backgrounds and repeated layout formulas to prevent visual overwhelm.
Step 2: Keep printing consistent
This is the quiet upgrade that makes pages look intentional, even before you add paper or stickers.
Choose a finish and stick to it
- Matte: softer glare, easier to write on, feels modern.
- Glossy: punchy color, classic photo look.
Either is great. The win is consistency, especially if your trip photos have lots of different lighting.
Standardize your sizes and crops
Phone photos are often a different aspect ratio than standard prints, which is why layouts can feel fussy.
- If you print 4 x 6, decide whether you want full bleed or a thin white border and keep it the same throughout.
- If you love square prints, try 3 x 3 or 4 x 4 for detail shots so trimming stays predictable.
- For “wallet size,” think roughly 2 x 3 (give or take based on your printer or app).
One small consistency trick that works on almost any trip: add the same narrow white border to every photo. It is instant “these belong together” energy.
Step 3: Choose papers on purpose
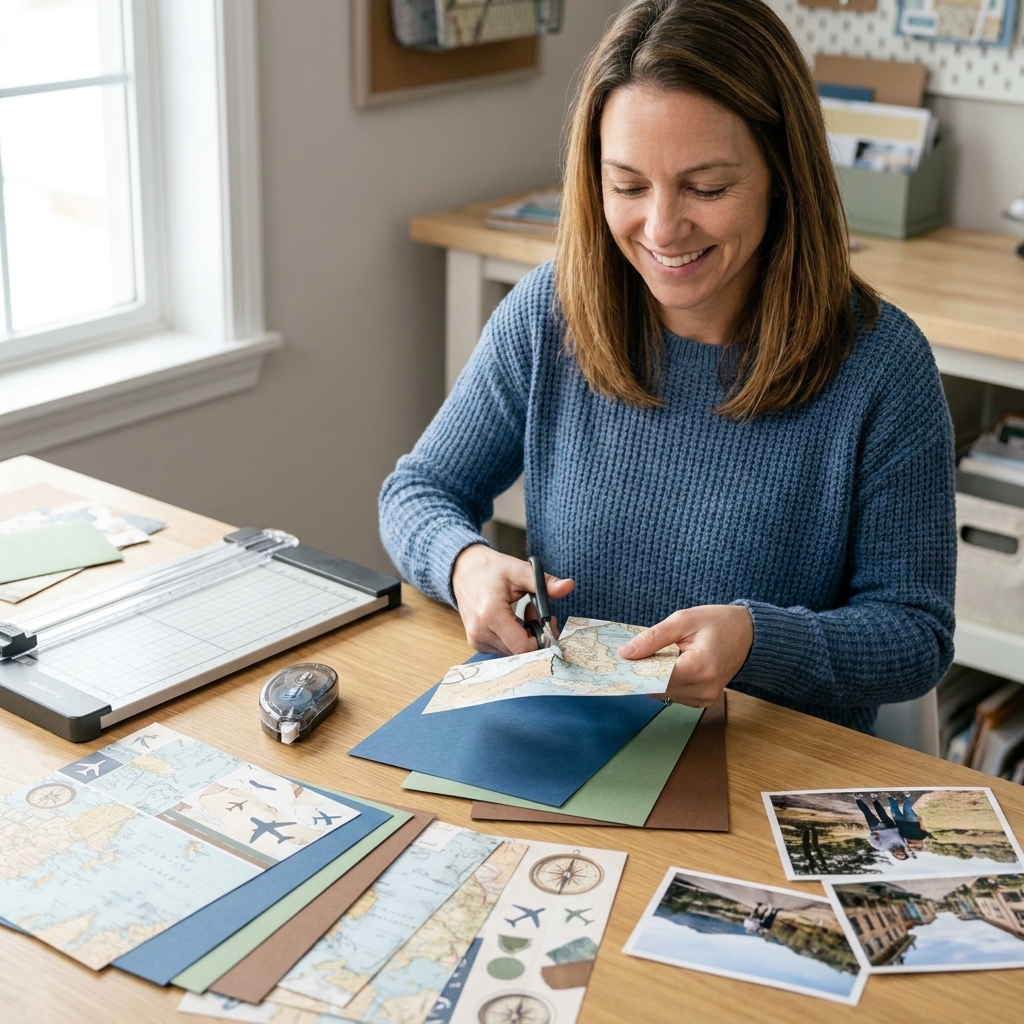
This is the part where my inner patterned paper hoarder has to sit on her hands. Travel albums look the most polished when you limit your supplies on purpose.
Pick a palette from your trip
Instead of forcing your photos to match your paper, let your photos tell you what the album wants to be.
- Beach trip: sand, ocean blue, crisp white, driftwood, a pop of coral.
- City break: charcoal, kraft, navy, brick, a bright accent like mustard.
- Mountains: evergreen, slate, warm neutrals, deep brown, muted sky blue.
Choose 3 main colors and 1 accent color. That is your “album uniform.”
What to pull from your stash
- 1 paper pad or collection as your foundation
- 2 to 3 coordinating solids (cardstock) for mats and anchors
- 1 repeating texture (like kraft, vellum, linen cardstock, or woodgrain)
- 1 repeating embellishment type (enamel dots, puffy stickers, chipboard, or simple die-cuts)
A pattern rule that prevents chaos
Here is my favorite trick: use one “hero” pattern per page and keep everything else calm. That hero can be a bold map print, a floral, a stripe, or a postcard pattern. If you are using multiple patterns, make at least two of them small scale and low contrast.
Quick longevity note: if you care about keeping this album for years, look for acid-free, lignin-free papers and photo-safe adhesives. It is a small choice that protects your memories.
Step 4: Make a simple plan
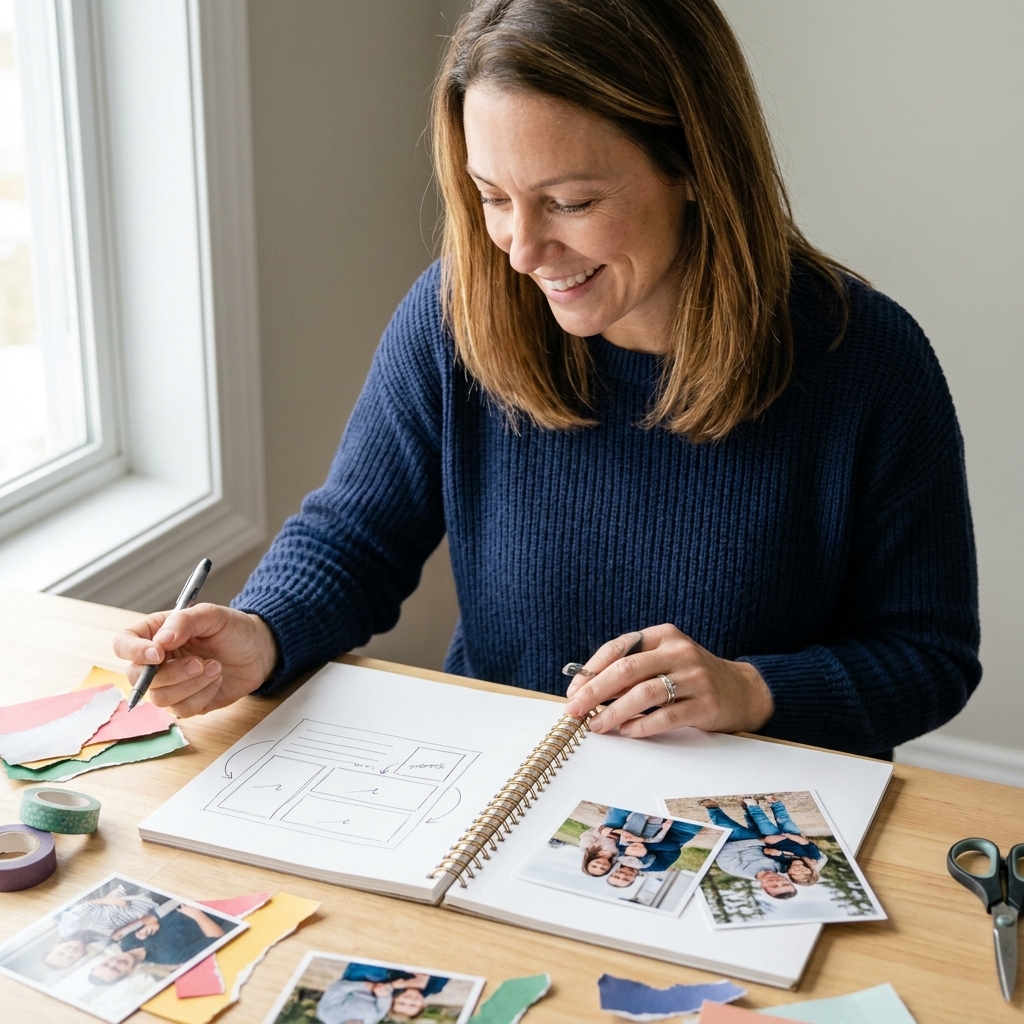
This is the step people skip, then wonder why page 14 feels totally different from page 2. A simple plan keeps your choices consistent.
Create a quick page map
Grab a notebook and make a list of your pages. Nothing fancy.
- Title page
- Travel day and arrival
- Day 1 highlights
- Day 2 highlights
- Food page
- Souvenirs and details
- Final day and “favorites” wrap-up
Then assign your anchor photos to each page. If a page has no anchor photo, it may be a page you can skip, or turn into a journaling and ephemera page instead.
Decide your repeating “design language”
Choose a few elements you will repeat throughout the album. Repetition is what makes the whole thing feel intentional.
- Title style: same font stickers, same alphabet stamps, or the same handwritten look with a black pen.
- Photo mat style: always a white border, always kraft, or always a double mat.
- Journaling style: always on a tag, always on lined paper, or always directly on cardstock.
- Accent: a repeated shape like circles, tabs, tickets, or postage stamps.
Step 5: Reuse 3 layout recipes
If you want consistency without boredom, this is the secret sauce. You do not need 25 unique layouts. You need a few great ones that can flex.
Recipe 1: The classic grid
Best for: city walks, museum days, lots of snapshots.
- 3 to 6 photos trimmed to similar sizes
- One strip of patterned paper as a “belt” across the page
- Title in the same spot each time (top left or bottom right)
- Journaling block opposite the title
Recipe 2: Hero photo plus details
Best for: landmarks, landscapes, and “wow” moments.
- One large photo (4 x 6 or larger)
- 2 small detail photos (2 x 2, 2 x 3, or roughly 2 x 3 “wallet” prints)
- Cluster of embellishments near the title only (keep it contained)
Recipe 3: Timeline strip
Best for: day-by-day storytelling.
- Long horizontal strip of photos or photo “tiles”
- Date label on the strip
- Small journaling underneath like a mini caption list
Once you pick your three recipes, alternate them across the album. Your pages will look coordinated, but not copy and paste.
Step 6: Work in batches
Finishing a full travel album is less about talent and more about working in batches. This is how I keep momentum without burning out.
Batch like this
- Print and trim photos for the whole album.
- Prep page bases: choose background papers and cut them to size.
- Mat photos assembly-line style.
- Build page clusters: titles, little embellishment groupings, tabs.
- Glue last after everything is test placed.
My “no regret” adhesive plan
- Dry fit first with low tack tape or photo corners so you can move things around.
- Strong adhesive for bulky bits: liquid glue for chipboard, foam tape, layered die-cuts.
- Photo-safe adhesive for photos: tape runner or photo squares made for pictures.
Also, I beg you lovingly: if you are using liquid glue, use less than you think you need. Paper buckling is the quickest way to make an intentional album feel sloppy.
Step 7: Keep journaling simple
Journaling is what turns travel photos into travel memories. It does not have to be long to be meaningful.
Pick one journaling format
- Paragraph: a few sentences per page.
- Bullet highlights: quick, readable, and perfect when you are tired.
- Captions: short lines under each photo.
If you freeze up when it is time to write, go with bullet highlights. It feels friendly and forgiving.
Prompts that work anywhere
- Where were we, and what time of day was it?
- What did it smell like, sound like, or taste like?
- What surprised me?
- Best thing we ate today.
- Funniest moment.
- One small detail I do not want to forget.
Handwriting vs. printing
Both are beautiful. For a more consistent look, the key is choosing one primary style. If you love your handwriting, use it and keep it legible with a reliable pen. If you prefer printing, keep the same font and size throughout your album and print on the same cardstock or journaling paper.
Step 8: Add travel cues lightly
Travel albums are the easiest place to accidentally over-theme. A little goes a long way.
Subtle travel motifs
- Postage stamp shapes or postage-edge dies
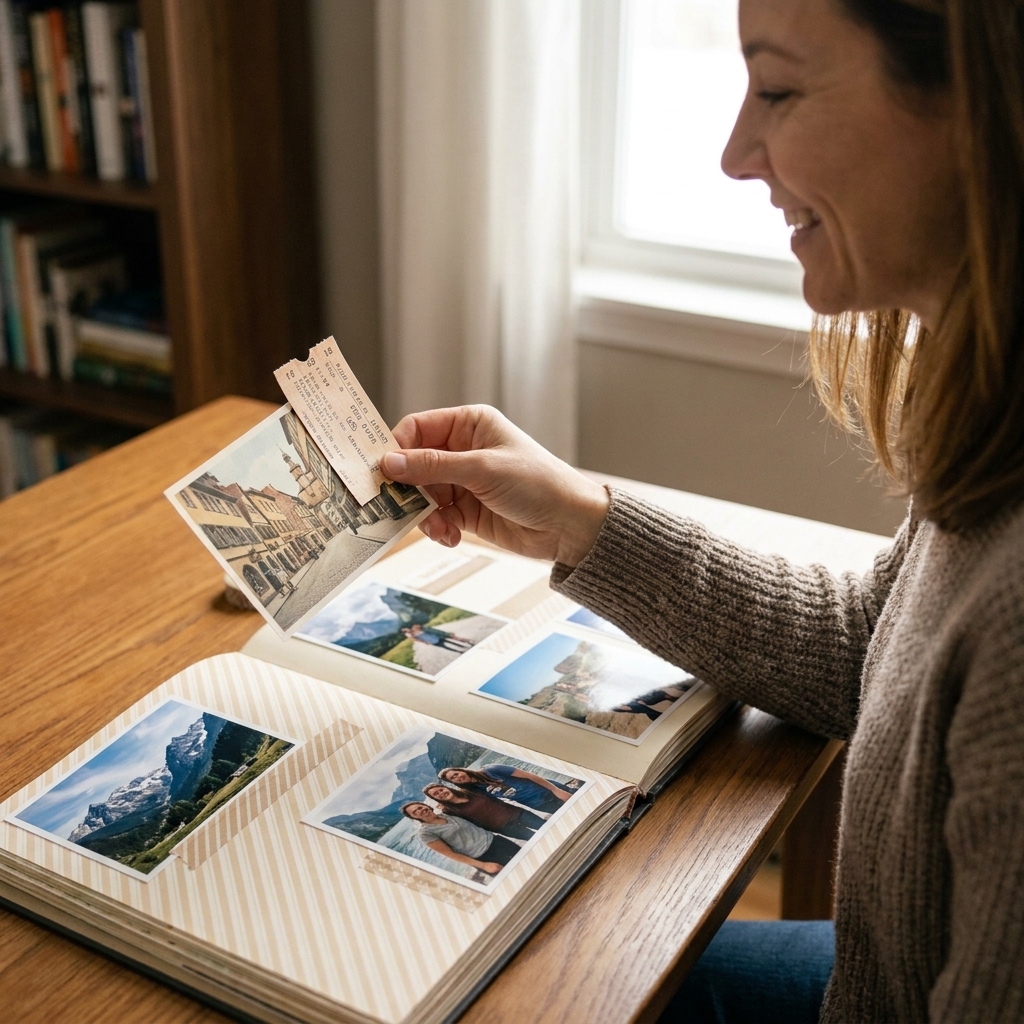
- Tickets tucked behind photos (real or die-cut)
- Maps used as small accents, not full backgrounds every time
- Labels for dates and locations
- Washi tape in the same 1 to 2 rolls throughout the album
Use memorabilia safely
If you are adding real ephemera like boarding passes, receipts, or brochures, make sure it will not damage your photos.
- Use pockets or glassine envelopes for bulky pieces.
- Scan thermal receipts since they fade over time, and store the originals out of heat and sunlight. If you print a copy for your album, archival or pigment ink helps it last longer.
- Flatten thick items so your album does not warp.
Step 9: Sequence the story
This is where everything clicks together. Lay your finished pages on the floor or a big table and look at them as a whole.
Check for these cues
- Color flow: do two super busy pages sit next to each other? If yes, separate them with a calmer spread.
- Title consistency: do titles feel like they belong to the same album?
- Photo balance: do you have a nice mix of people, places, and details?
- White space: does every page feel packed? Add breathing room on a few spreads.
Add simple chapter breaks
If your trip has natural segments, add a quick divider page. Keep it minimal to stay consistent.
- A full page map with one small photo
- A page with a big date and a short paragraph
- A single scenic photo with a title only
Step 10: Finishing touches
Repeat the same small details
- Corner round the same elements on multiple pages
- Add the same tiny enamel dot trio on 4 to 6 spreads
- Ink the edges of mats in the same color throughout
Do a durability check
- Press down foam tape and layered embellishments firmly.
- Make sure nothing catches on page protectors.
- If a page is chunky, move the bulk toward the album spine so it closes better.
Write the wrap-up page
I love ending travel albums with one last page: “Trip Favorites.” It is quick, it is emotional, and it ties the story in a bow.
- Favorite meal
- Favorite view
- Favorite moment
- Something I would do again
- Something I learned
Troubleshooting
Indoor photos look yellow, outdoor photos look cool
Fix: Use a consistent white photo border or a consistent neutral mat. That one repeated layer helps wildly different lighting feel like it belongs together.
Some pages feel too busy
Fix: Pull back on patterned paper and move to solids. Save your bold patterns for a single strip or a small cluster.
Too many different alphabets and titles look random
Fix: Choose one go-to title method for the rest of the album. If earlier pages feel off, add a small subtitle strip on those pages using your new consistent method so they visually connect.
You are stuck halfway through
Fix: Make the next session a “batch session” only. No designing. Just print, trim, mat, or prep bases. Progress builds motivation, not the other way around.
Start-to-finish checklist
- Choose album size and format
- Curate photos in three passes
- Standardize photo finish, sizes, and borders
- Pick a paper collection, 3 main colors, 1 accent
- Map pages and assign anchor photos
- Choose 3 repeating layout recipes
- Batch: print, trim, mat, cluster, glue
- Keep titles and journaling consistent
- Sequence pages for color flow
- Finish with repeated small details and a wrap-up page
If you take nothing else with you, take this: an album that looks unified is built on repetition with intention. Repeat the things that matter, simplify the things that do not, and let your photos be the star of the show.
Now go grab that stack of vacation pictures. I will be right here cheering you on, probably surrounded by way too many paper scraps and loving every second of it.