If you love a good “how did you do that?” background, bleach stamping is such a fun little magic trick. Instead of adding ink, you use a tiny amount of household bleach to lift color out of colored cardstock. The result is a soft, vintage, almost sun-faded print that looks especially gorgeous behind stamped sentiments, die-cuts, and layered ephemera.
Before we dive in, a quick crafting-at-the-kitchen-table reminder: bleach is a chemical, and we are going to treat it with respect. The good news is that with the right setup, this technique is simple, controlled, and very beginner-friendly.
How bleach stamping works
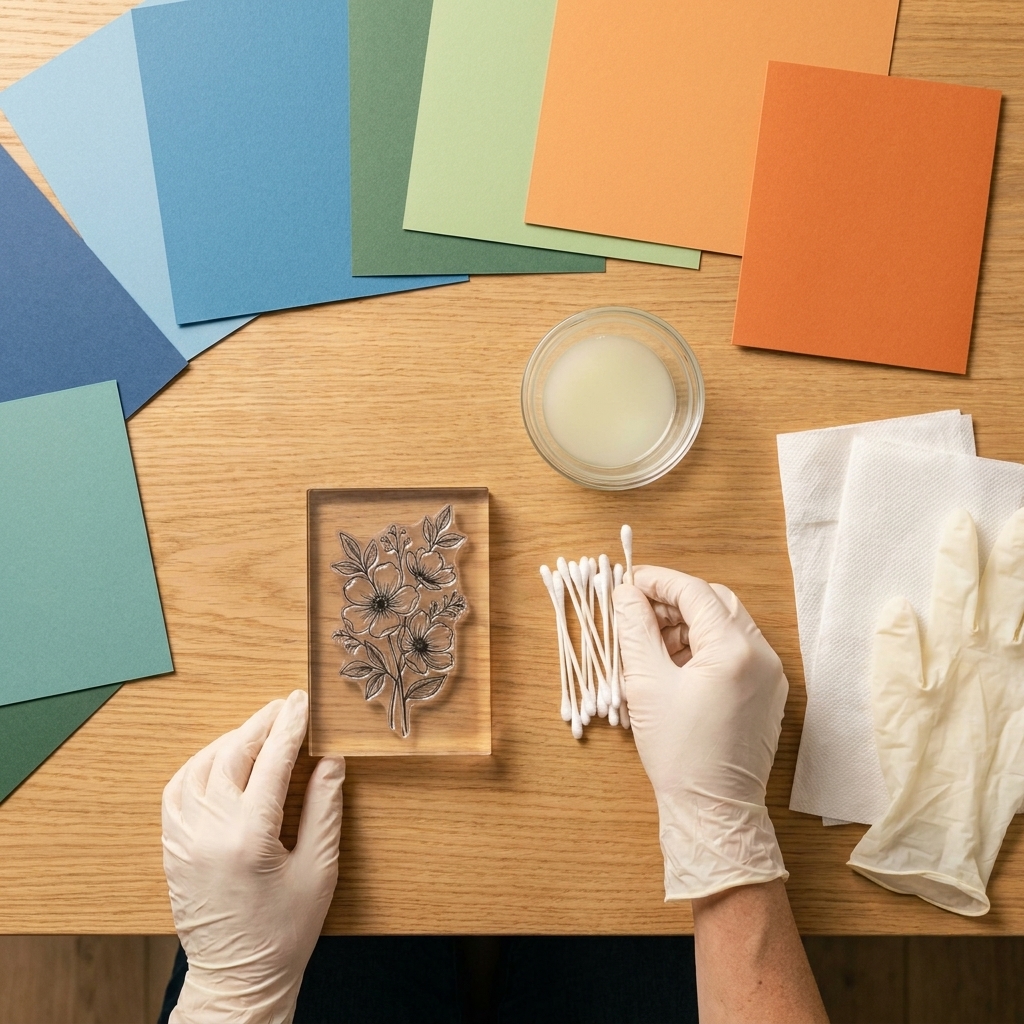
Much of the colored cardstock we craft with is dyed (though some is pigmented, coated, or otherwise treated). Bleach (sodium hypochlorite) can react with many colorants and lighten the color where it touches the cardstock. Because the reaction depends on the dye, coating, and even the cardstock brand, every paper behaves a little differently.
- Best look: soft, faded, “antique wallpaper” backgrounds and distressed florals.
- Best papers: smooth, solid-colored cardstock that is dyed through or close to it.
- More unpredictable: heavily coated papers, glossy papers, and some pigment-heavy specialty stocks.
Safety first (please read)
I know, I know, you came for pretty backgrounds. But this part matters.
- Ventilation: Work near an open window or use a fan. Bleach fumes can be irritating and can build up in small rooms.
- Skin protection: Wear nitrile or latex gloves. Bleach can irritate skin, and it will discolor fabric.
- Eye protection: If you are splash-prone (hi, it’s me), pop on safety glasses.
- Clothing: Wear old clothes or an apron. One tiny drip can permanently spot a shirt.
- Surface protection: Cover your work area with a plastic tablecloth, craft mat, or a trash bag topped with paper towels.
- Protect metal: Bleach can corrode metal. Keep it off tools like scissors, trimmers, and metal rulers, and wipe up drips right away.
- Never mix bleach: Do not combine bleach with vinegar, ammonia, or other cleaners. Mixing can create toxic gases.
- Keep away from kids and pets: Set up somewhere you can control the space.
Product note: Regular household chlorine bleach is the easiest to control. For best results, avoid gel, “splashless,” or strongly scented bleaches. Thickeners and additives can change how it applies and spreads.
Supplies you will need
- Colored cardstock (smooth works best)
- Household chlorine bleach
- Small glass or ceramic dish (something you do not mind dedicating to crafting)
- Water (for diluting and for a quick wipe if needed)
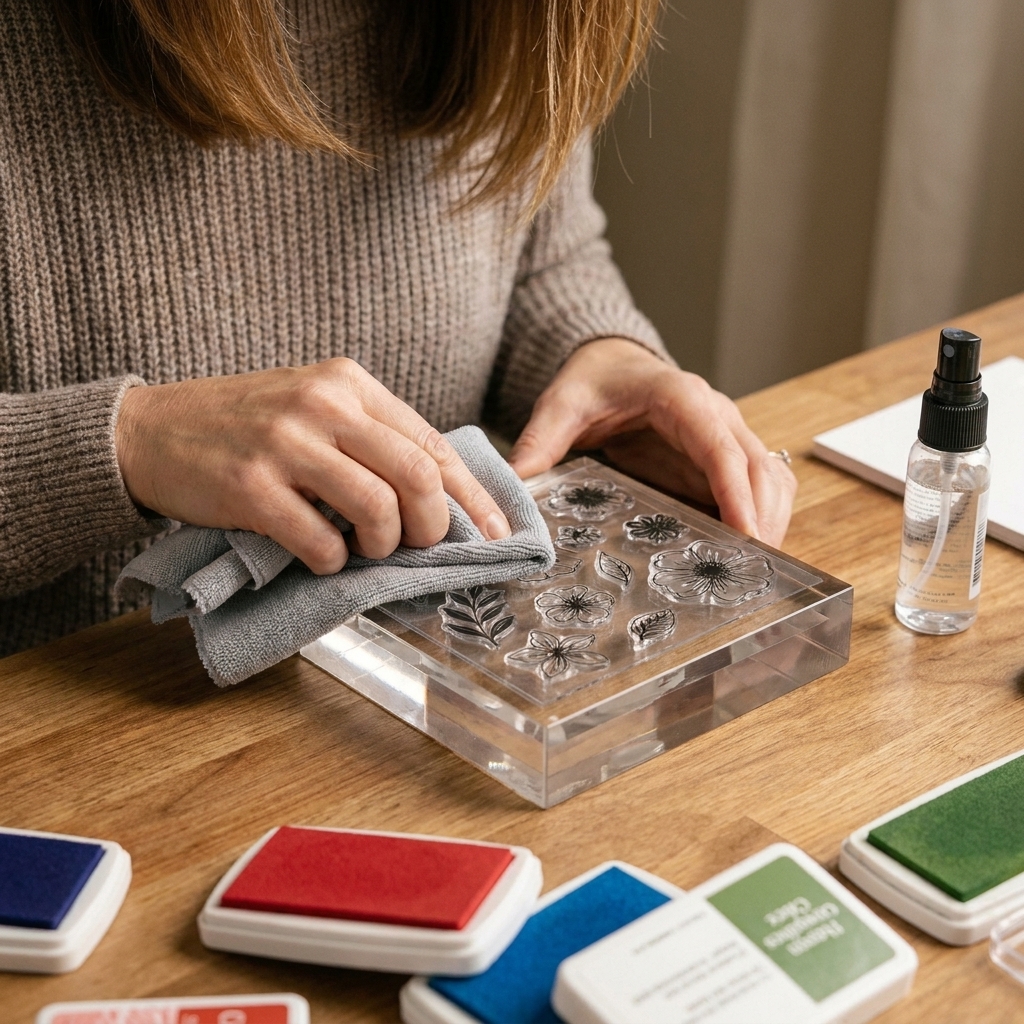
- Clear or rubber stamps (solid images and bold line images both work)
- Acrylic block or stamp platform
- Foam applicator, small sponge, or cotton swabs
- Paper towels
- Gloves
- Optional: heat tool (for speeding up drying), scrap cardstock for testing
Tool tip: Bleach can degrade foams and some synthetic sponges over time. Use inexpensive applicators, and do not use your favorite blending tools for this technique.
Step by step
1) Prep a test strip
Cut a small scrap of the exact cardstock you plan to use. Results can vary wildly from one color and brand to another, so a test saves heartbreak.
2) Dilute your bleach (my go-to ratio)
Start with a gentle mix: 1 part bleach to 1 part water. If your cardstock barely lifts, you can go a bit stronger. If it spreads or starts to rough up the surface, dilute more.
Pour a small amount. You only need a teaspoon or two for a whole background.
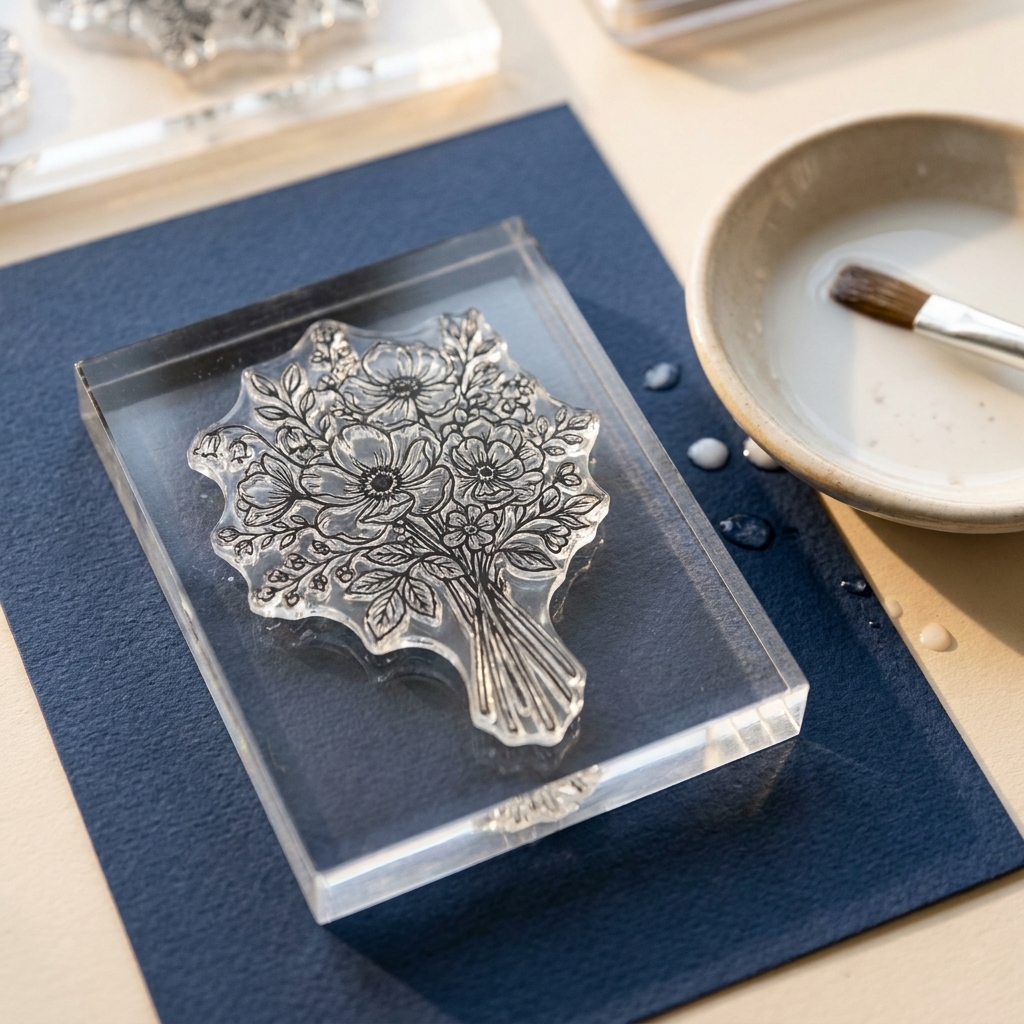
3) “Ink” your stamp with bleach
Think of the bleach like ink: you want a thin, even layer on the stamp so it transfers cleanly without soaking into the cardstock.
I like to apply bleach using a slightly damp foam applicator or a small sponge. You want the stamp evenly coated, not dripping.
- Too wet: puddling, fuzzy edges, warped cardstock.
- Just right: a thin, even sheen across the stamped areas.
4) Stamp and hold
Press the stamp firmly onto the cardstock and hold for 2 to 5 seconds. Lift straight up.
You may not see the full effect instantly. The lightening often develops over the next 15 to 60 seconds.
5) Stop the spread (optional, but helpful)
If you notice the image continuing to grow or soften at the edges, you can gently blot the stamped area with a clean, water-dampened paper towel to pick up any extra bleach sitting on the surface. Do not scrub. Just a light press, then let it dry.
6) Let it dry completely
Air drying is best. If you use a heat tool, keep it moving and low to avoid scorching or encouraging the bleach to spread.
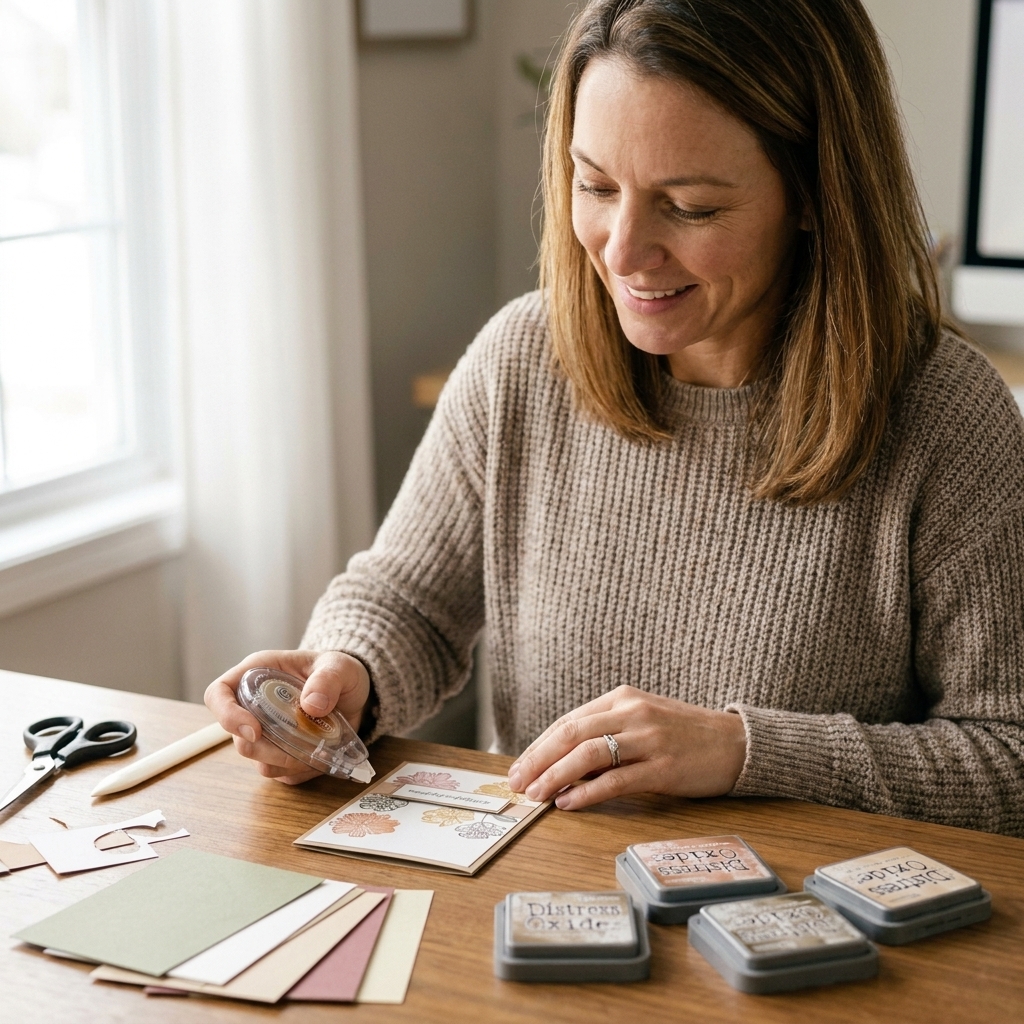
Once dry, you can build your card as usual: add ink blending around the edges, layer die-cuts, or stamp a crisp sentiment on top.
Cardstock picks
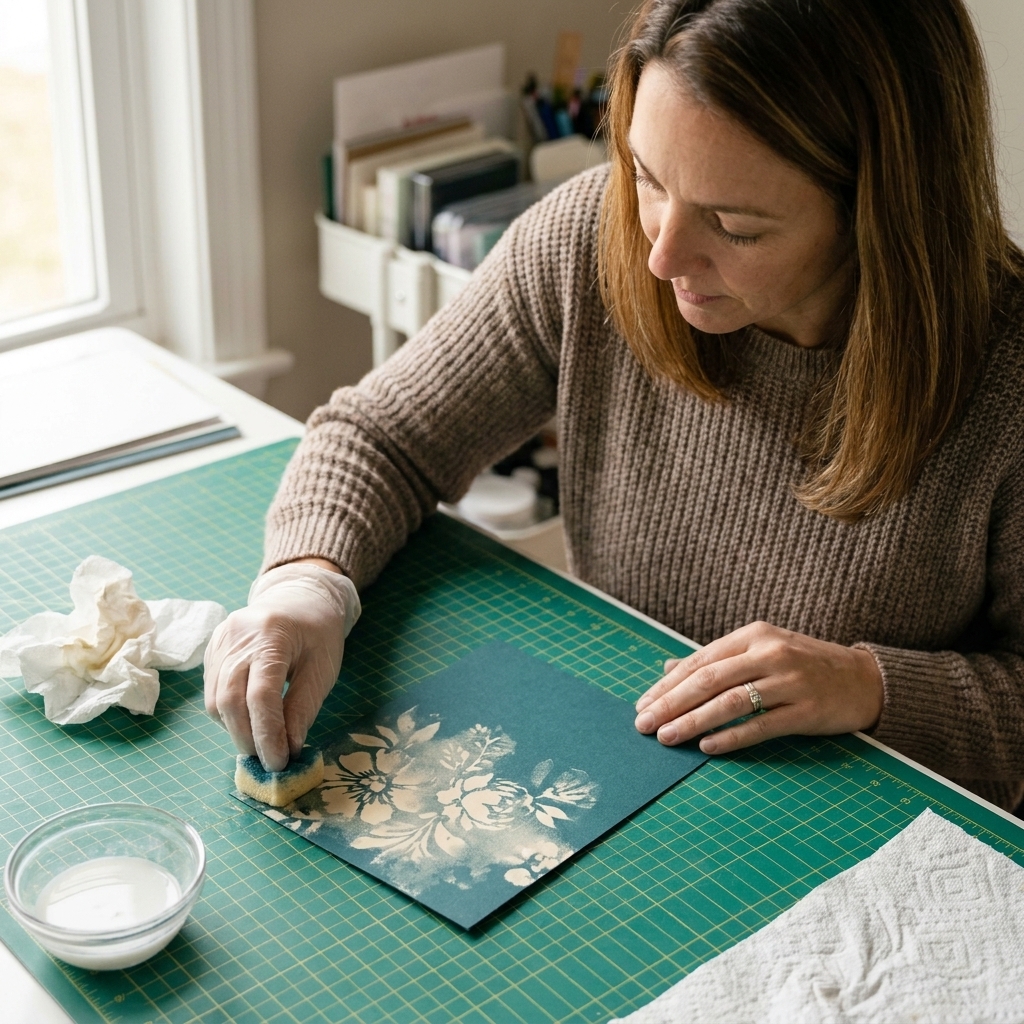
If you are after that dreamy, vintage “faded fabric” look, cardstock choice matters more than the stamp.
Great choices
- Deep jewel tones: navy, teal, burgundy, forest green often lift beautifully.
- Mid-tone colors: dusty rose, slate, muted purples can give a soft tone-on-tone effect.
- Smooth surfaces: give sharper stamped edges.
Trickier choices
- Black cardstock: sometimes lifts to orange or brown instead of gray. Still pretty, just different.
- Heavily textured cardstock: can look rustic, but fine details may break up.
- Glossy or coated cardstock: bleach may bead up or sit on top.
One more thing: I have noticed that cooler-toned cardstocks often lift a bit more neutral, but it is not a rule. Test first and let the paper surprise you.
If you are a fellow patterned paper hoarder, you can experiment there too, but start with solids until you get a feel for how wet your stamp should be.
Design ideas
- Vintage backgrounds: Repeat a stamp to create “wallpaper” behind a focal panel.
- Ghost images: Stamp bleach first, then stamp the same image in ink slightly offset for a layered shadow look.
- Resist-style layers: Bleach stamp, dry fully, then lightly ink blend around it to make the lifted areas pop.
- Masculine cards: Try geometric stamps on charcoal or navy cardstock for a worn, industrial vibe.
- Halloween magic: Bleach stamped moons, clouds, or spooky silhouettes on deep purple or blue.
Troubleshooting
My image looks blurry or spread out
- Your stamp had too much bleach. Blot the stamp gently on a paper towel before stamping.
- Your cardstock may be too porous. Try a smoother cardstock or dilute the bleach more.
- Try the optional blotting step after stamping to reduce continued spread.
Nothing happened, it barely lifted
- Try stamping again in the same spot once the first impression dries.
- Use less water in your dilution (go a bit stronger).
- Some cardstocks simply will not react much. Test a different brand or color.
The cardstock is warping
- Use less liquid. You want a thin coat on the stamp, not a soak.
- Tape your cardstock down to a craft mat with low-tack tape while you stamp.
- Dry flat under a heavy book once it is fully dry.
It lifted to an odd color (orange, pink, or yellow)
Totally normal. Bleach does not always lift to “white.” It depends on the dye. If the color shift is not your favorite, try:
- a different cardstock shade (you will see big differences between brands)
- a lighter dilution for a softer shift
- turning it into a design feature with warm-toned embellishments
My stamp is stained or looks cloudy
Clear stamps can stain from inks and sometimes from chemical reactions. Bleach can also dry out or cloud some photopolymer over time. To minimize wear:
- Use an older stamp you do not mind dedicating to techniques.
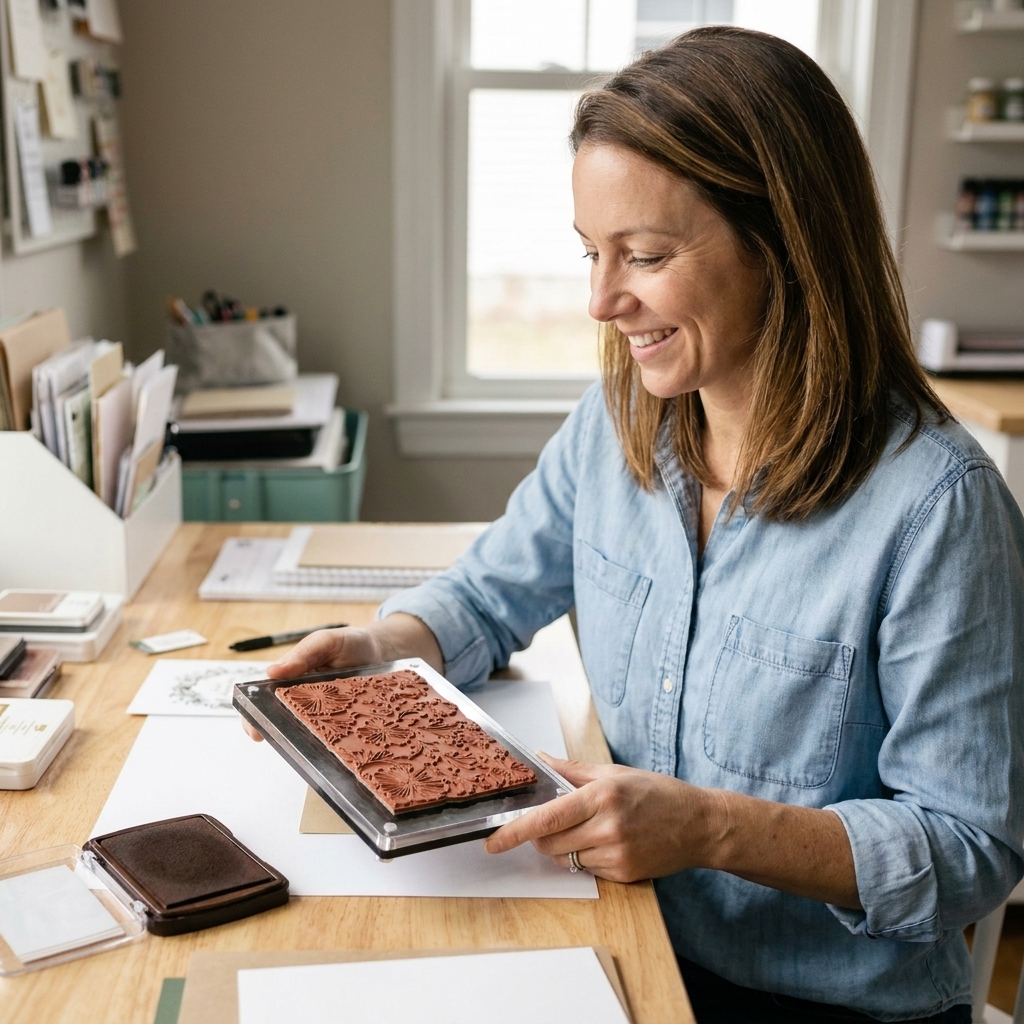
- If you plan to do this often, red rubber stamps tend to hold up better.
- Keep contact time short and avoid repeated stamping without cleaning.
- Clean promptly with mild soap and cool water.
- Avoid long soaks.
Cleanup
- Wipe stamps right away with cool water and a tiny bit of mild dish soap.
- Dispose of paper towels and gloves in the trash. Let anything damp dry first.
- Rinse your dish thoroughly, then wash it separately from food dishes if possible.
- Wash hands even if you wore gloves.
If you have leftover diluted bleach, small amounts are often fine to pour down the sink with plenty of running water and good ventilation. Follow local guidance, especially if you have a septic system or your municipality has specific disposal rules.
FAQ
Can I bleach stamp on white cardstock?
You can, but you will not see much unless the cardstock is tinted. This technique is most dramatic on colored cardstock where there is dye or colorant to lift.
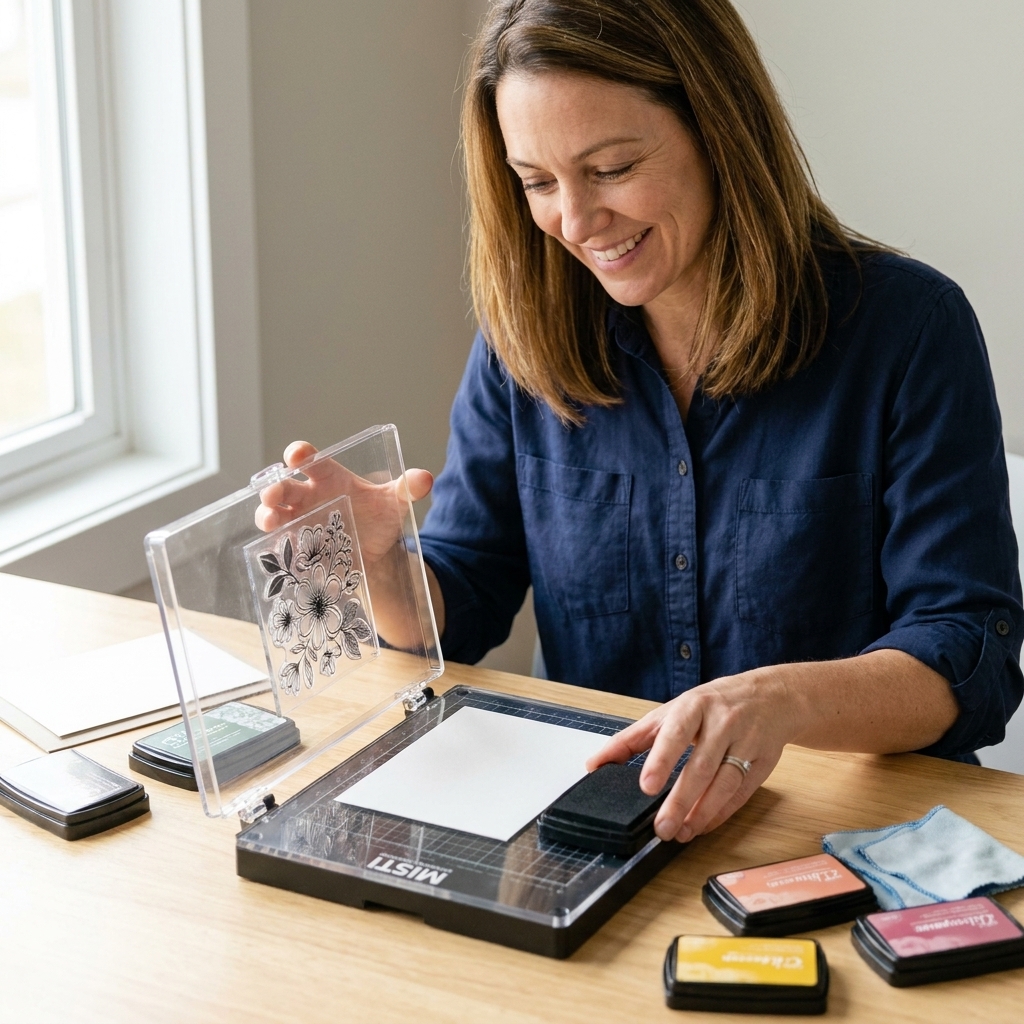
Can I use a stamp platform?
Yes, and it is great for even pressure. Just protect the platform base with a sheet of plastic or a sacrificial piece of cardstock, and wipe any drips immediately.
Will bleach damage my stamps?
Using bleach occasionally and cleaning right away is usually fine, but repeated exposure can shorten the life of some clear stamps. Rubber stamps tend to be more durable. If you are worried, dedicate a few stamps for mixed media techniques.
Can I emboss after bleach stamping?
Absolutely. Let the panel dry fully first. Then you can stamp a sentiment in embossing ink and heat emboss right on top for a gorgeous contrast of crisp and faded.
Is bleach stamping archival?
Bleach-altered cardstock can be less predictable long-term, and some papers may continue to shift slightly over time. If you are making a keepsake item, test your materials first and consider using the bleach-stamped panel as a background layer (not the only structural piece).
A first project
If you want an easy win, here is my favorite beginner setup:
- Choose a dark solid cardstock like navy or deep teal.
- Pick a bold stamp like a leaf, snowflake, or floral silhouette.
- Dilute bleach 1:1 with water.
- Stamp a repeating pattern across the panel, leaving a little open space in the center.
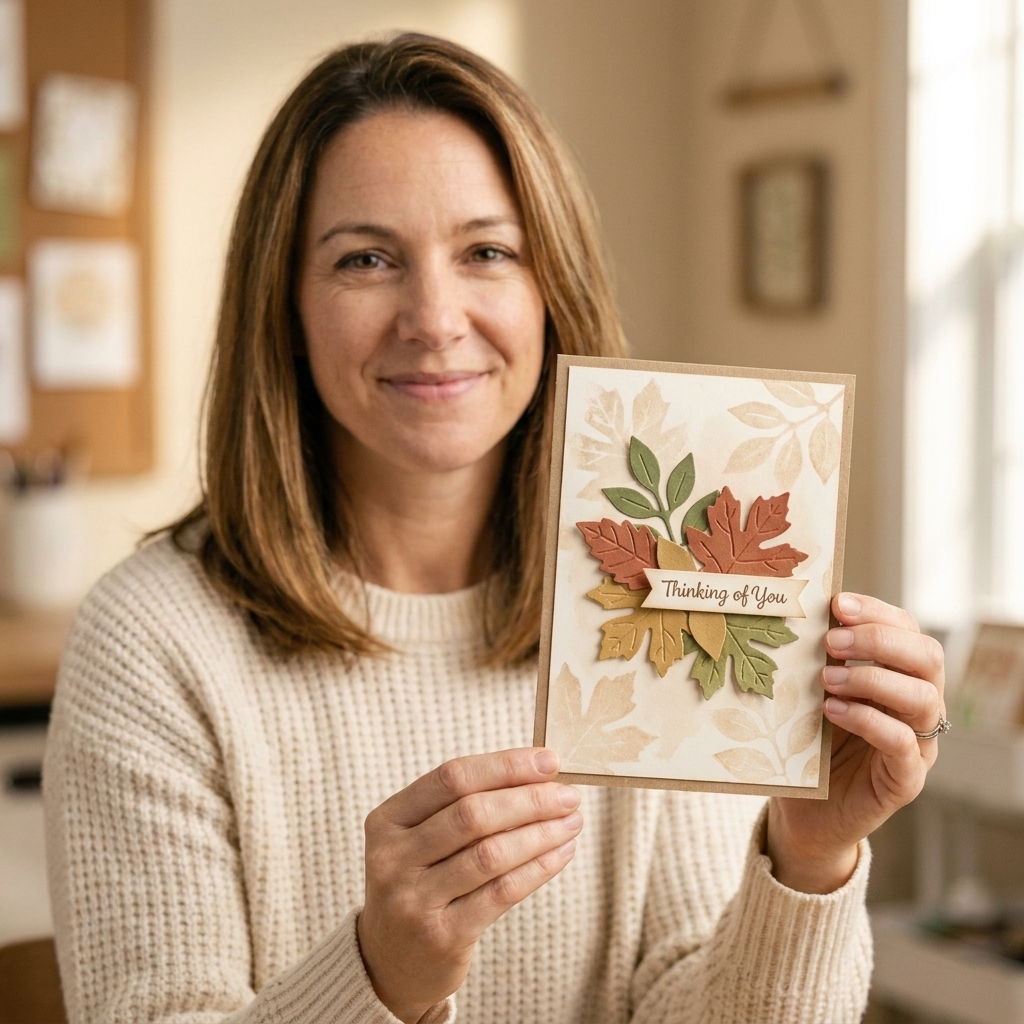
- Let it dry fully, then add a stitched rectangle die-cut or a simple label for your sentiment.
The final look is soft, surprising, and just a little bit antique, like something you found tucked inside a treasured old scrapbook. Which, if you ask me, is exactly the vibe we want.