If you have ever pulled out a favorite stamp set and found it cloudy, tacky, warped, or smelling a little “off,” you are not alone. Stamps are tiny workhorses, and between pigment ink, dye ink, embossing powders, shimmer sprays, and the occasional enthusiastic baby wipe, they can take a beating.
I grew up cleaning stamps at my grandma’s dining table with whatever was nearby, usually a damp paper towel and a lot of hope. These days I am a little more careful, mostly because replacing a beloved sentiment set is heartbreaking.
One quick note before we dive in: if your stamp manufacturer includes care instructions, follow those first, especially for specialty photopolymers and “clear” blends.
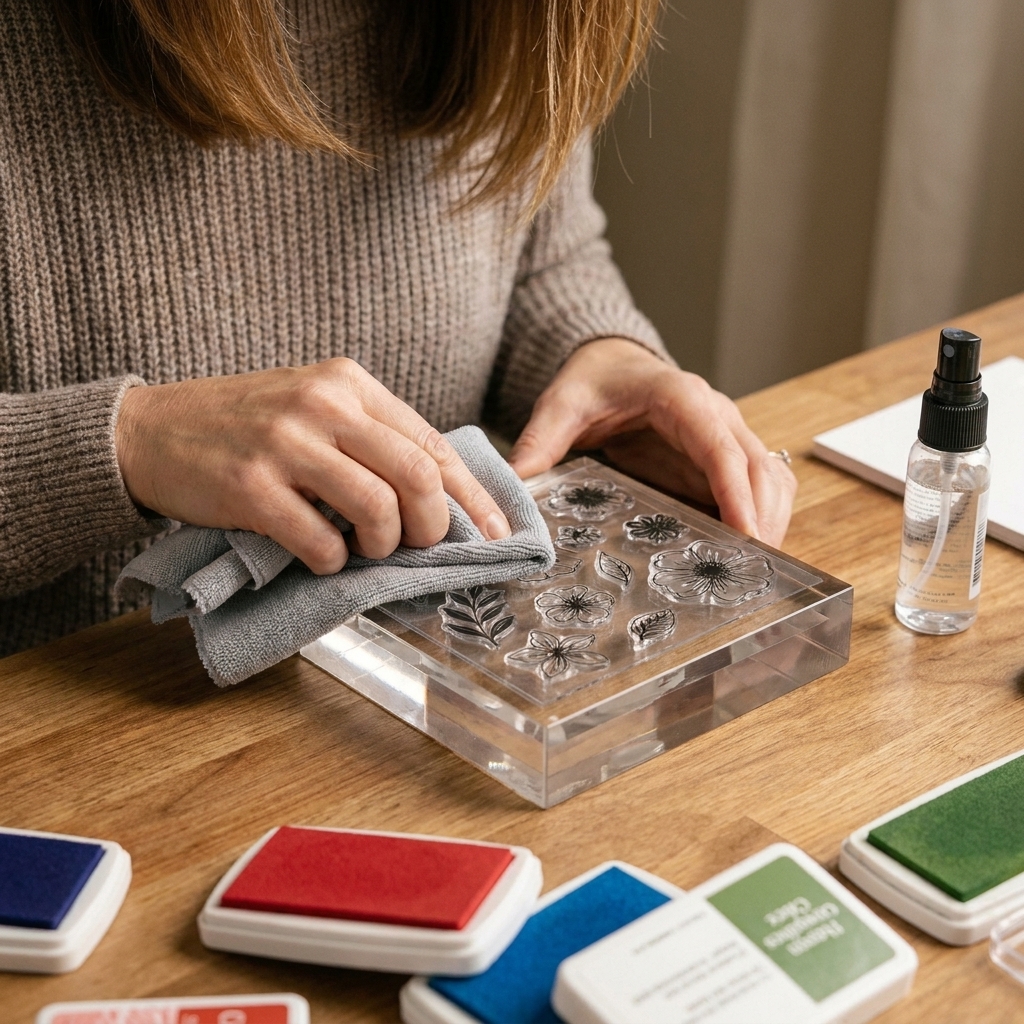
Below is exactly how I clean, condition, and store both clear polymer and rubber stamps so they stay crisp, clingy, and ready for the next cardmaking spree.
Know your stamp
Not all stamps like the same products. A quick check of what you are working with helps you avoid damage. If you are not sure what material you have, default to mild soap and lukewarm water and skip solvents.
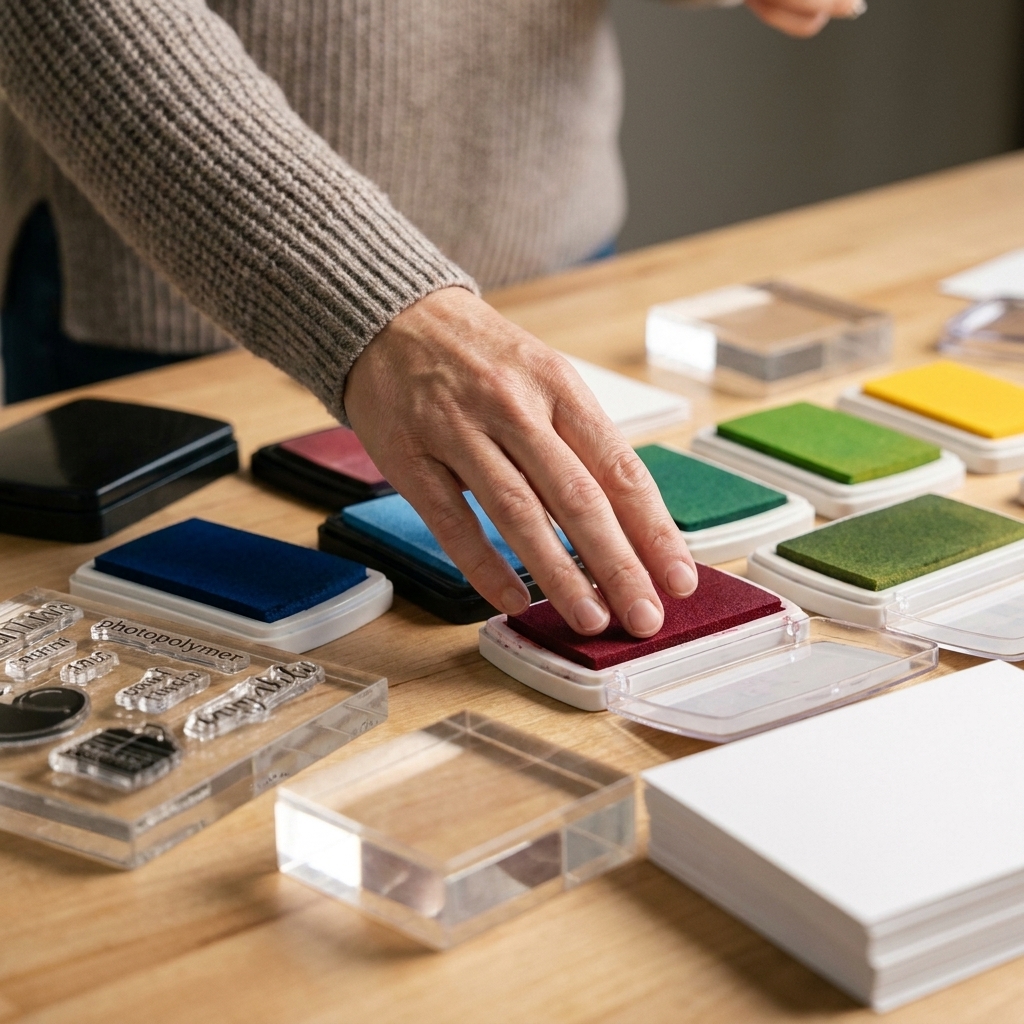
Clear polymer and photopolymer
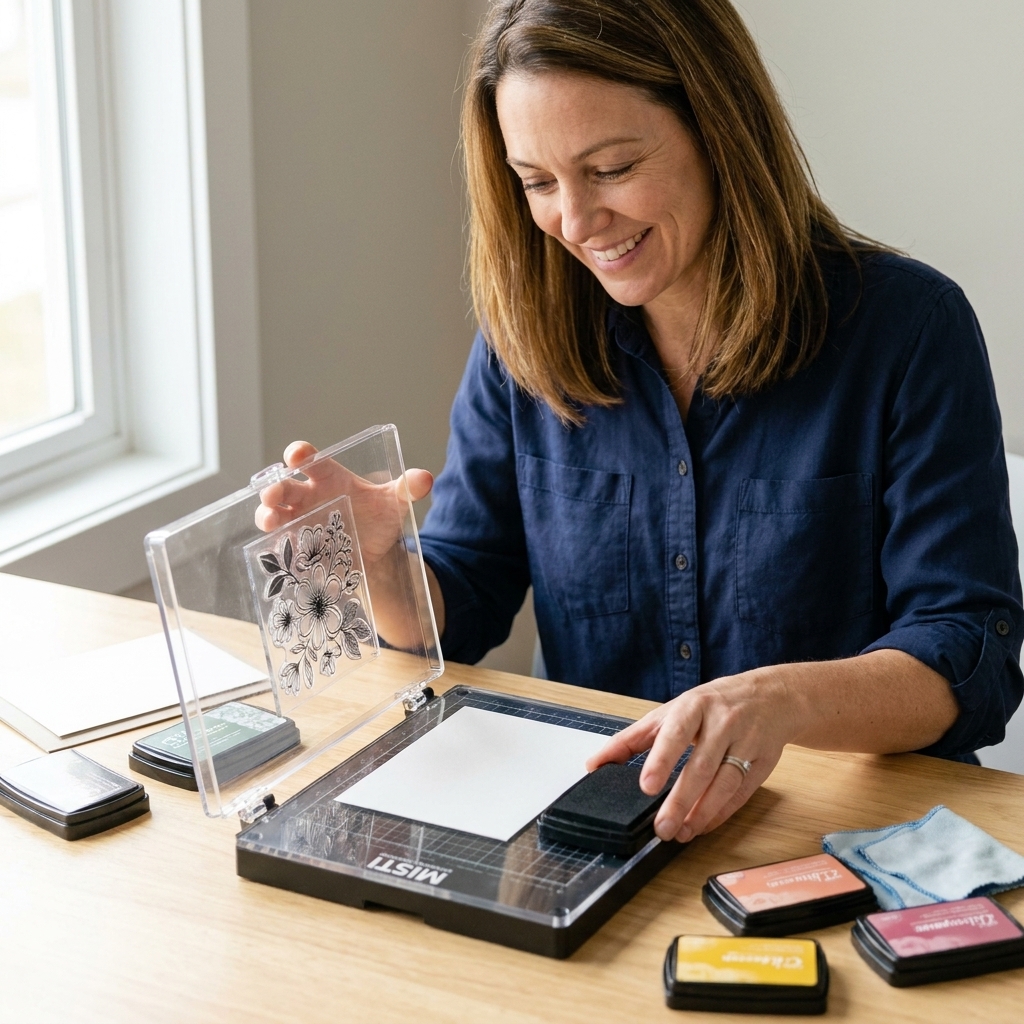
- What they are: Transparent stamps that cling to acrylic blocks or a stamp platform.
- What they dislike: Heat, harsh solvents, and long soaks. Some formulas can also react poorly to oils, fragranced wipes, or aggressive cleaners.
- Normal and not “ruined”: Staining from dye inks. Stains do not automatically mean your stamp will not stamp cleanly.
Silicone or blended “clear” stamps
- What they are: Some “clear” stamps are silicone, or a blend, and may feel a little different than photopolymer.
- How to treat them: Use the gentlest approach first. Mild soap, lukewarm water, quick rinses, and thorough drying are your safest bets.
Red rubber and deeply etched rubber
- What they are: Opaque rubber, often mounted on foam cling or wood.
- What they dislike: Scrubbing that frays edges, prolonged soaking that loosens adhesive, and strong chemicals that dry the rubber.
- Extra note: Rubber can slowly dry out over many years, especially in low humidity or heat. Conditioning can help, but it is optional and depends on the stamp and maker.
Everyday cleaning
This is the “do it now so you do not regret it later” routine. It takes less than a minute per stamp and prevents most stubborn ink buildup.
Step 1: Stamp off excess ink
Before you clean, stamp a few times on scrap paper. This removes the thickest layer of ink so you are not grinding it into the surface while wiping.
Step 2: Choose a gentle cleaner
- For most dye inks: A damp microfiber cloth or stamp shammy works beautifully.
- For pigment inks: Use a dedicated stamp cleaner labeled safe for photopolymer and rubber, or lukewarm water with a tiny drop of gentle dish soap.
- For hybrid inks: Treat them like pigment ink. Clean sooner rather than later.
Step 3: Wipe, do not scrub
Press the stamp lightly into a damp stamp shammy, then lift and repeat. For detailed images, use a soft, short-bristle stamp cleaning brush with very light pressure, focusing on the grooves.

Step 4: Dry completely
Pat dry with a lint-free cloth and let the stamp air dry for a few minutes before putting it away. Trapped moisture can contribute to odor, residue issues, and that unpleasant tacky feeling over time, especially when it is sealed into a pocket before it is truly dry.
Stubborn ink and residue
When ink has dried on the stamp or you have been embossing all afternoon, you may need a slightly stronger plan. The goal is always the same: lift residue without stressing the stamp material.
Dye ink stains on clear stamps
Dye inks love to stain clear polymer. That stain is usually cosmetic. If the image still stamps crisp, you can stop cleaning and enjoy your stamp.
- Use a photopolymer-safe stamp cleaner and a soft cloth.
- Rinse quickly with lukewarm water (if the cleaner directions recommend it).
- Dry thoroughly.
Pigment ink film
Pigment ink sits on the surface and can leave a film in fine lines.
- Use a stamp cleaner formulated for pigment ink.
- Work gently with a soft brush, not your fingernails.
- Rinse briefly if needed and dry well.
Permanent and waterproof inks
These inks are designed to stay put, so you need a cleaner that can actually break them down. Look for a stamp cleaner that states it is effective on permanent or waterproof inks and that it is safe for your stamp type.
Example worth calling out: Solvent inks (such as StazOn-style inks) and their matching cleaners can be hard on many photopolymers. If you use solvent inks, double-check compatibility and test on a less precious stamp first.
My gentle rule: If a product has a strong solvent smell, I do not use it on clear polymer unless the manufacturer clearly says it is photopolymer-safe.
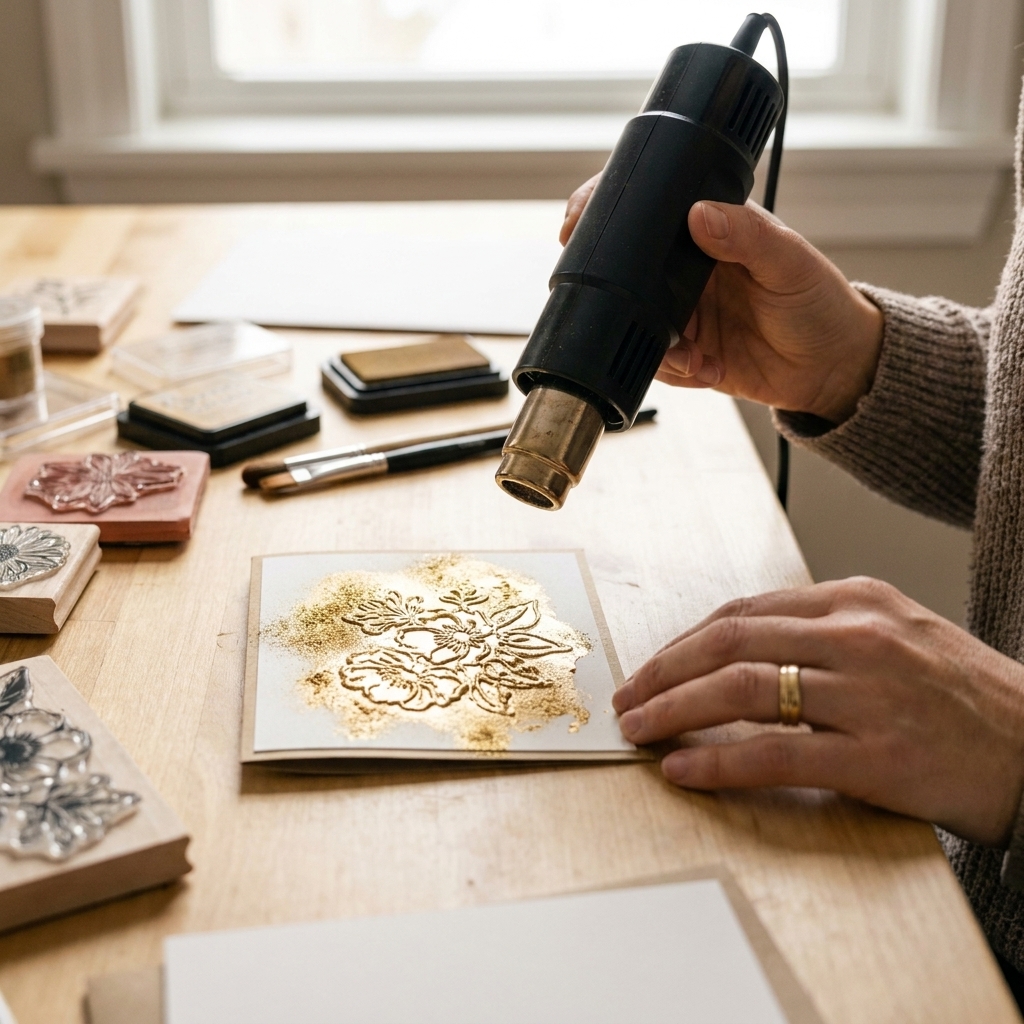
Embossing ink residue
Embossing ink can leave a tacky film that grabs powder and lint later.
- Clean promptly with mild soap and lukewarm water, or a dedicated cleaner.
- Use a soft brush to get into detailed lines.
- Avoid very hot water, which can soften clear polymer.
Glitter, mica, and shimmer
Mica loves to cling in tiny grooves. Rinse under lukewarm water and use a soft brush. If shimmer has dried, soak briefly in lukewarm water for 1 to 2 minutes, then brush and rinse. Do not leave clear polymer stamps submerged for long periods.
Adhesive or label residue
If a stamp has picked up sticky residue, start with the mildest option.
- Wash with gentle soap and lukewarm water.
- If needed, dab (do not soak) with a tiny amount of isopropyl alcohol on a cloth, then rinse immediately.
- Dry completely.
Important: Isopropyl alcohol (especially higher concentrations) can dry out rubber and can stress some clear polymers. Use sparingly and only as a spot treatment.
What to avoid
- No very hot water: Heat can warp clear polymer and loosen foam adhesive on rubber cling.
- No long soaks: A quick rinse is fine. A 30 minute bath is not.
- No acetone or harsh solvents: They can cloud, crack, or melt clear stamps and dry out rubber.
- No abrasive tools on the image: Avoid stiff brushes and magic erasers on the stamping surface. Some crafters use a magic eraser very lightly on red rubber, but it can wear detail, so I treat it as a last resort and keep it away from the image area.
- No baby wipes with lotions: Some wipes leave oily residue that affects ink adhesion and can make clear polymer feel slick.
- No storing while damp: This is where odors and residue problems like to begin.
Condition rubber stamps
Rubber stamps can get a little thirsty over time, especially if you use cleaners frequently or live in a dry climate. Conditioning is not mandatory, but it can help older rubber stay supple so it stamps evenly. If your stamp brand has specific guidance, follow that over any general tips.
When to condition
- If stamped images start looking slightly mottled even with good inking.
- If the rubber surface looks dull, chalky, or very dry.
- If an older stamp has been in storage for years.
How to condition
- Clean first: Remove ink residue and let the stamp dry completely.
- Use a stamp-safe product: Look for a rubber stamp cleaner and conditioner or rubber rejuvenator sold for stamps, and follow the label directions. Apply a tiny amount to a soft cloth.
- Buff lightly: Wipe a very thin layer over the rubber surface, then buff off excess. You want “conditioned,” not oily.
- Test stamp: Stamp on scrap paper a few times before using on a project.
Avoid household oils: Things like cooking oils or heavy lotions can go rancid, attract dust, or interfere with ink.
Storage that works
Storage is where stamps either live happily ever after or slowly turn weird. The biggest enemies are heat, UV light, pressure, and trapped moisture.
Best conditions
- Cool and dry: Think closet shelf, not sunny windowsill.
- Out of direct light: UV can yellow or cloud clear polymer over time.
- Flat and supported: Prevent bending and warping.
- Clean before storing: Ink residue can slowly harden and fill fine details.
Store clear stamps
- Keep them on acetate or backing sheets: That support helps them stay flat.
- Use stamp pockets or binders: Store upright like a file, not in a heavy stack that squishes the designs.
- Avoid extreme pressure: Too much weight can cause stamps to bow or stretch.
- Let them dry first: If a set feels at all damp after cleaning, leave it out to air dry before sealing it into a pocket.

Store rubber stamps
- Cling rubber: Store on cling panels or in cases so the rubber is supported and protected from dust.
- Wood-mounted: Avoid soaking the wood. Clean the rubber by wiping or brief rinsing only if the mount stays dry, then pat dry right away. Store so the rubber is not pressed against other surfaces.
- Watch foam adhesive: If you notice foam peeling, store the stamp flat and avoid heat, which makes adhesives fail faster.
Store on acrylic blocks?
I do not recommend long-term storage on acrylic blocks. Some clear polymers can bond too strongly over time, depending on the stamp material and the block surface. Removing them later can stretch or tear fine areas. It is safer to store them on their backing sheet and mount them only when you are ready to stamp.
Fix common issues
Clear stamps can change texture as they age, especially if they have been exposed to heat, sunlight, or incompatible cleaners.
Cloudy clear stamps
- Wash gently with mild soap and lukewarm water.
- Rinse well and pat dry.
- Let it air dry completely before storing.
Cloudiness is often cosmetic. Test stamp before you panic.
Sticky clear stamps
Stickiness can come from residue, trapped moisture, or natural changes in the material over time (often pushed along by heat, UV, or incompatible products).
- Wash with mild soap and lukewarm water.
- Rinse thoroughly.
- Air dry longer than you think you need, then store in a cool, dry spot.
If a stamp is persistently sticky, retire it from direct contact with prized cardstock and use it for mixed media play, gel printing, or backgrounds where perfection is not the goal.
Warped clear stamps
Warping usually comes from heat or pressure. Sometimes you can reduce it by storing the stamp flat on its backing sheet with a little gentle, even weight on top for a few days, like a book that is not too heavy. If warping is severe, the stamp may not fully recover, but you can often still use it in a stamp platform that applies even pressure.
Cheat sheet
| Ink or mess | Best first step | Extra help |
|---|---|---|
| Dye ink | Damp stamp shammy | Photopolymer-safe cleaner if stained or dried |
| Pigment ink | Stamp cleaner + gentle wipe | Soft brush for fine lines |
| Waterproof ink | Permanent-ink stamp cleaner | Work quickly, rinse if needed, dry well |
| Embossing ink | Mild soap + lukewarm water | Brush away tacky residue |
| Mica and glitter | Rinse + gentle brush | Very short soak if dried |
| Sticky residue | Soap + water | Spot dab of isopropyl alcohol, then rinse |
FAQ
Do I need to deep clean every time?
Nope. For everyday crafting, a quick clean right after stamping is usually enough. Deep clean when you notice detail filling in, pigment film, or tacky residue from embossing ink.
Why do my clear stamps not cling like they used to?
Usually it is lint, dust, or cleaner residue on the back of the stamp. Wash with mild soap and lukewarm water, rinse, and air dry. Also check your acrylic block for fingerprints or powdery anti-static residue and wipe it clean.
Can I use hand sanitizer?
I would not. Many sanitizers contain alcohol plus moisturizers, fragrances, and thickeners that can leave residue. If you need a stronger cleaner, use a product formulated for stamps.
Is staining bad?
Most staining from dye ink is purely cosmetic. If the stamp still gives a crisp impression, it is doing its job. I would rather have a stained stamp that stamps beautifully than an over-scrubbed stamp with worn detail.
How do I avoid the “old plastic” smell?
Store stamps clean, fully dry, out of heat and sunlight, and avoid sealing them away while damp. A cool closet shelf beats a hot craft room windowsill every time.
The one habit
If you only take one thing from this guide, let it be this: clean gently, dry thoroughly, store cool and flat. It is not flashy, but it is the difference between stamps that stay crisp for years and stamps that slowly lose their best details.
Now go make something pretty. A handmade card really is like a hug folded in half, and your stamps deserve to be ready for the next one.