Large background stamps are the unsung heroes of my craft room. They can feel a little intimidating at first (so much surface area, so much pressure, so much “please stamp evenly!”), but once you start playing with them, they become the easiest way to make a card look polished in about two minutes.
Today I’m sharing 10 creative ways to use big background stamps on handmade cards, including a few “happy accident” tricks I leaned on back when I was stamping at my grandma’s dining table with a wobbly acrylic block and a whole lot of hope.
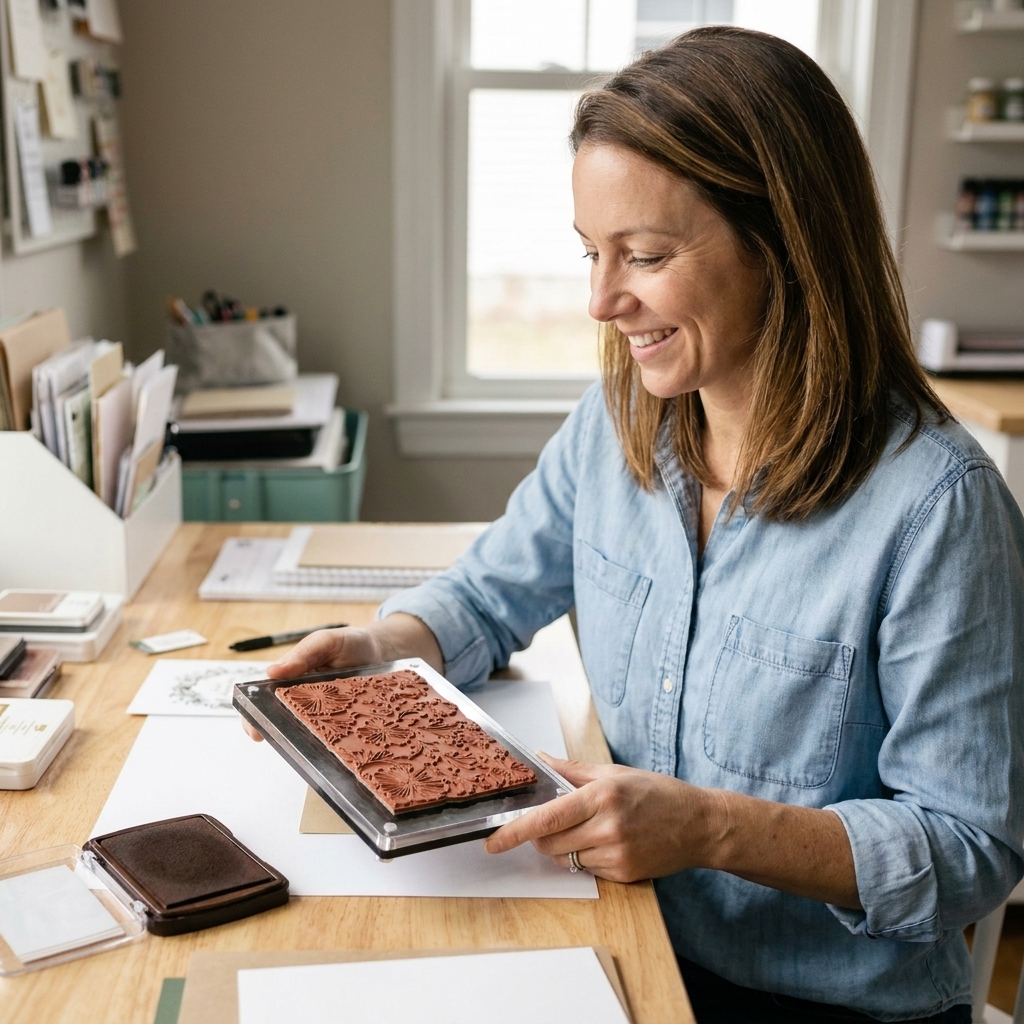
Before you start: quick success tips
These little habits make every technique below easier, especially with larger stamps.
- Use a stamping platform if you have one. It helps you apply even pressure and lets you restamp in the same spot if needed.
- Start with smooth cardstock. Smooth 80 to 110 lb cardstock usually gives the crispest detail with large stamps. Heavily textured paper can skip in the low spots.
- Condition your stamp (gently). If a brand-new photopolymer stamp is resisting ink, try washing with mild soap and water and letting it air dry, or stamp it a few times on scrap paper. A clean white eraser can also help on some formulas, but use a light touch, especially on very soft or sticky photopolymer.
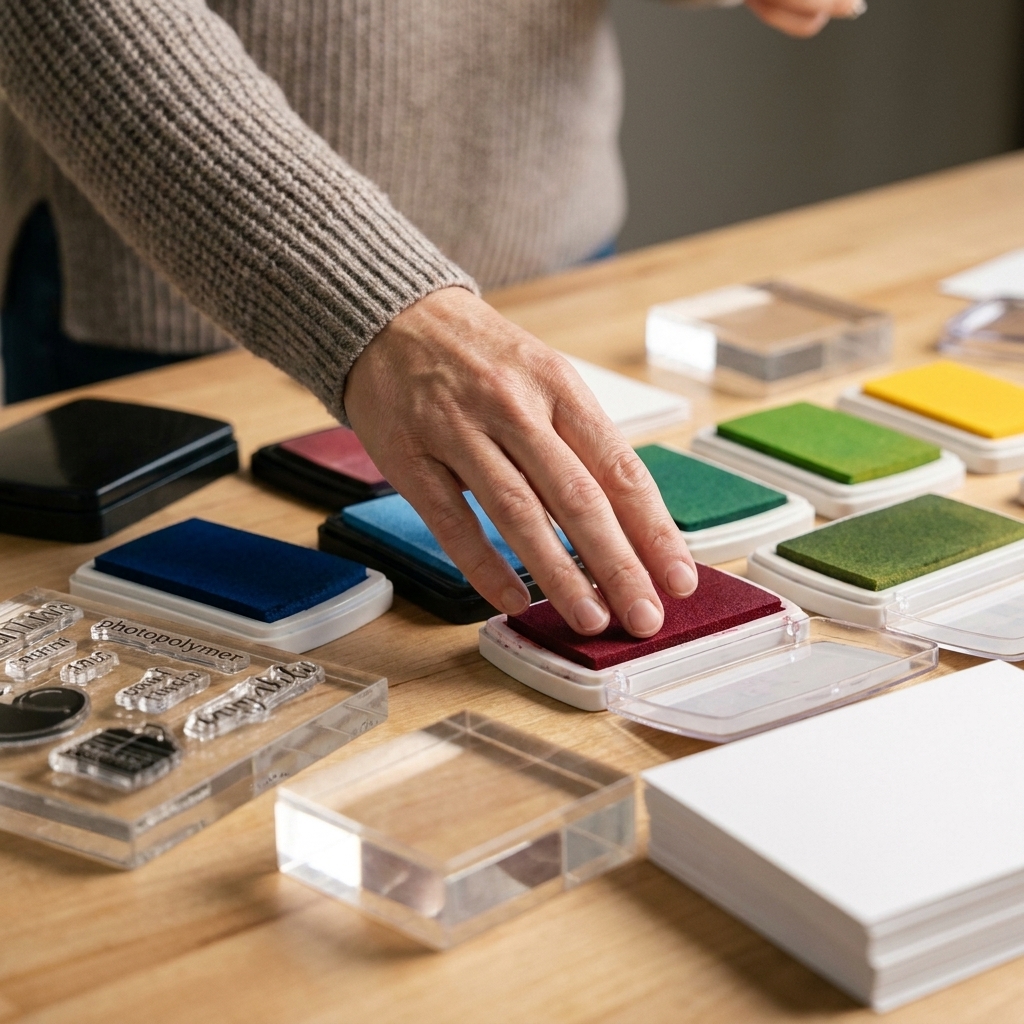
- Ink the stamp (most of the time). With big backgrounds, I usually get the cleanest results by pressing the ink pad onto the stamp in sections. If you love inking the paper instead (brayer, direct-to-paper, etc.), go for it. Different looks, same goal.
- Pick the right ink for the job. Dye ink for smooth blending, pigment ink for bold coverage, and a sticky watermark ink for embossing.
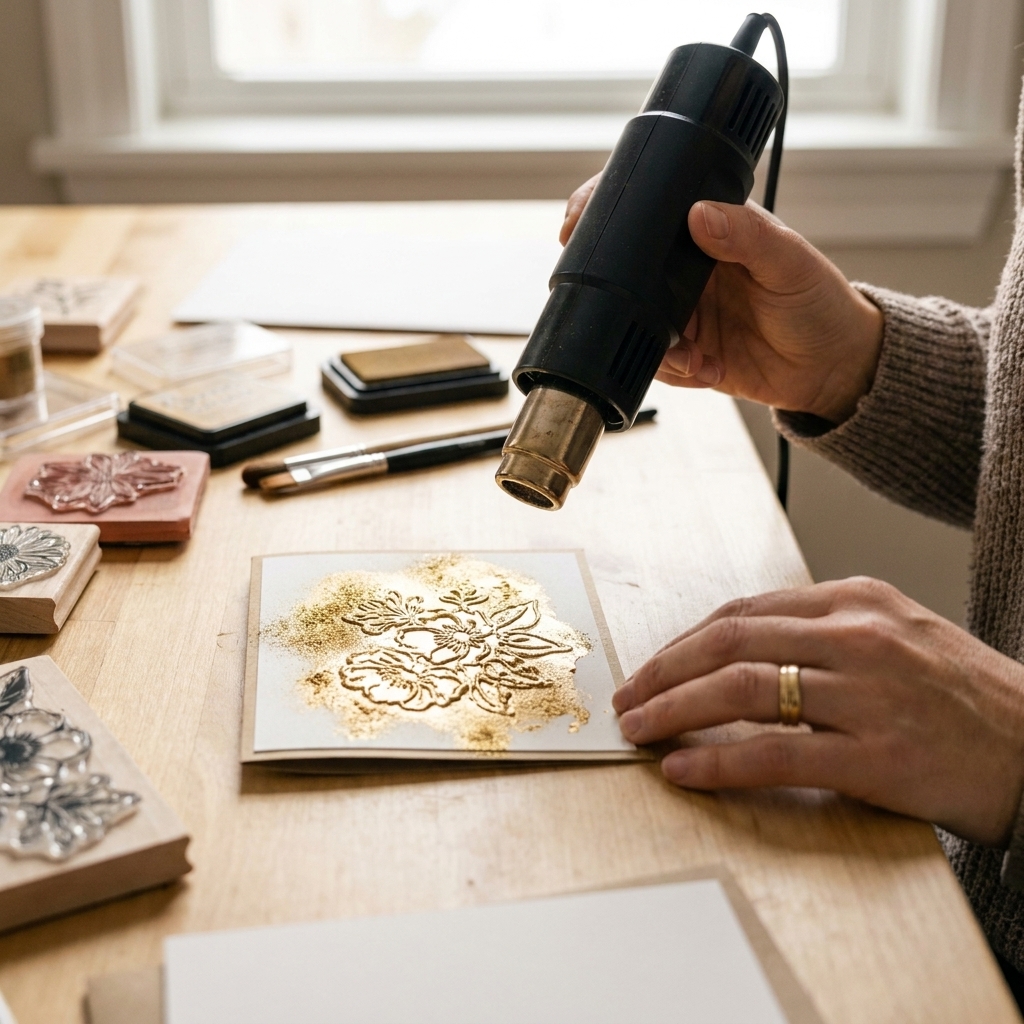
- For embossing, prep first. A quick swipe with an anti-static powder tool helps prevent stray embossing bits. Keep the heat tool moving so you do not scorch the paper.
1) Make patterned paper panels
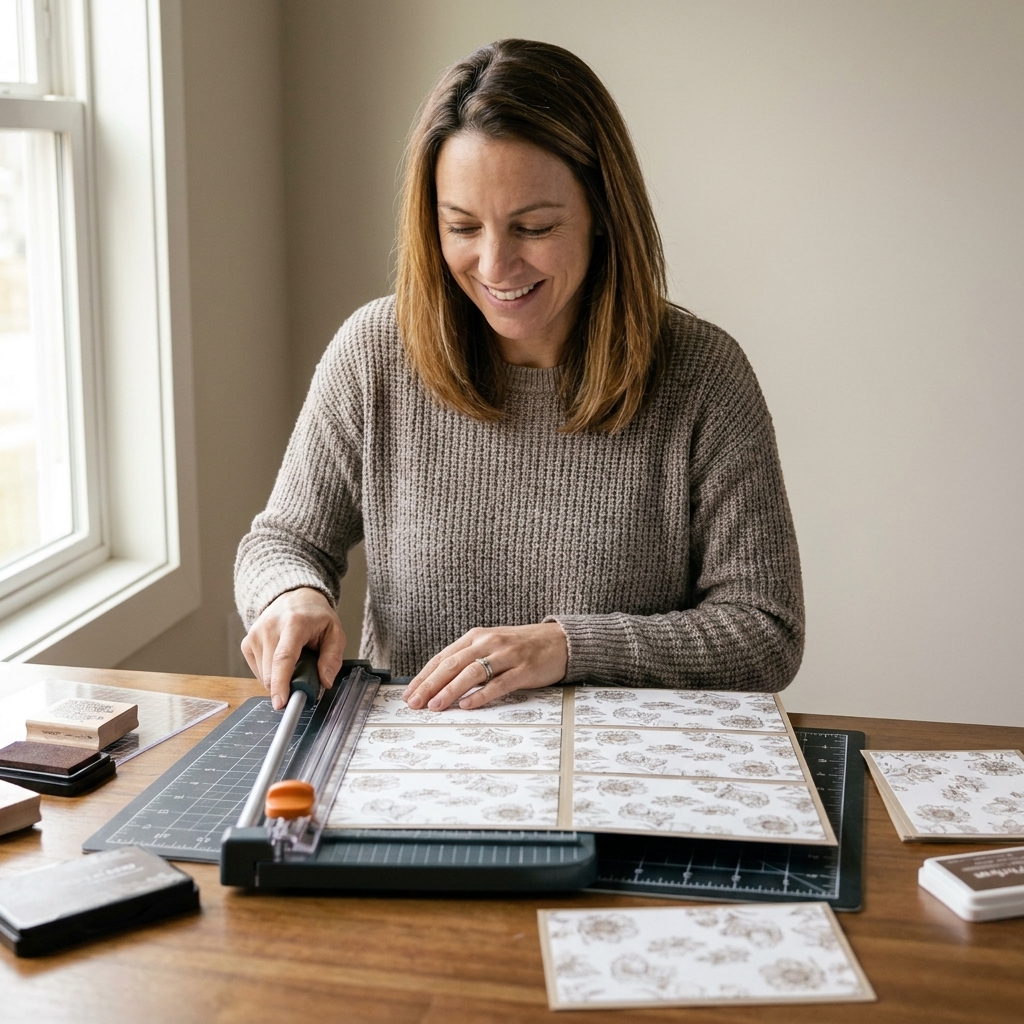
This is the most classic use, but it’s still one of the most satisfying. Stamp across a full sheet to create a “store-bought” patterned paper look, then slice it into panels for quick card fronts.
How to do it
- Stamp on a full sheet of cardstock first, not a pre-cut panel.
- Stamp multiple times across the sheet, slightly overlapping or butting the impressions together. Rotate or shift a little if your pattern allows.
- Trim into A2 panels, slimline strips, or small rectangles for layering.
My favorite twist: Stamp tone-on-tone (like soft gray on white or kraft on kraft). It looks expensive and never fights your focal image.
2) Partial stamping
You do not have to stamp the whole panel. In fact, stamping only the top third or one corner often looks more modern and gives your sentiment room to breathe.
How to do it
- Ink the stamp and stamp only part of the card front by letting the cardstock hang off the edge of the stamp.
- Or, stamp one full impression on a larger piece of cardstock, then crop your favorite area for a perfectly placed partial background.
Design tip: Try a bold background stamp in one corner, then balance it with a big die-cut sentiment on the opposite side.
3) Selective inking
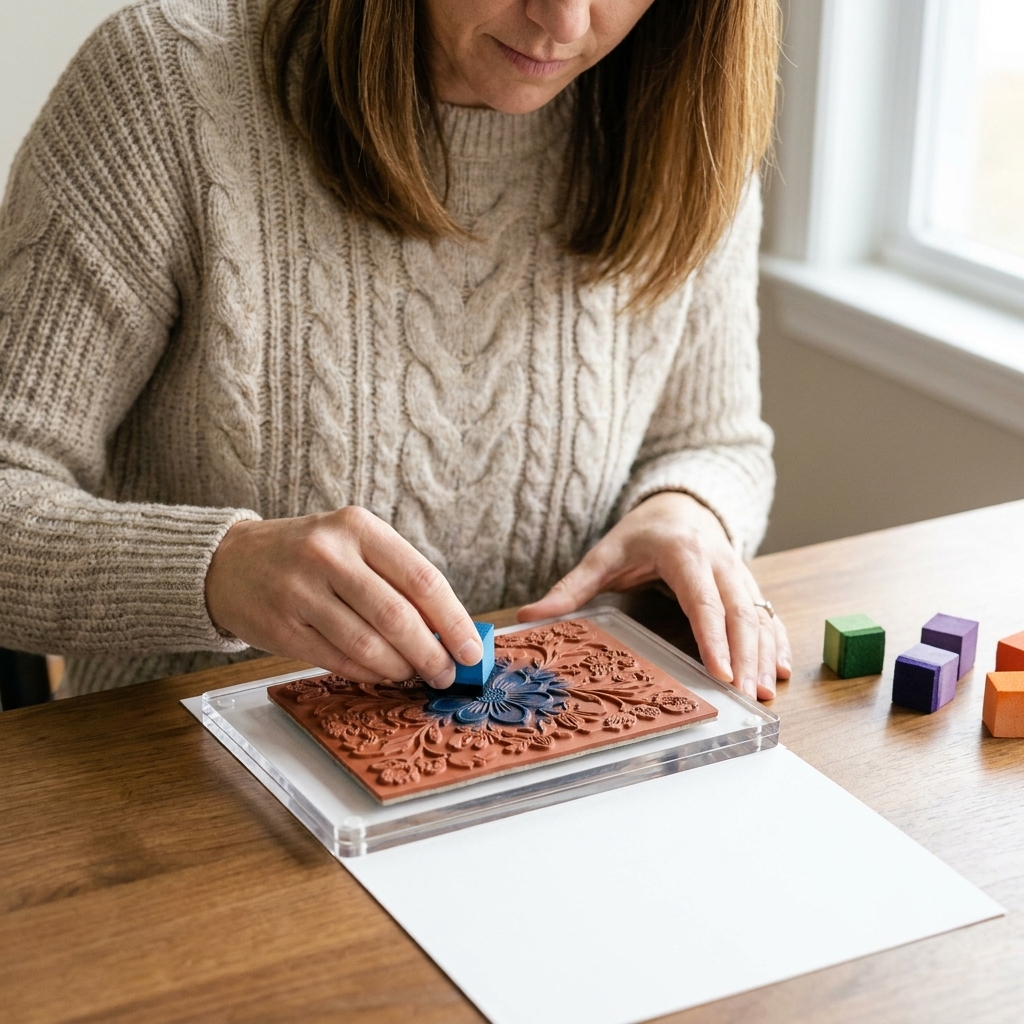
Selective inking turns one large stamp into lots of smaller “mini stamps.” This is perfect when you love the texture of a background but only want a few elements.
How to do it
- Use small ink cubes or the edge of a larger ink pad to ink only certain areas.
- For crisp edges, ink normally, then wipe away parts with a lint-free cloth or a cotton swab.
- Stamp once, and repeat with different sections for a layered look.
Great for: turning an all-over floral into a little floral cluster behind a sentiment strip.
4) Two-tone and ombré inking
Big stamps are made for gorgeous color transitions. You can create a soft ombré effect just by inking with two colors and letting them overlap a bit.
How to do it
- Ink one side of the stamp with a lighter color and the other side with a darker color (staying in the same color family helps avoid muddy overlap).
- At the seam where the colors meet, tap lightly with a sponge dauber or the lighter ink to soften the transition.
- Stamp once. If you want it stronger, stamp again in the same spot using a platform.
My shortcut: If your blend line feels harsh, lightly blend over the stamped area with a blending brush using the lighter color. It softens everything.
5) Emboss resist
Emboss resist is one of those techniques that feels like magic every single time. You heat-emboss your background, then blend ink on top. The embossed areas resist the ink and stay bright.
How to do it
- Lightly prep your cardstock with an anti-static powder tool.
- Stamp your background with watermark ink.
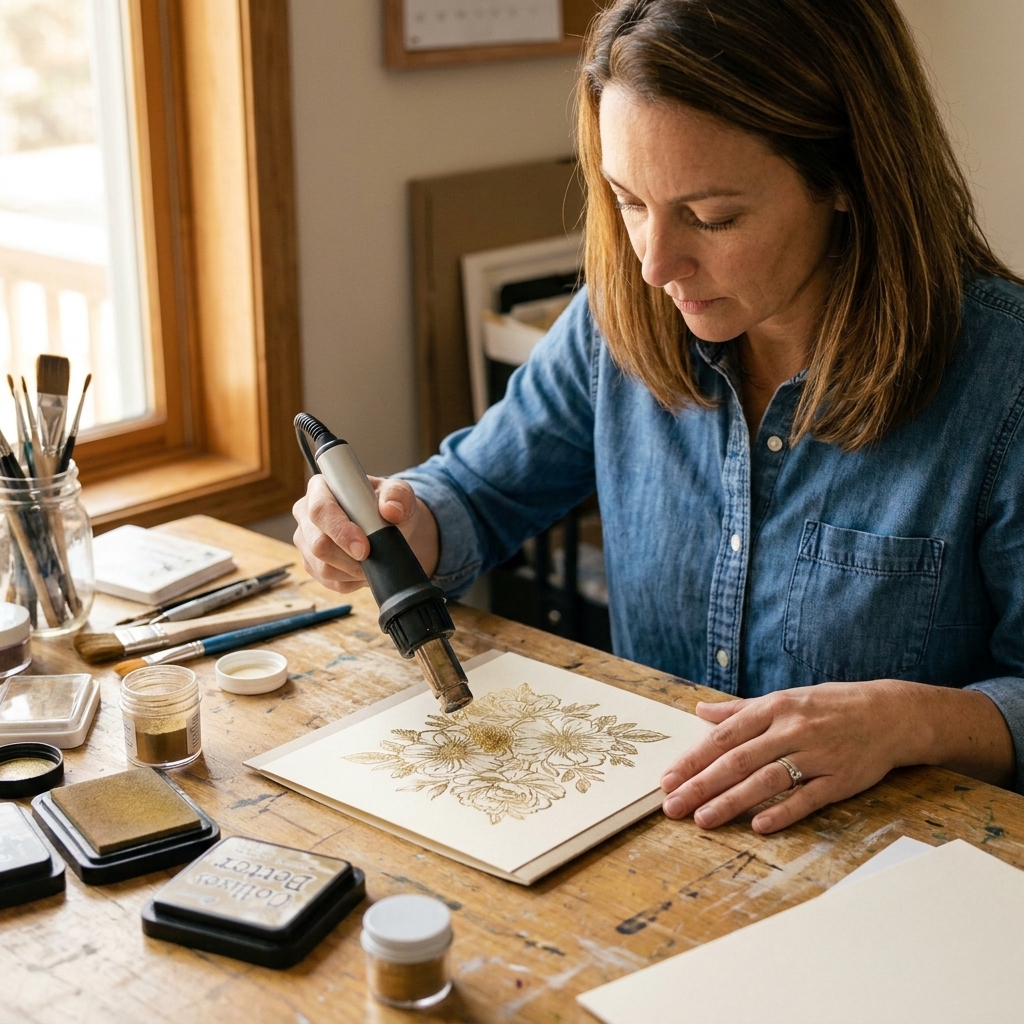
- Add clear embossing powder (or white, gold, whatever you love), then heat set with your heat tool moving.
- Blend dye ink over the whole panel. Buff with a dry cloth to remove ink sitting on the embossing.
Try it with: a geometric background stamp and three ink colors blended diagonally. It makes the simplest sentiment look like a centerpiece.
6) Ghost stamping
Ghost stamping is stamping a second time without re-inking. The second impression is lighter, softer, and gives you built-in depth with almost zero effort.
How to do it
- Ink and stamp your background once.
- Without re-inking, stamp again slightly offset or directly on another panel.
Quick note: Dye inks usually ghost more softly. Pigment inks can still be fairly bold on the second impression, which can be pretty in its own way.
Where it shines: masculine cards, sympathy cards, or any time you want texture without a lot of contrast.
7) Mask a sentiment window
This one is so practical. If your background stamp is busy, you can create a clean space for your greeting by masking before you stamp.
How to do it
- Cut a rectangle or circle mask from scrap paper or cardstock.
- Lightly tack it to your card front where your sentiment will go.
- Stamp your background, then remove the mask.
Extra pretty: Add foam tape behind the sentiment piece and pop it up directly over that clean window.
8) Emboss the edges
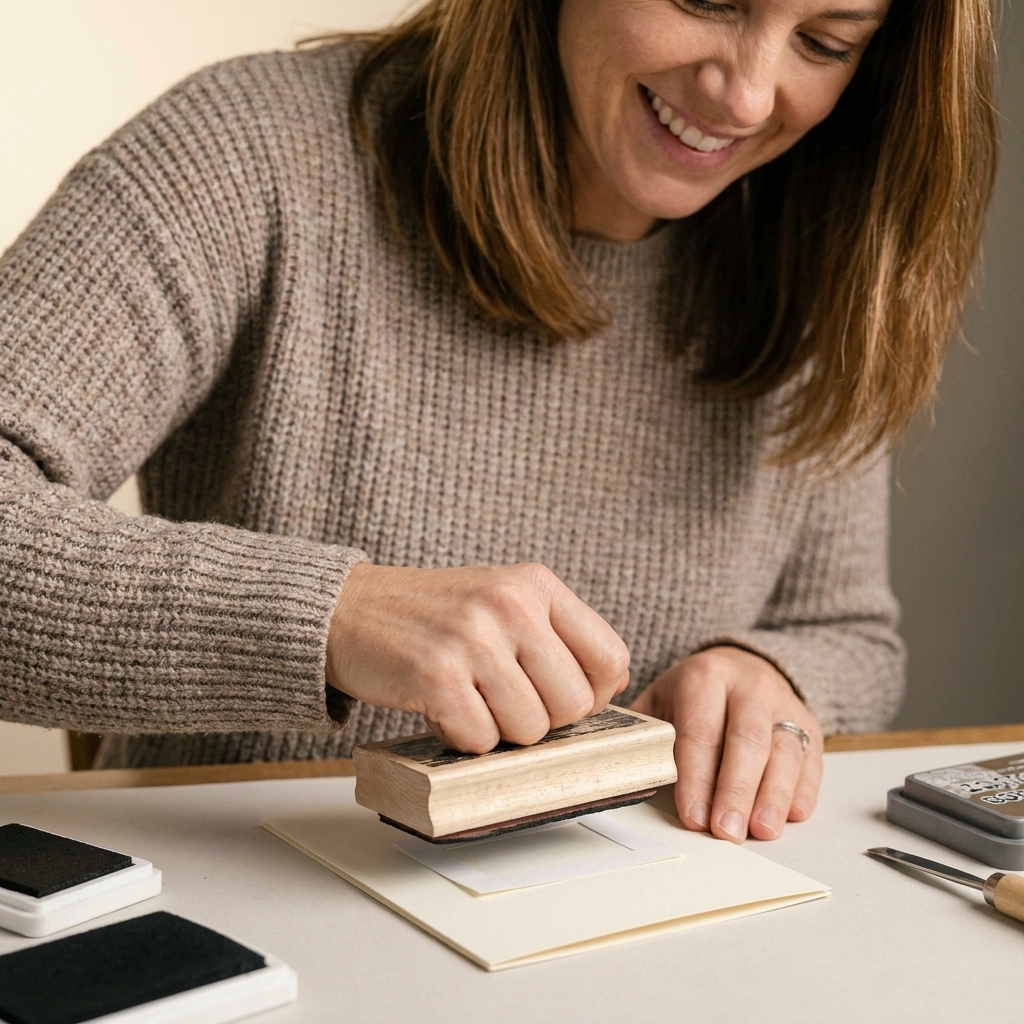
If you love a framed look but do not want to measure, a large background stamp can create an easy “edge frame.” You’re basically decorating the border and leaving the center calmer.
How to do it
- Prep your cardstock with an anti-static powder tool.
- Ink only the outer edges of your background stamp with watermark ink.
- Stamp onto cardstock, add embossing powder, and heat set.
- Optionally blend ink around the edges to emphasize the frame.
Paper hoarder note: This is a fabulous way to make plain cardstock feel special when you do not want to “use up” your patterned paper.
9) Texture behind die cuts
Background stamps are amazing when they are not the star. Stamp a subtle pattern on the same color cardstock, then use it as a mat layer behind your focal elements.
How to do it
- Choose a neutral cardstock and ink one shade darker for tone-on-tone stamping.
- Stamp, then trim slightly larger than your focal piece.
- Layer behind die cuts, stamped images, or a big sentiment.
Favorite combos: cream-on-kraft, white pigment on pastel, or charcoal-on-light gray for a clean, modern base.
10) Stamp on specialty cardstock
One stamp can look completely different depending on what you stamp it on. If you have a large background stamp you feel like you’ve “overused,” change the paper.
Fun surfaces to try
- Vellum: Embossing (watermark ink plus powder) is the most smudge-proof option. If you use pigment ink, expect a longer dry time and handle carefully. Heat set gently from a distance to reduce warping.
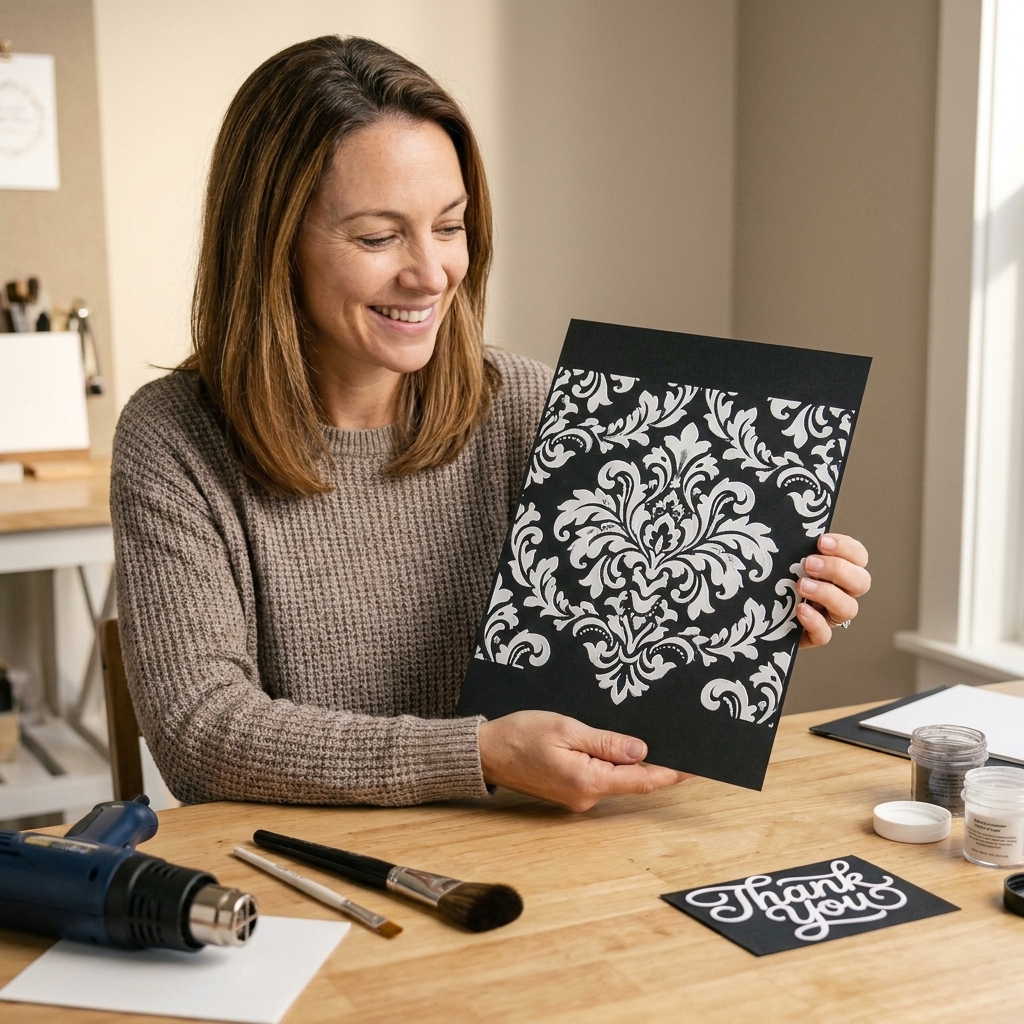
- Black cardstock: Stamp with white pigment ink or heat emboss for dramatic contrast.
- Metallic cardstock: Tone-on-tone stamping creates elegant shine.
- Kraft cardstock: Great with white pigment or earthy dye inks.
Quick card idea: White heat emboss a background on black cardstock, then add one bright die-cut word. That’s it. That’s the card.
Troubleshooting big stamps
My stamped background looks blotchy
Try a stamping platform and focus on even pressure rather than pressing harder. Also check your ink pad. Super juicy pads can pool, and very dry pads can skip. Re-inking and stamping a second time in the platform fixes a lot.
My impression is missing in the center
This is usually pressure or an uneven surface. Add a thin craft foam mat under your cardstock (especially with clear stamps), or add a cardstock shim in your platform, then stamp again.
I keep stamping crooked
Stamp on a larger piece first, then trim. It is the easiest way to “cheat” your way into perfectly aligned panels.
My go-to supply list
- Stamping platform (or a very firm acrylic block for smaller sections)
- Smooth cardstock (80 to 110 lb is a sweet spot for most cards)
- Dye inks for blending, pigment inks for bold coverage
- Watermark ink and embossing powder for resist techniques
- Anti-static powder tool
- Blending brushes or ink daubers
- Low-tack tape or repositionable adhesive for masking
- Microfiber cloth for buffing emboss resist panels
- Stamp cleaner and a stamp shammy or gentle scrubber for quick cleanup (especially handy for big stamps)
One last nudge
If you have a gorgeous large background stamp and you’ve been saving it for the “perfect” project, this is your sign. Stamp a whole sheet today. Make messy experiments. Try one corner stamp and call it done. Background stamps are supposed to make card making feel easier, not scarier.
If you try any of these techniques, I’d love to know which one became your new favorite.