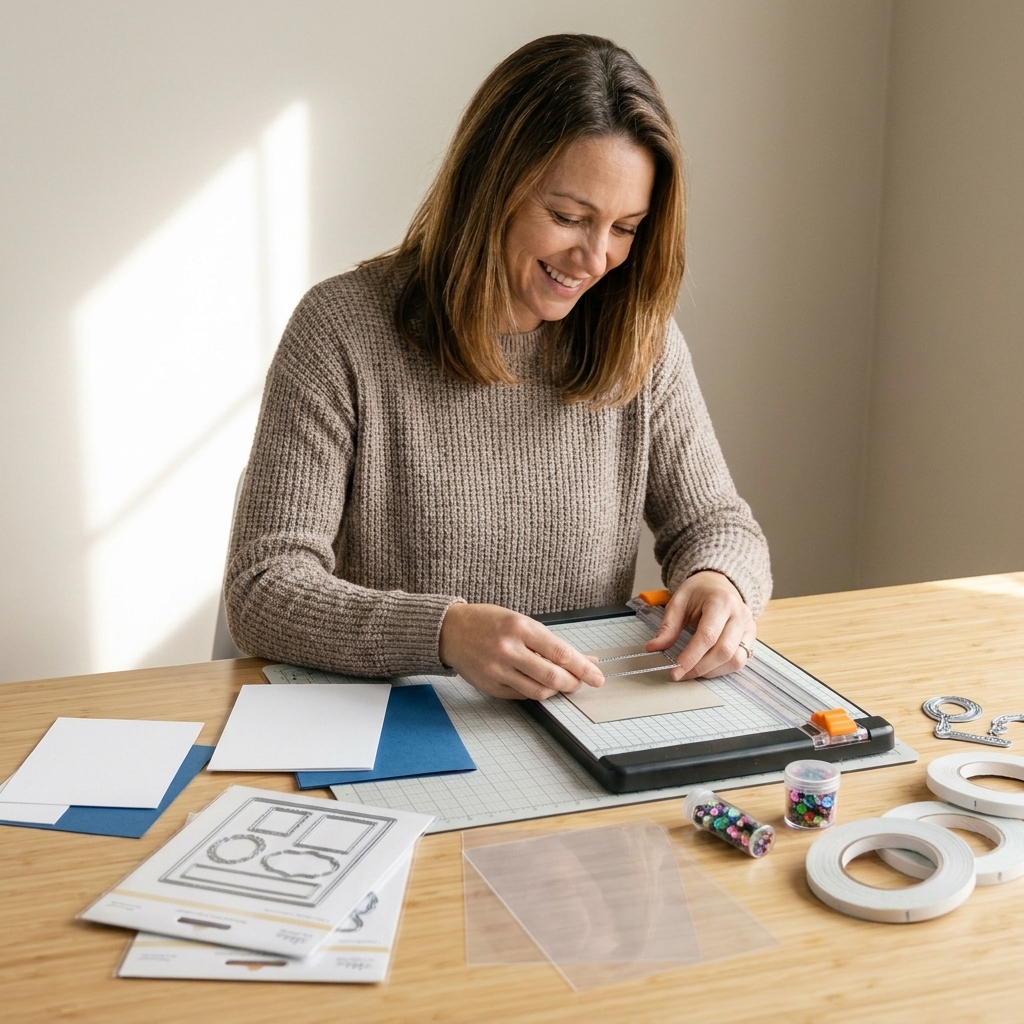
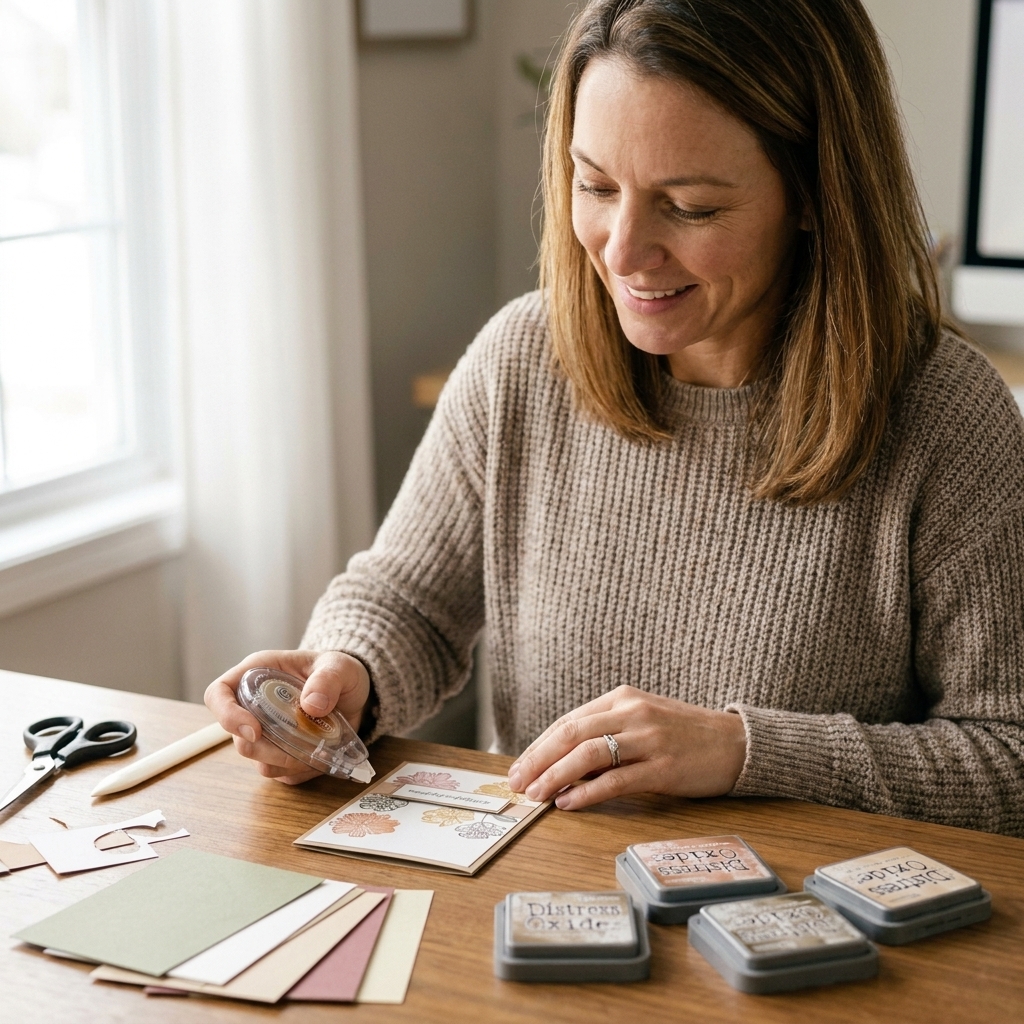
Odd-sized cards are my favorite kind of trouble. Slimlines, mini thank-yous, chunky shaker cards, sweet little squares. They are all adorable right up until you realize nothing in your envelope stash fits.
The good news: you do not need an expensive punch board to make envelopes that look crisp and professional. If you can measure, score, and fold, you can make a custom envelope that hugs your card like it was meant to be there all along.
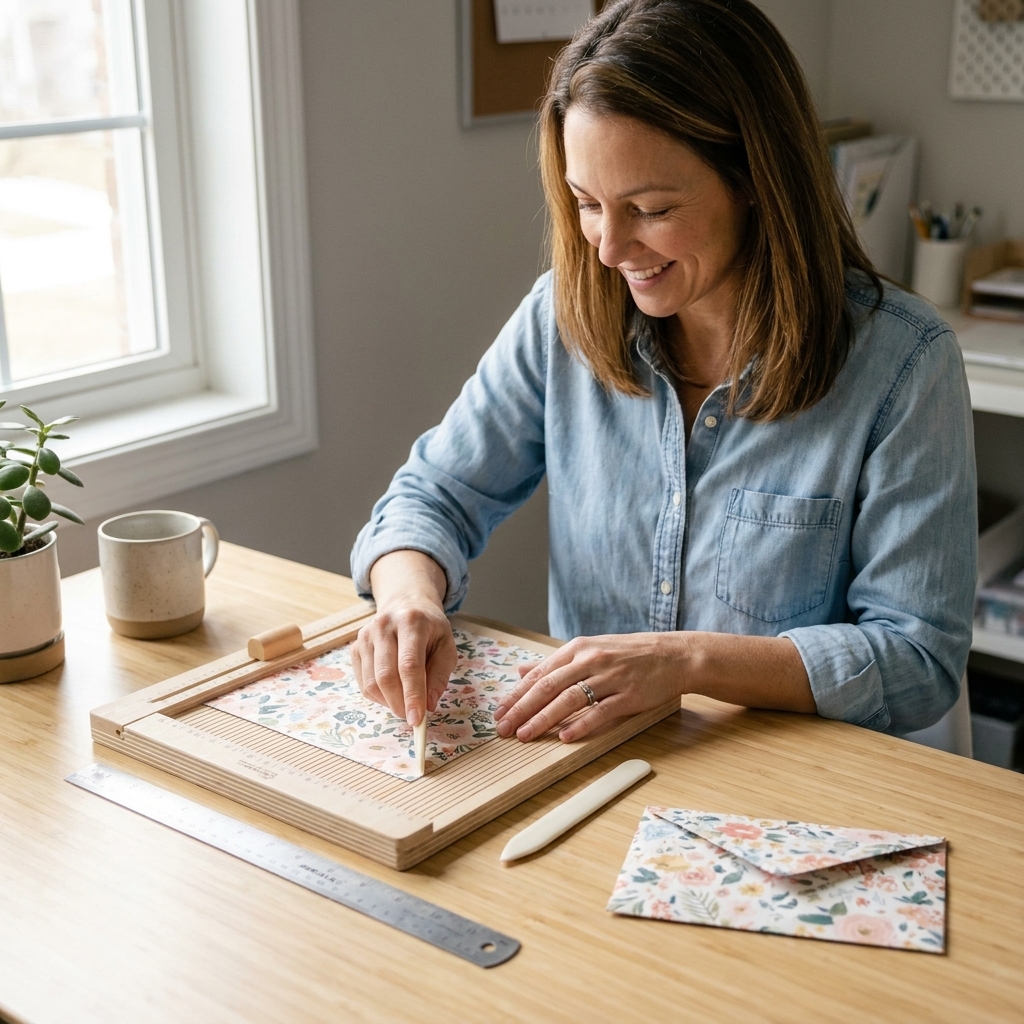
Before we jump into the five methods, here is the sizing rule I use at my kitchen table (usually with a mug of tea dangerously close to the paper pile).
My go-to sizing formula
You can make any envelope method work if you start with the right finished envelope size.
Step 1: Measure your card
- Card width: left to right
- Card height: bottom to top
- Card thickness: especially important for shaker cards, layered dies, chipboard, or bulky embellishments
Step 2: Add wiggle room
For a normal flat card, add:
- Envelope width = card width + 1/4 inch (6 mm)
- Envelope height = card height + 1/4 inch (6 mm)
For bulky cards, add:
- Envelope width = card width + 3/8 to 1/2 inch
- Envelope height = card height + 3/8 to 1/2 inch
If you are using thicker paper for the envelope, also bump that wiggle room up a hair. Thicker paper eats space when you fold.
Tools I use most
- Paper trimmer
- Ruler
- Scoring board (or a ruler + scoring stylus)
- Bone folder
- Strong adhesive (tape runner, double-sided tape, or liquid glue)
- Corner rounder (optional, but cute)
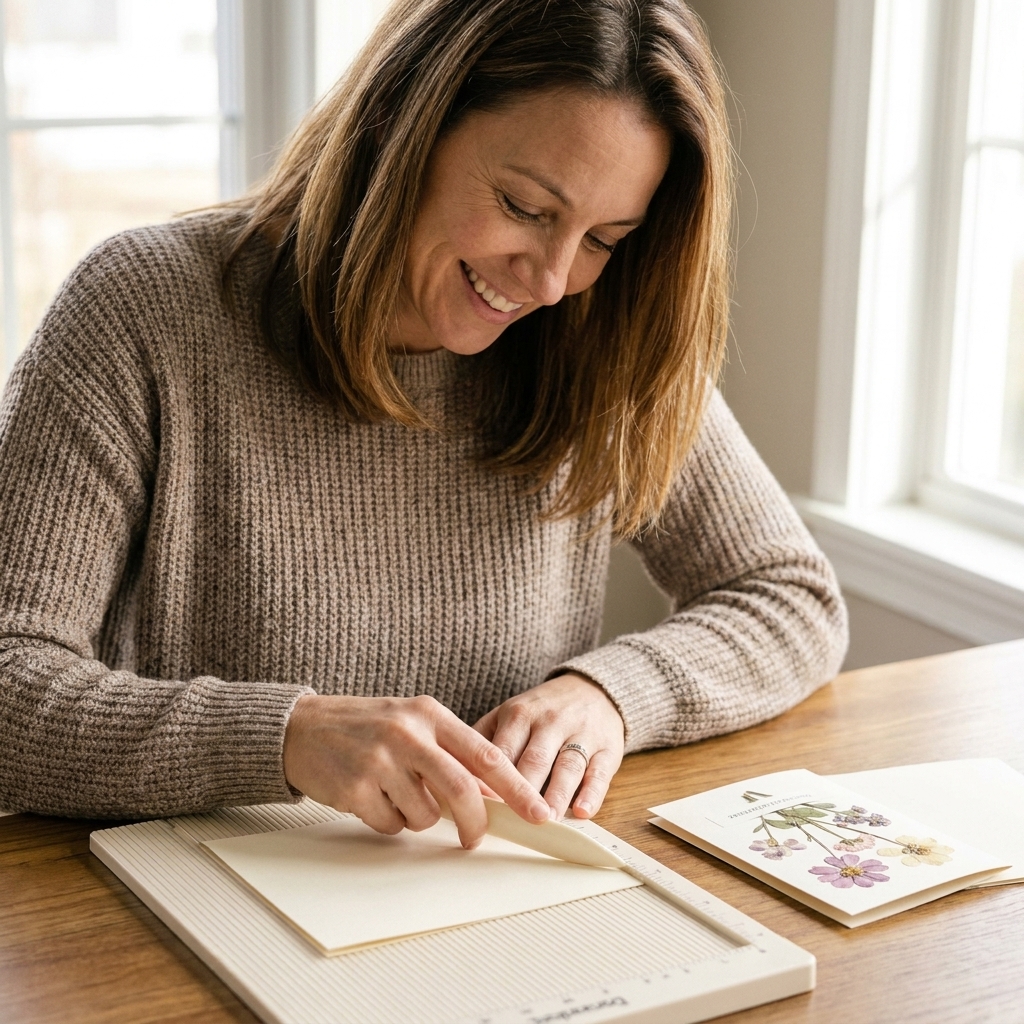
1) Score-and-Flip (fast rectangles)
This is my everyday workhorse method for rectangular cards. It is quick, repeatable, and it lets you tweak the flap shapes to match your style.
Best for
- Slimline cards (portrait or landscape)
- A2 cards that are slightly non-standard
- Any rectangular card where you want a classic envelope shape
How to do it
- Decide your finished envelope size using the formula above.
- Pick your flap depth: I usually start at 1 inch. For larger cards or bulkier cards, use 1 1/8 to 1 1/4 inches so the seams do not steal your interior space.
- Cut your envelope paper to: (finished width + 2 x flap depth) by (finished height + 2 x flap depth). Example: if your flap depth is 1 inch, that is the classic “+2 inches.”
- Score all four sides at your chosen flap depth.
- Trim the corners by cutting off the little square blocks at each corner (where the score lines intersect). You will have a plus-sign shape.
- Shape the side flaps: angle the ends of the left and right flaps inward so they will tuck neatly under the top flap.
- Dry fit first: fold everything up (no adhesive yet) and slide your card in. If it is snug, adjust now. This is the moment that saves paper.
- Fold and burnish all score lines.
- Glue the sides first (left and right onto the bottom flap), then fold up the bottom and adhere it.
- Finish the top flap: keep it straight, round it, or snip it into a soft point.
Chloe’s tiny tip
If your envelope feels a smidge tight, do not force the card. Re-score a touch wider (try adding 1/16 inch to your flap depth), then re-fold. That tiny change can save a whole envelope.
Slimline note
For slimlines, I decide first whether I want the envelope seam on the back (classic) or one side (sometimes easier for extra-long cards). Same method, just rotate your paper and keep the “prettiest” side where you want it to show most.
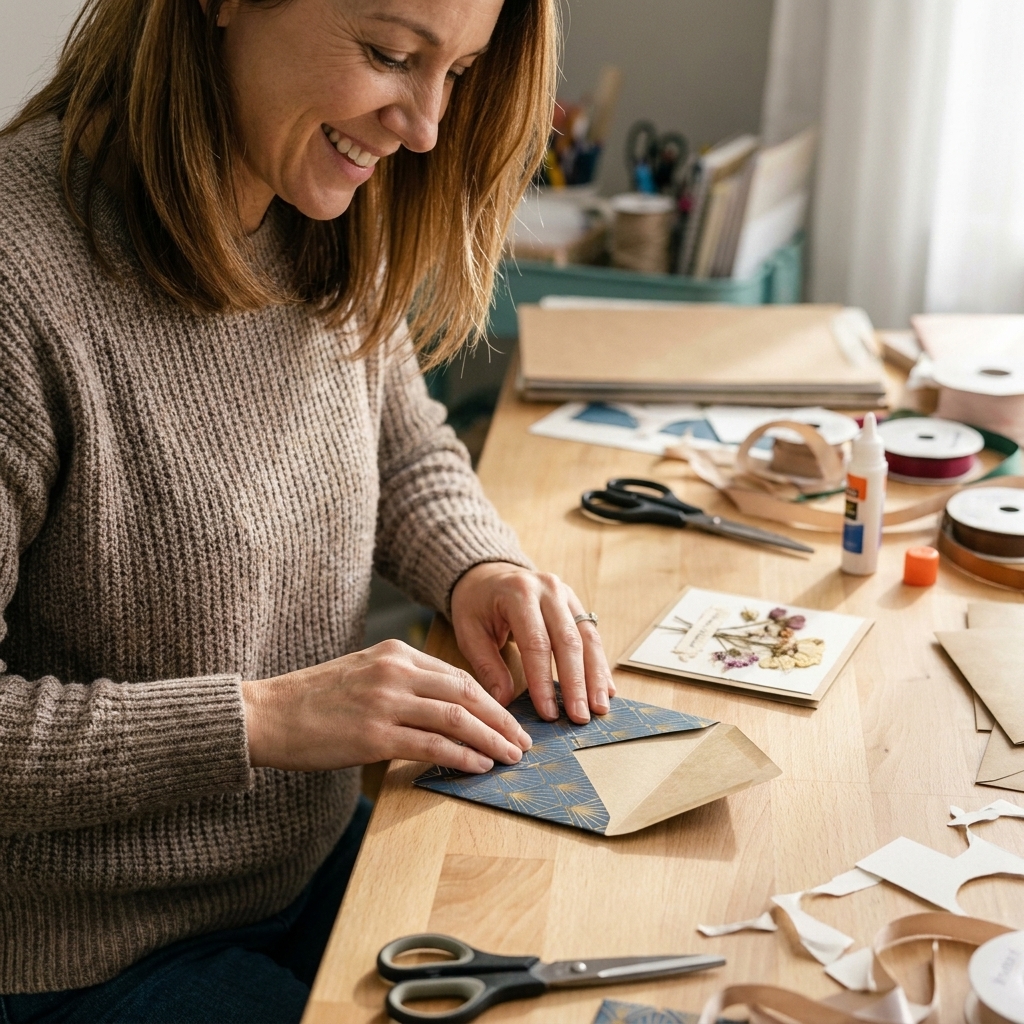
2) Square-from-a-Square (square cards)
Square cards are charming. Square envelopes are often the easiest to make, because the math is friendly and the folds are symmetrical.
Best for
- Square cards of any size
- Small note cards
- Gift card holders (with sturdier paper)
How to choose your paper size
Start with a square sheet that is about:
- Card width + 2 to 2 1/2 inches
Example: For a 4 inch square card, start with a 6 to 6 1/2 inch square.
How to do it
- Start with a square sheet.
- Mark the center by lightly creasing corner to corner (make an X), then open it back up.
- Fold all four corners toward the center point. Crease well.
- Test fit by setting your card in the middle. If it looks tight, unfold and trim a sliver off each corner fold line, or restart with a slightly larger square.
- Glue the side corners (left and right) onto the bottom corner. Let them overlap slightly.
- Fold down the top corner to close.
Make it extra pretty
Line it. Cut a square of lighter paper just a bit smaller than the envelope’s inside and adhere before you glue the seams. It makes the envelope feel like stationery.
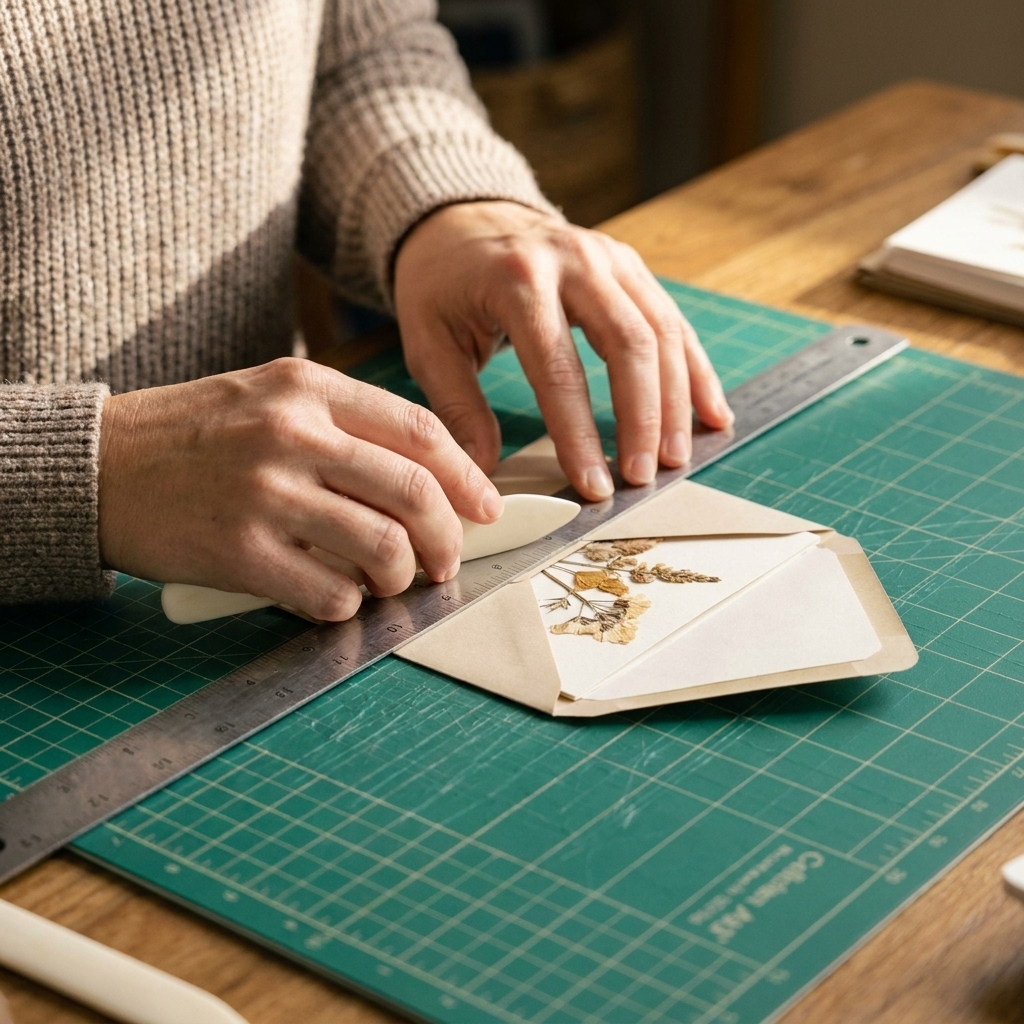
3) No-Scoreboard (ruler only)
If you are crafting at a retreat, traveling, or you are simply out of table space (been there), this method is gold. You are basically building the envelope around the card using a ruler for clean creases.
Best for
- Any odd size when you do not want to calculate much
- Rounded corners, tag shapes, and slightly unusual rectangles
- Beginner crafters who want a low-stress approach
How to do it
- Cut a rectangle that is at least 1 inch larger than your card on all sides. If you are unsure, go bigger. You can always trim.
- Center your card on the paper.
- Fold the bottom edge up until it covers the card and leaves about 1/4 inch past the card’s edge. Crease with your bone folder.
- Fold the top edge down to create the top flap. Crease.
- Fold the left side in to meet the card edge plus about 1/8 inch. Crease.
- Fold the right side in the same way. Crease.
- Slide the card out (important), then adhere the side flaps to the bottom flap.
- Trim the top flap into your preferred shape.
Chloe’s tiny tip
To avoid glue getting on your card, I like to wrap the card in a scrap of printer paper while I “fit” the envelope. It is like a little protective sleeve during the messy part.
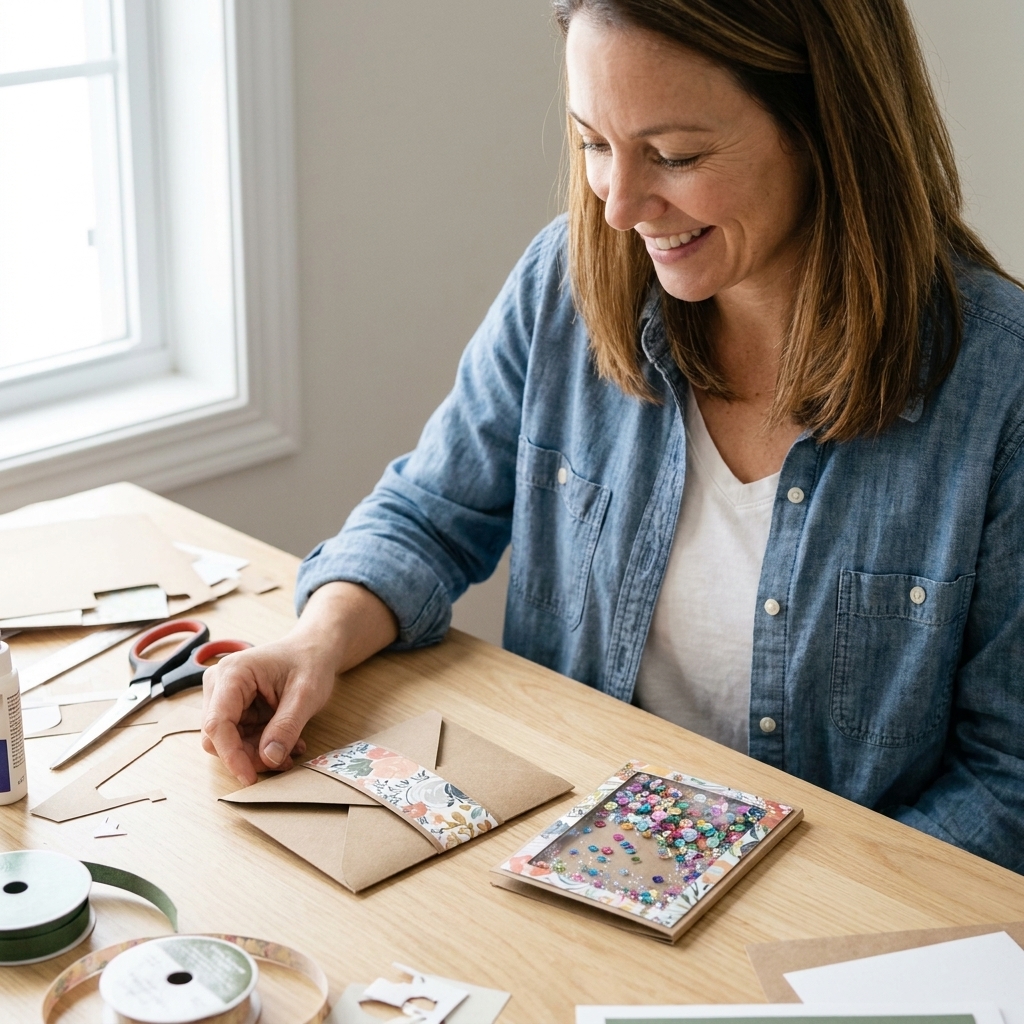
4) Pocket + Belly Band (bulky cards)
When a card is bulky, a traditional envelope can get tight at the seams. A pocket-style envelope with a belly band closure gives you more flexibility, and it looks fancy without being fussy.
Best for
- Shaker cards
- Cards with chunky bows, sequins, or foam tape layers
- Mini albums and flat folios
How to do it
- Cut a pocket piece: width = finished envelope width + 1 inch. Height = finished envelope height + 1 1/2 inches.
- Score the sides at 1/2 inch (both left and right).
- Score the bottom at 1/2 inch.
- Fold and adhere the side tabs behind the pocket, then fold up the bottom tab and adhere. You now have a pocket that is open at the top.
- Create a belly band: cut a strip about 1 to 1 1/4 inches tall and long enough to wrap around the pocket with a 1/2 inch overlap.
- Glue the belly band into a loop (do not glue it to the pocket), then decorate it with a seal, die-cut, or stamped sentiment.
Why I love this one
The pocket never has to “close” over the bulk. The belly band does the work, and you can make it as snug or relaxed as you like.
5) Template Tracing (repeat forever)
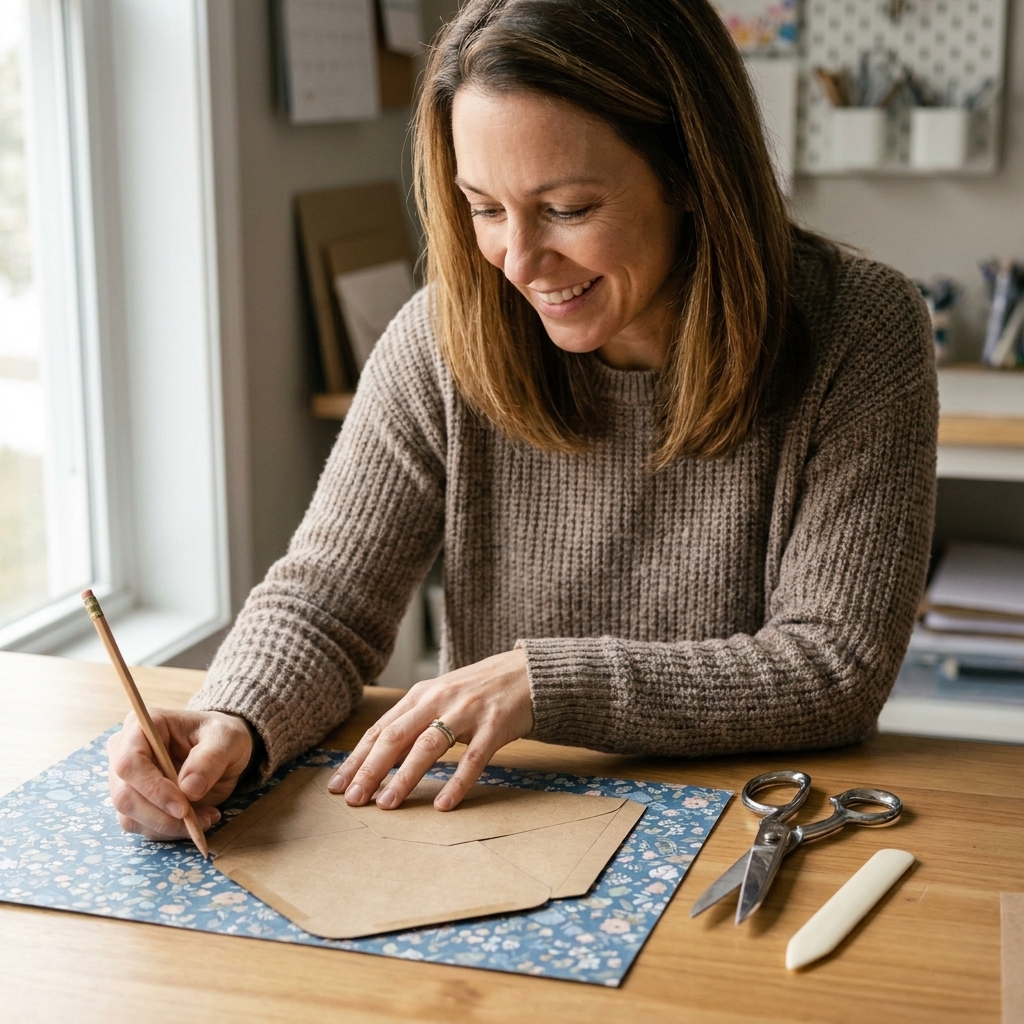
If you make the same odd-sized card again and again (hello, slimline obsession), do yourself a favor and make a reusable template. It is a one-time effort that saves so much time later.
Best for
- Batch-making envelopes for craft fairs
- Holiday card series
- Any specialty size you plan to reuse
How to do it
- Make one envelope using any method above and test it until it fits perfectly.
- Carefully take it apart by opening seams (use a craft knife if needed) so it lays flat.
- Trace it onto sturdy template material like cardstock, thin chipboard, or kraft folder stock.
- Cut out the template and label it with the card size it fits.
- To make a new envelope, trace the template onto envelope paper, cut, score on fold lines, fold, and glue.
Chloe’s tiny tip
Cut a little notch at the top edge of your template where the flap starts. It makes lining up and scoring much faster.
Paper that behaves nicely
You can absolutely make envelopes from cardstock, but if you want clean folds and less bulk, these are my favorites:
- Patterned paper (about 90 to 120 gsm): folds beautifully and does not fight you.
- Heavier paper (about 120 to 160 gsm): sturdier for hand-delivered cards or when you want a more substantial feel.
- Kraft paper: forgiving, strong, and hides handling marks.
If your patterned paper has a heavy coating (the super glossy kind), it can crack on folds. Score first, fold slowly, and burnish with a bone folder. If you are unsure, test a scrap before you cut your full sheet.
If you are mailing your envelope, keep embellishments mostly flat and use strong adhesive on seams. A thin line of liquid glue plus a burnish with a bone folder is surprisingly secure.
Troubleshooting
My card will not slide in
- Add 1/16 to 1/8 inch to your finished envelope width and height next time.
- Make sure your seams are not stealing space. Overlapping too much can shrink the interior.
- If your paper is thick, switch to lighter weight paper or use the pocket method.
My envelope pops open
- Use stronger adhesive, especially on coated patterned paper. Double-sided tape is my reliable go-to.
- Burnish every fold. Crisp folds help the envelope hold its shape.
- Make the top flap longer so it has more contact area if you are sealing it.
My points do not line up
- Check that your card is centered before folding.
- Score first, then fold. Scoring makes everything behave.
- Trim tiny slivers from flap edges after folding if needed. Micro-trimming is allowed and encouraged.
Finishing touches
- Envelope liners: even a simple solid liner makes a handmade envelope feel luxurious.
- Wax seal sticker: great if you are hand-delivering. If mailing, keep it protected under the flap area and reinforce with tape so it does not snag.
- Address label panel: add a light rectangle of cardstock to make dark patterned paper easier to address.
- Thumb notch: use a 1 inch circle punch and nibble a little notch at the top opening of a pocket envelope.
Quick FAQ
Do I have to use a scoring board?
Nope. A ruler and a bone folder (or scoring stylus) are enough. The no-scoreboard method above is my favorite for crafting on the go.
How much bigger should an envelope be than the card?
For most flat cards, 1/4 inch bigger in both directions works beautifully. For thick cards, aim for 3/8 to 1/2 inch.
Can I mail handmade envelopes?
Yes, with a few precautions: use strong adhesive, keep embellishments flat, and choose paper that folds cleanly. Postage and machinability rules vary by country and carrier, so if your envelope is thick, rigid, bumpy, or oddly shaped, check your postal service guidelines or bring one finished sample to the post office to be sure.
What if my card is a weird shape?
Start with the no-scoreboard method so you can build around the card, or make one envelope that fits and turn it into a template for the future.
One last pep talk
If your first envelope comes out a little wonky, you are officially a card maker. Envelopes are just folded paper with confidence. Pick one method, make one test envelope from scrap, then make the pretty one once you have the fit just right.
And if you try one of these for a truly oddball card size, I would love to hear what you made. Those are always the best stories.