If you have ever tried making an origami gift box with pretty scrapbooking cardstock and ended up with cracked corners, springy folds, or a lid that pops right off, you are in the right place. Heavy paper is dreamy for sturdy boxes, but it needs a slightly different approach than thin origami paper. Think of it like embossing. The prep matters.
Today I am walking you through my favorite way to fold custom origami-style gift boxes from heavyweight cardstock, with the scoring and crease-setting tricks that make them feel store-bought, but in the best handmade way.
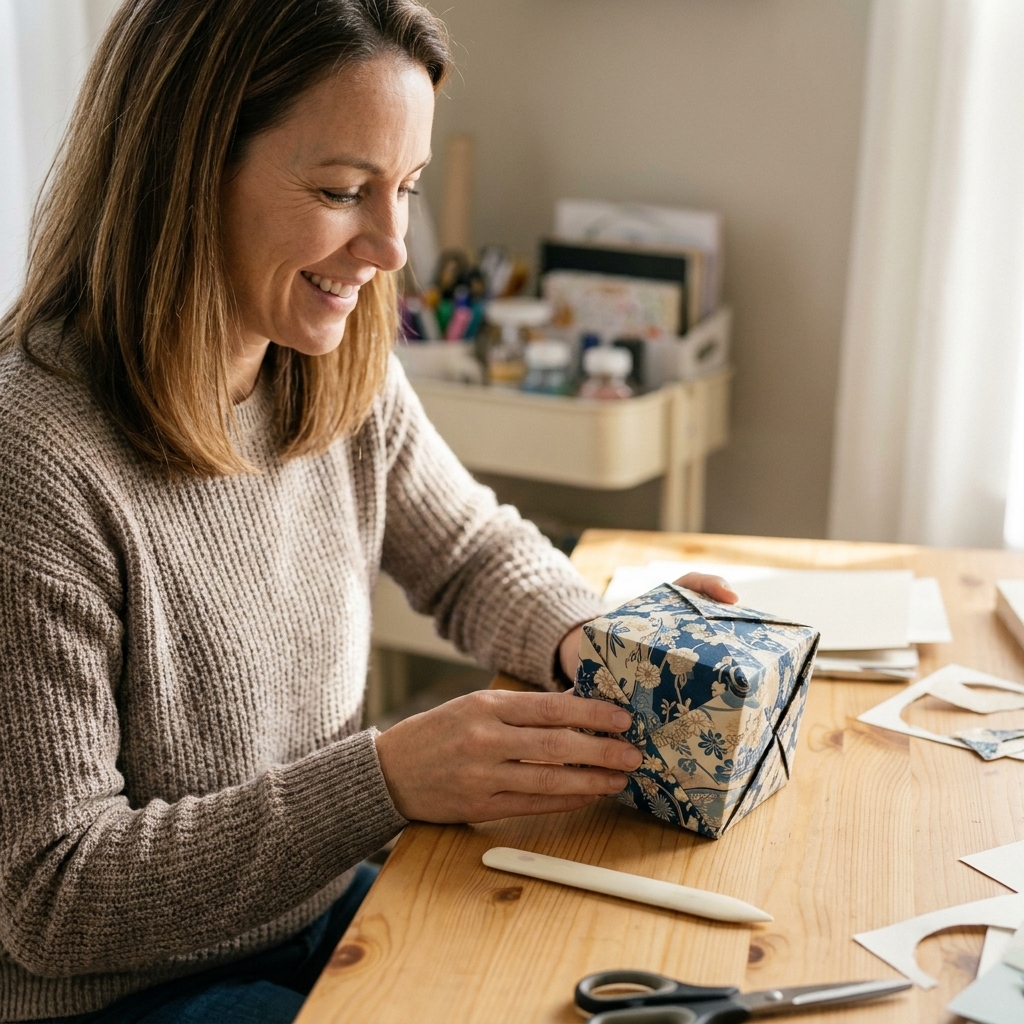
What works best
Before we fold anything, let us set you up for success. Thick paper behaves differently. It resists tight folds, it remembers bumps, and it can crack if you force it.
Cardstock weight and finish
- Best range: 65 lb to 100 lb cover cardstock. Sturdy, but still foldable. (Paper weights vary by brand, so treat the numbers as a ballpark.)
- Trickier (but possible): 110 lb cover. You will want deeper scoring and extra crease-setting.
- Avoid for crisp folds: super fibrous handmade papers and anything with heavy glitter or chunky texture right on the fold lines. They can split.
Tools that help
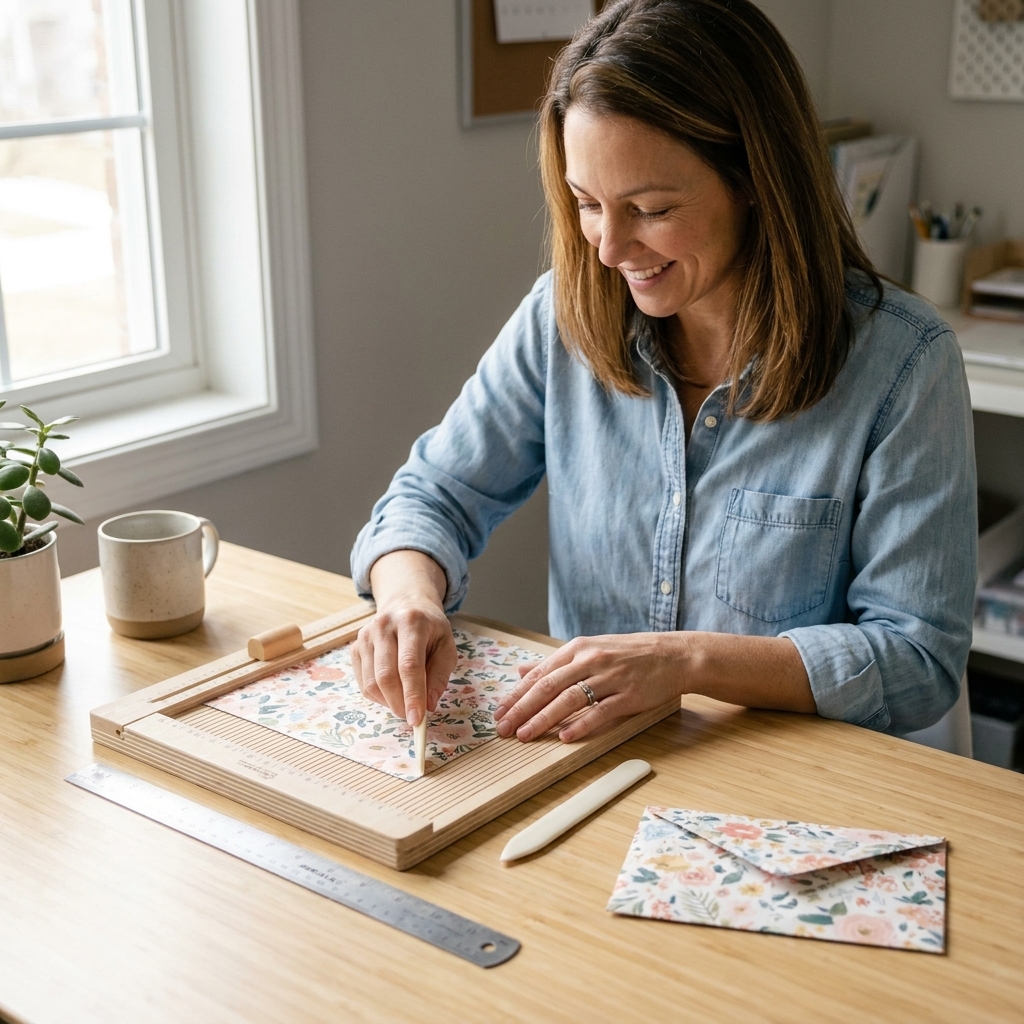
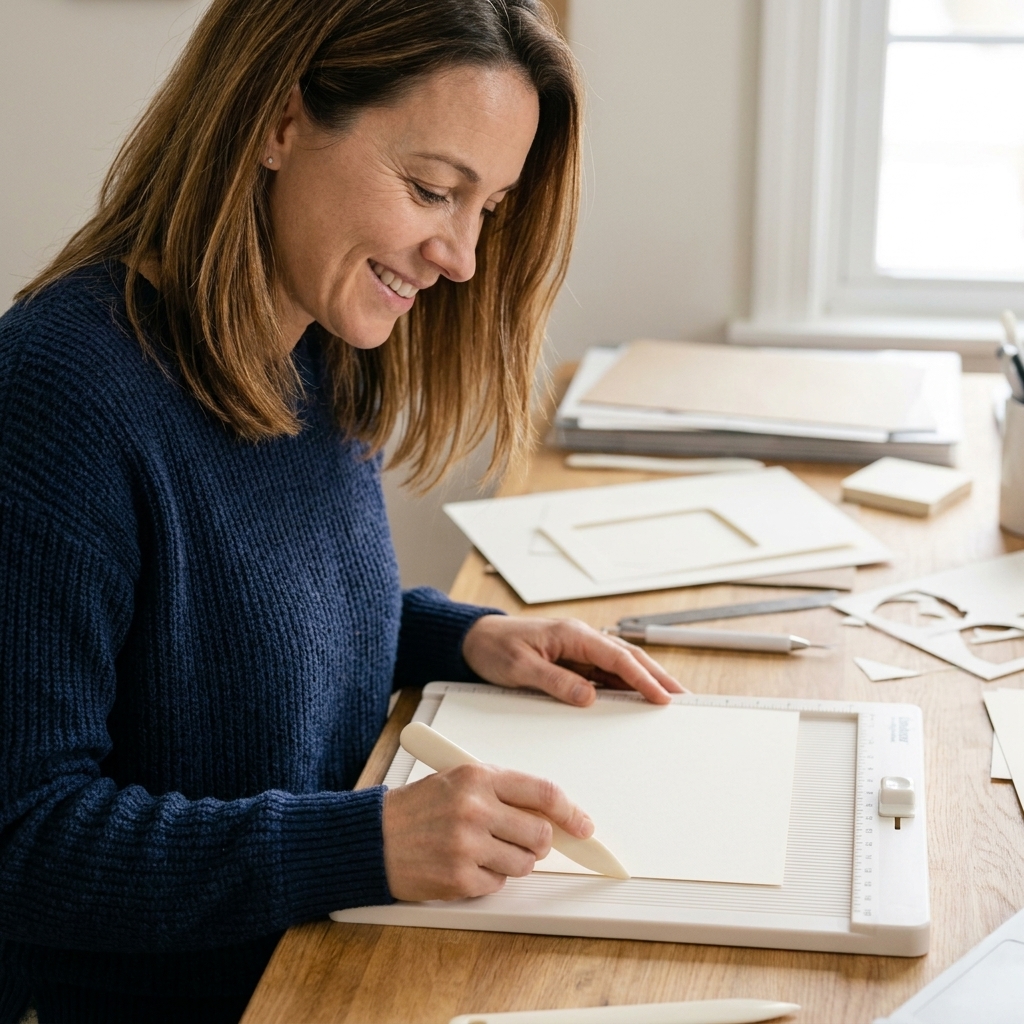
- Scoring board or paper trimmer with a score blade: for straight, evenly spaced score lines.
- Bone folder: for sharp creases without shining your cardstock.
- Metal ruler and scoring stylus: great for custom sizes when you are not using a scoring board.
- Binder clips or paper clips: helpful for training thick paper while it sets.
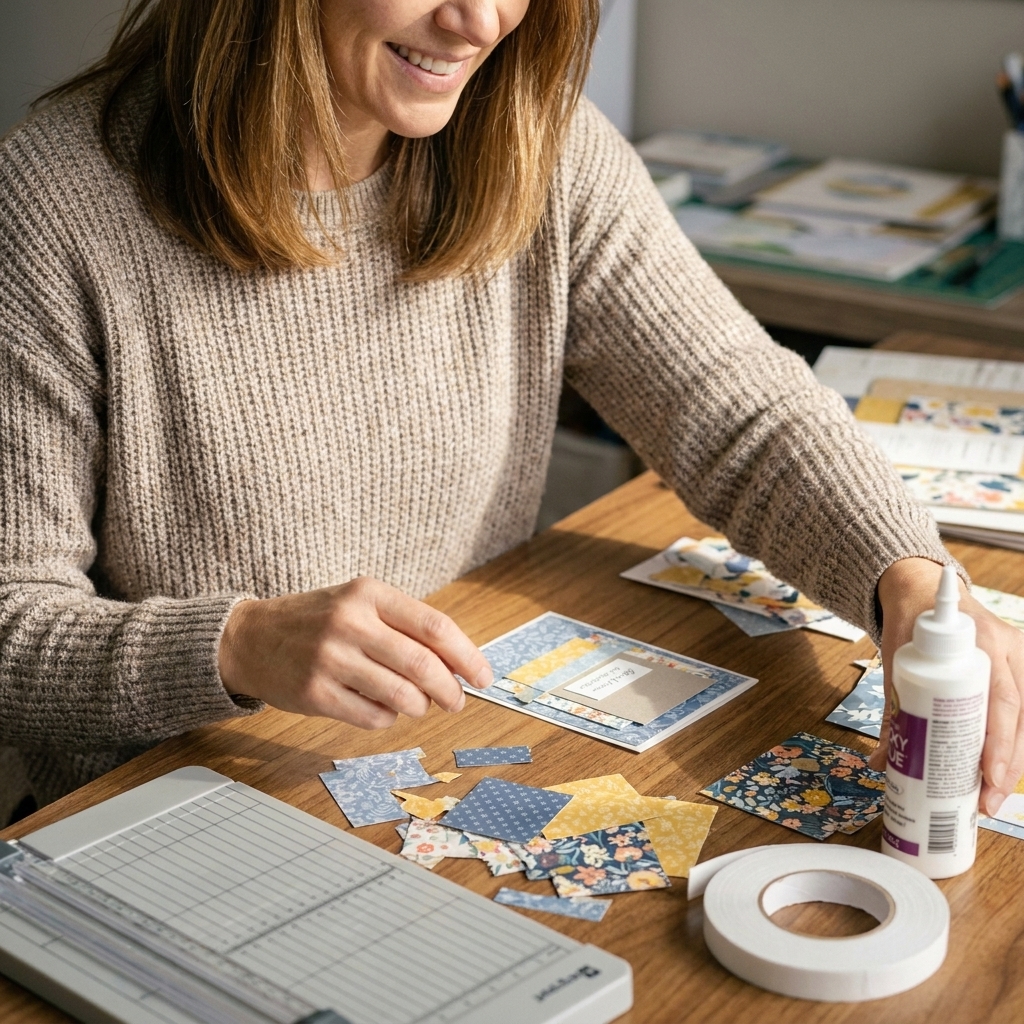
Adhesive note (optional): If you want extra security, a fast-grab tacky glue or thin double-sided tape is your friend . I skip watery school glue here because too much moisture can ripple cardstock.
Score first, fold second
If you take only one tip from this tutorial, make it this: heavy cardstock wants a score line. A score line is basically permission for the paper fibers to bend in a controlled place instead of fighting you and cracking wherever they feel like it.
How deep to score
You want a score that is visible but not tearing. With 65 lb cover cardstock, a standard score is fine. With 100 lb cover and up, I press a touch firmer and often run the stylus down the channel a second time.
Which side to score
When you can, score on the side that will end up inside the fold (the compressed side). If your cardstock is patterned on one side only, that usually means scoring on the back so the printed surface does not have to stretch and risk splitting.
Grain direction matters
Most cardstock has a grain direction, even when it is not obvious. Folding with the grain is smoother. Folding against the grain is where cracking happens.
- If your cardstock cracks on folds, rotate your paper 90 degrees and try again.
- If one direction feels like butter and the other feels like you are wrestling a cereal box, you found the grain. Fold with the smooth direction whenever possible.
Simple box sizing
This method makes an origami-style box base and lid with clean sides, using squares. You can size up or down easily, which is perfect for gift cards, earrings, mini soaps, or little stacks of embellishments.
Choose your squares
- Box base: start with a square. A good everyday size is 8 in x 8 in.
- Box lid: cut a second square that is slightly larger so it fits. For heavy cardstock, I size the lid based on weight and do a quick test fold.
Lid size starting point:
- 65 to 80 lb cover: add 1/16 in to 1/8 in to the total side length.
- 100 to 110 lb cover: add 1/8 in to 3/16 in to the total side length.
Example: If your base is 8 in x 8 in, cut your lid at 8 1/8 in x 8 1/8 in to start. If it is textured or extra thick, go up to 8 3/16 in x 8 3/16 in.
If you are working in centimeters, add about 2 mm to 4 mm to the total side length for the lid.
Finished size reality check
Origami boxes vary a lot by fold pattern, and thick cardstock also steals interior space. Instead of a one-size-fits-all ratio, plan on the inside width landing somewhere around 40 to 55 percent of your starting square, then refine from there based on your paper and how firmly you set your creases.
Here is a practical starting guide that is usually in the ballpark for a classic masu-style base:
- 6 in square often finishes around 2 1/2 to 3 1/4 in inside width.
- 8 in square often finishes around 3 1/4 to 4 1/4 in inside width.
- 10 in square often finishes around 4 to 5 1/2 in inside width.
If you need a very specific fit for a gift, I recommend making one quick test box from cheap cardstock first. Ten minutes of testing beats recutting your fancy paper.
Fold the box base
This is the sturdier, cardstock-friendly version of a classic origami box fold (think masu-style structure, adjusted for thick paper). We are going to use scored diagonals and scored quarter folds so the paper behaves.
1) Cut a perfect square
Trim carefully. A square that is off even a tiny bit can make one corner of your box taller, which makes lids fit weird. Ask me how I know.
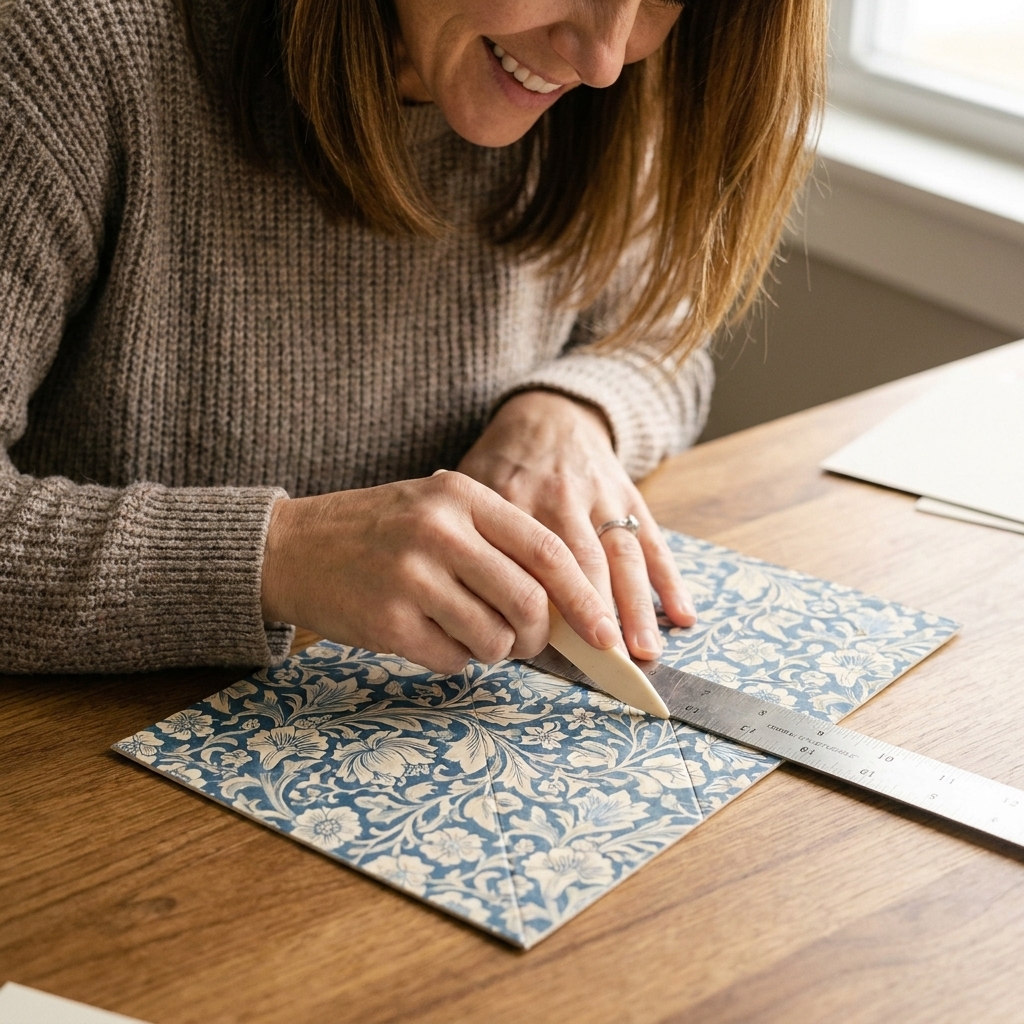
2) Score both diagonals
Place your square on your scoring board corner-to-corner and score one diagonal. Rotate and score the other diagonal.
Tip: If your scoring board is not long enough for a diagonal, use a metal ruler and stylus on a self-healing mat.
3) Score in half, then quarters
Now score straight lines:
- Score in half horizontally and vertically (through the center).
- Then score quarter lines so you have folds at 1/4 and 3/4 of the side length in both directions.
You should now have score lines that guide the folds without guesswork.
4) Pre-fold and set every score
This is the part most people skip, and it is the reason thick cardstock pops open.
- Pre-fold along each score as a valley fold (folding the paper toward itself), then flatten back out.
- Use your bone folder to press the crease from the center outward.
- Unfold back to flat after creasing. You are training the fibers.
Crisp-corner tip: For very heavy cardstock, I like to crease once lightly, then crease again firmly. Two passes beats one aggressive pass.
5) Fold to center, then build the walls
This is the classic masu sequence, but with cardstock-friendly crease-setting. The key is that the first corner folds do not get unfolded right away.
- Fold all four corners to the center and keep them folded: Bring each corner point into the middle where the diagonal score lines cross. Crease well. You should now have a smaller square sitting on top of itself.
- Fold the top and bottom edges to the center, then unfold: With the corners still folded in, take the top edge of the smaller square and fold it down so it meets the center point. Crease firmly, then unfold. Repeat with the bottom edge and unfold. (These are your wall guides.)
- Fold the left and right edges to the center, then unfold: Repeat with the left edge and the right edge, creasing firmly and unfolding each time. Your layers should now have a tidy set of guide creases.
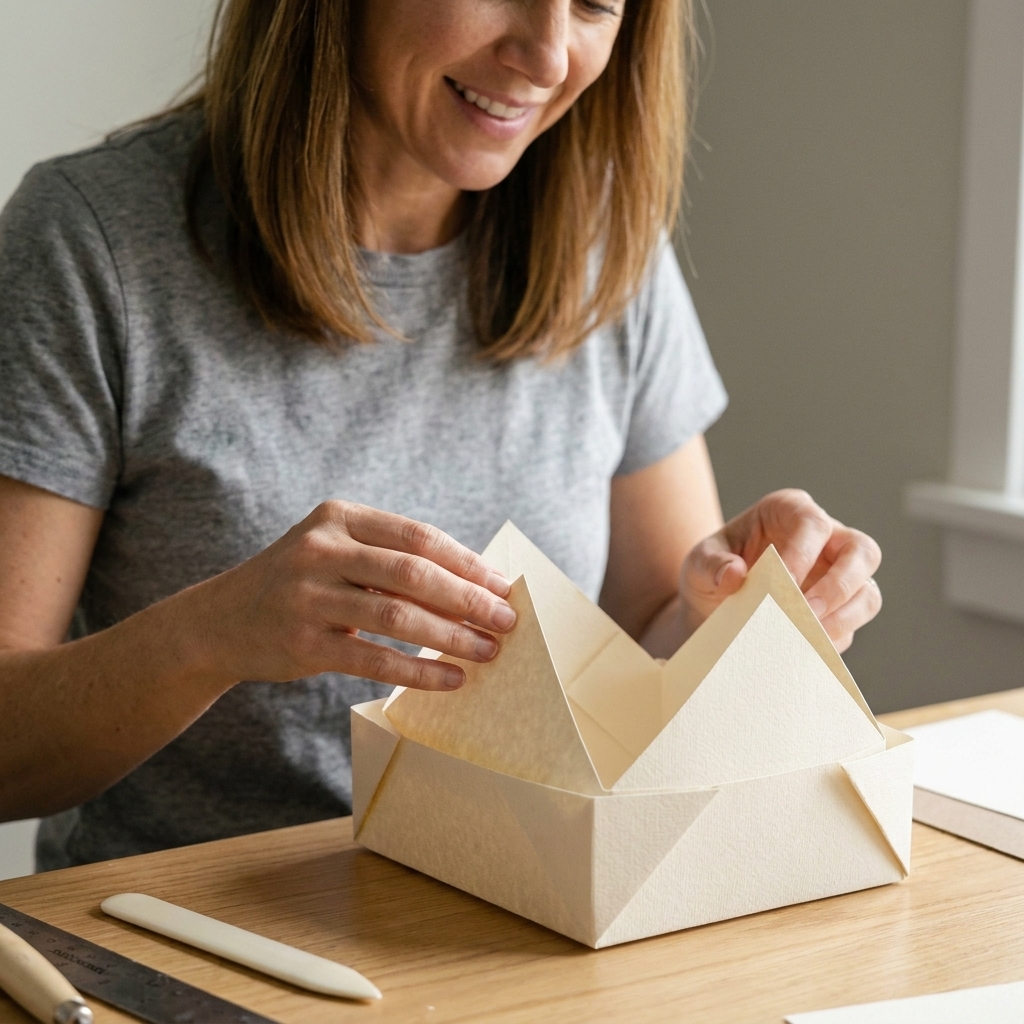
- Open two opposite corners: Pick two opposite corners (top and bottom works well) and unfold just those corner triangles back out to the original square corners. Leave the other two corner triangles still folded in.
- Lift the left and right walls: Along the creases you made, lift the left and right sides up so they stand as walls. You will see the paper naturally start to hinge where it wants to become a box.
- Bring up the remaining sides and pinch the corners into place: Bring the top and bottom sections up to form the other two walls. At each corner, use the diagonal pre-crease as your guide and pinch right on that diagonal so the corner folds inward between the two walls, forming a neat triangle on the inside. Square everything up by running your bone folder along the top edges and down the corners.
This is where your box goes from floppy to fabulous.
6) Secure the corners
Some classic origami boxes rely on thin-paper tucks. Heavy cardstock can be too bulky for tiny locks, so here are two options.
- Reliable option for cardstock (recommended): Add a tiny dot of fast-grab tacky glue (or a skinny sliver of double-sided tape) inside each corner seam where the triangle sits. Pinch, then hold with a binder clip for 2 to 3 minutes. This keeps the origami look, but removes the stress of “will it spring open in the gift bag?”
- Optional tuck (pattern and paper dependent): Some folds create a small pocket at the corner seam. If you see a clear pocket, flatten the corner triangle, open the pocket slightly with your scoring stylus, then slide the flap in. Keep everything flat as you tuck, then burnish the top edge so it stays trained.
If you choose glue, use it sparingly. Too much moisture can warp cardstock.
Fold a lid that fits
The lid is folded the same way as the base, just with a slightly larger square so it slides on smoothly.
1) Cut the lid square
Use the lid-size guide above and start on the smaller end if you are unsure. You can always bump the lid square up by another 1/16 in after a quick test fold.
2) Score and pre-fold like the base
Repeat the same scoring pattern:
- Score both diagonals.
- Score in half and then quarters.
- Pre-fold and crease-set every line.
3) Keep lid walls a touch shallower
If your lid feels tight, make the lid sides slightly shorter by shifting the wall fold inward just a bit. Even 1/16 in can be the difference between a lid that glides and one that grips too hard.
Clean folds, no cracking
Warm up stiff cardstock
Cold, dry cardstock can crack more easily. If your craft room is chilly, let the paper sit out for a few minutes before folding. I have even warmed a sheet under my hands for a moment before scoring when it is extra stubborn.
Use the bone folder on the back
If you see shiny burnishing marks on dark cardstock, crease from the back side first, then reinforce from the front very gently.
Deal with cracking corners
- Switch direction: rotate your square 90 degrees and try again.
- Score deeper: a second pass often fixes it.
- Sandwich fold: place scrap copy paper over the fold and burnish through it to reduce surface scuffs.
Train springy corners
For thick paper, corners sometimes want to flare. Clip the corners with binder clips for 5 minutes while the folds learn their new shape. It is like giving your box a tiny nap.
Finishing ideas
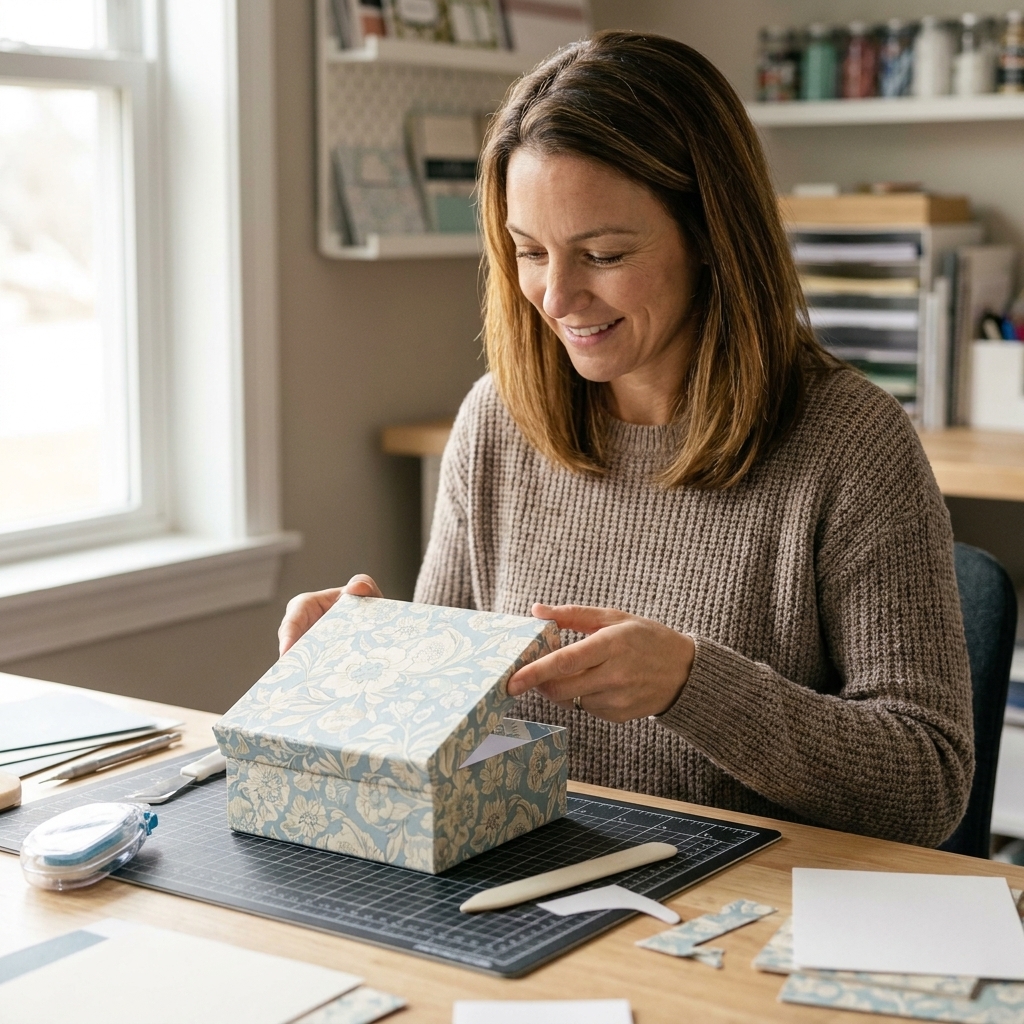
This is the fun part. Once the structure is strong, you can dress it up without worrying it will collapse.
- Belly band: wrap a strip of coordinating cardstock around the lid and base for extra security and style.
- Wax seal sticker: great for wedding favors or holiday treats. (Use a sticker style seal so it is removable.)
- Layered label: add a small die-cut circle or tag on top with a stamped sentiment.
- Soft liner: tuck in a square of tissue paper or vellum for jewelry.
Troubleshooting
My box will not stay closed
- Crease-set longer with a bone folder.
- Add tiny dots of tacky glue or thin double-sided tape inside the corner seams, then clip until set.
- Use a belly band if you want a no-glue option on the box itself.
My lid is too tight
- Increase lid square size by another 1/16 in to 1/8 in (total side length).
- Reduce lid wall height slightly so it does not grip as much.
- Check that your base corners are fully squared. Bulky corners make lids feel smaller.
My folds look rounded
- Score deeper, especially on 100 lb cover and above.
- Crease twice: a gentle first pass, then a firm second pass.
- Make sure your scoring tool is not too blunt. A clean score makes a clean fold.
The corners crack
- Try folding with the grain direction.
- Use smoother cardstock or avoid textured folds.
- Score on the side that will be inside the fold (the compressed side) when you can, especially on dark or printed cardstock. It helps the fibers compress instead of stretching and splitting.
FAQ
Do I have to use glue
You can absolutely do it without glue, especially in the 65 lb to 80 lb cover range. With very heavy cardstock, I consider glue an optional insurance policy for gift boxes that will be handled a lot. A tiny dot hidden in a seam keeps the handmade look while boosting durability.
What size square makes a good small gift box
An easy starter is 6 in x 6 in for the base with a lid at 6 1/16 in x 6 1/16 in to start. Great for candy, earrings, or small embellishments. If you are using 100 lb cover or textured paper, bump the lid up to 6 1/8 in.
Can I use double-sided patterned paper
Yes, and it is gorgeous on origami folds. Just be extra careful burnishing so you do not scuff the printed surface. Folding through a sheet of copy paper helps.
Try one this week
If you try one box this week, make it a practice box first with plain cardstock or even sturdy printer paper, just to learn the fold sequence. Then pull out your hoarded patterned paper and make the real one. You will be amazed how much cleaner the second box turns out.
If you want to share your finished boxes, I would love to see your paper choices and any clever lid-fitting hacks you discover. Handmade packaging is one of my favorite ways to turn a small gift into a big moment.