If you have ever stamped a sweet little scene and then accidentally stamped a tree trunk straight through your bunny’s face, welcome. You are in the right place. Masking is the secret sauce that lets images overlap cleanly, so everything looks layered and dimensional while still being stamped on a single, flat panel.
I learned masking at my grandmother’s dining table with a pair of tiny scissors and a whole lot of patience. These days we have better tools, better masking papers, and even magical masking fluids, but the heart of the technique is the same: stamp what you want in front first, then protect it, then stamp what belongs behind it.
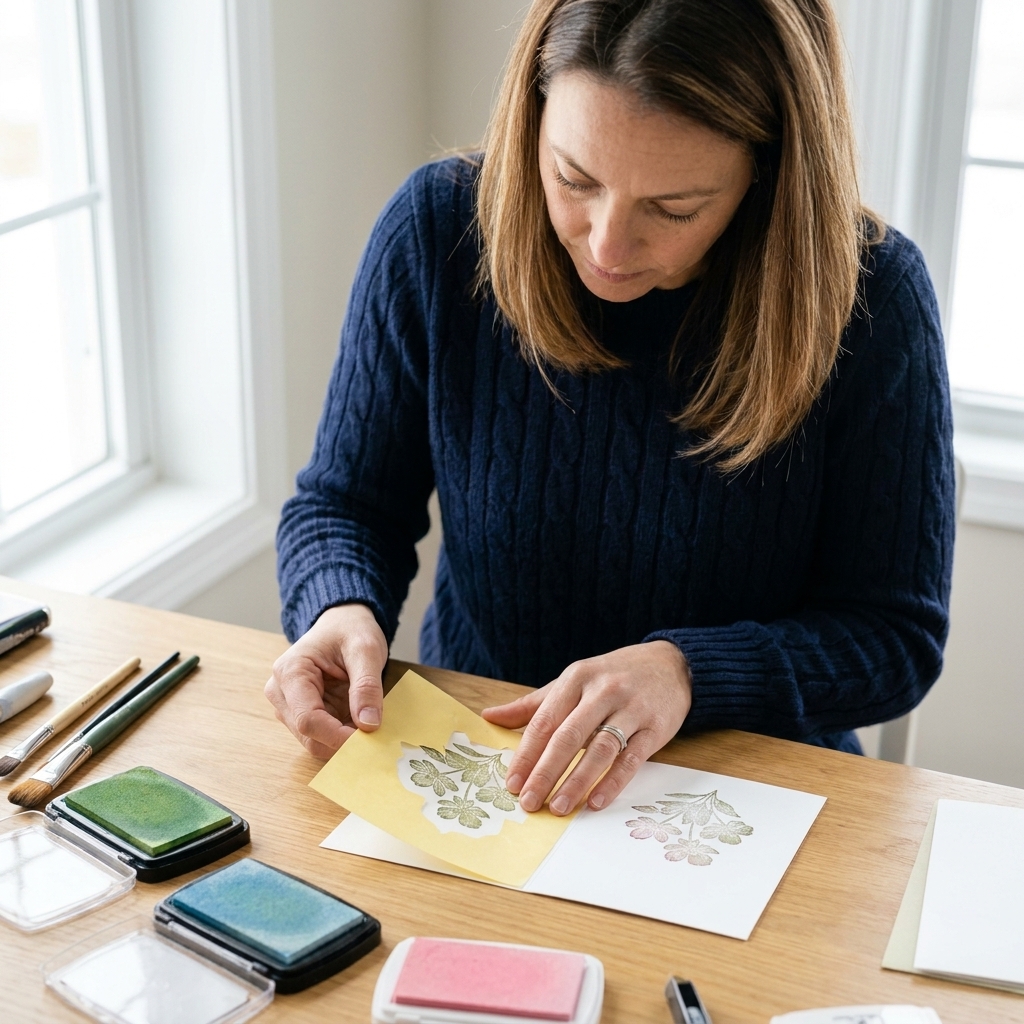
What masking does (and why it looks so fancy)
Masking creates the illusion of depth by hiding parts of an image so another stamp can tuck behind it. Instead of two stamped images crossing lines over each other, one looks naturally in front of the other.
- Cleaner scenes: no awkward line tangles where images overlap.
- More dimension on one layer: perfect for flat cards that still feel detailed.
- Better storytelling: characters can stand in front of doors, flowers can sit in front of fences, and clouds can drift behind mountains.
Supplies you will want on the table
You can absolutely start with basics, but a few masking-friendly supplies make everything smoother.
Must-haves
- Cardstock: smooth, stamp-friendly (classic white works, but any light cardstock is fine).
- Stamps: clear or rubber.
- Ink: a crisp stamping ink for the scene outlines.
- Masking option: masking paper or masking fluid (more on both below).
- Scissors or craft knife: for cutting masks (detail scissors are a dream here).
Nice-to-haves
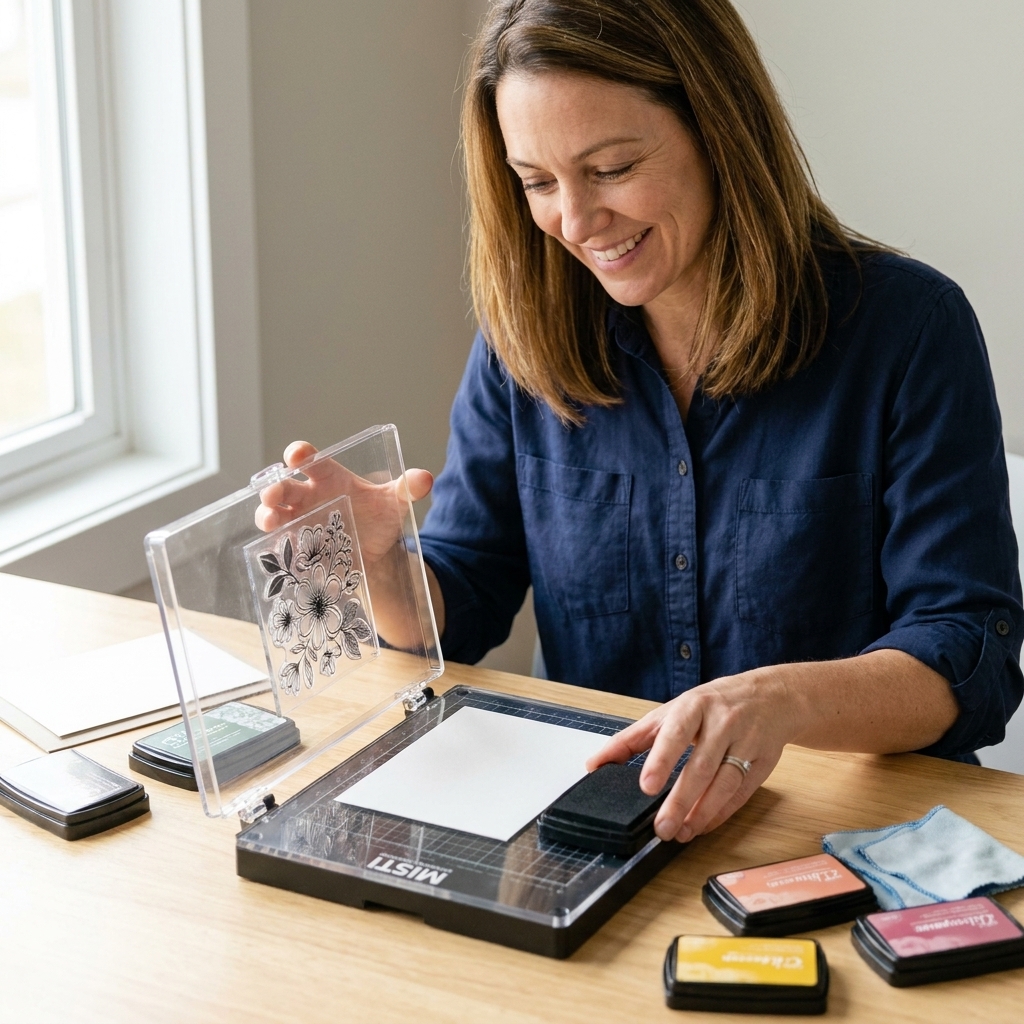
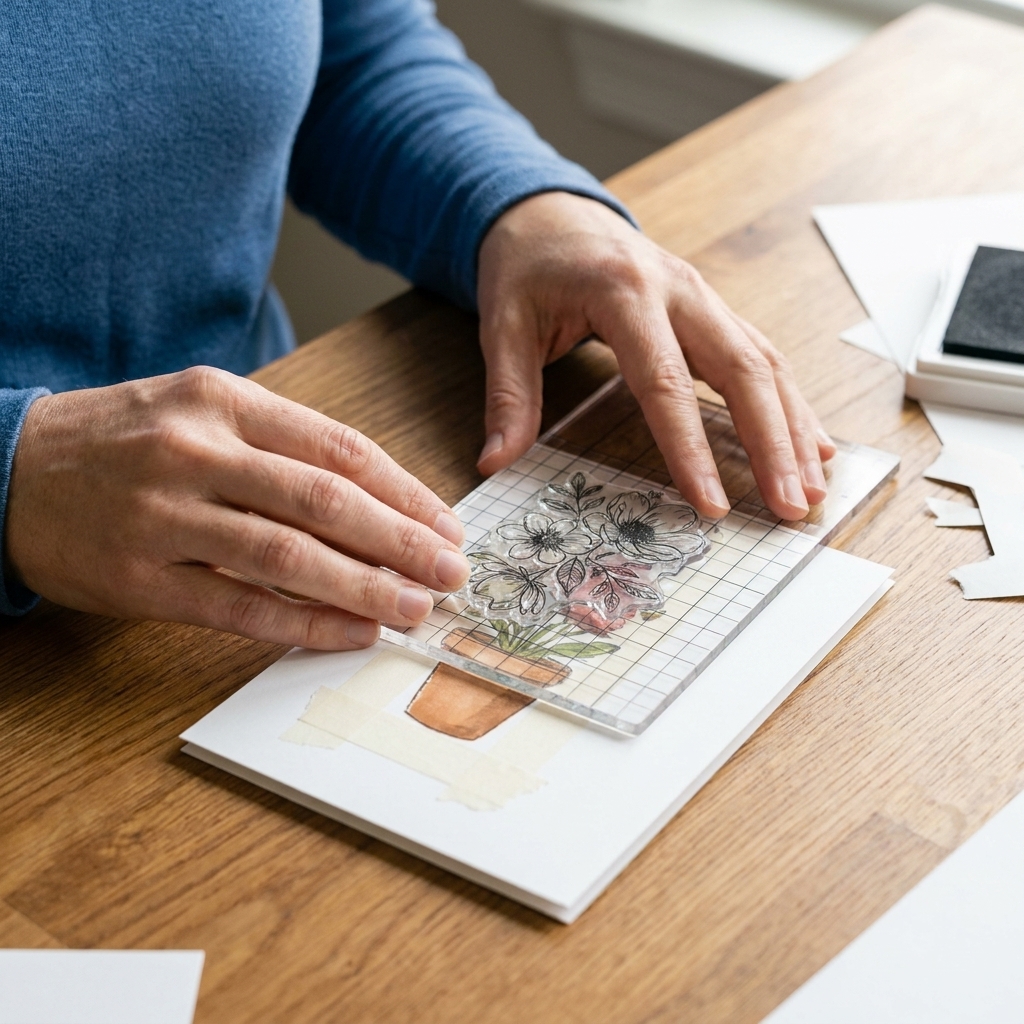
- MISTI or stamp positioner: helps you re-stamp for crispness and makes alignment less stressful.
- Low-tack tape: to hold your panel in place while you work.
- Blending brushes or inks: to add sky, grass, shadows, and glow after stamping.
Ink and drying tips
A tiny bit of ink know-how makes masking feel easier right away.
- Quick-drying dye ink is usually the easiest choice for stamping scenes because it sets faster and smudges less.
- Pigment ink (and some hybrid inks) can stay wet longer. If you use it, give it extra dry time before placing masks, or heat set it gently so you do not transfer ink onto your mask or back onto your project.
- Chloe tip: If your mask picks up ink, just let it dry before you re-use it. A damp or tacky mask is where little smears come from.
Masking paper vs masking fluid
Both work beautifully. I reach for different options depending on the stamp style and the kind of scene I am building.
Masking paper (my everyday favorite)
Masking paper is a thin sheet with low-tack adhesive that is meant to peel up cleanly without tearing your cardstock. You stamp on it, cut it out, and use it like a protective shield.
- Best for: crisp outline stamps, large shapes, simple silhouettes.
- Pros: fast, predictable, easy to reposition.
- Watch out for: tiny detailed cutting, and any gaps where ink can sneak under the edges. Also, tackiness varies by brand and cardstock, so test first if your paper is delicate.
Masking fluid (the magic for fiddly shapes)
Masking fluid is a liquid you paint onto areas you want to protect. Once dry, it forms a rubbery barrier you can stamp and ink blend over, then rub off when finished.
- Best for: wispy images, leafy edges, complicated outlines, stamped textures you do not want to fussy cut.
- Pros: great for organic edges and small nooks and crannies.
- Watch out for: it must dry fully, and it can damage some brushes or certain delicate paper if you get aggressive removing it.
Chloe tip: If you are brand new, start with masking paper. Once you feel the logic of “front first, back second,” masking fluid becomes a fun upgrade, not a confusing hurdle.
Quick compatibility note: Masking fluid can stain or react with certain inks and paper coatings, especially if you leave it on for a long time. When in doubt, test on a scrap of the same cardstock and remove it soon after you finish the background.
The golden rule: stamp front first
This is the step that makes masking click. If an object is in front, stamp it first. Then mask it. Then stamp what sits behind.
Here is the order I follow almost every time:
- Plan the scene (quick pencil boxes or just a mental layout).
- Stamp the foreground image (the thing closest to the viewer).
- Create and place the mask over that stamped image.
- Stamp the background image so it tucks behind the mask.
- Repeat if you have multiple layers in the scene.
- Remove masks and add shading or color.
Step by step: Masking paper
1) Stamp your foreground image
Stamp the main character or object first. Think: the critter, the focal flower, the person, the sentiment label, the frontmost tree.
If you are using a stamp positioner, stamp it once, then stamp again if you want the lines extra crisp.
2) Make your mask
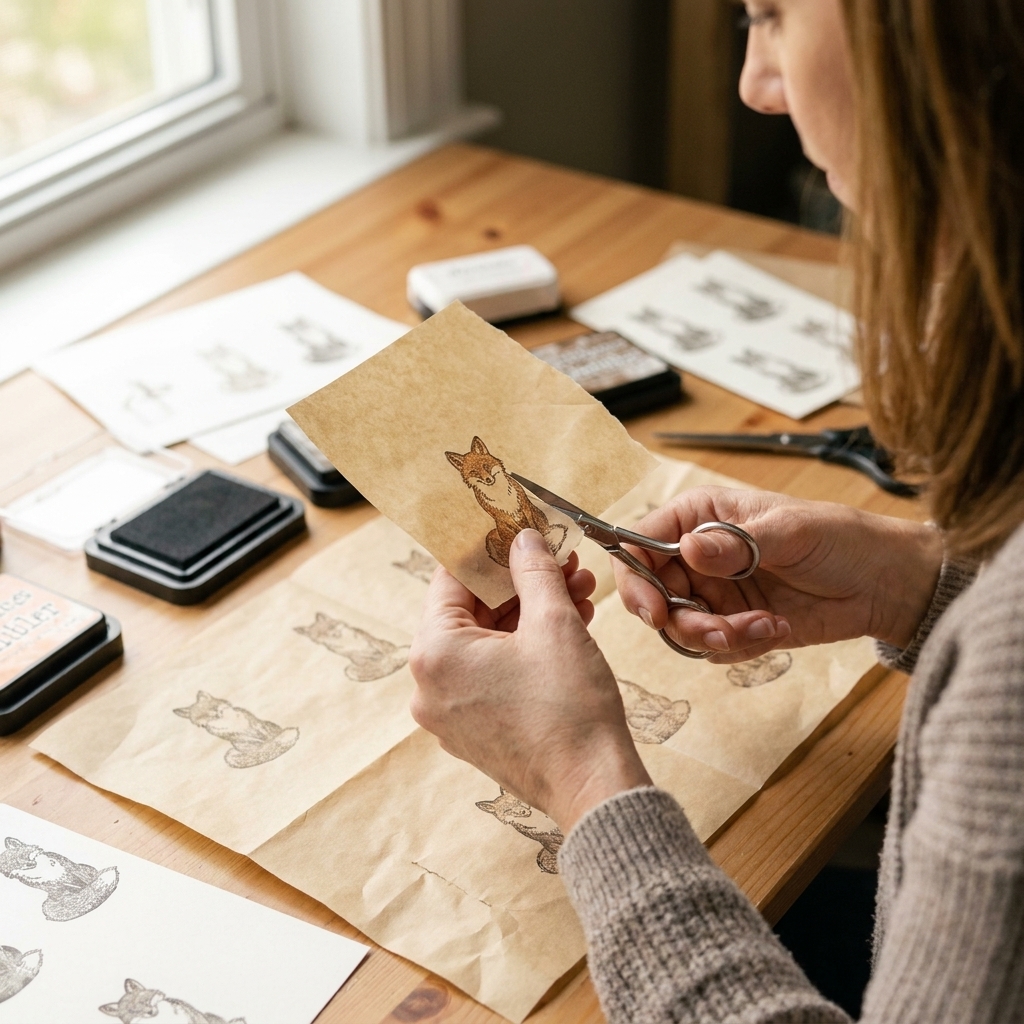
Stamp the same image onto masking paper, let it dry if the ink is slow-setting, then cut it out.
- Cut slightly inside the stamped line if you can. This prevents a thin halo of un-inked space around your foreground image.
- If you prefer, you can trim right on the line, and it will still look great. The “inside the line” trick is just my little insurance policy.
3) Place the mask carefully
Lay the mask directly over the stamped image on your panel and press the edges down gently. Pay attention to spots where ink likes to sneak under, like pointed ears, leaf tips, and corners.
4) Stamp the background images
Now stamp what you want behind. Anything that overlaps the masked area will look like it sits behind the foreground once you remove the mask.
Chloe tip: If you are building a whole scene, keep going from front to back. Add a second mask on top of the first if needed. It feels like paper lasagna, and yes, we say that a lot at my house.
5) Remove the mask last
Peel slowly. If your masking paper is extra sticky, press it against your shirt once before placing it on the panel to reduce tack.
Step by step: Masking fluid
1) Stamp the foreground image
Stamp your main image on the cardstock panel and let the ink dry for a moment. If you are using a very juicy ink, give it a bit longer, or heat set it gently.
2) Apply masking fluid only where you need overlap
Using a dedicated old paintbrush, a silicone shaper, or even a toothpick, paint masking fluid over the area you want to protect.
- Keep the layer even, not too thin. Thin spots can tear or let ink through.
- Extend slightly past the overlap area, just like you would with a paper mask.
3) Let it dry completely
This is non-negotiable. If it feels cool or tacky, it is not ready. Dry masking fluid turns matte and slightly raised.
4) Stamp and blend over it
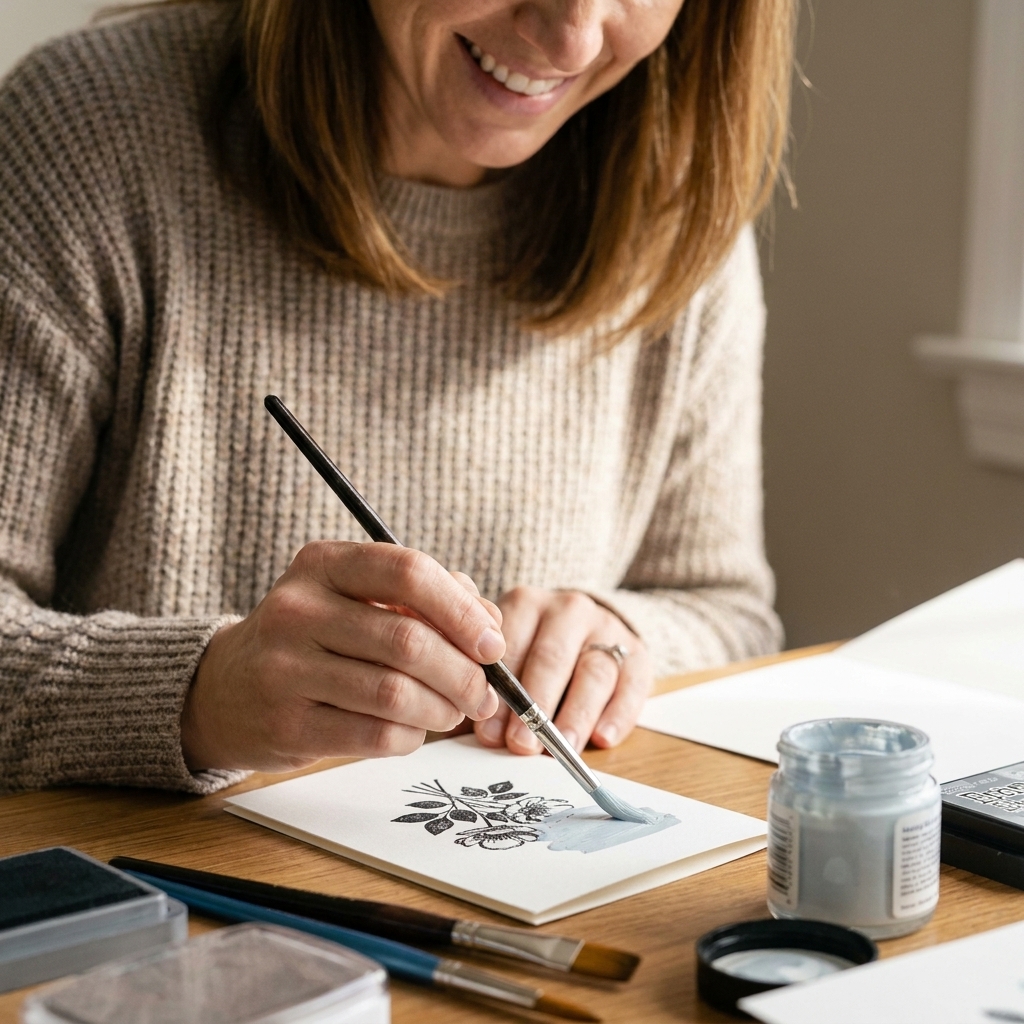
Once dry, stamp your background images. You can also ink blend skies, grass, or glows right over the masking fluid.
5) Remove gently
Rub it off with a clean finger, a soft gum eraser, or an adhesive eraser. Use a light touch, and test first if you are worried about scuffing or shining your cardstock.
Chloe tip: Do not leave masking fluid on your project for days. It is happiest when it is on, used, and removed in the same crafting session.
How to plan a one-layer scene
Pick a simple depth order
When I am teaching masking, I like to think in three zones:
- Foreground: the main character or focal element.
- Midground: supporting props like fences, shrubs, pumpkins, small trees.
- Background: horizons, large trees, buildings, clouds, mountains, sun or moon glow.
Use overlap anchors
To make a scene feel intentional, overlap in a few key places rather than everywhere. A bunny overlapping a fence post, plus a tree tucked behind the bunny, is usually plenty.
Leave breathing room for coloring
If you color with alcohol markers or watercolor, you will appreciate a little space between elements. Masking can pack a scene tightly, but your coloring needs room to shine.
Pro tricks for clean overlaps
Prevent the white halo
- Cut inside the line on paper masks.
- Re-stamp the foreground image after removing the mask using a stamp positioner, especially if the overlap is complex.
- Add a shadow where objects meet. A tiny bit of gray or a deeper shade sells the depth and hides tiny imperfections.
Stop ink from sneaking under
- Press the mask edges down well.
- Stamp with firm, even pressure, not a rocking motion.
- If you are blending ink, blend away from the mask edge first, then come back lightly.
Stamp lighter backgrounds
If you have ink in a couple shades, stamp your background in a lighter color. Even without coloring, it pushes that image back visually.
Common problems and fixes
My mask shifted and now there is a gap
If the gap is tiny, turn it into a shadow. Add a thin line of gray along the bottom edge of the foreground object. If the gap is bigger, consider stamping a small filler element like a tuft of grass, a flower, or a rock right over the spot.
Ink bled under the edge
First, take a breath. This happens to everyone. You can:
- Cover with coloring: many little bleeds disappear once you add color and shading.
- Hide with details: dots, texture stamps, or small die-cut accents on the finished card.
- Re-stamp the foreground: if you used a stamp positioner, re-stamping can clean up a messy overlap edge.
Masking paper tore my cardstock
This usually means the adhesive was too aggressive for your paper, or the cardstock surface is especially soft. Try de-tacking the mask first by pressing it to fabric. Peel slowly, keeping the mask low and flat to the paper rather than pulling upward.
Masking fluid pulled up fibers or took ink with it
Make sure the stamping ink is fully dry before applying masking fluid, and remove the fluid gently. For future projects, test your masking fluid on the exact cardstock you plan to use, because paper coatings vary a lot.
A simple practice exercise
If you want a low-pressure win, try this mini scene:
- Stamp a critter or focal flower in the center.
- Mask it.
- Stamp a fence or a row of grass behind it.
- Mask the fence too if it overlaps the critter.
- Add a tree or a house behind the fence.
- Remove masks and blend a soft sky and ground.
It is quick, it teaches the front-to-back logic, and it creates that “wait, this is only one layer?” effect that makes handmade cards feel extra special.
FAQ
Do I have to mask for every scene card?
Nope. Masking is a tool, not a rule. Use it when overlaps matter. If images can sit next to each other without crossing lines, you can skip masking entirely.
Can I make masks from sticky notes?
You can in a pinch, especially if the stamp is small and the sticky edge is gentle. The downside is that the paper is thicker and the adhesive can be unpredictable. Masking paper is worth it if you enjoy scene building.
Should I color before or after masking?
I strongly prefer stamping and masking first, then coloring after all masks are removed. That way you do not risk smudging coloring mediums or contaminating your masks with ink.
How many layers of masking is too many?
When it stops being fun. Practically, two to four masked elements is usually plenty for a clean one-layer scene. Beyond that, I simplify by using lighter stamped background shapes or ink blending for distance.
My biggest encouragement
Masking looks like a “pro” technique, but it is really just a sequence. Front, protect, back. And if your first few scenes are a little wobbly, that is part of the charm of handmade. Each try teaches your hands what your eyes already know.
Next time you are stamping a scene, give your little focal image a paper shield and let the background tuck in behind it. It is such a satisfying reveal when you peel that mask off and the whole scene suddenly makes sense.