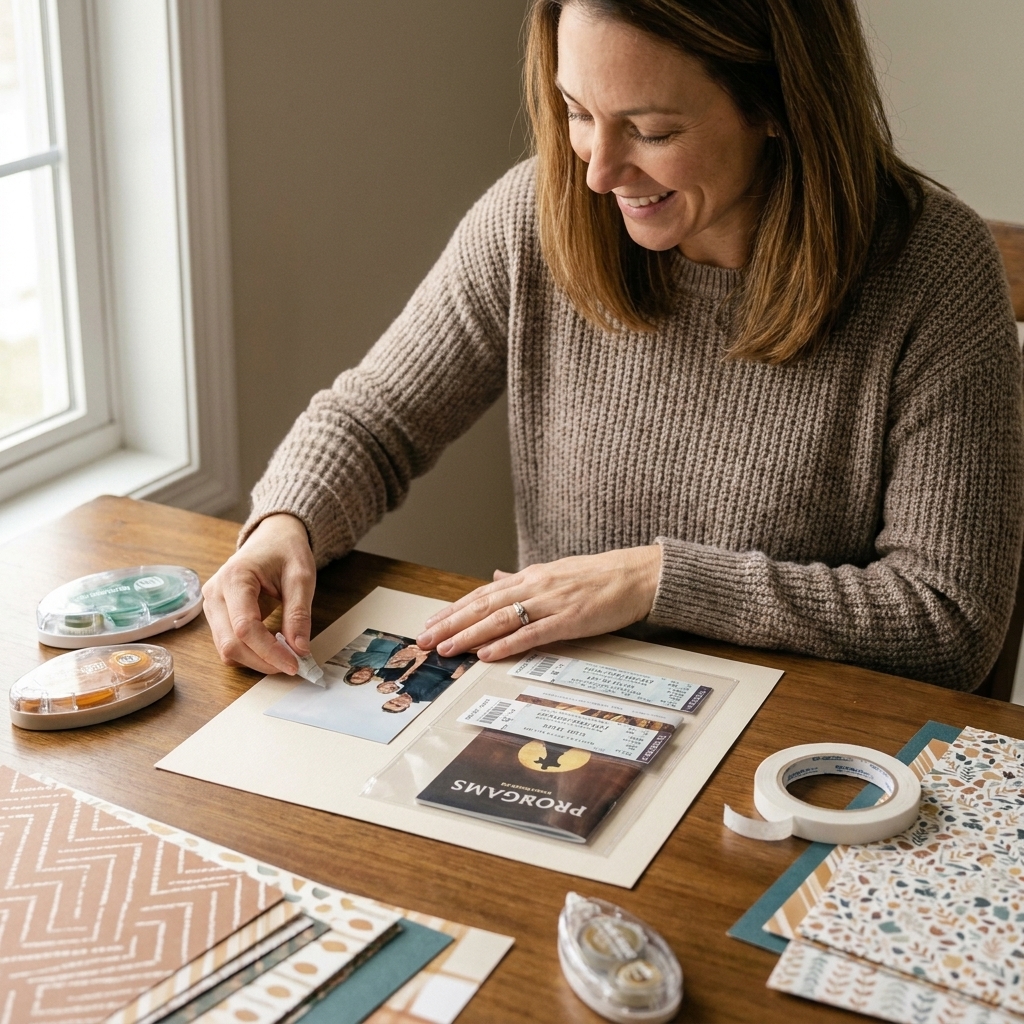
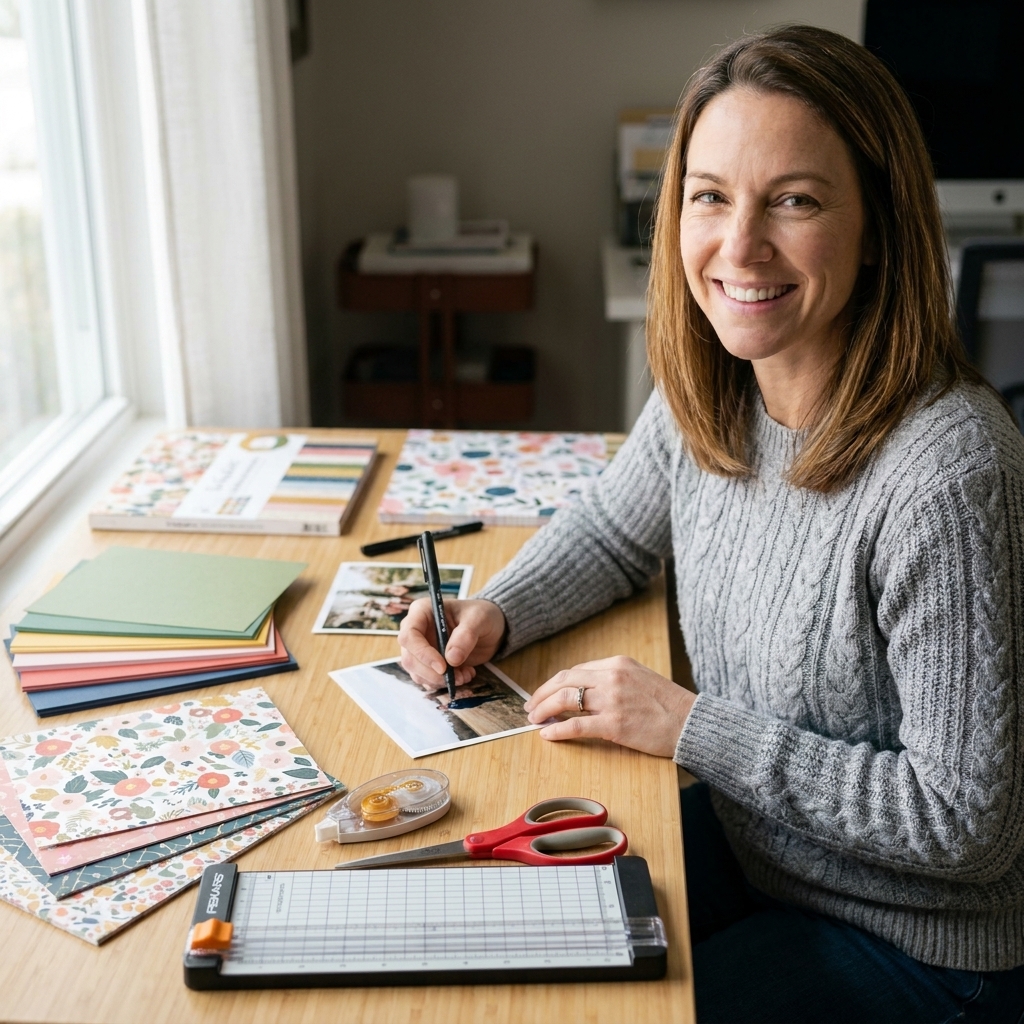
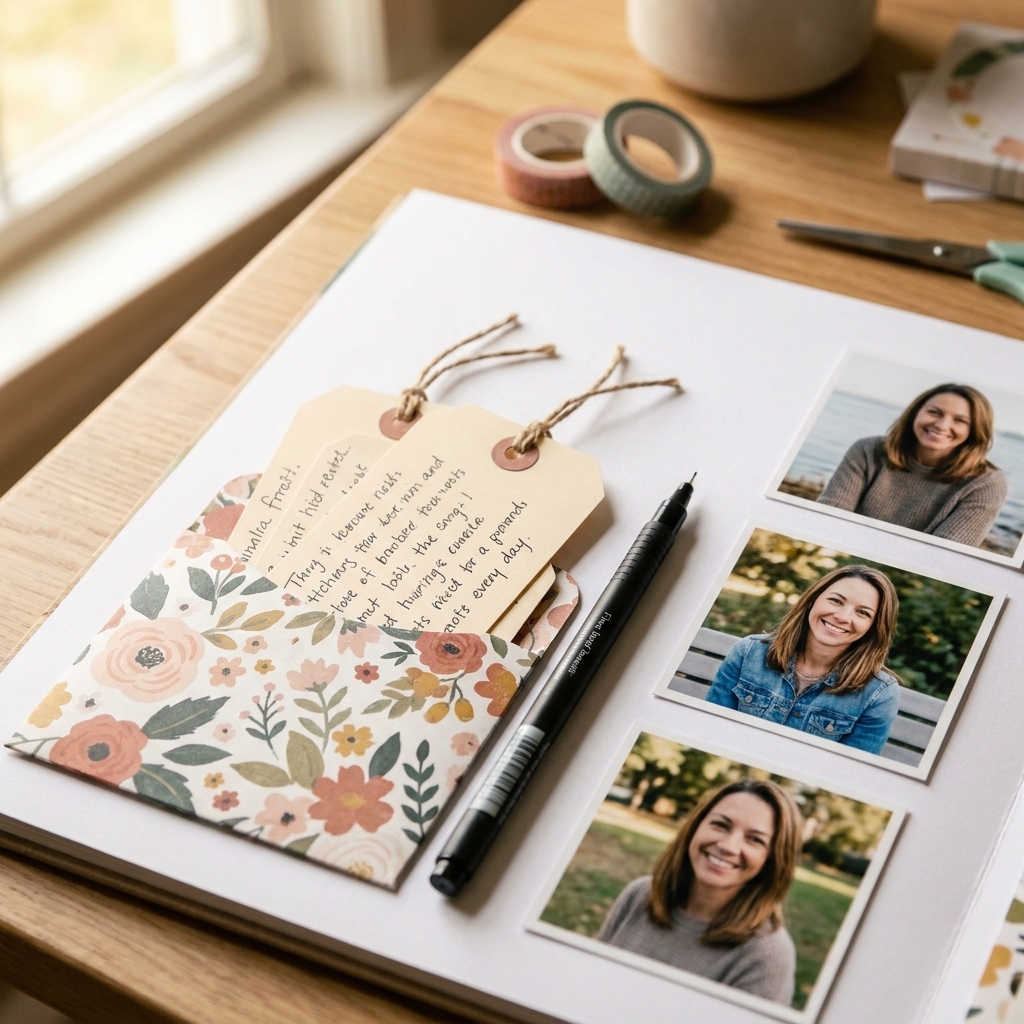
If you have ever wanted to make a mini album that feels like a little treasure chest of memories, this is the one. We are building a sturdy 4 x 6 inch interactive mini scrapbook album from scratch, complete with flip pages, deep pockets (the kind that actually hold chunky photos), and a waterfall mechanism that makes everyone say, “Do it again.”
I designed this tutorial the way I teach at my kitchen table: clear measurements, lots of “why” behind the steps, and all the little adhesive tricks I learned the hard way so your pages turn smoothly and your hinges do not crack later.
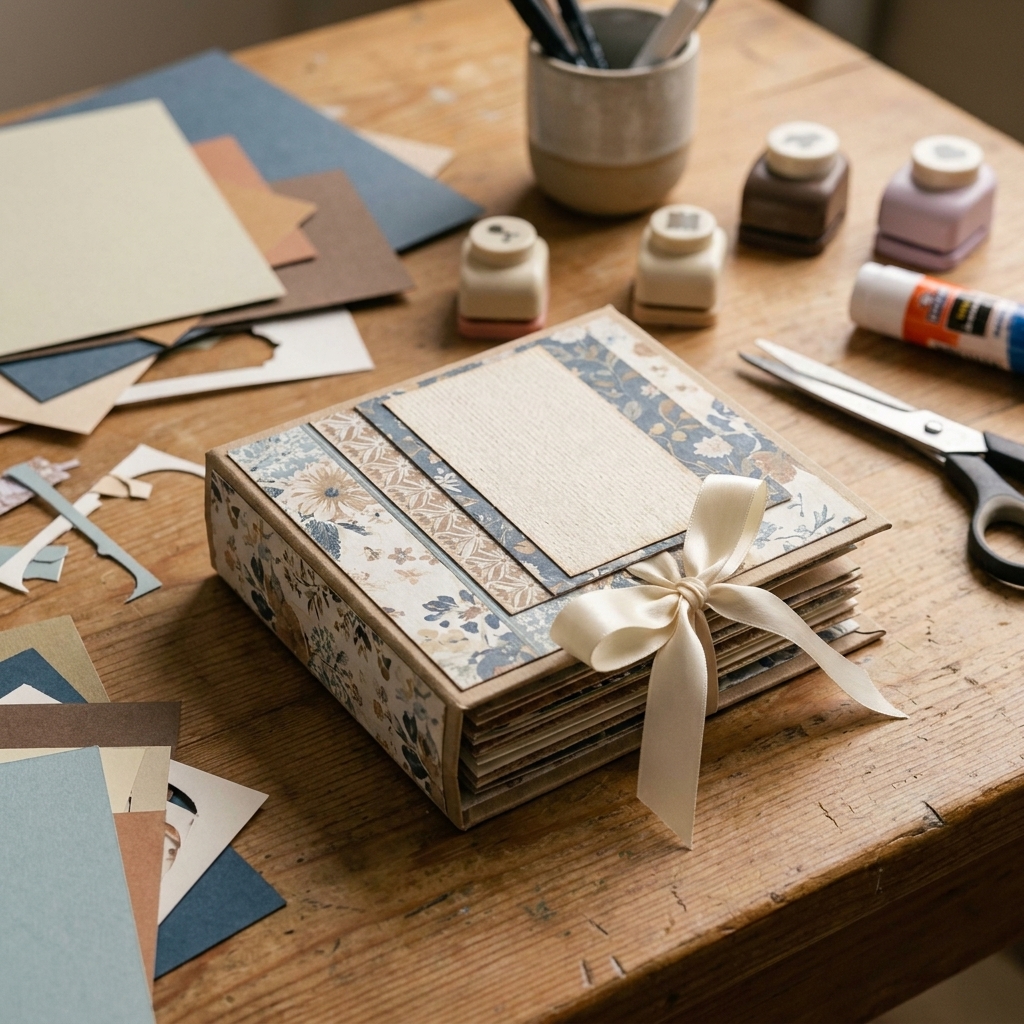
Album specs (so you can plan your photos)
- Page size: 4.5 x 6 inches
- Cover size: 5 x 6.25 inches (the cover is slightly larger than the pages for a protective margin)
- Spine: 2 inches (room for interactive bulk)
- Binding style: stacked hinge binding (hinge-spacer system, not sewn signatures)
- Interactive elements: 1 waterfall, 2 flip pages, 2 deep pockets, plus optional belly band
Photo tip: If your photos are true 4 x 6, plan to mat them on 4.25 x 6.25 or trim photos to 3.75 x 5.75 for a framed look.
Supplies and tools
Paper and structure
- Chipboard: two pieces 5 x 6.25 inches (covers), one piece 2 x 6.25 inches (spine)
- Cover paper: either one piece 12 x 18 (or larger) paper or book cloth, or two 12 x 12 sheets (I show both options below)
- Cardstock for pages: 8 to 10 sheets of 65 lb to 80 lb cardstock (12 x 12 cut down is fine)
- Patterned paper for mats: 6 to 10 sheets (or a good hoard of scraps, my favorite option)
- Optional ribbon: two pieces 18 inches each (for a tie closure)
Adhesives (my tried and true combo)
- Strong double-sided tape (1/4 inch and 1/2 inch widths are perfect)
- Liquid glue (fine tip, grabby but not watery)
- Optional: red-line tape for the spine and ribbon anchors
Tools
- Paper trimmer
- Scoring board and bone folder
- Craft knife and metal ruler (helpful for chipboard)
- Corner rounder (optional, but makes pages feel professionally finished)
- Hole punch or crop-a-dile (if adding ribbon holes or eyelets)

Cut list (save this and you are golden)
Chipboard
- 2 covers: 5 x 6.25 inches
- 1 spine: 2 x 6.25 inches
Cover wrap
- Option 1 (one-piece wrap): 1 piece at least 12 x 18 inches (12 x 19 is even comfier)
- Option 2 (two-piece wrap): 2 pieces 12 x 12 inches (one for the outside, one for the inside or to create a seam at the spine)
Inside hinges and pages
- Hinge strips: cut 6 strips at 2 x 6.25 inches (score each at 1 inch)
- Page bases: cut 6 pages at 4.5 x 6 inches (single sheets, not folded folios)
Flip pages
- Flip flaps: you will make 2 flaps (sizes in Step 7)
Pockets
- Deep pockets (2): cut 2 pieces at 6 x 6 inches, score at 1/2 inch on three sides
- Tags for pockets: cut 4 tags at 3.75 x 5.75 inches (round top corners if you like)
Waterfall
- Waterfall base: 1 piece at 4 x 6 inches
- Waterfall hinge strip: 1 piece at 2 x 6 inches, score at 1/2, 1, 1 1/2, 2, 2 1/2 inches
- Waterfall flaps: 5 pieces at 3.75 x 5 inches
Note: These sizes are flexible. If you want a chunkier album, increase the spine to 2.5 inches and add two more hinges and pages.
Step 1: Build the chipboard cover
We are making a classic wrapped cover, like a hardback book. This step is what makes your album feel sturdy and not like a flimsy notebook.
Choose your cover wrap method
Important math moment: Laid in one row, the boards span 5 + 1/4 + 2 + 1/4 + 5 = 12 1/2 inches across, so a single 12 x 12 sheet will not wrap the outside in one piece with full turn-ins. Use one piece at least 12 x 18, or use the two-piece wrap option below.
Option 1: One-piece wrap (recommended)
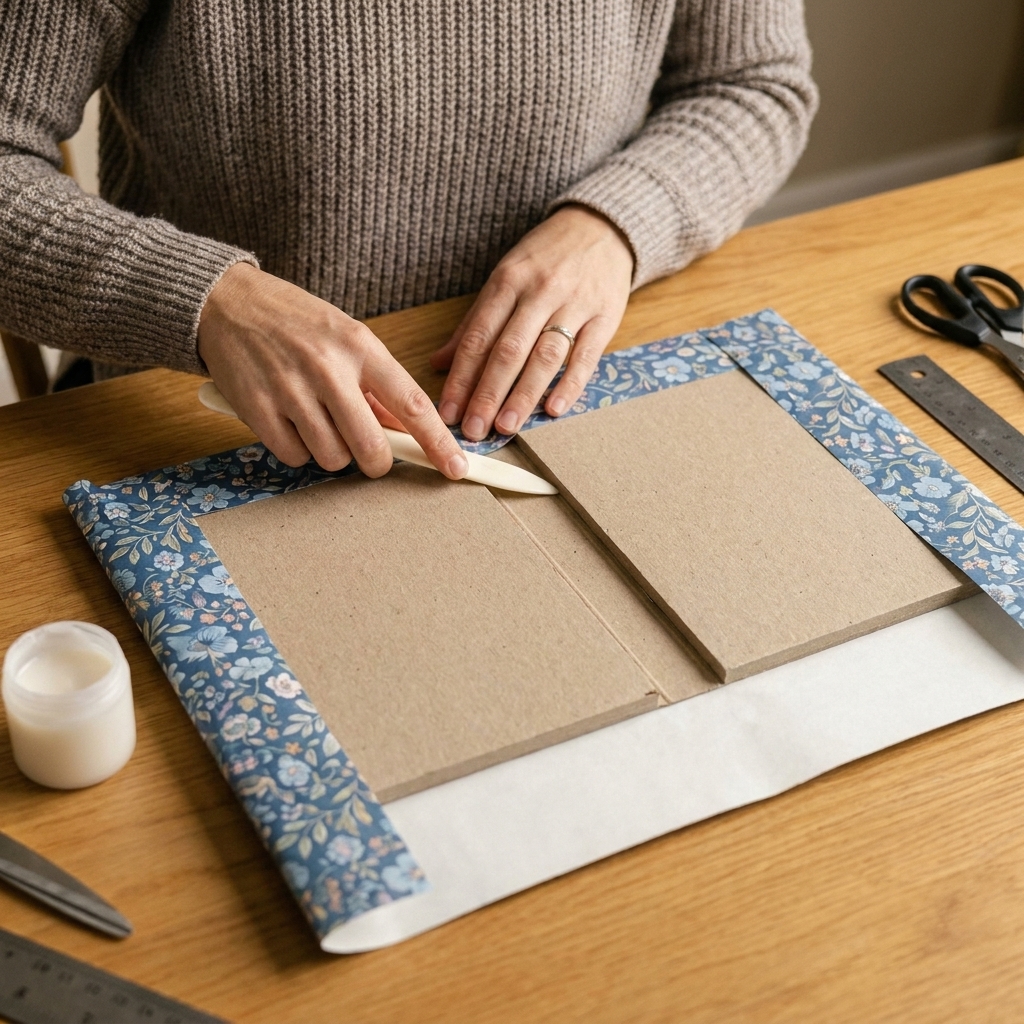
- Lay out your chipboard on the wrong side of your larger cover paper or book cloth. Place the spine in the middle, then leave a 1/4 inch gap on each side before placing the front and back covers. Those gaps are the hinges that let the cover open and close.
- Glue and tape down the boards. I use strong tape on the chipboard plus a thin layer of liquid glue for full contact.
- Trim the corners of the cover paper at a diagonal, leaving about 1/8 inch of paper beyond the chipboard corner. This prevents chipboard corners from poking through later.
- Wrap the long edges first, burnish with a bone folder, then wrap the short edges.
Option 2: Two-piece wrap (works with 12 x 12)
- Cover the front: Wrap the front cover and half the spine using your first 12 x 12 sheet. Leave at least 1/2 inch of paper extending past the spine center line so it can overlap.
- Cover the back: Wrap the back cover and the other half of the spine using the second 12 x 12 sheet. Overlap the first piece on the spine by 1/2 inch.
- Burnish the spine seam well. Once it is lined on the inside, you will barely notice it, and it holds up beautifully.
Step 2: Add a ribbon closure (optional)
If you love the look of a tied album, do it now, before the inside lining goes on.
- Cut two ribbons, 18 inches each.
- Center one ribbon on the front cover and one on the back cover, about halfway up.
- Secure the ribbon ends with strong tape, then add a scrap of cardstock over the ends to cap them and prevent pulling.
Alternative: Skip ribbon and add a belly band at the end.
Step 3: Line the inside covers
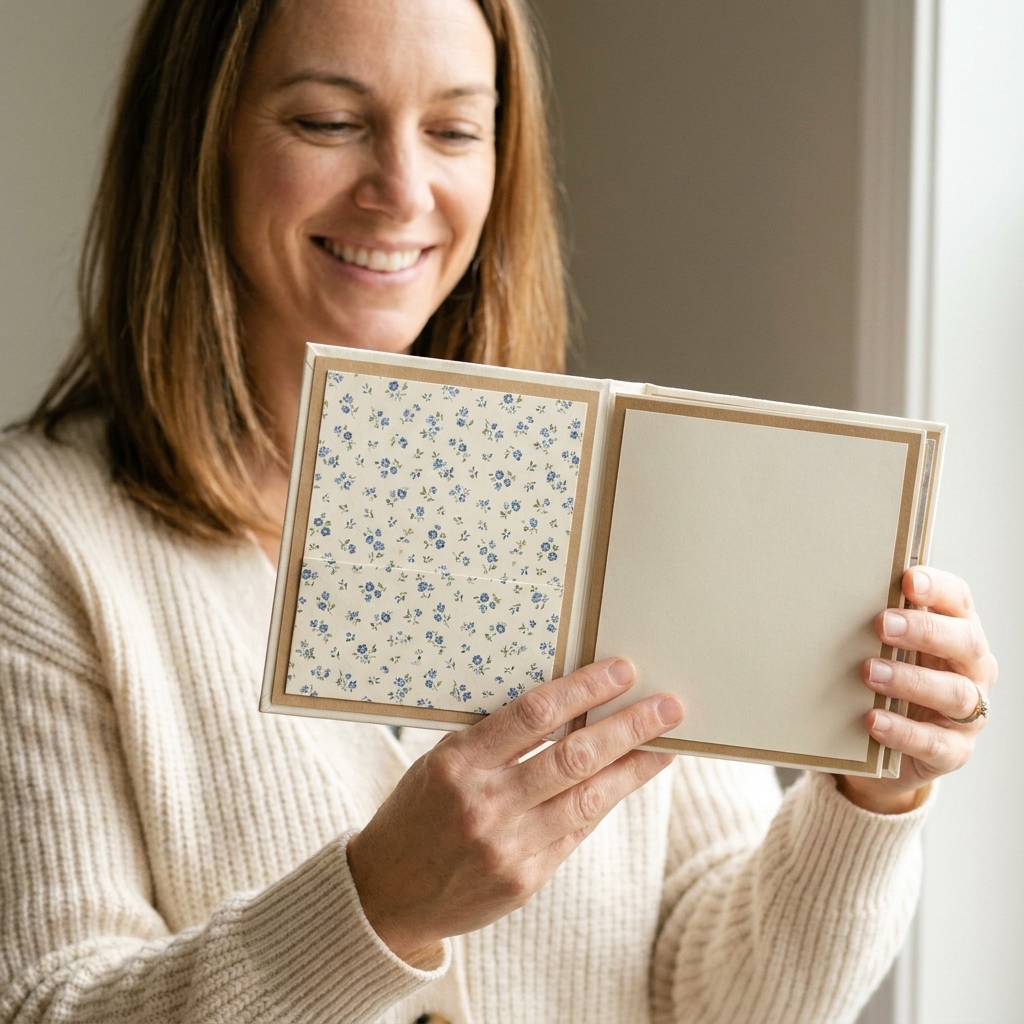
Cut two lining panels from cardstock or patterned paper at 4.75 x 6 inches.
This gives you a clean, intentional reveal. If you center it, you will get about 1/8 inch of border on the left and right, and about 1/8 inch at the top with a slightly deeper border at the bottom (I like that because it hides tiny measuring wobbles). If you prefer a more even top and bottom reveal, cut your panels 4.75 x 6.125 inches instead.
- Apply tape around the edges of each lining panel and a little liquid glue in the center.
- Adhere one panel to the inside front cover and one to the inside back cover.
- Close the album and press gently to help everything settle flat.
Step 4: Make the hinge system
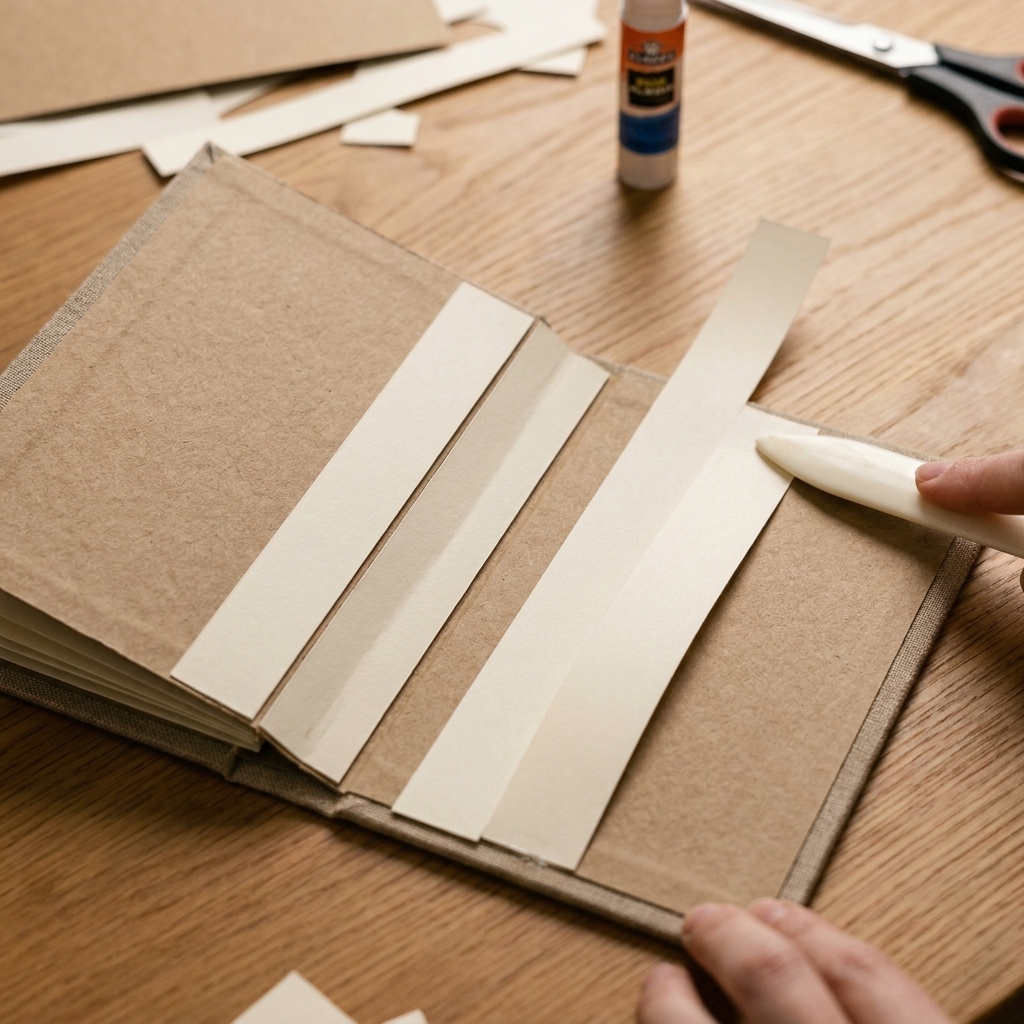
These hinge strips create flexible spacers so your album can handle photo mats, pockets, and interactive layers without putting stress on your page edges.
- Take your six hinge strips (2 x 6.25) and score each at 1 inch.
- Fold on the score and burnish so you have a crisp L-shaped hinge.
- On the 1 inch side, apply strong tape. This will attach to the album spine area.
Spacing tip: If you want more room between pages, score at 1.25 inches instead of 1 inch.
Step 5: Install the hinges
We are going to stack the hinges down the inside spine area, like a little staircase. This is what gives that lovely expanding look when you open the album.
- Open the cover flat.
- Starting near the back cover, adhere the first hinge strip with the 1 inch flap on the spine and the long side extending into the album.
- Leave about 1/8 inch between hinge strips as you stack them forward. This small gap helps the album flex.
- Repeat until all hinge strips are adhered.
How many pages? This build uses 6 hinged pages. The flip pages and pockets are add-ons that go on top of those pages, not extra hinges.
Step 6: Add the base pages
Your page bases are 4.5 x 6 inches. You can round corners now if you love that soft, finished feel.
- Apply a 1/4 inch wide strip of strong tape along the left edge on the back of one page base.
- Adhere the page to the long side of a hinge strip, aligning the page edge right up to the fold of the hinge.
- Repeat for the remaining pages, attaching one page per hinge.
My best no-crack tip: Do not glue pages directly to the album spine. Hinges take the stress instead of your page edges, especially when the album gets chunky.
Step 7: Add flip pages
Flip pages are such an easy wow moment, and they are perfect for journaling on one side and photos on the other.
Option A: Side flip
- Choose one 4.5 x 6 inch page base already attached in your album.
- Cut a flap piece at 4.25 x 6 inches.
- Score the flap piece at 1/2 inch on the left side.
- Use tape on the 1/2 inch tab and adhere that tab to the right edge of your page base. The tab becomes the hinge, and the flap swings open like a book.
Option B: Top flip
- Cut a flap at 4.5 x 5.5 inches.
- Score at 1/2 inch along the top edge.
- Adhere the tab to the top of a page base so it flips upward.
Where to place them: I like one flip page near the front and one near the back to balance the bulk.
Step 8: Build deep pockets
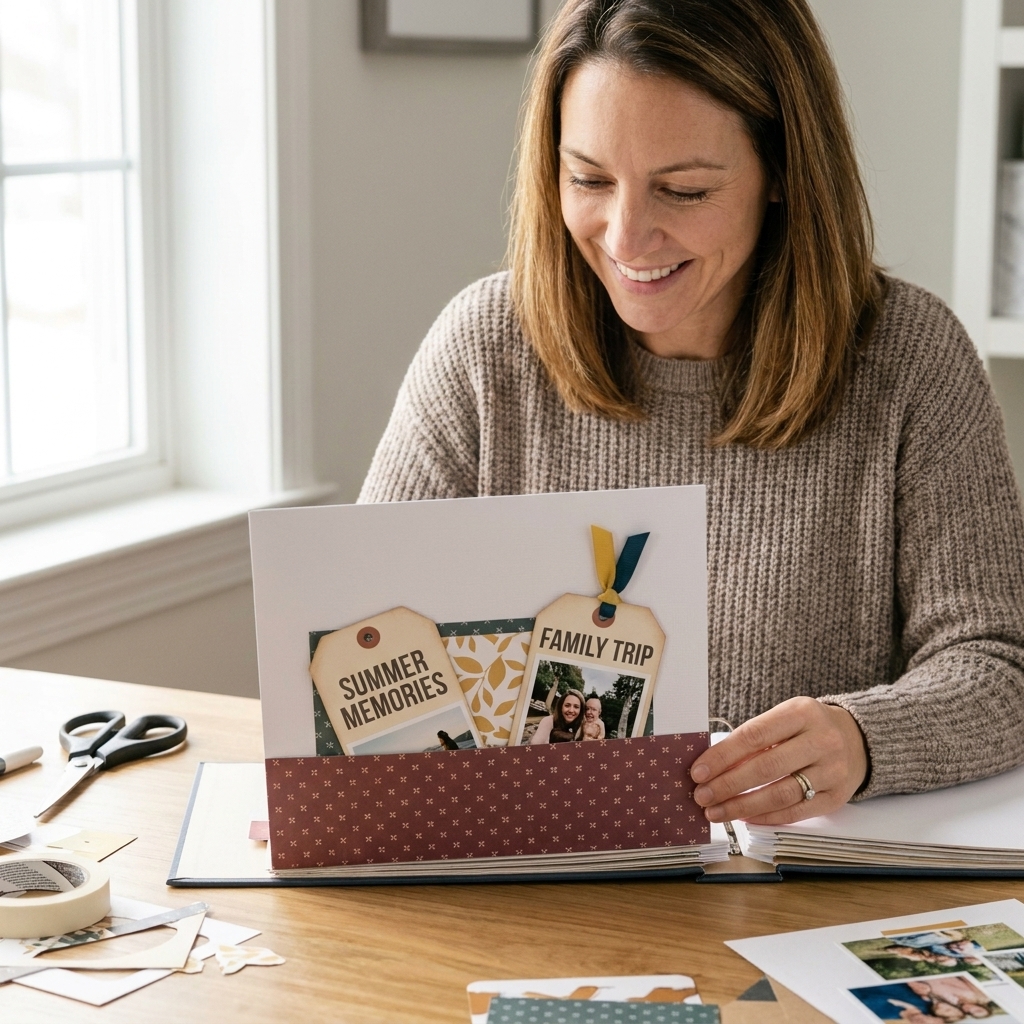
Deep pockets are my answer to chunky memorabilia, like ticket stubs, notes, and photo strips.
Quick heads up on sizing: A 6 x 6 pocket on a 4.5 x 6 page can be used two ways. You can let it extend above the page for extra depth (my favorite), or you can trim it down to sit fully within the page.
- Take one 6 x 6 inch pocket piece.
- Score at 1/2 inch on the left, right, and bottom sides.
- Cut away the small corner squares and miter the tabs slightly.
- Optional but helpful: Before adhering, add a thumb notch to the pocket opening with a circle punch, and ink the top edge for durability.
- Add tape to the tabs and fold them inward.
- Adhere the pocket onto a page base, lining it up to the bottom and the outer edge of the page. If you want it flush to the top of the page too, trim the pocket height before you fold your bottom tab.
Pocket strength tip: Add a thin bead of liquid glue over the tape line before pressing down. Tape grabs fast, glue gives long-term hold.
Tag idea: Glue a small ribbon loop to the tag so it is easy to pull out.
Step 9: Make the waterfall
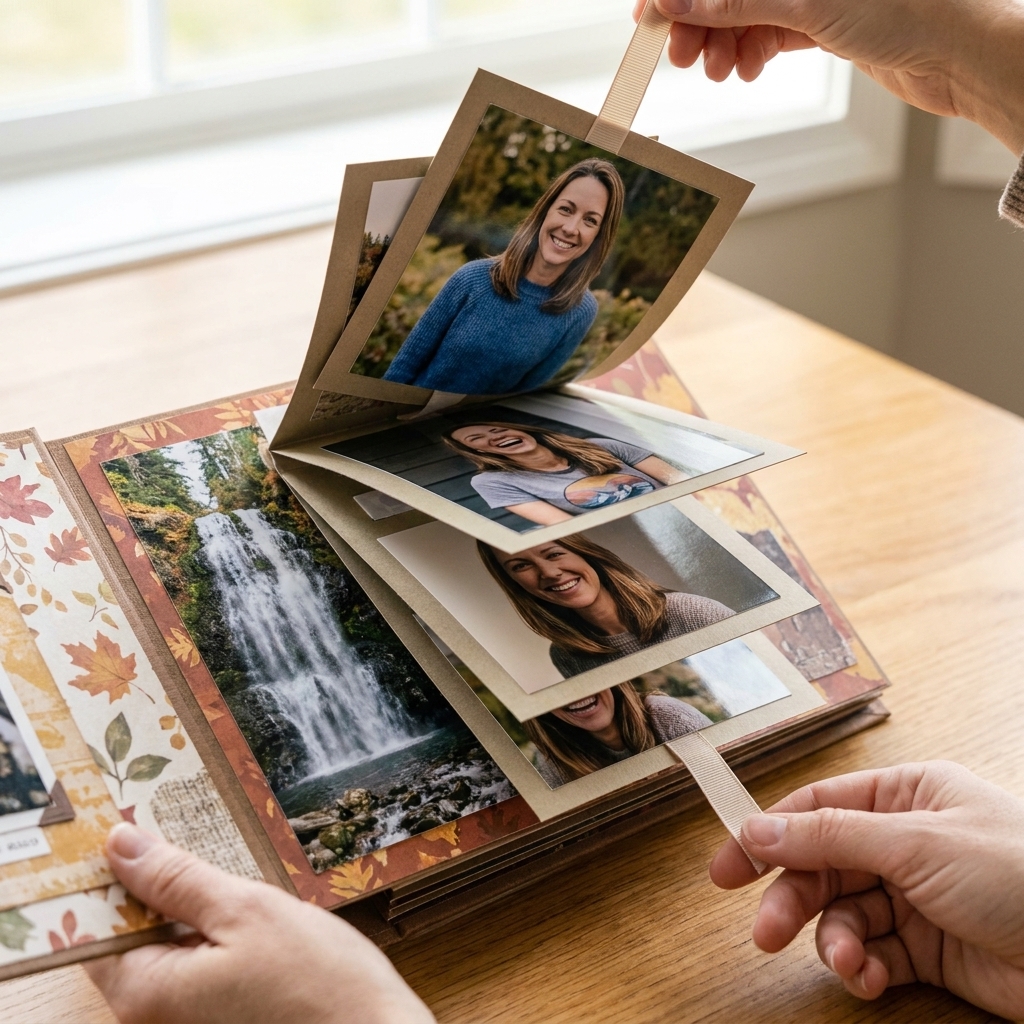
This is the interactive star of the album. A waterfall is basically a stack of flaps that flip up in a satisfying cascade.
9A: Prep the hinge strip
- Take the 2 x 6 inch waterfall hinge strip.
- Score at 1/2, 1, 1 1/2, 2, 2 1/2 inches.
- Accordion fold on the score lines, burnishing each fold well. The first 1/2 inch section is your anchor tab, and the remaining sections become the steps.
9B: Attach the flaps
- Arrange your five waterfall flaps (3.75 x 5 inches) in a neat stack.
- Starting with the bottom flap, adhere each flap to one step of the accordion hinge. Use strong tape and line up the bottoms evenly.
- Flip the stack over and check that each flap lifts cleanly without catching.
9C: Mount the waterfall to a page
- Adhere the waterfall base (4 x 6 inches) to a page base, leaving a small border if desired.
- With the flaps facing up, adhere the anchor tab (that first 1/2 inch section) to the top area of the waterfall base. Press only on the anchor tab so the accordion can flex.
- Add a small pull tab to the top flap, like a punched circle or a tiny ribbon loop.
Waterfall troubleshooting: If your flaps fight each other, your folds are usually too tight, or glue has sneaked into a fold. Re-burnish gently and make sure the accordion is only glued on the anchor tab.
Step 10: Mat and decorate
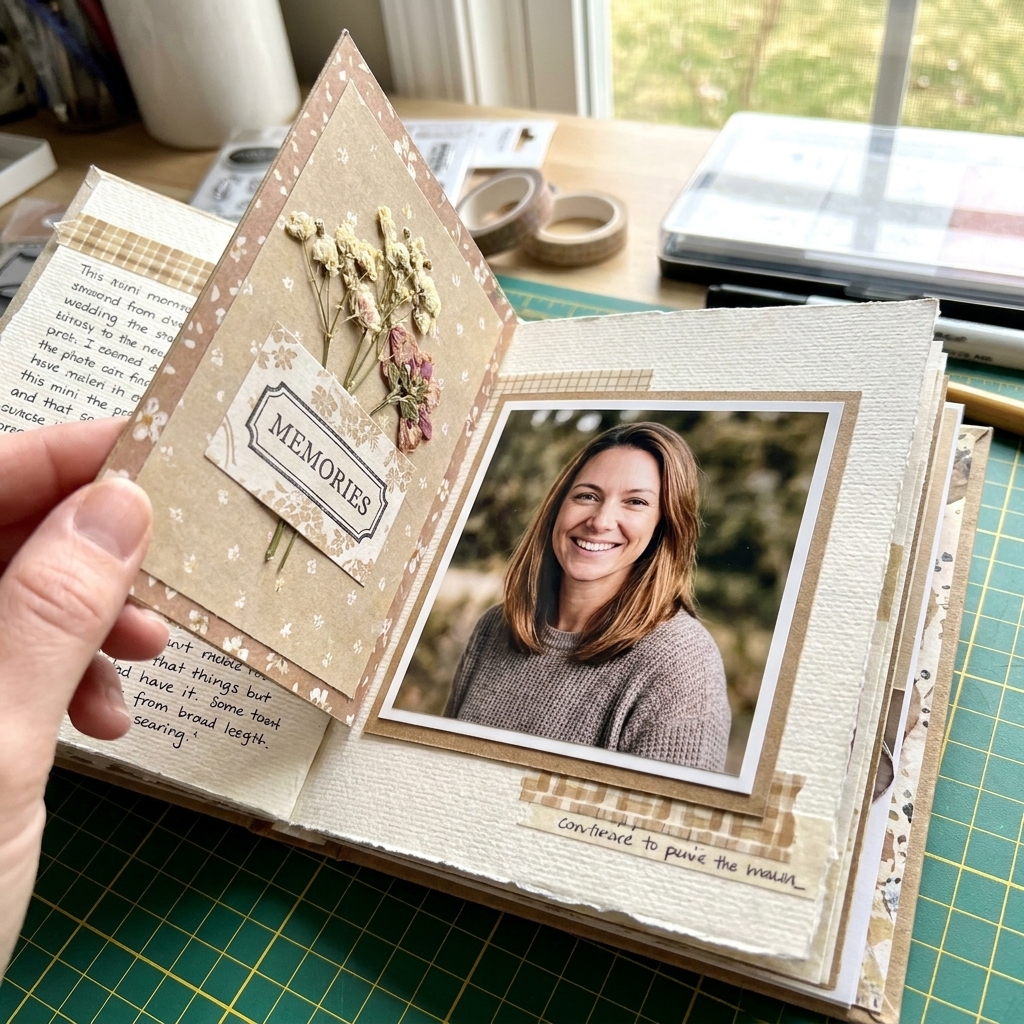
This is where your album turns into your album. I love a layered look, but interactive albums need a little restraint so everything still closes.
My favorite mat sizes
- For 4.5 x 6 pages: 4.25 x 5.75 mats (great border)
- For waterfall flaps: 3.5 x 4.75 mats
- For pocket tags: 3.5 x 5.5 mats
Decoration rules I swear by
- Keep dimension (foam tape, chipboard stickers) mostly near the outer edges, not the spine.
- Use flat embellishments near hinges, like stamped images, die-cuts with liquid glue, or thin washi.
- If you want chunky embellishments, place them on one page only per spread so bulk is balanced.
Quick win: Ink the edges of your mats. It is the easiest way to make layers look intentional and cozy.
Finishing touches
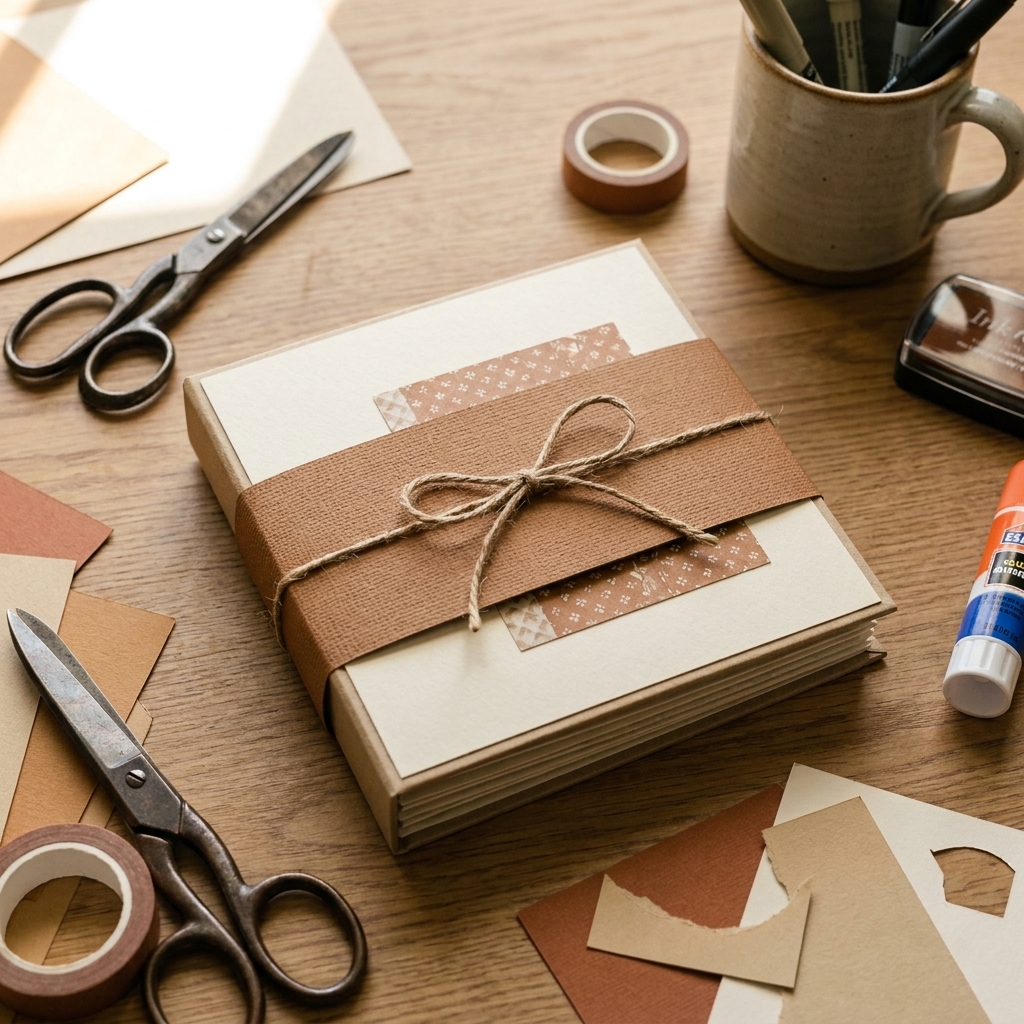
Add a belly band
- Cut cardstock at 2 x 12 inches.
- Wrap it around the closed album and mark where it overlaps.
- Trim and adhere into a loop, then decorate the front with a label or focal piece.
Reinforce high-stress spots
- Add a thin strip of cardstock to the back of flip-page tabs.
- If a pocket will be stuffed, run an extra line of tape along the side seams.
- For heavy embellishments, use liquid glue plus tape.
Common mistakes (and how to avoid them)
My album will not close
This is almost always bulk near the spine. Keep thick layers and foam tape toward the outer edges, and make sure pockets are not mounted too close to the hinge fold.
My pages are cracking at the edge
Cardstock cracks when it is folded without scoring, or when stress is concentrated at a glued edge. Score all folds and use hinge strips instead of gluing page edges directly to the spine.
My waterfall is stuck
Check for glue squeeze-out on the accordion folds and make sure your flaps are not catching on raised embellishments nearby.
Ways to customize
- Change the size: Make it 6 x 6 by increasing covers to 6.5 x 6.5 and pages to 6 x 6.
- Add more interaction: Add a second waterfall on the back half of the album for balance.
- Theme it: Baby album, travel album, holiday memories, wedding guest book, or a year-in-review highlights mini.
- Swap pockets: Try a side-loading pocket for photo strips or a diagonal corner pocket for journaling cards.
FAQ
What cardstock weight is best for mini album pages?
I like 65 lb to 80 lb. Lighter can feel flimsy, heavier can get bulky fast. If you love thick pages, build fewer pages but reinforce hinges.
Do I need chipboard, or can I use heavy cardstock for the cover?
You can use heavy cardstock, but it will bend more over time. Chipboard gives that durable, book-like feel, especially with interactive bulk.
What adhesive should I use for chipboard covers?
Strong double-sided tape plus a thin layer of liquid glue is my favorite combo. Tape grabs instantly, glue prevents lifting later, especially at corners.
How do I keep pages from sticking together after inking?
Let ink dry fully, then rub gently with a clean cloth. If you use lots of spray, let pages dry under a heavy book with scrap paper between them.
One last cozy crafting nudge
If this is your first interactive mini album, promise me you will not aim for perfection. Aim for sturdy construction and joyful layers. The magic of a mini album is that it gets handled, flipped, giggled over, and loved. That is exactly what handmade paper goodness was made for.
If you build this album, I hope it feels like a hug folded in half, then folded again into a tiny book of memories.