If you have ever looked at a stamped card and thought, “How did they get that soft, shadowy depth?” I have good news. One of the easiest ways to fake dimension with ink is already sitting at your craft table. It is called second and third generation stamping, also known as stamp-off.
You ink your stamp once, then stamp it multiple times without re-inking. The first impression is bold. The second is lighter. The third is even softer. Those lighter impressions instantly read as distance, shadows, fog, and gentle gradients, and it takes basically zero extra supplies.
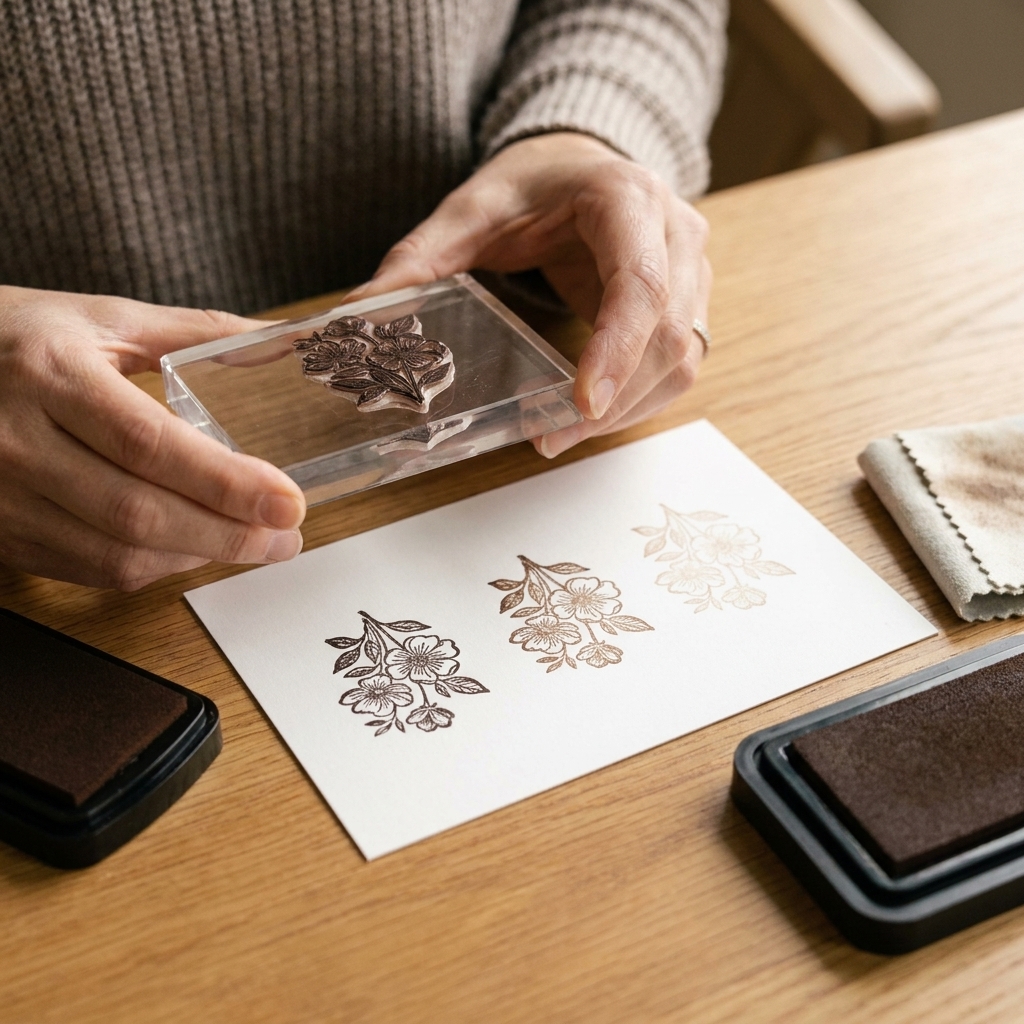
What “generation stamping” means
Think of your ink like paint on a sponge. The first press lays down the most ink. Each press after that has less ink left, so the image stamps lighter.
- First generation: you ink the stamp and stamp once. Crisp, bold, full color.
- Second generation: stamp again without re-inking. Same image, lighter value.
- Third generation: stamp a third time without re-inking. Very soft, perfect for background texture.
This is why it creates depth. Our eyes interpret lighter values as being farther away or in shadow. Instant atmosphere, no fancy blending required.
Supplies that make it easier
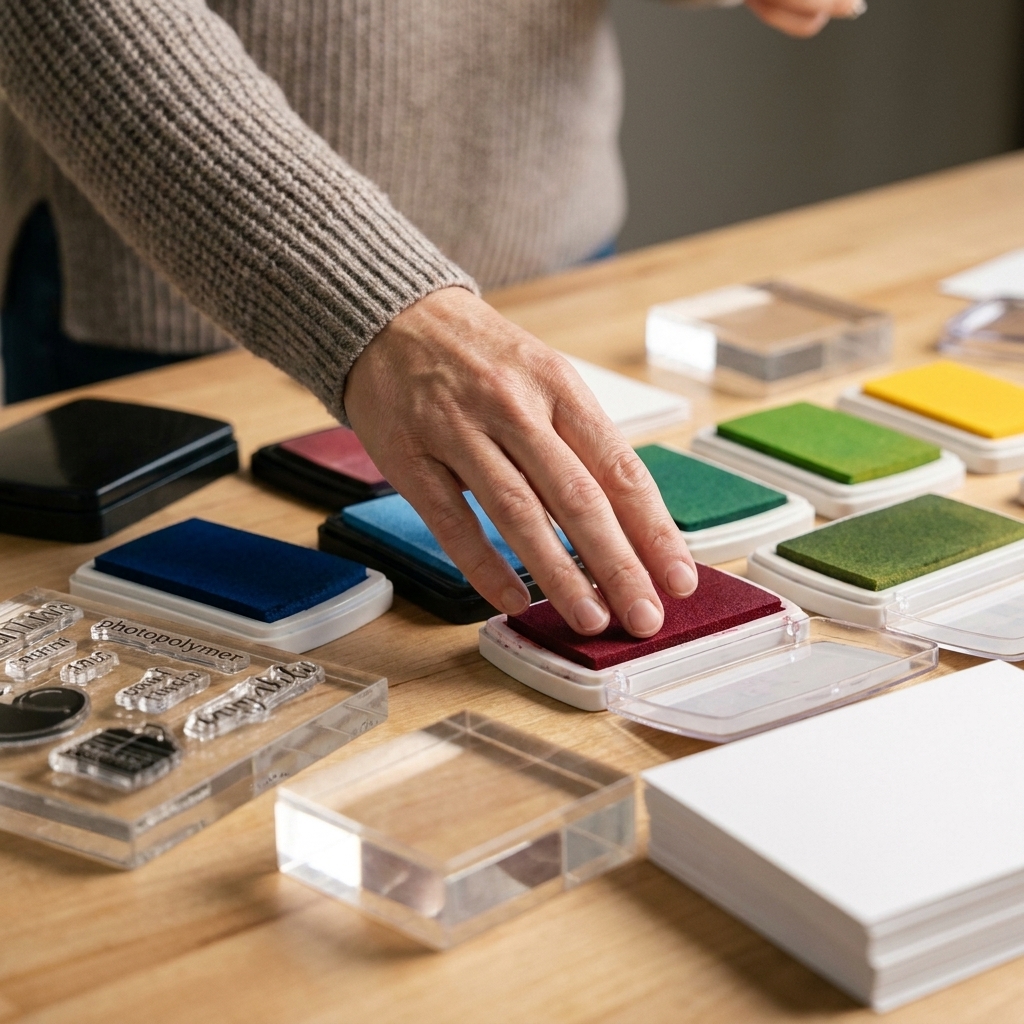
You can do stamp-off with any stamps and any ink, but a few choices make it smoother and more predictable.
What to grab
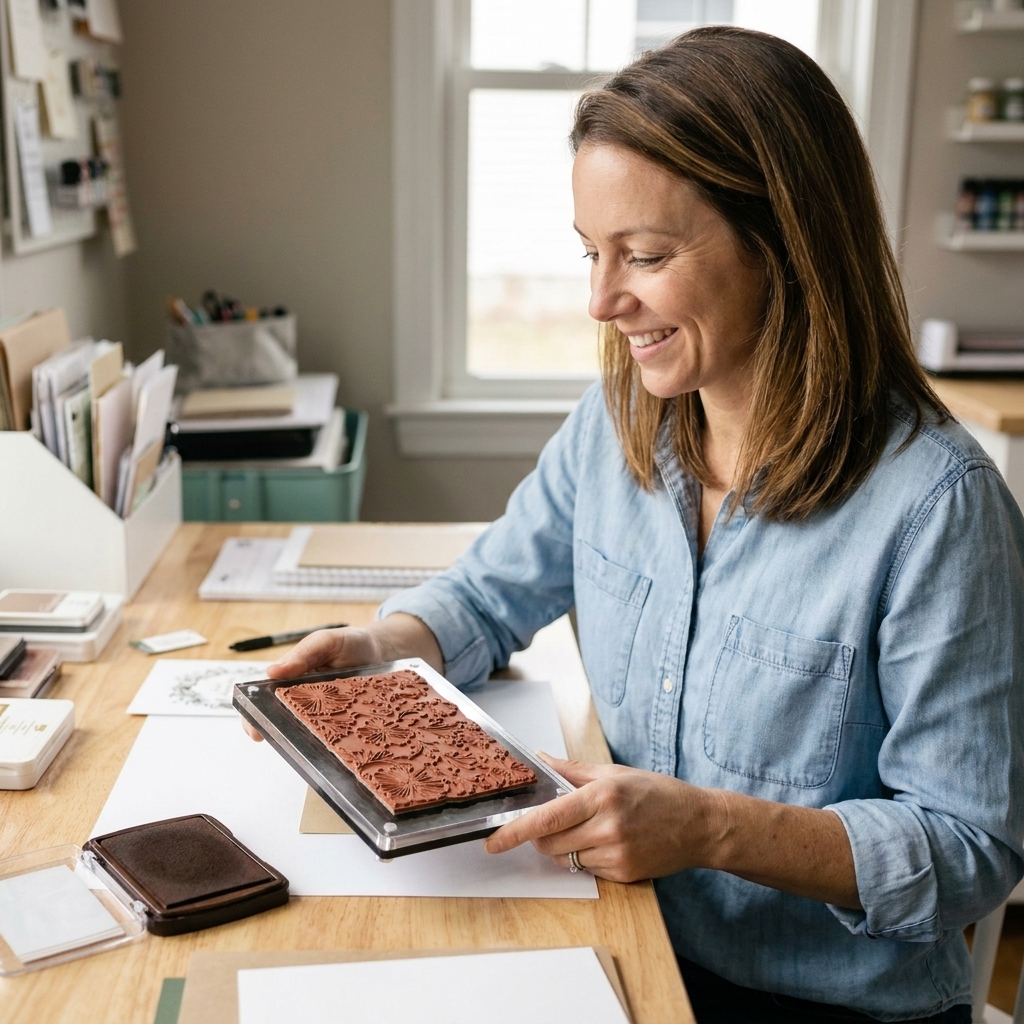
- Stamps: solid images (silhouettes, leaves, large florals, background stamps) show the effect beautifully. Line-art works too, just more subtly.
- Ink: dye inks tend to give the softest fade. Pigment inks can work but sometimes stay juicy longer and may blur if you double stamp too quickly.
- Paper: smooth white cardstock gives the crispest impressions. Textured cardstock makes the fades look extra dreamy, but you may lose detail.
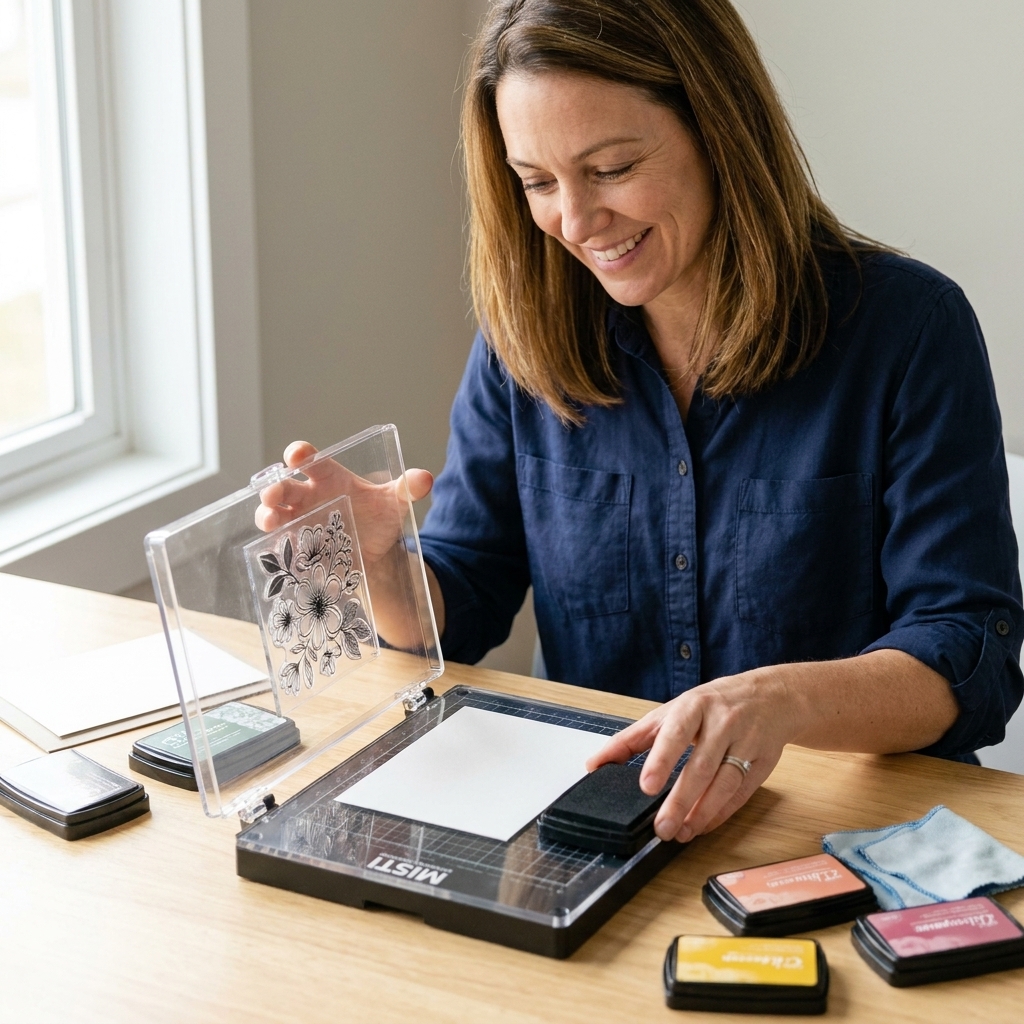
- Stamping platform (optional): not required, but amazing when you want to restamp in the exact same spot.
- Scrap paper: for “stamping off” if you want to lighten the first impression on your project.
My little kitchen-table tip: keep a scrap strip of cardstock nearby and use it like a “testing runway.” It saves so much second guessing.
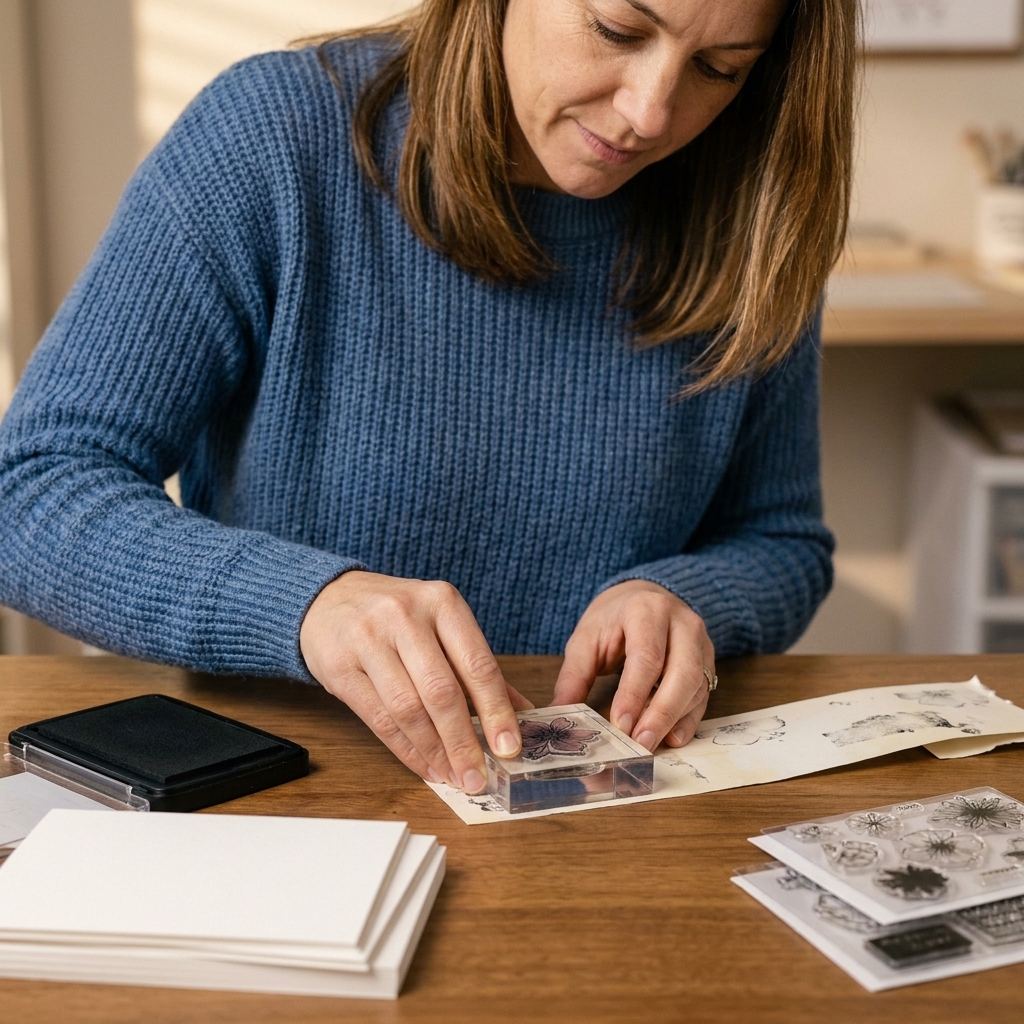
Basic method: the simplest stamp-off
This is the foundation you will use for almost every technique in this article.
- Ink your stamp once like normal.
- Stamp the first impression where you want the darkest image.
- Stamp again without re-inking to get your second generation impression.
- Stamp a third time (still without re-inking) for an ultra-soft background layer.
Important: Try to use the same pressure each time. The ink amount is changing, so if your pressure changes too, your fade will look uneven.
3 ways to use second and third generation stamping for depth
1) Soft shadows behind your main image
This is my favorite “how did you do that?” trick, and it makes a stamped focal image feel grounded instead of floating.
How:
- Stamp your image in full strength where you want it.
- Clean the stamp.
- Ink the stamp again, then stamp off once on scrap paper.
- Stamp that lighter impression slightly offset behind the original image.
Use the same ink color for a realistic shadow, or go one shade lighter for an extra soft look.
2) Atmospheric backgrounds and “distance” scenes
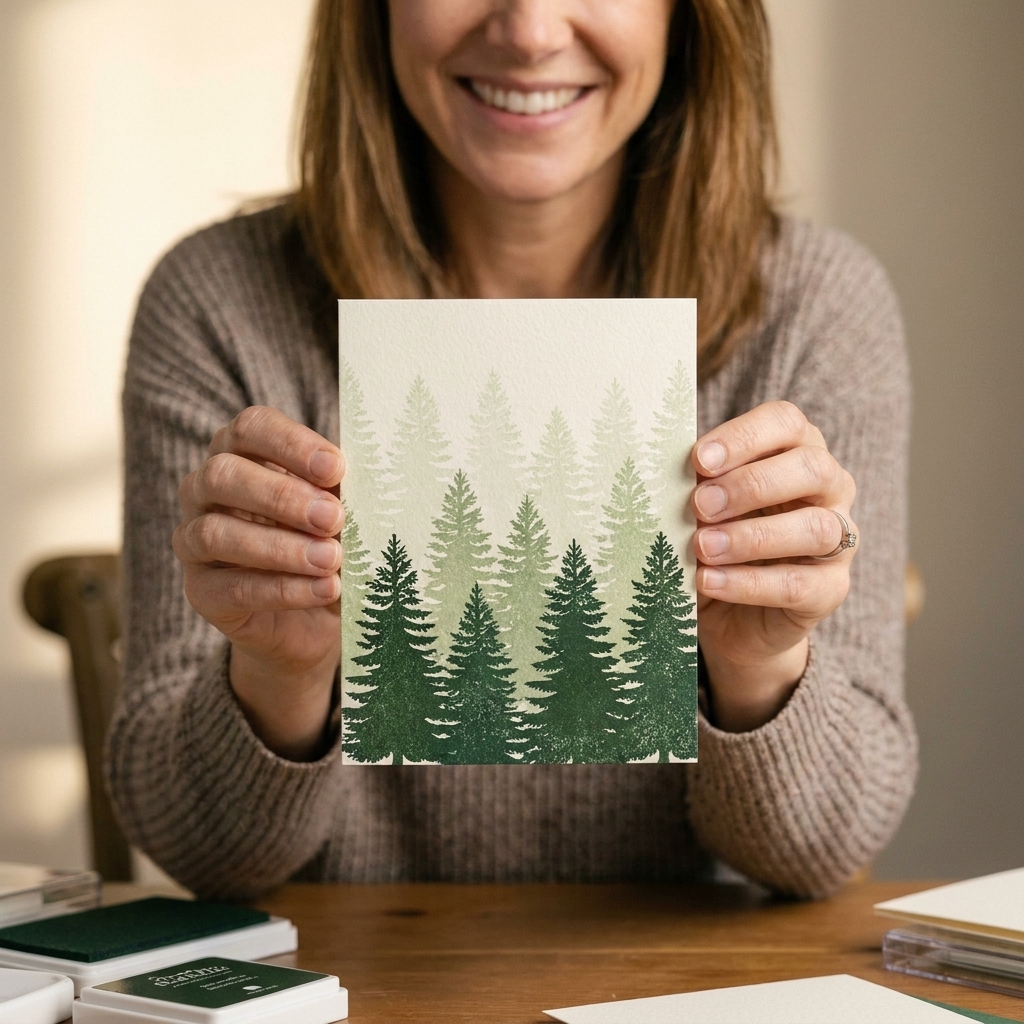
If you have tree stamps, mountain silhouettes, city skylines, or grasses, stamp-off creates the prettiest misty layers.
How:
- Start with your lightest layer first (third generation).
- Add a slightly darker layer in front (second generation).
- Finish with your darkest layer closest to the foreground (first generation).
This order matters because you do not want to try stamping pale images over dark ones. Build from back to front and you will get that “foggy morning” depth almost automatically.
3) Instant gradients and ombré effects
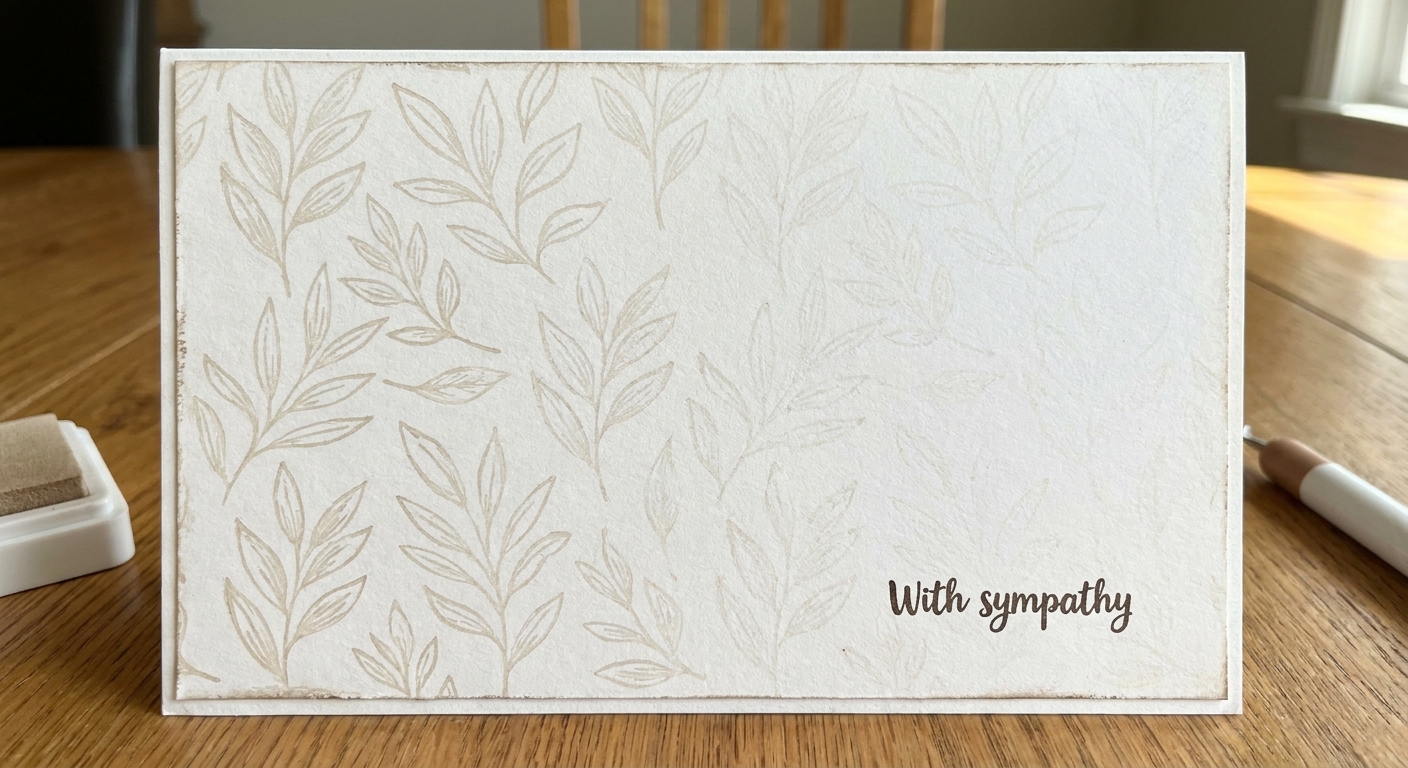
No blending brushes? No problem. You can create a gentle fade across a panel just by repeating a stamp with lighter impressions as you move.
Try it with: dot stamps, hearts, stars, leaves, splatter stamps, or any small repeating image.
How:
- Ink once.
- Stamp along one side of your panel (first generation).
- Move slightly inward and stamp again (second generation).
- Move again and stamp a third time (third generation).
- Re-ink and repeat, overlapping slightly so there are no harsh “rows.”
My favorite mini projects to practice on
If you want quick wins, these are perfect little exercises. They are also fabulous for using up those “too pretty to toss” scrap strips.
- Background strips: stamp-off a repeated image across a 1 to 2 inch strip, then mount it across a card front.
- One-stamp bouquets: stamp a flower once as the focal point, then stamp second and third generation impressions around it for soft filler.
- Gift tags: stamp a bold image in one corner, then stamp-off copies fading outward.
- Envelope liners: third generation stamping is perfect for subtle pattern without overpowering your card.
Pro tips that make stamp-off look polished
Choose the right image for the job
For the most obvious fade, pick stamps with large solid areas. For delicate, elegant tone-on-tone looks, fine line-art is gorgeous.
Use a stamping platform when alignment matters
If you want a shadow that hugs the original image closely, a platform lets you control placement. You can even stamp your first generation, then shift your panel a hair to the side and stamp the second generation for a perfect drop shadow.
Wait a moment with pigment ink
Pigment ink can stay wet longer. If you stamp multiple generations quickly, you might get a slightly blobby impression. Let the stamp breathe for a second between presses if you notice smudging.
Clean your stamp before switching colors
This sounds obvious, but the number of times I have accidentally created “mystery brown” by mixing inks is… more than I care to admit.
Troubleshooting (because we have all been there)
My second generation stamp is patchy
- Try a smoother cardstock.
- Use even pressure, especially with large stamps.
- If you are using a photopolymer stamp, make sure it is conditioned and inked well on the first impression.
My third generation stamp is too light to see
- Use a darker ink color to start with.
- Stamp on white cardstock instead of cream.
- Switch to a stamp with more solid surface area.
My shadow looks like a mistake, not a shadow
- Offset it less. Tiny shifts look more realistic.
- Stamp the shadow in the same color as the image and keep it lighter, rather than changing colors dramatically.
- Keep the shadow mostly to one side, like light is coming from a single direction.
I double stamped and it is blurry
- Make sure your stamp does not rock when you press. Press straight down, lift straight up.
- Use a firmer surface under your cardstock, like a stamping mat, for more consistent contact.
- If you are using a very juicy ink pad, lighten the first impression with a quick stamp on scrap before stamping on your project.
Fun variations to try next
Two-tone stamp-off
Ink your stamp with one color, then lightly add a second color to just the tips or edges with a dauber. Your second and third generation impressions blend those colors into a softer, more natural look.
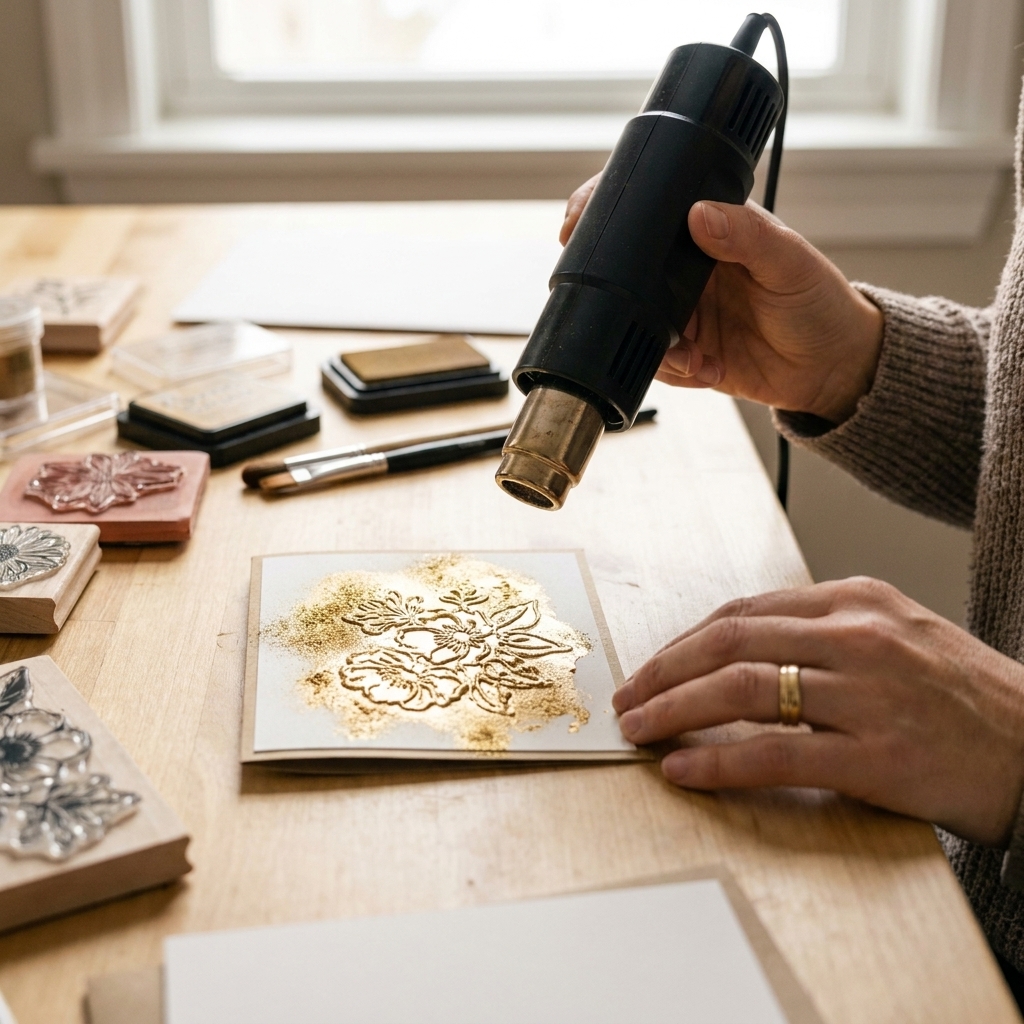
Stamp-off plus embossing
Heat emboss your main image, then use second generation stamping behind it for a soft “glow” effect. It is especially pretty with botanicals.
Tone-on-tone backgrounds
Stamp-off in the same color family as your cardstock. For example, pale blue cardstock with navy ink stamped three generations gives a classy, subtle pattern that still has depth.
Quick FAQ
Do I need a stamping platform for second generation stamping?
Nope. It is helpful for perfectly placed shadows or layered scenes, but stamp-off works beautifully with acrylic blocks too.
Which ink is best for stamp-off?
Dye ink is usually the easiest for smooth fades. Pigment ink can still work, just watch drying time and potential smudging.
Can I do this with tiny stamps?
Yes, and it is adorable. Tiny icons are perfect for gradients and scattered backgrounds where the lighter generations add softness without clutter.
How many generations can I stamp?
Most inks give you 2 to 3 clear impressions. Some will give a 4th very faint one, which can be gorgeous for subtle texture.
A little pep talk before you ink up
If you are nervous to try this on a “real” project, practice on a scrap panel first and keep it in your stash. I promise, once you see how much depth you can get from a single inking, you will start looking at every stamp set like it has secret bonus layers.
A handmade card is like a hug folded in half, and stamp-off is one of my favorite ways to make that hug feel extra cozy and dimensional. Now go stamp it once, then stamp it again. You have got this.