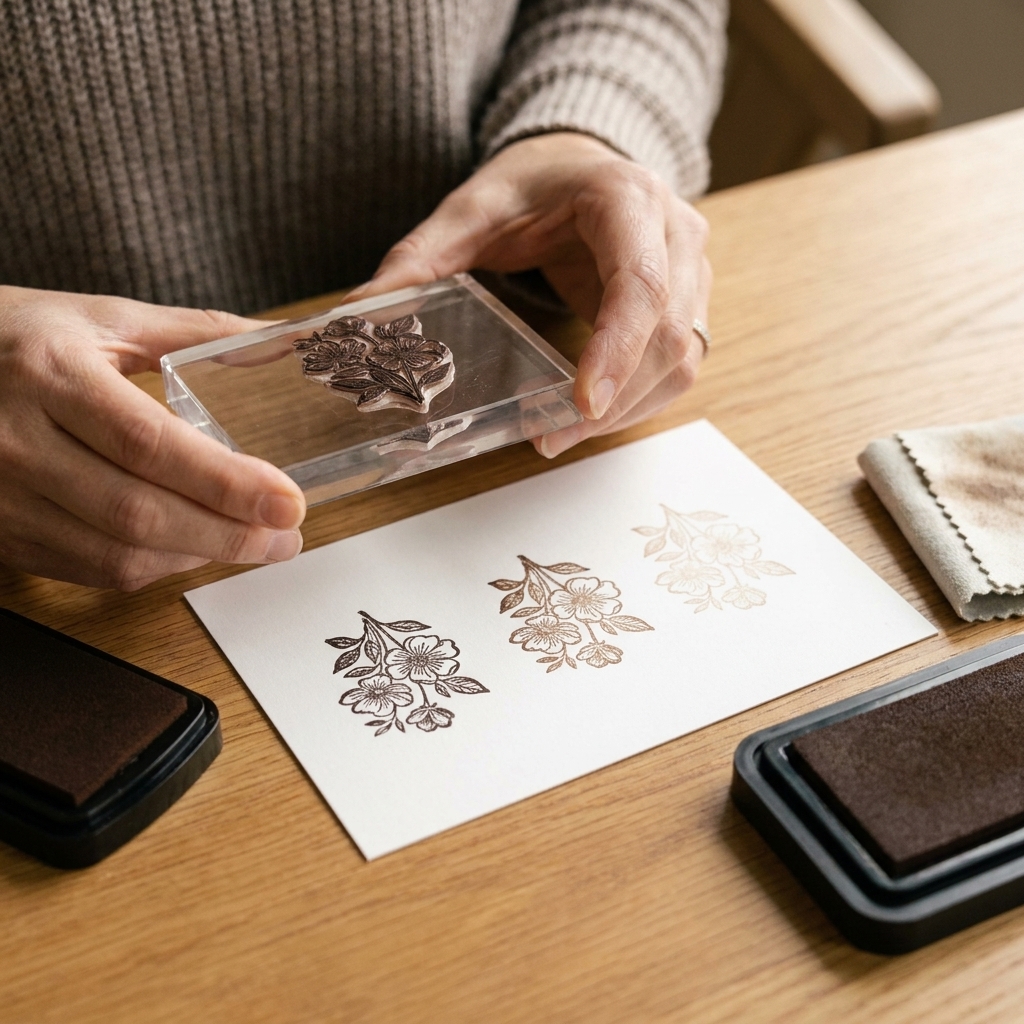
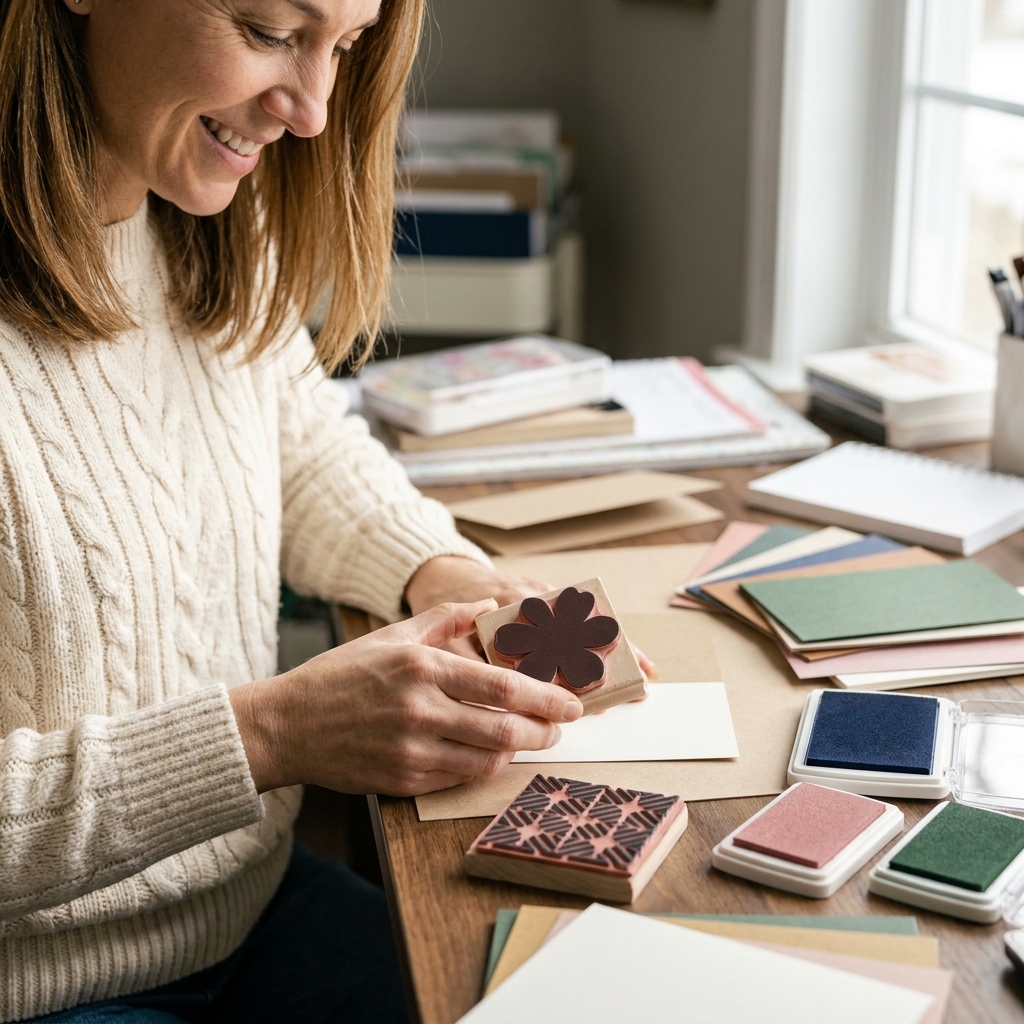
If you have ever wished your solid stamps had a little more personality, the stamping kissing technique is about to become your new best crafty trick. “Kissing” is simply pressing a patterned stamp onto a solid, filled-in stamp so the pattern transfers to the solid image. Then you stamp that newly patterned silhouette onto cardstock. The result looks like you used a fancy, perfectly coordinated stamp set, even if you mixed and matched from different sets.
I learned this one at a crowded craft table years ago, and it still feels a little bit like magic every time. It is quick, it is beginner-friendly, and it is one of those techniques that makes your stash feel twice as big.
What it does
Stamp kissing lets you “ink” one stamp with another stamp. Instead of layering on paper, you do the layering on the stamp first, then stamp once to cardstock for a crisp, coordinated look.
- The solid stamp is your base shape, like a leaf, butterfly, heart, flower silhouette, or large sentiment block.
- The patterned stamp is your texture, like polka dots, small florals, script, gingham, woodgrain, or tiny hearts.
When you press them together, the raised design of the patterned stamp transfers onto the inked solid stamp. When you stamp the solid image onto cardstock, the pattern appears inside the silhouette.
Supplies
- One solid stamp (a bold silhouette works best)
- One patterned stamp (smaller pattern details tend to read best)
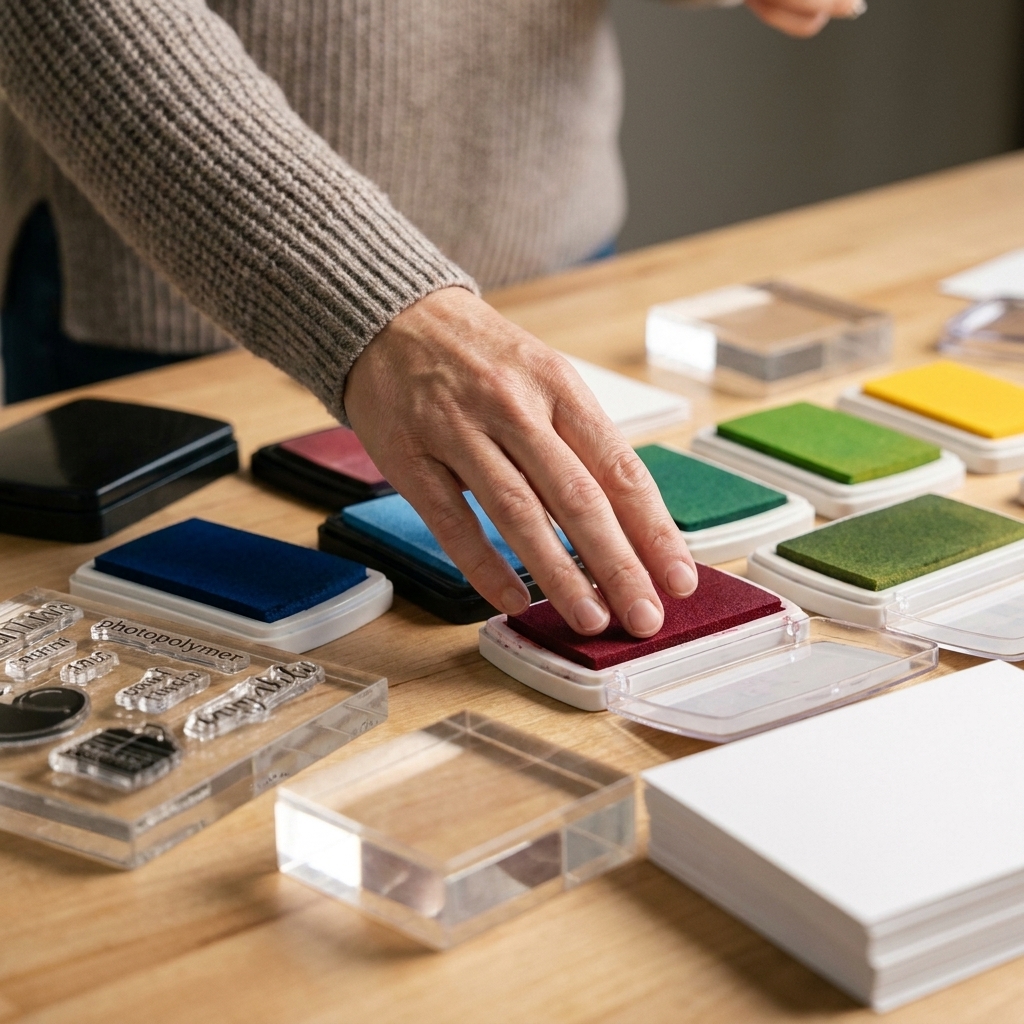
- Ink pads (dye inks are easy and fast drying, pigment inks often look bolder and more opaque)
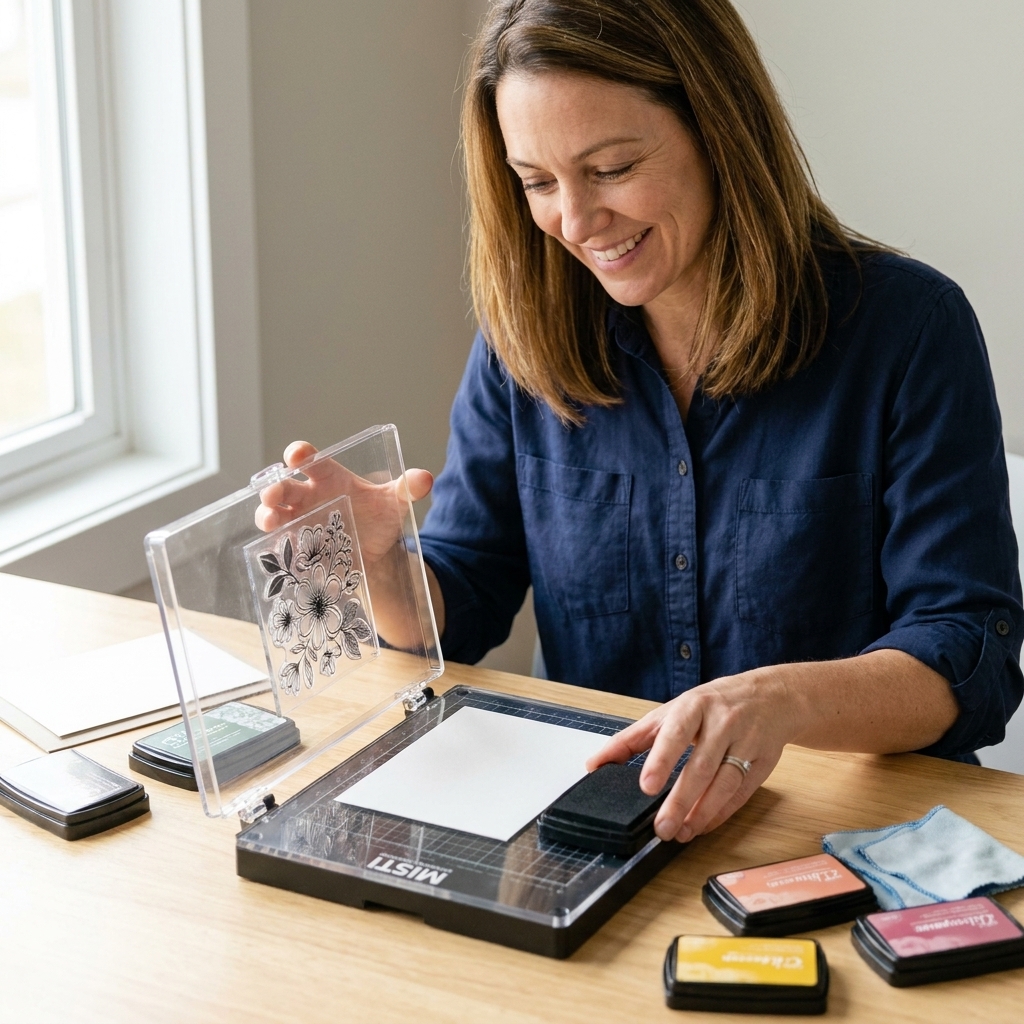
- Acrylic blocks or a stamp positioning tool (optional but very helpful)
- Cardstock
- Scrap paper for testing
- Stamp cleaning supplies (stamp shammy or gentle soap and water)
Quick note on stamp types: This works with rubber and clear photopolymer stamps. Patterns that are more deeply etched usually transfer more cleanly than super shallow textures.
Step by step
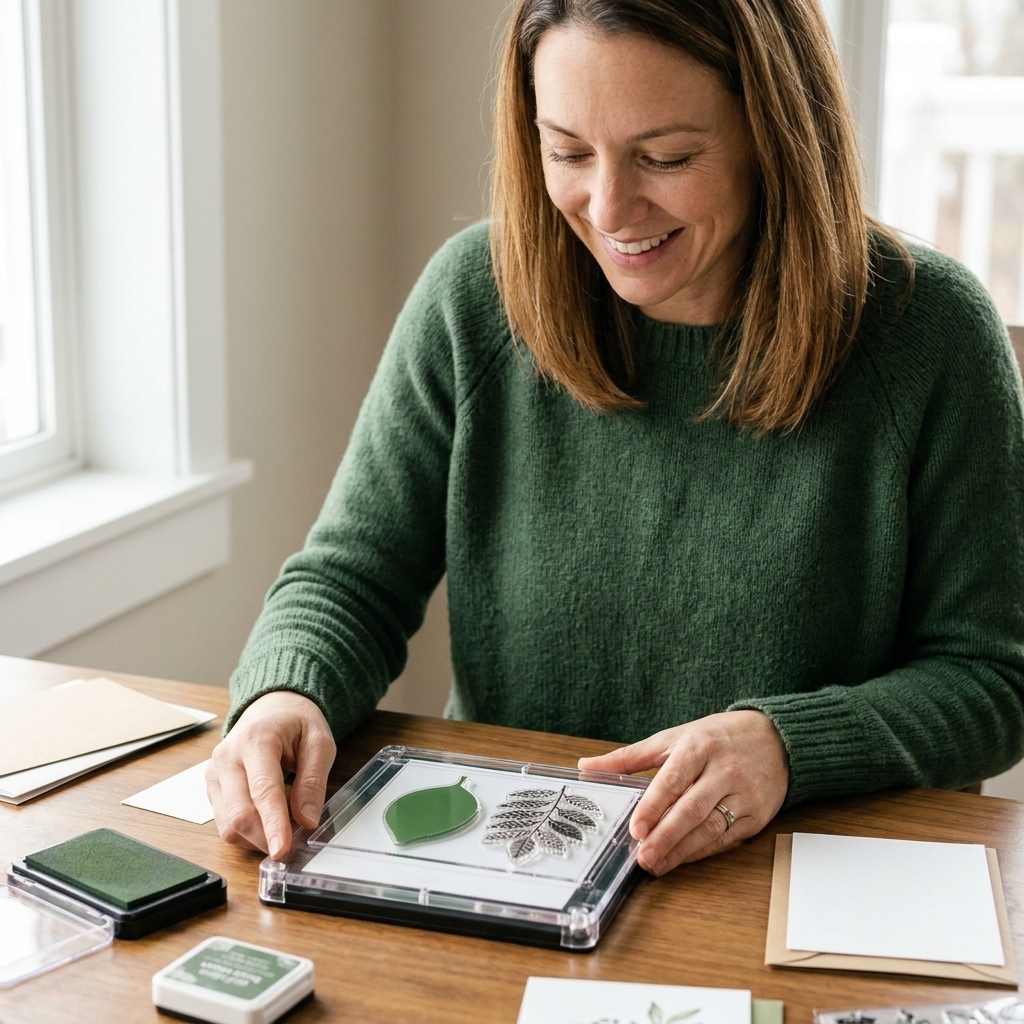
This is my go-to method because the pattern shows up clearly.
1) Ink the solid stamp
Ink your solid silhouette with a lighter or mid-tone ink color. Think: pale pink, soft sky blue, light gray, sand, or any base color you want to see behind the pattern.
2) Ink the patterned stamp
Ink the patterned stamp with a darker color for contrast. Deep brown on kraft, navy over pale blue, charcoal over gray, or even black for a crisp graphic look.
Tip: Try to keep your darker ink mostly on the patterned stamp face (not the sides) to avoid contaminating your lighter pad later. A quick wipe between colors helps a lot.
3) Kiss the stamps
Press the patterned stamp onto the inked solid stamp. Use even pressure. Do not wiggle. Press straight down, then lift straight up for the sharpest transfer.
4) Stamp to cardstock
Stamp the solid image onto your cardstock, then lift straight up. You should see the silhouette filled with the patterned detail.
5) Repeat and re-ink
For consistent results, re-ink both stamps before each impression. The patterned stamp usually needs re-inking every time.
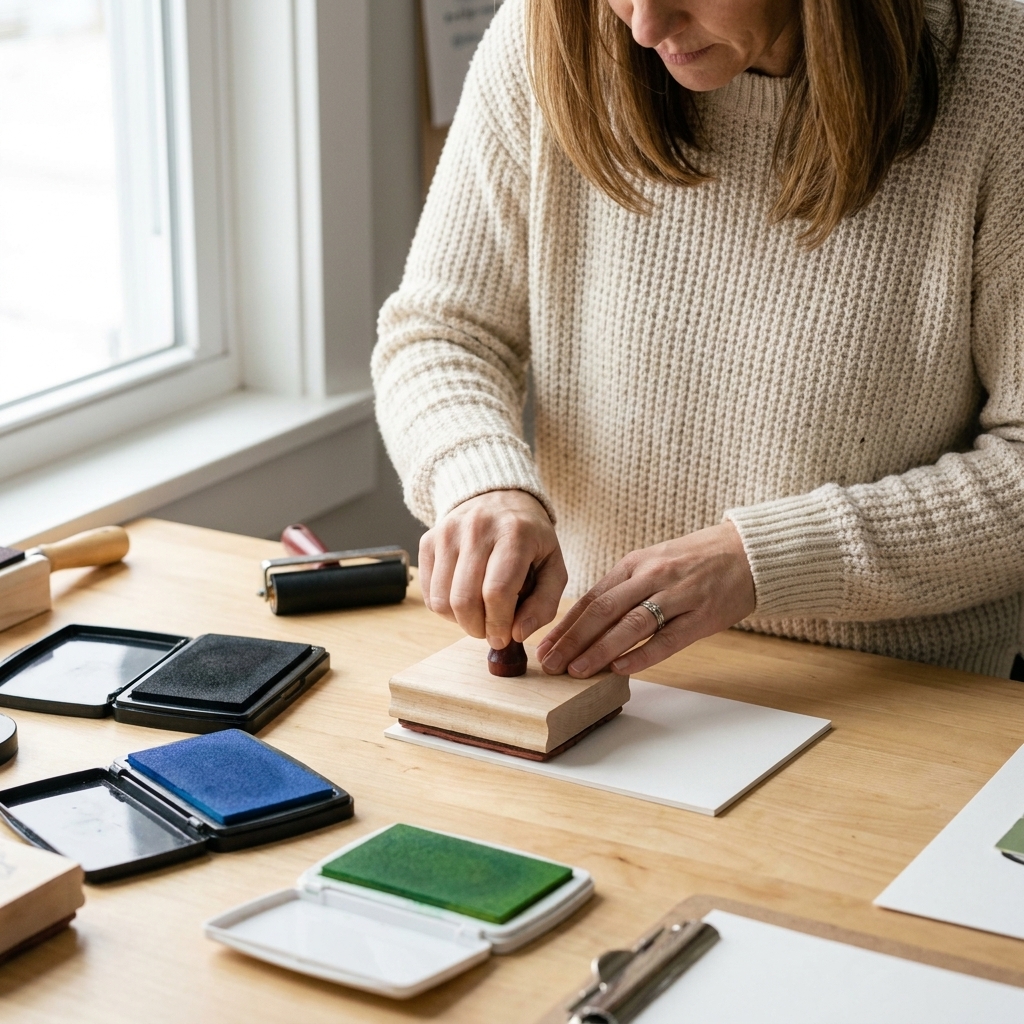
Easy variations
Tone on tone
Use the same ink color on both stamps for a subtle, elegant texture. This looks gorgeous on wedding cards, sympathy cards, and clean-and-simple designs. It is also a great way to add interest without making your focal image too busy.
Soft no-line look
Ink the solid stamp in a very light shade (or use second generation stamping, also called “stamp off once”), then ink the pattern in a medium shade. The pattern becomes the star, and the silhouette just gently frames it.
Tips for crisp transfers
Choose the right pattern size
Tiny patterns read best inside silhouettes. Large background stamps can work, but they often turn into a blob unless the silhouette is quite big.
Use a firm surface
If your pattern is not transferring well, move from a squishy mat to a firmer surface, or add a single sheet of cardstock under your paper for a little cushion. Too much cushion can blur fine detail.
Stamp off once
If your base color is overpowering the pattern, ink the solid stamp, then stamp once on scrap paper first. Your next impression will be lighter and leaves room for the pattern to shine.
Check direction
Patterns like script, diagonal stripes, or woodgrain have a right way up. Before you kiss, hover the pattern stamp over the solid stamp to check orientation.
Clean between colors
Because stamps touch each other in this technique, ink can transfer where you do not expect it. A quick wipe keeps your colors fresh and prevents muddy results.
Troubleshooting
The pattern looks patchy
- Re-ink the patterned stamp more generously.
- Press more evenly when kissing, especially in the center.
- If you want more opaque coverage, try a pigment ink (and give it extra drying time).
The pattern is blurry
- Do not rock or wiggle while kissing or stamping.
- Switch to a firmer stamping surface.
- Lighten your pressure. Too much force can squish details.
The silhouette edge disappears
- Use a slightly darker base ink on the solid stamp.
- Choose a less bold pattern so the silhouette edge stays defined.
- Stamp with a positioning tool so you can repeat the impression cleanly if needed.
The stamps slide when I kiss them
- If you are using clear stamps, mount both on acrylic blocks so you have a steady grip.
- Kiss on your desk surface instead of mid-air. Keep your wrists steady and press straight down.
Card ideas
Butterfly wings with script
Ink a butterfly silhouette in a pale color, then kiss with a tiny script stamp in a darker tone. Add a simple body with a fine pen and a sprinkle of gems.
Modern florals
Kiss a solid flower with a polka dot or gingham pattern. Stamp a few in different colors, then cut them out and pop them up with foam tape for quick dimension.
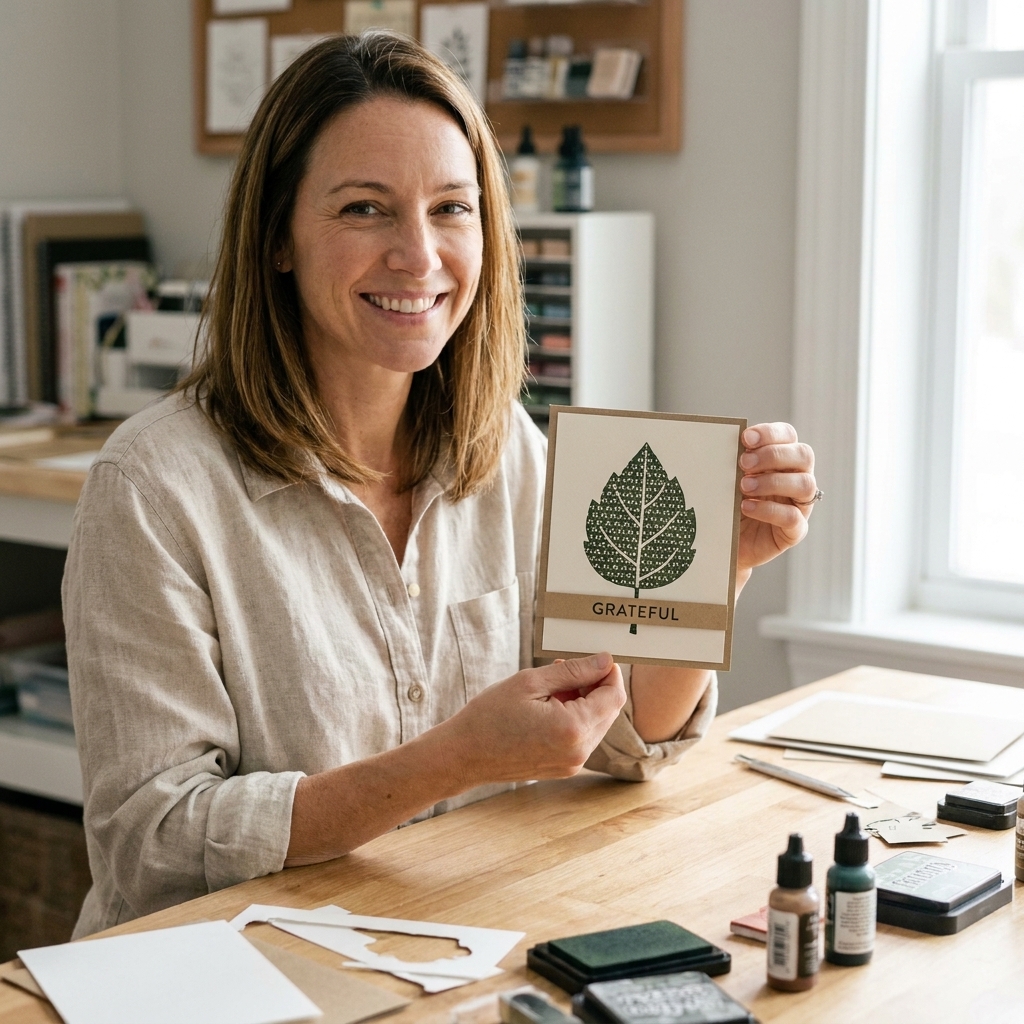
Patterned leaves for fall
Use a solid leaf silhouette and kiss with a small speckle or grainy texture stamp. Stamp in warm greens, rust, and mustard for instant autumn vibes.
Build a background without a background stamp
Make several kissed images in the same color family and repeat-stamp them around the edges of a card front. Leave the center open for a sentiment.
Pairing ideas
If you are not sure what to pair, here are combinations that almost always work:
- Solid hearts + tiny polka dots or mini florals
- Solid leaves + text, speckles, or subtle grunge textures
- Solid butterflies + lace-like patterns or small swirls
- Solid circles + script, music notes, or confetti dots
- Solid sentiment blocks + small geometric patterns (keep it light so the message stays readable)
My personal rule: if the pattern stamp looks pretty as a second-layer stamp on its own, it will probably kiss beautifully.
FAQ
Can I do this with clear photopolymer stamps?
Yes. Clear stamps work wonderfully because you can see placement. Just make sure they are well-mounted on blocks so they do not flex too much.
Do I need a stamping platform?
No, but it helps, especially if you want to stamp the final image twice for extra depth. A platform also makes it easier to keep your silhouettes consistent when making multiples.
What inks work best?
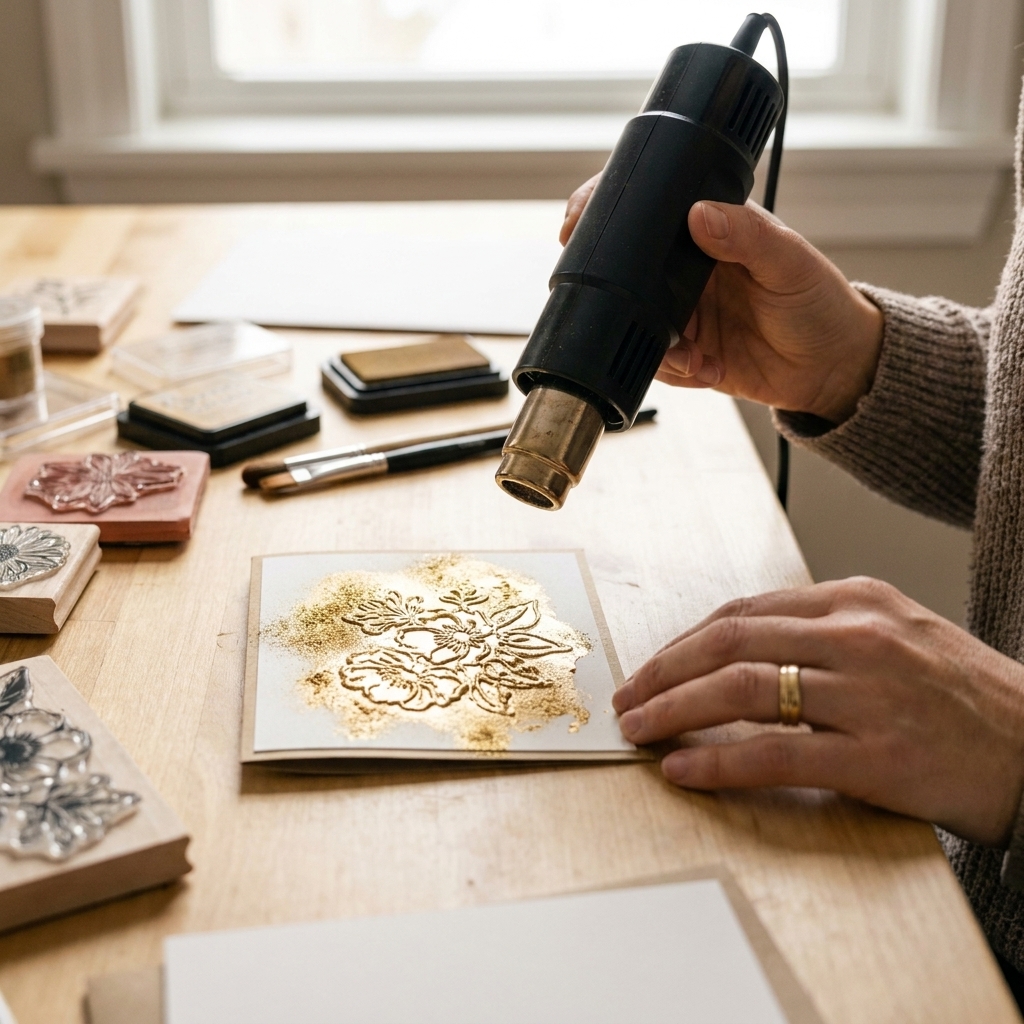
Dye inks are easy for clean transfers and quick drying. Pigment inks often give bolder pattern coverage but can take longer to dry, so plan on a little air-drying or a quick heat set to prevent smears. If you are heat embossing (also pretty with kissing), pigment inks or embossing ink are the way to go.
Will my stamps get ruined by touching each other?
No, kissing is gentle. Clean them afterward, especially if you are using pigment inks or very dark colors that can stain. Staining is usually cosmetic, and performance is typically unaffected if you clean gently and avoid harsh cleaners.
A little encouragement
If your first few tries look a little imperfect, you are doing it exactly right. This technique is all about pressure, ink amount, and finding stamp pairs you love. Grab your scrap paper, make a few test kisses, and you will feel that “ohhh!” moment quickly. And once you do, you will start eyeing every solid stamp in your stash like it is a blank sweater just waiting for a fun pattern.