If you have ever looked at a full, fluffy paper flower wreath and thought, How did they make that many flowers? without losing their mind, you are my kind of crafter. This project is one of my favorite “crafty marathon” makes because you can do it in little sessions: cut a stack one day, roll while watching a show the next, glue everything down on the weekend, and then stare at it like you personally invented spring.
Today I am walking you through a sturdy method for mass-producing spiral paper roses and mounting them securely onto either a foam wreath form or a wire wreath base. You will end up with a wreath that holds up beautifully, stores well, and can be refreshed each season with quick color swaps.
Supplies (and what actually matters)
You can absolutely make this with what you have, but a few choices up front will make the wreath stronger and the process faster.
For the flowers
- Cardstock (medium-to-heavy, about 65 lb to 100 lb cover weight): 80 lb cover weight is my sweet spot for roses that hold their shape but still roll nicely. (Paper weights can vary by brand, so if it feels like “nice invitation paper,” you are in the right zone.)
- Patterned paper (optional): use it as accents, not the whole wreath, unless it is a heavier weight. Lightweight scrapbook paper can crumple when rolled.
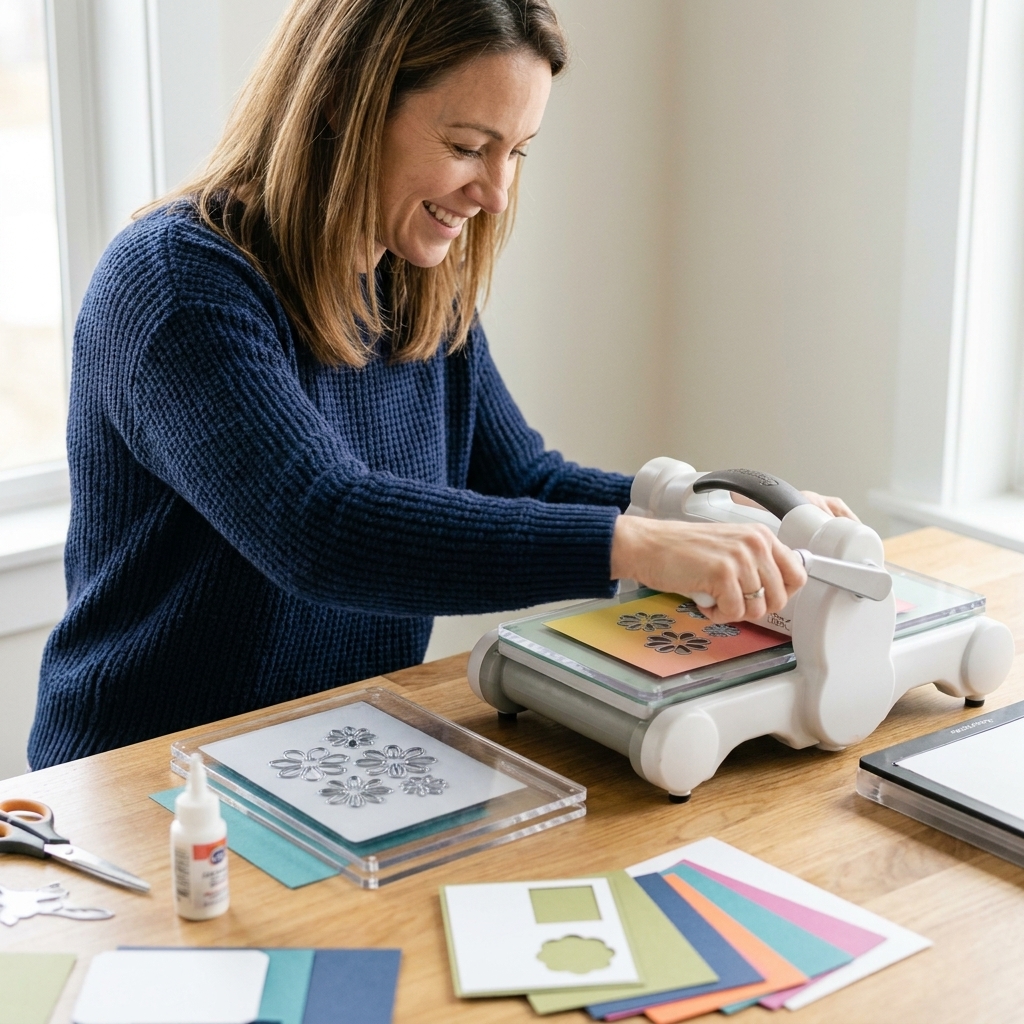
- Die-cutting machine + spiral flower die or a template you trace and cut by hand.
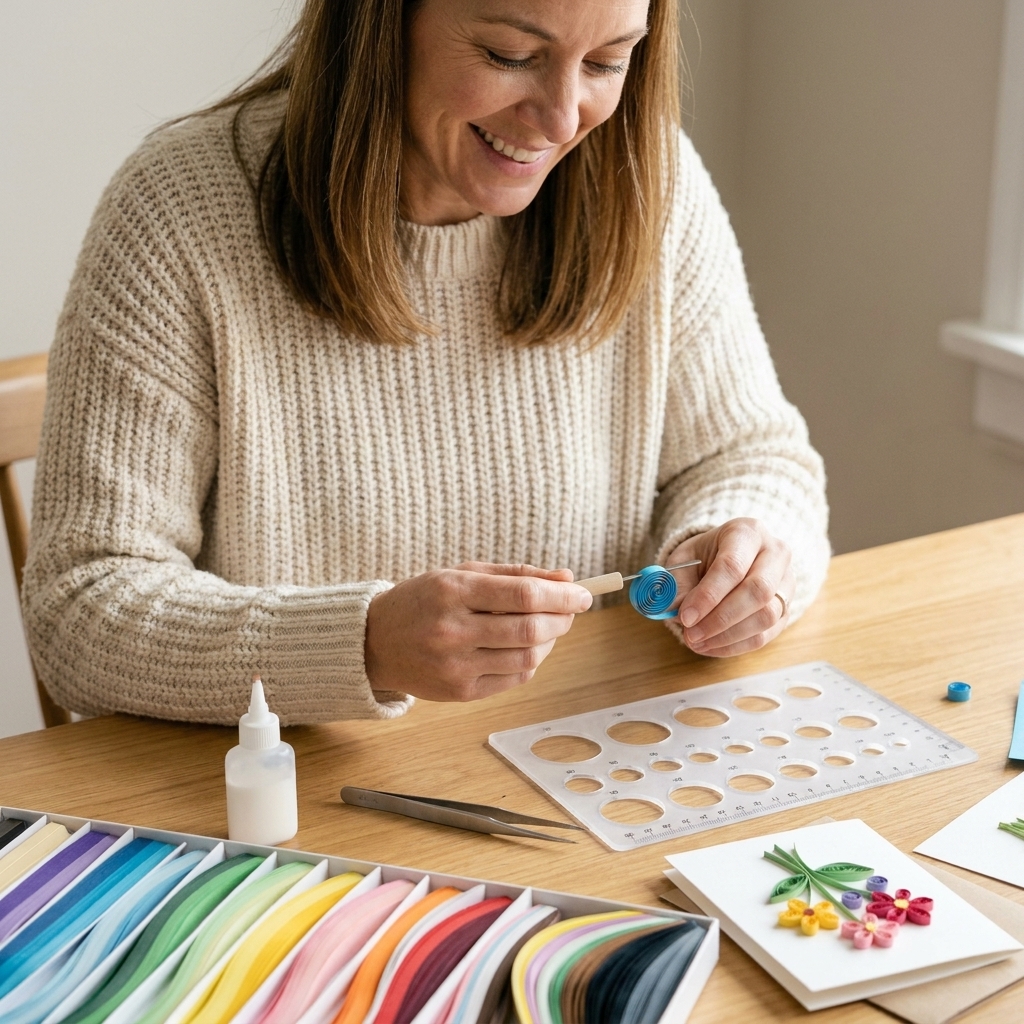
- Quilling tool or tweezers (optional but helpful): especially if your fingers get tired rolling.
- Hot glue gun with mini glue sticks or tacky glue (more on adhesives below).
For the wreath base
- Foam wreath form (10 to 14 inch outer diameter): easiest for beginners and very secure.
- Wire wreath frame (12 to 16 inch): lighter look, great for a more airy design.
- Ribbon, twine, or yarn to wrap the form (recommended for wire bases, optional for foam).
- Felt circles (1 to 2 inch): these are your best friend for wire wreath mounting.
Tools that save your sanity
- Sharp scissors or a craft knife with a fresh blade.
- Bone folder (optional): for curling leaves or shaping petals.
- Silicone finger protectors or a silicone craft mat: hot glue happens fast.
Quick safety note: hot glue burns are real. Keep a bowl of cool water nearby, and if you use spray sealer later, do it with good ventilation and follow the can instructions.
Pick paper that holds its shape
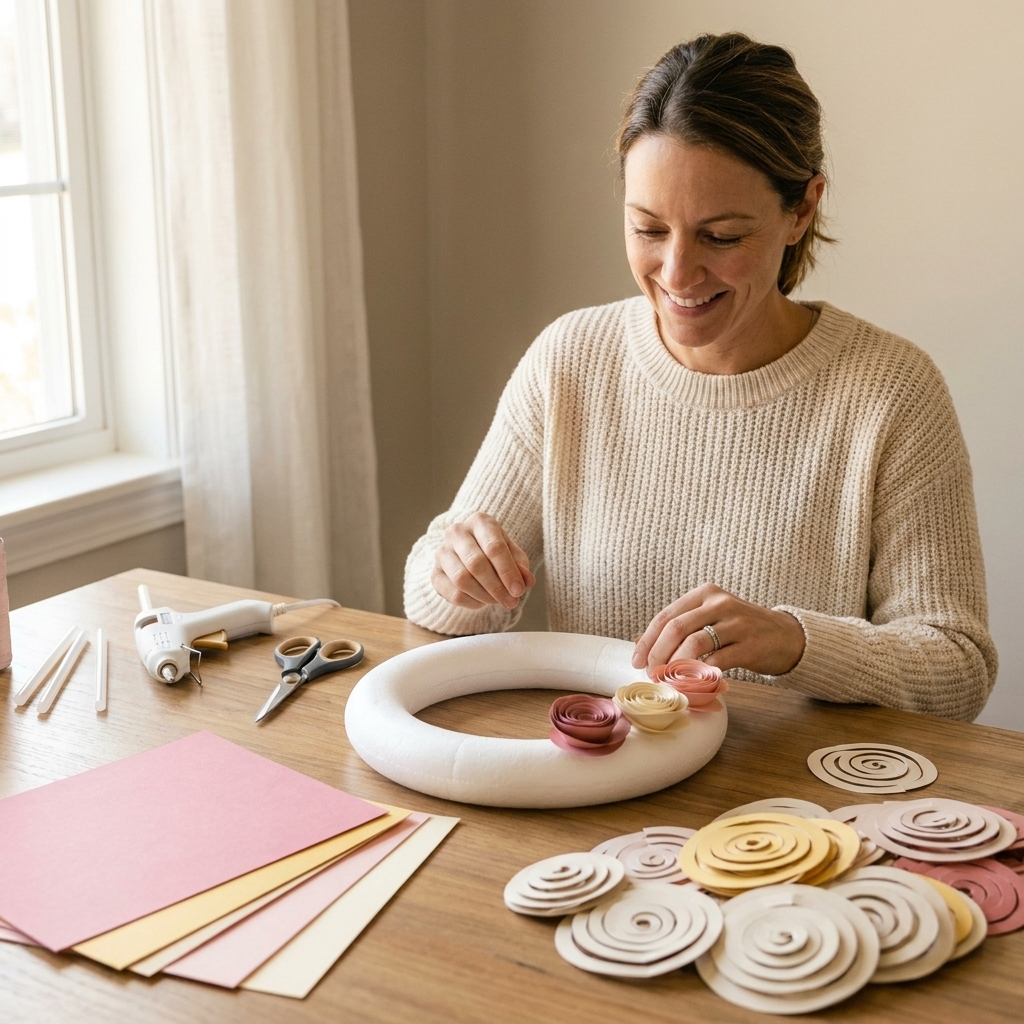
Paper choice is the difference between roses that look like little sculptures and roses that look like sad pinwheels. Here is my quick cheat sheet:
- Everyday roses: medium-to-heavy cardstock (about 80 lb to 100 lb cover weight), solid colors, light texture is fine.
- Vintage look: cream, kraft, muted florals, and inky edges with distress ink.
- Bright modern: smooth cardstock in bold solids, plus a few metallic or glitter accents (use sparingly for cutting ease).
- Outdoor covered porch: use heavier cardstock and seal lightly with a clear matte spray sealer if humidity is an issue. Keep it out of direct rain and harsh sun.
If you are mixing patterned paper, make sure it is not too thin. Thin paper can still work, but it tends to crease instead of curl, which makes the petals look crinkly.
How many roses do you need?
The honest answer is: more than you think, and then a few more. The good news is spiral roses roll up quickly once you find your rhythm.
Ballpark counts
These ranges assume full coverage around the whole ring on a foam wreath form (outer diameter listed), using mostly medium spirals that roll into roses about 2 to 2.5 inches wide.
- 10 inch foam wreath: about 35 to 55 roses
- 12 inch foam wreath: about 55 to 80 roses
- 14 inch foam wreath: about 75 to 110 roses
Flower size matters. Big spirals fill space faster, smaller spirals give that “wow, that is lush” density. I like a mix: about 70 percent medium roses, 20 percent small, 10 percent larger statement roses.
If you are doing front-only coverage (just the front half of the wreath), you can often cut that count by roughly a third to a half, depending on how deep your flowers are.
Mass-produce roses (my batching system)
If you try to do one flower start to finish and repeat 80 times, it can feel endless. Instead, batch it like you are running a tiny paper flower bakery.
Batch 1: Cut everything
Cut all your spirals first. If you are using a die, run your cardstock through until you hit your target count. If you are cutting by hand, trace a template, stack two sheets (max), and cut slowly so your spiral stays smooth.
Tip: Keep spirals sorted by size in little bowls or zip bags. It makes rolling faster and helps you distribute sizes evenly later.
Batch 2: Pre-shape (optional but pretty)
Gently curl the outer edge of each spiral with your fingers or a bone folder. This softens the look and helps petals flare naturally.
Batch 3: Roll and glue bases
Roll each rose and glue its base tab as you go, then set it aside. Once all roses are made, do a separate glue session to mount everything to the wreath. Splitting it this way keeps you moving and prevents the “why is my glue string everywhere” spiral.
Roll a spiral rose that stays put
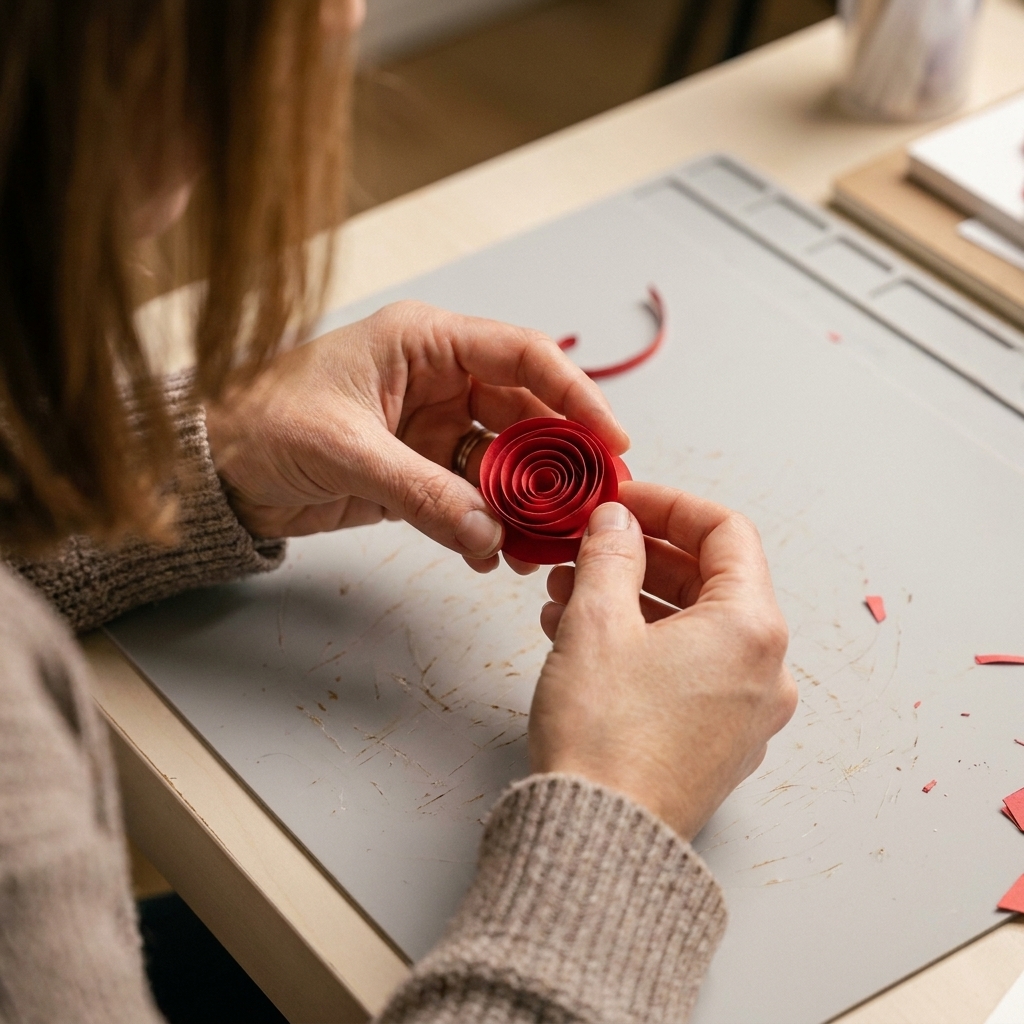
Spiral roses are magical because the shape does most of the work for you. The key is consistent tension and a solid glue base.
Start at the outer end of the spiral (the skinny tail).
Begin rolling tightly, keeping the bottom edge aligned as you go. If the bottom stays even, the rose will sit flat.
Loosen slightly after the first few turns so the petals can breathe. Tight center, softer outside is the goal.
When you reach the end, you will see a little circle or tab at the center of the spiral. That is your built-in base.
Add glue to the base tab and press the rolled rose down into it. Hold for 10 to 15 seconds.
Let it relax. If you want a fuller bloom, gently tug the outer petals outward.
Hot glue vs tacky glue
- Hot glue: fast, secure, great for wreaths that get handled. Low-temp is ideal for foam. If you only have high-temp, test a tiny spot on the back of your foam form first to make sure it does not melt or crater.
- Tacky glue: gives you a little working time and dries strong, but you need drying time before mounting.
My grandmother used to say: let the glue do the work, not your grip. If you squeeze too hard while rolling, your petals look crushed. Gentle hands, firm base.
Leaves and fillers
You can absolutely do an all-rose wreath, but a few leaves or filler flowers make it look professionally designed, even if you are crafting in pajama pants.
Quick leaf options
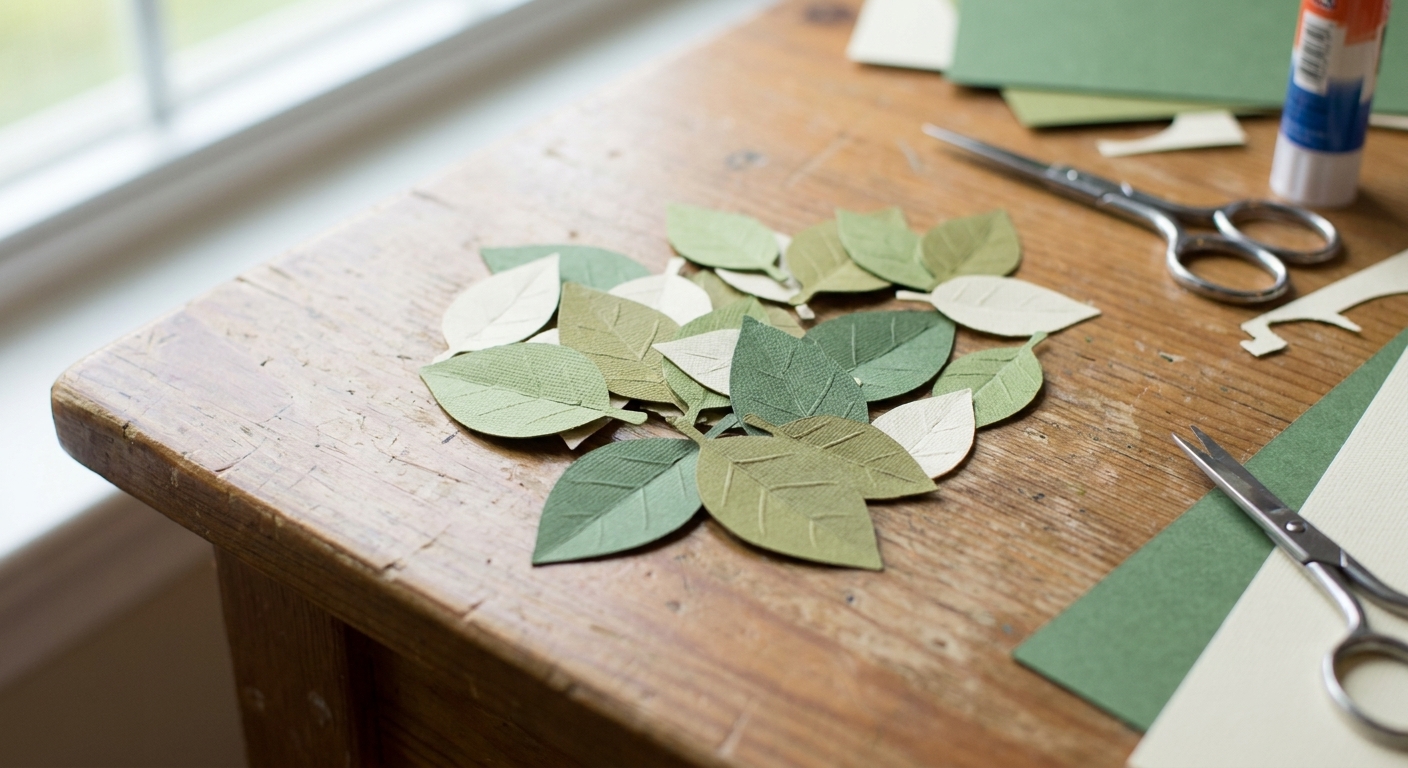
- Die-cut leaves: fastest and cleanest.
- Hand-cut teardrops: fold a small rectangle, cut a leaf shape, unfold.
- Book page or vellum leaves: beautiful texture for neutral wreaths.
To shape leaves, run a bone folder down the center to create a vein, then curl the edges slightly.
Build the wreath base
Your base choice affects how you attach flowers and how heavy the wreath feels on the door.
Option A: Foam wreath form
Wrap the foam with ribbon, fabric strips, or kraft paper if you want a clean background. This is optional, but it helps hide gaps.
Create a hanging loop by pinning or gluing a ribbon piece at the back.
Plan your coverage: full coverage (flowers everywhere) or front-only coverage (lighter, uses fewer flowers).
Attachment method: Hot glue flowers directly onto foam. Press firmly for a few seconds so the glue sinks slightly into the surface.
Option B: Wire wreath frame
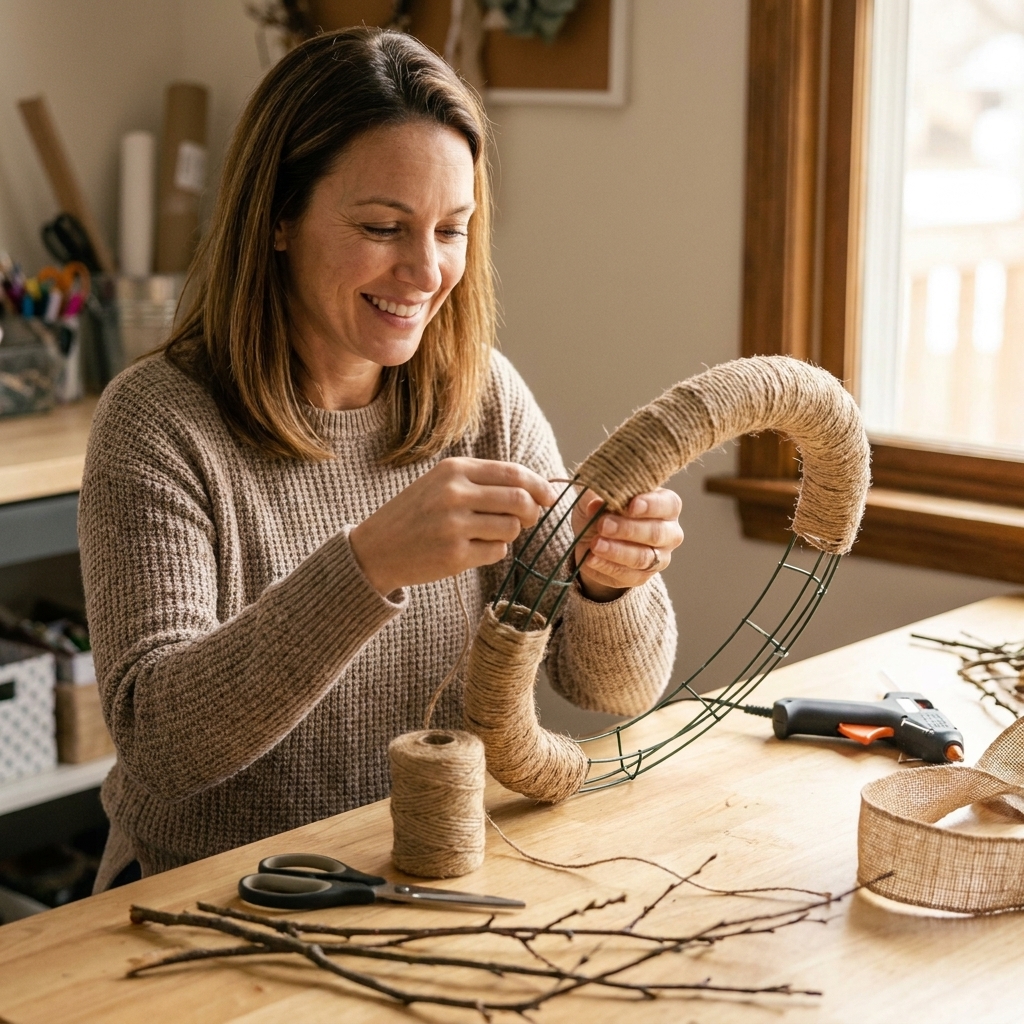
Wrap the frame with ribbon, twine, yarn, or floral tape. This gives glue something to grip and helps prevent flowers from popping off later.
Make felt-backed flowers: glue each rose onto a felt circle first. This creates a flat platform.
Glue felt circles onto the wrapped wire frame, tucking them between wires for extra hold.
Why felt helps: Hot glue does not love smooth metal on its own. Felt gives the glue fibers to bite into. Wrapping the frame also adds texture and friction.
Arrange without overthinking
This is the part where people get stuck. So here is the rule that keeps me calm: cluster, then fill.
Step-by-step layout
Pick a focal area (bottom right, bottom center, or one side). Asymmetrical clusters look modern and pretty year-round.
Place your largest roses first in that focal area.
Add medium roses around them, changing directions so the spirals do not all spin the same way.
Tuck in small roses to fill gaps and add depth.
Add leaves and fillers last, sliding them under petals so they look naturally layered.
Dry-fit tip: Before gluing, set flowers on the wreath and take a quick phone photo. Your camera will spot awkward gaps your eyes forgive.
Make it durable
A wreath gets bumped, hung, stored, and sometimes attacked by overexcited pets. Let’s build it tough.
My strongest glue routine
- Glue in two steps: dab glue on the base, press the flower down, then add a tiny bead around one side where the rose meets the wreath. This creates a little glue ridge that resists popping.
- Stagger contact points: make sure flowers touch the wreath base, not just other flowers.
- Keep the back flatter: avoid big glue blobs near the inner circle so it does not rock on the door.
If you want removable flowers
For seasonal swaps, you can mount flowers to the base with small dots of hot glue (easy to peel later) or use hook-and-loop dots on felt-backed flowers. This works best on wrapped foam or a ribbon-wrapped wire frame.
Hang it nicely
For hanging, a standard wreath hanger works, but here are two little upgrades that make life easier:
- Protect your door: add a couple of small felt pads to the back of the wreath where it might rub.
- Heavy wreath option: a sturdy removable hook can be great for foam forms. Just follow the weight rating and surface directions for your door.
Color ideas by season
This is my favorite part because you can change the whole mood with just paper.
Spring
- Blush pink, buttery yellow, soft lavender
- Add: fresh green leaves, tiny white filler blooms
Summer
- Coral, bright white, aqua, sunny orange
- Add: bold greenery, a big bow, a few citrus-y patterned accents
Fall
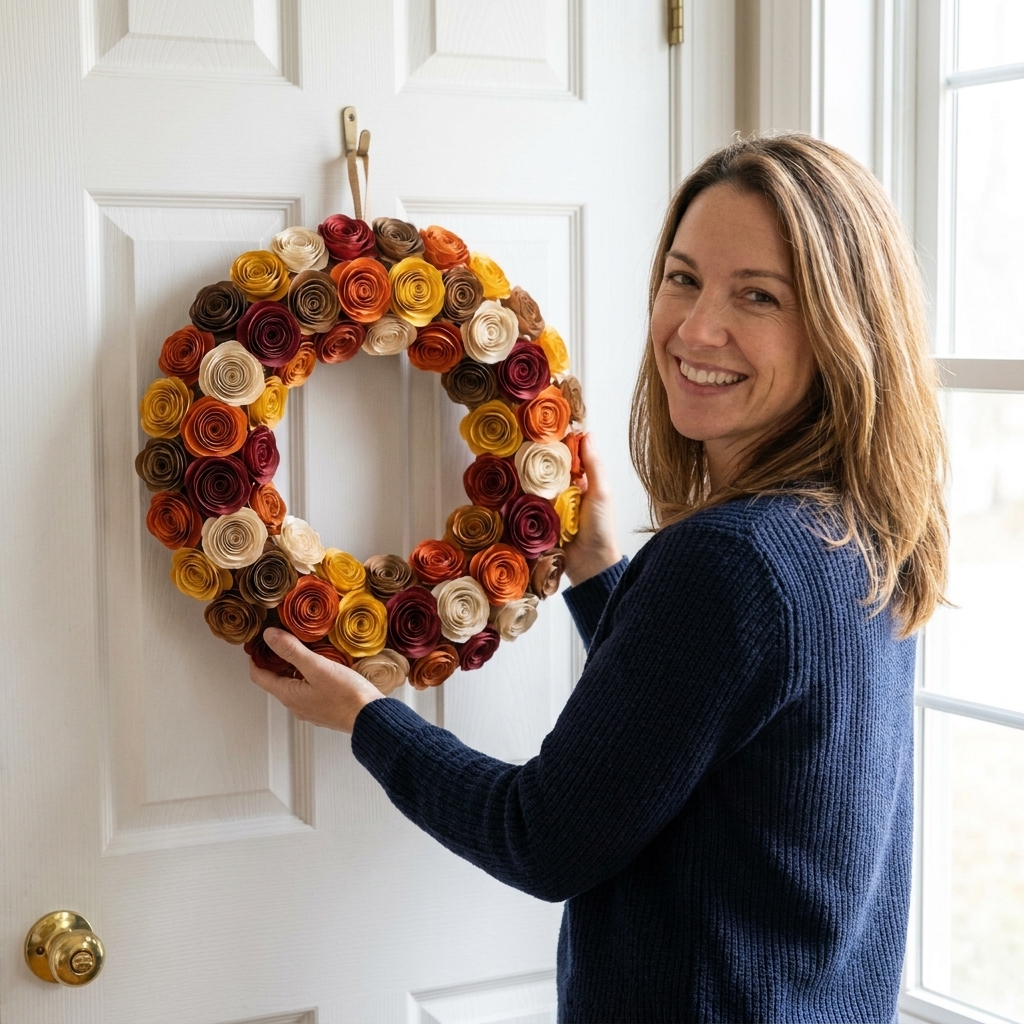
- Terracotta, mustard, deep cranberry, kraft neutrals
- Add: copper cardstock leaves, a little burlap ribbon
Winter
- Ivory, evergreen, deep red, soft gray
- Add: silver accents, frosted-looking pearls, pine-like paper sprigs
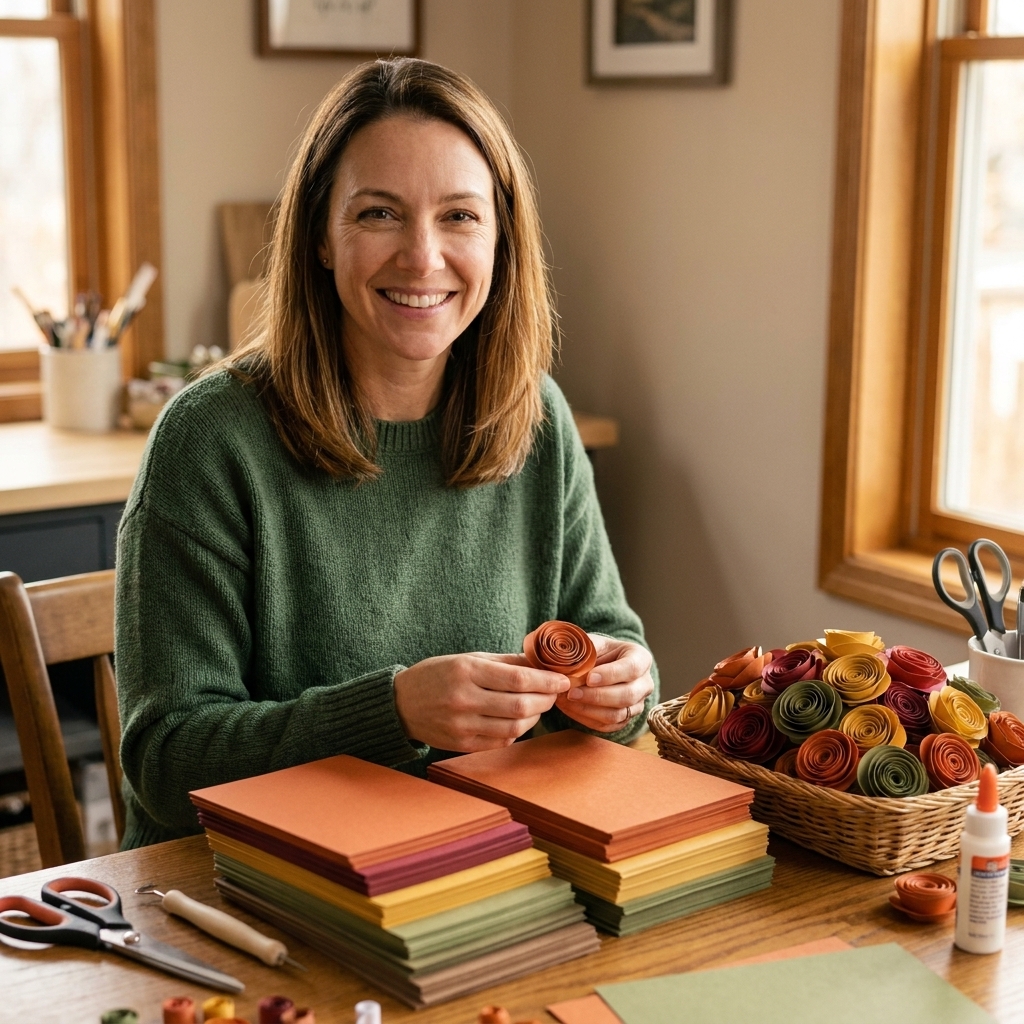
Finishing touches
- Ink the edges: a light swipe of distress ink on petal edges adds instant dimension.
- Add a bow: attach it with floral wire through the base, then secure with glue.
- Mix textures: matte cardstock roses plus a few pearl or metallic centers looks gorgeous.
- Cover any peeks: if you see foam, tuck in a leaf or a tiny rosebud. Little gap busters are lifesavers.
A clean back (optional)
If you want a really polished finish (and a little extra door protection), cut a piece of felt or cardstock to fit the back inner opening and glue it on. Leave space for your hanging loop.
Troubleshooting
My roses keep unrolling
Roll tighter at the center and use a generous glue dot on the base tab. Hold longer than you think you need, especially if your glue gun is low-temp.
The wreath looks lumpy
Mix sizes and rotate directions. If everything is the same size and facing the same way, it can look like a repeat pattern.
Flowers pop off a wire frame
Wrap the wire first and use felt circles under each flower. Smooth metal plus hot glue alone is not the strongest long-term combo.
My fingers hurt from rolling
Use a quilling tool or tweezers for the first few turns. Also try rolling in short sessions, like 15 flowers at a time.
Storage and care
Paper wreaths store better than you would expect if you give them a little space.
- Store flat in a large box with tissue paper around the edges.
- Avoid crushing by keeping nothing stacked on top.
- Dust gently with a clean, dry paintbrush.
- Keep away from moisture and direct outdoor exposure.
FAQ
Can I use regular scrapbook paper for spiral roses?
You can, especially for accent flowers, but lightweight paper can wrinkle when rolled. If you love a pattern, try backing it with a thin cardstock layer or use it for leaves and small pops of detail.
What size wreath form is best for a first try?
A 10 to 12 inch foam wreath (outer diameter) is the easiest starting point. It is forgiving, sturdy, and not overwhelmingly large.
How long does it take to make a full wreath?
It depends on your tools and your flower count. With a die-cut machine and batching, many crafters finish in about 3 to 8 hours. If you are cutting by hand or making 90 to 110 roses, plan for the higher end and enjoy it in cozy sessions.
Can I hang it on a front door?
Yes, as long as it is protected from rain and heavy humidity. Under a covered porch is ideal. Use a wreath hanger so you are not squishing flowers in the doorframe.
One last little push
If you are hesitating because you think you do not have the patience for that many flowers, I promise you: once you roll the first five, your hands find the rhythm. Put on a favorite show, make a cup of tea, and treat it like a slow craft night with a friend. A handmade wreath is a hug folded in half and then multiplied by about eighty roses.
When you make yours, try a seasonal palette and tuck one patterned-paper rose in as a tiny signature. That is my favorite trick for making a wreath feel personal, like it belongs to your home.