If you have ever looked at a quilled flower on a card and thought, “That is gorgeous, but I could never,” I am here to lovingly call your bluff. Quilling is one of those paper crafts that looks wildly fancy, yet the basics are simply rolling, pinching, and gluing paper strips. Once your fingers learn the motion, it becomes the most soothing little craft session, especially with a cup of tea nearby.
This beginner’s guide will walk you through the tools you actually need, how to pick paper strips that behave nicely, and the 10 most common shapes you will use again and again on cards, tags, and scrapbook pages.
What is paper quilling
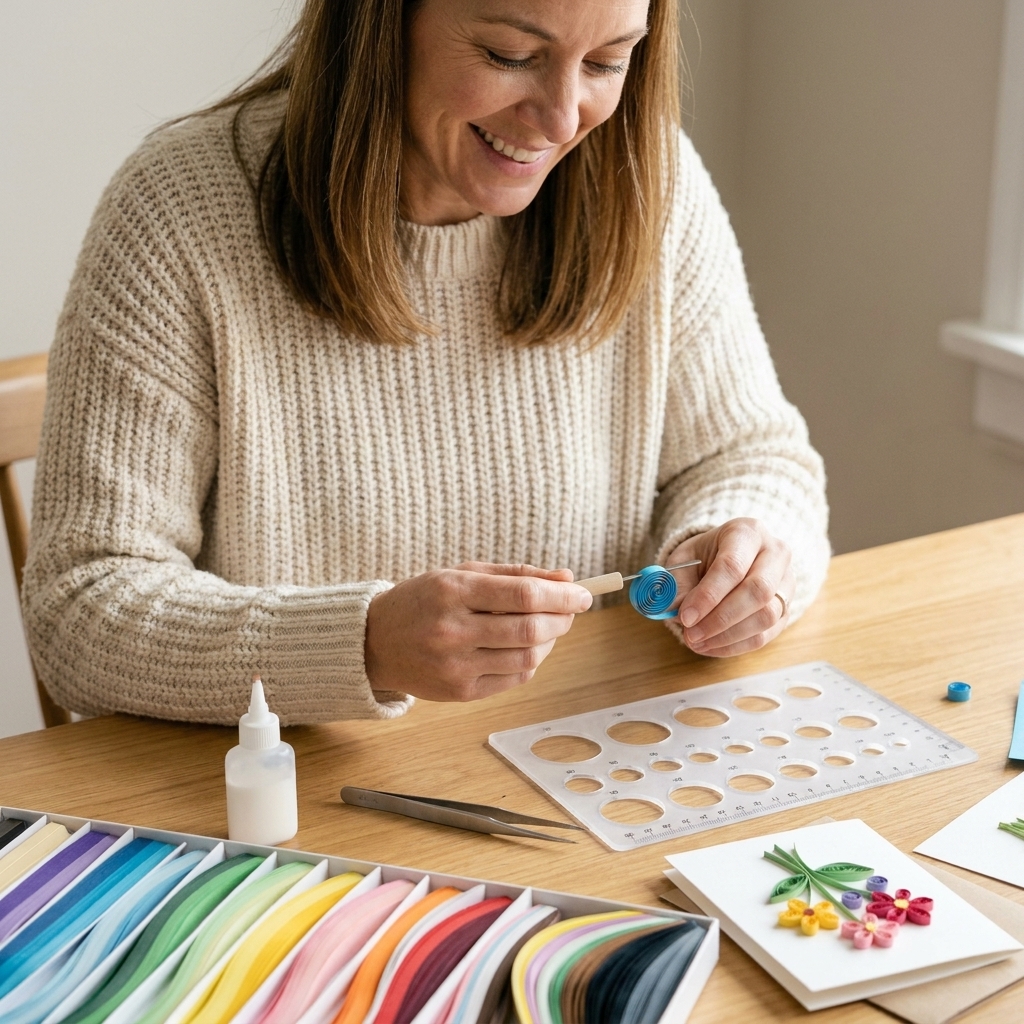
Paper quilling (also called paper filigree) is the art of rolling thin strips of paper into coils and shaping those coils into petals, leaves, scrolls, and accents. For card making, it is a dream because:
- It adds instant dimension without bulky embellishments.
- It is lightweight, so cards still mail well if you keep the design flatter.
- It is customizable, meaning you can match any color palette, theme, or season.
- It stretches your supplies. A few packs of strips can last a long time.
Think of quilling as the “stitched detail” of the paper world. Small touches make a big impact.
Essential quilling tools
Must-haves
- Quilling tool: A slotted tool is the easiest for beginners because it grabs the end of the strip. A needle tool can create tighter-looking coils with practice, but it can feel fiddlier at first.
- Quilling paper strips: Pre-cut strips save time and give consistent results.
- Glue: Use a fast-grab, tacky craft glue or PVA in a fine-tip bottle. You want control, not puddles.
- Tweezers: For placing tiny shapes and holding ends while glue sets.
- Small scissors: For trimming strip ends neatly.
Nice-to-haves
- Circle sizer ruler or quilling board: Helps you make consistent loose coils (great for matching petals).
- Quilling comb: Perfect for fringed flowers and looped designs later on.
- Crimping tool: Adds texture to strips for fun backgrounds.
- Needle-tip glue bottle: The best upgrade if you are heavy-handed with glue (no judgment, I have been there).
- Foam mat and pins: Helpful for holding shapes in place while assembling a design.
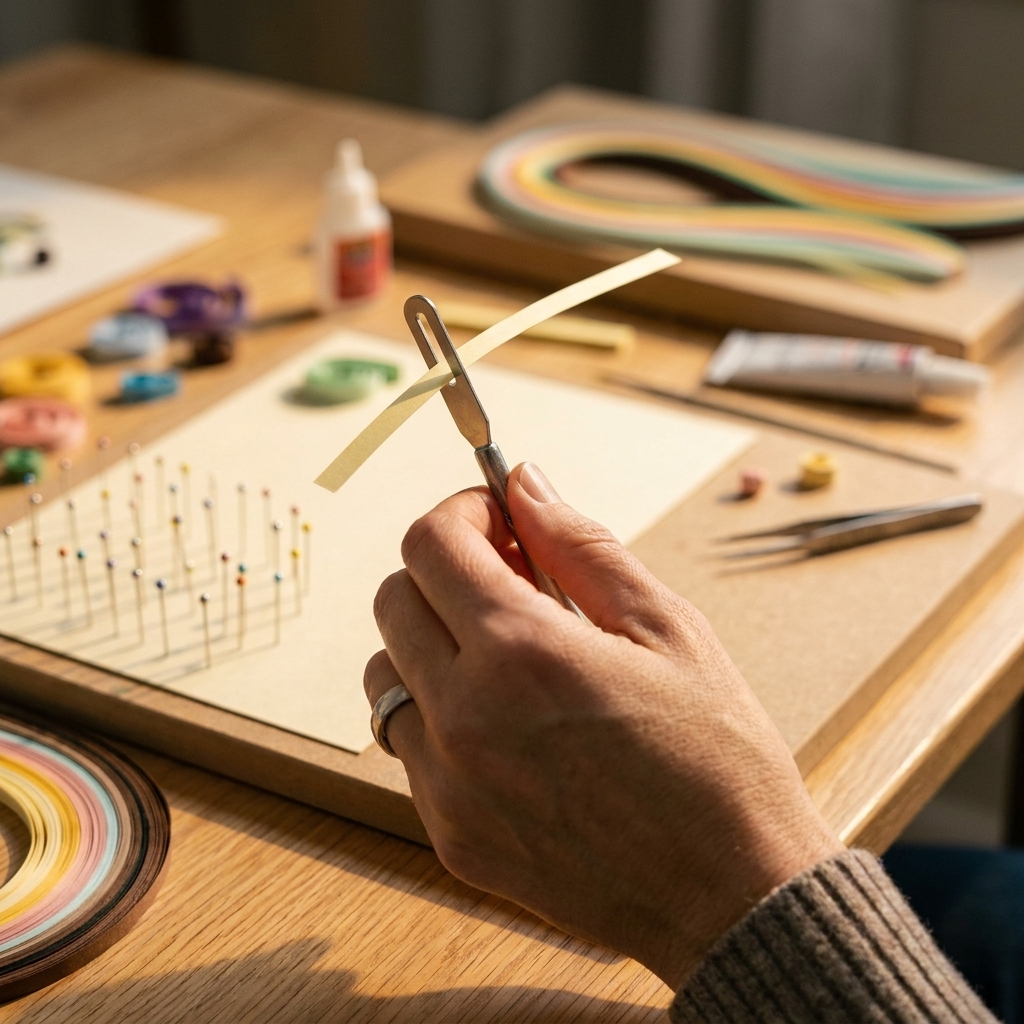
Choosing quilling paper strips
Paper choice matters more than you would think. The right strip makes learning feel smooth, and the wrong strip can make you feel like you have butterfingers. Here is what to look for.
Width
- 3 mm (1/8 inch): The most common beginner size. Great for cards, flowers, and shapes that hold detail.
- 5 mm (3/16 inch): Slightly bolder look, easier to handle if you want bigger petals fast.
- 1.5 mm (1/16 inch): Beautiful for delicate work, but I suggest waiting until your rolling feels comfortable.
Weight and finish
- Standard quilling strips (often around 100 to 160 gsm depending on brand) roll well and keep their shape.
- Metallic and pearl strips are pretty but can be springier. Save them for accents once you have the basics.
- Solid-color core strips look cleaner on the edge. If the core is white, you may see a pale line in the coil.
Length
Common pack lengths include about 17 inches and 24 inches. Longer strips make larger coils. You can always cut down a strip, but you cannot magically add paper once you have rolled the whole thing up.
My beginner-friendly tip
Start with 3 mm strips in a small, coordinated palette (think: greens, two pinks, a cream, and a gold). It keeps projects cohesive while you practice.
Quilling basics
How to roll a tight coil
- Insert the strip end into the slot of your tool.
- Roll with steady tension, keeping the strip aligned so it does not climb up or down.
- When you reach the end, add a tiny dot of glue and hold for a few seconds.
How to make a loose coil
- Roll a tight coil first.
- Let it relax in your fingertips, or place it in a circle sizer hole until it opens to the size you want.
- Glue the end down once it is the right diameter.
Glue control
Use less glue than you think. I like to put a tiny dot on a scrap of cardstock, then touch the paper end into the dot. If glue squishes out, you used too much, but do not panic. Let it dry, then gently rub away residue with a clean finger or a craft eraser.
One more tiny trick: minimal glue also helps prevent cardstock from warping, especially on lighter card fronts.
Quilling rule I live by: If you can just see a slight sheen right at the seam, that is usually enough.
10 basic quilling shapes
These are the shapes you will use constantly for flowers, leaves, hearts, butterflies, and borders. Practice them in a few sizes, then start mixing and matching like paper building blocks.
1) Tight coil
Best for: flower centers, dot accents, berry clusters.
- Roll the strip with firm, even tension.
- Glue the end down without letting it relax.
2) Loose coil
Best for: petals, leaves, fillers, and most shaped elements.
- Roll a tight coil.
- Let it expand to your desired size.
- Glue the end.
3) Teardrop
Best for: petals, leaves, raindrops, little balloon clusters.
- Make a loose coil and glue the end.
- Pinch one side into a point.
- Round the opposite side with your fingertips.
4) Marquise (eye)
Best for: leaf shapes, petals, wings.
- Make a loose coil and glue the end.
- Pinch two opposite sides to form points.
- Adjust so both points feel even.
5) Oval
Best for: berries, simple petals, soft accents.
- Make a loose coil and glue the end.
- Pinch lightly on two opposite sides, but keep the ends rounded instead of sharp.
6) Square
Best for: geometric designs, modern backgrounds, mosaic-style patterns.
- Start with a loose coil and glue the end.
- Pinch to make a marquise first (two points).
- Rotate 90 degrees and pinch the other two sides to form four corners.
7) Rectangle
Best for: stacked borders, quilt-style card fronts.
- Make a loose coil and glue the end.
- Create four corners like a square.
- Gently press two opposite sides to lengthen the shape.
8) Triangle
Best for: tree shapes, banners, modern motifs.
- Make a loose coil and glue the end.
- Pinch three points around the coil, spacing them evenly.
- Flatten the sides slightly to define the triangle.
9) Half-moon
Best for: smile shapes, petals with a curve, scalloped borders.
- Make a loose coil and glue the end.
- Hold the coil between your fingers.
- Pinch opposite sides gently, then press one side flatter to form a crescent curve while the other side stays rounded.
10) Scroll (basic open scroll)
Best for: flourishes, vines, whimsical details, filler curls.
- Do not glue the strip end.
- Roll one end inward, then roll the other end inward in the opposite direction.
- Adjust the scroll openings to match each other.
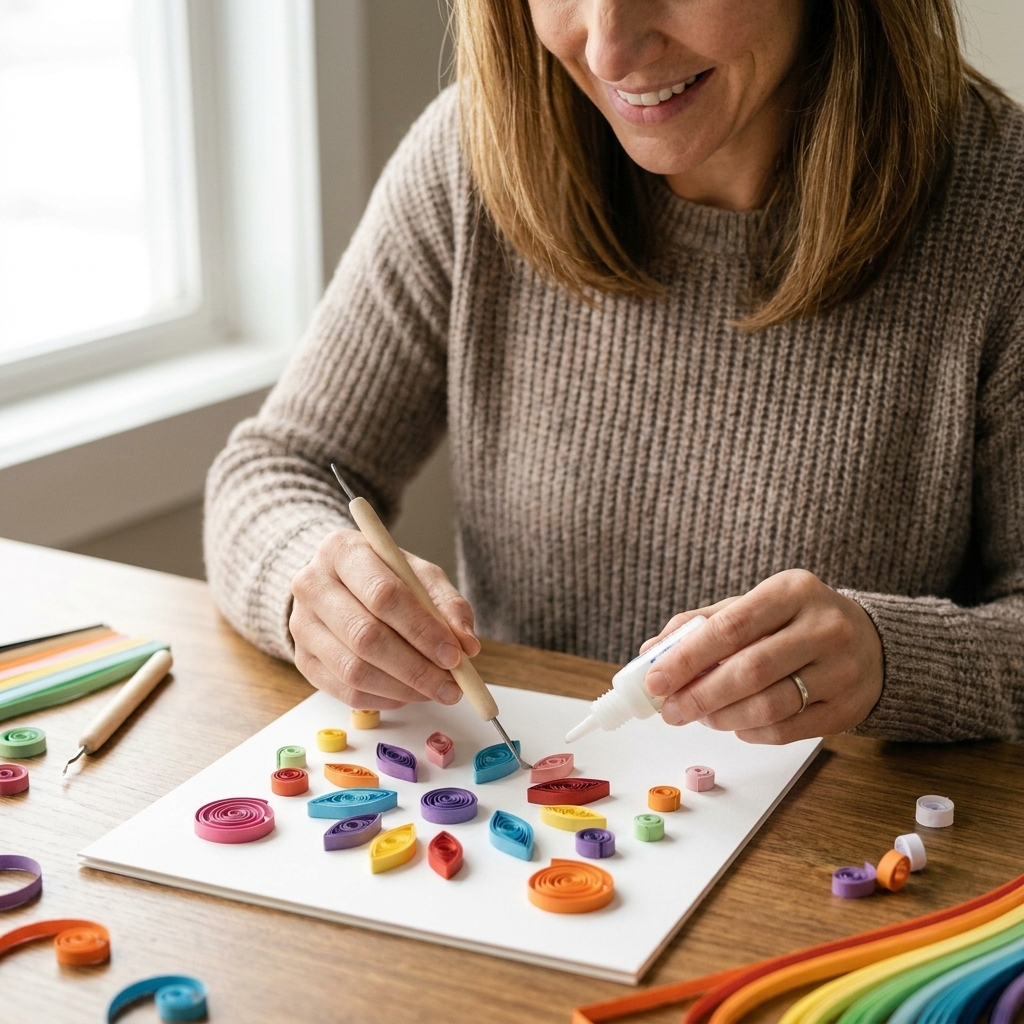
Using shapes on cards
Easy starter card ideas
- Simple quilled flower: 1 tight coil center + 5 to 7 teardrops as petals + 2 marquise leaves.
- Heart motif: Two teardrops placed tip-to-tip make a sweet heart shape.
- Butterfly: Two marquise shapes for top wings + two smaller teardrops for bottom wings.
- Modern cluster: Mix loose coils, squares, and triangles in a corner for a geometric accent.
Quick sizing tip
If you hate guessing (same), start your first petals with a loose coil around 10 to 15 mm wide. Smaller looks delicate, bigger looks bold. Either way, keeping them consistent is what makes a flower look “finished.”
Adhesive tips for card fronts
- Apply glue along the outer rim or seam of the quilling shape, not pooled in the open center.
- Use tweezers to set pieces in place without squishing them.
- Work in small sections so your glue does not dry before you place the piece.
- Let quilled elements dry fully before you close the card or slide it into an envelope.
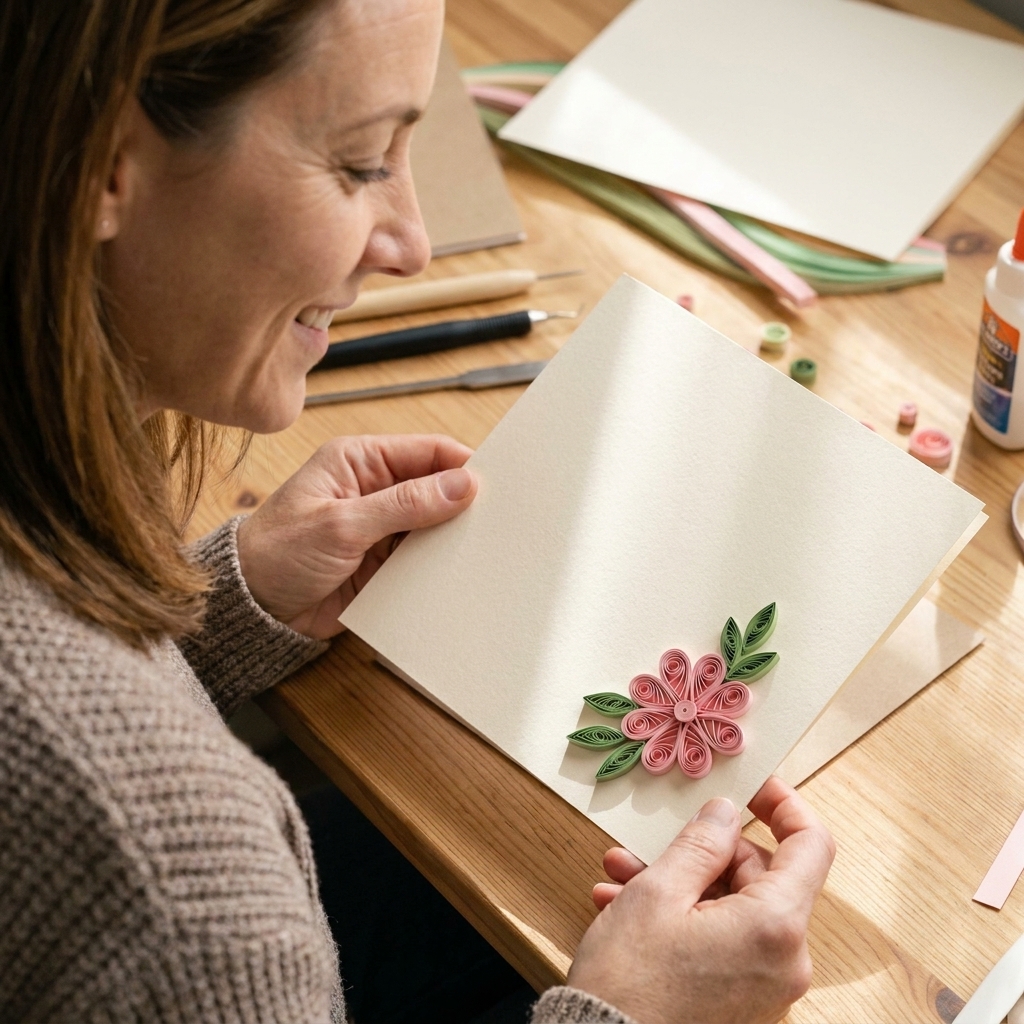
Beginner mistakes
- Your coils pop open while shaping: You probably glued too late. Let the coil relax to size first, then glue the end and hold for a few seconds.
- Shapes look uneven: Make several coils to the same diameter using a circle sizer. Consistent coil size makes consistent petals.
- Glue blobs show: Transfer glue from a scrap, or use a needle-tip bottle. If a blob happens, let it dry fully before you try to remove it.
- Paper kinks while rolling: Slow down and keep the strip aligned on the tool. Kinks often happen when the strip climbs the tool shaft.
- Finished design feels too tall for mailing: Use tighter coils, fewer layers, and place quilled elements near the center of the card so the envelope has room.
Mailing and durability
Quilled cards can absolutely be mailed, but a little planning helps:
- If your card is dimensional, you may need extra postage or a non-machinable stamp so it does not get crushed by sorting machines.
- A padded envelope is the safest option for fluffy flowers.
- For a regular envelope, consider adding a piece of cardstock as a simple “shield” over the quilled area.
Mini practice plan
If you want your hands to learn quilling quickly, repetition is your best friend. Here is a low-pressure routine:
- Day 1: 20 tight coils.
- Day 2: 20 loose coils, all the same size.
- Day 3: 15 teardrops.
- Day 4: 15 marquise shapes.
- Day 5: Mix: 5 squares, 5 triangles, 5 half-moons.
- Day 6: Scrolls and flourishes.
- Day 7: Make one tiny flower cluster and glue it onto a tag or card front.
Keep your best few shapes in a little jar or tray. It is incredibly motivating to see your progress pile up.
FAQ
Is quilling hard for beginners?
Not hard, just new. For many people, the rolling motion feels awkward at first, then your hands figure it out with a little practice. Start with 3 mm strips and a slotted tool for the smoothest learning curve.
What paper is best for quilling?
Pre-cut quilling strips are the easiest because they are consistent. For card making, standard quilling paper is usually sturdy enough to hold its shape without fighting you.
Can I cut my own quilling strips?
Yes. Use a paper trimmer and cut long, even strips from lightweight cardstock or sturdy paper. Consistent width matters, so go slowly. If you fall in love with quilling, buying pre-cut strips is a wonderful time-saver.
How do you protect quilled shapes on a card?
Most quilled card designs do not need sealing. For durability, keep elements well-glued, avoid moisture, and make sure everything is fully dry before mailing. If you are sending a puffy design, a padded envelope and appropriate postage can save your masterpiece.
Your next step
Once you can comfortably make loose coils, teardrops, and marquise shapes, you can build almost anything: daisies, poinsettias, shamrocks, snowflakes, even little quilled critters. The magic is in combining basic shapes like ingredients in a recipe.
If you try your first quilled flower card, I hope you take a second to admire it before you pop it in an envelope. You just turned a strip of paper into something that feels like a tiny sculpture. That is pretty amazing.