If you have ever looked at a peony and thought, how can something be that fluffy and dramatic, you are my kind of crafter. The good news is that crepe paper was basically made for this job. With a few specific stretch-and-cup moves (and the right kind of glue at the right moment), you can build a peony that looks shockingly real, even up close.
In this tutorial, I will walk you through the exact cutting, stretching, and gluing techniques I use for full, 3D peonies you can pop into a vase, tuck into a wreath, or use as over-the-top gift toppers. We are going for soft, layered, slightly ruffly petals and a center that feels dense and alive.
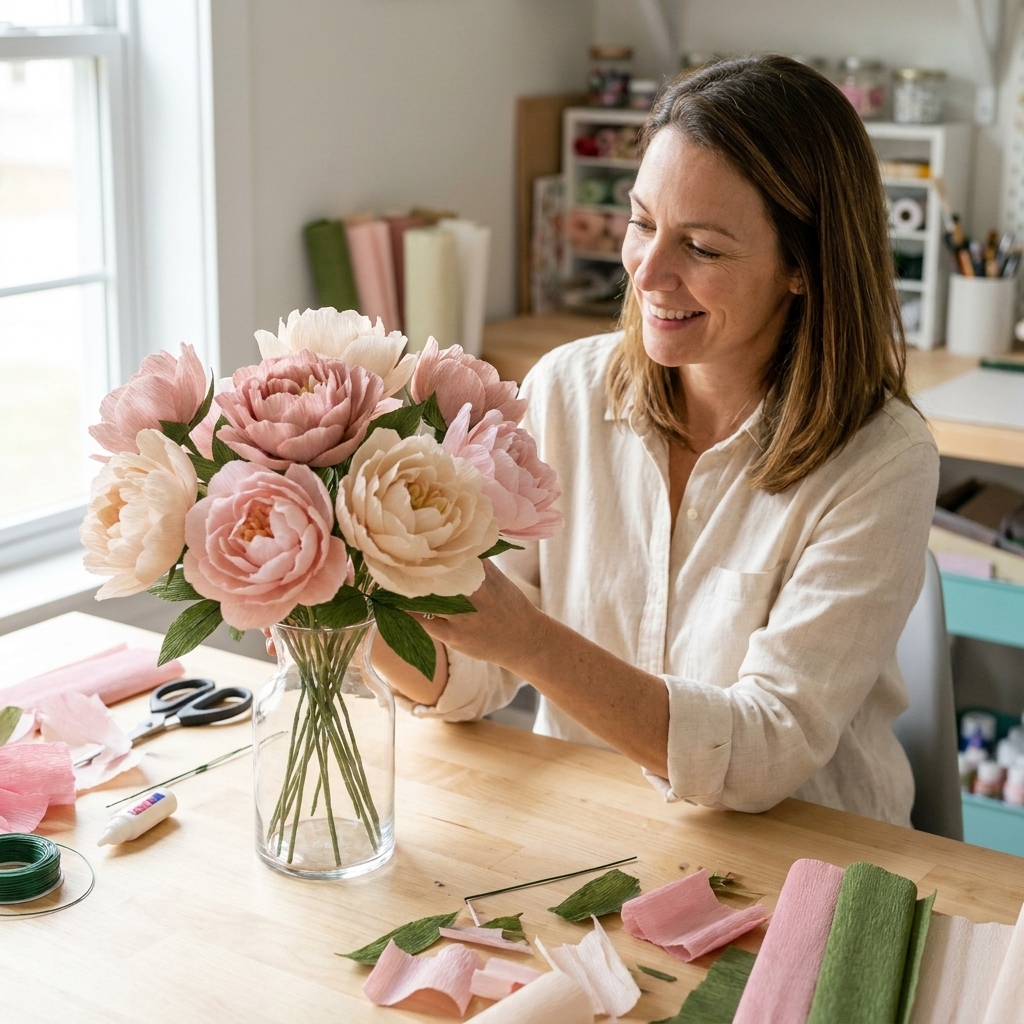
What makes it look real
Peonies have three things that sell the illusion:
- Petal variety: Small, tight petals in the center and larger, looser petals on the outside.
- Directional curl: Many petals curl inward at the top edge, while the base stays cupped.
- Soft chaos: The layers are not perfectly even. A little wobble and asymmetry reads as natural.
Crepe paper helps because the grain stretches like a real petal. Our job is to use that stretch intentionally instead of pulling randomly. If your crepe has a less obvious grain, do a quick test-stretch on a scrap and orient your petals so they cup side-to-side.
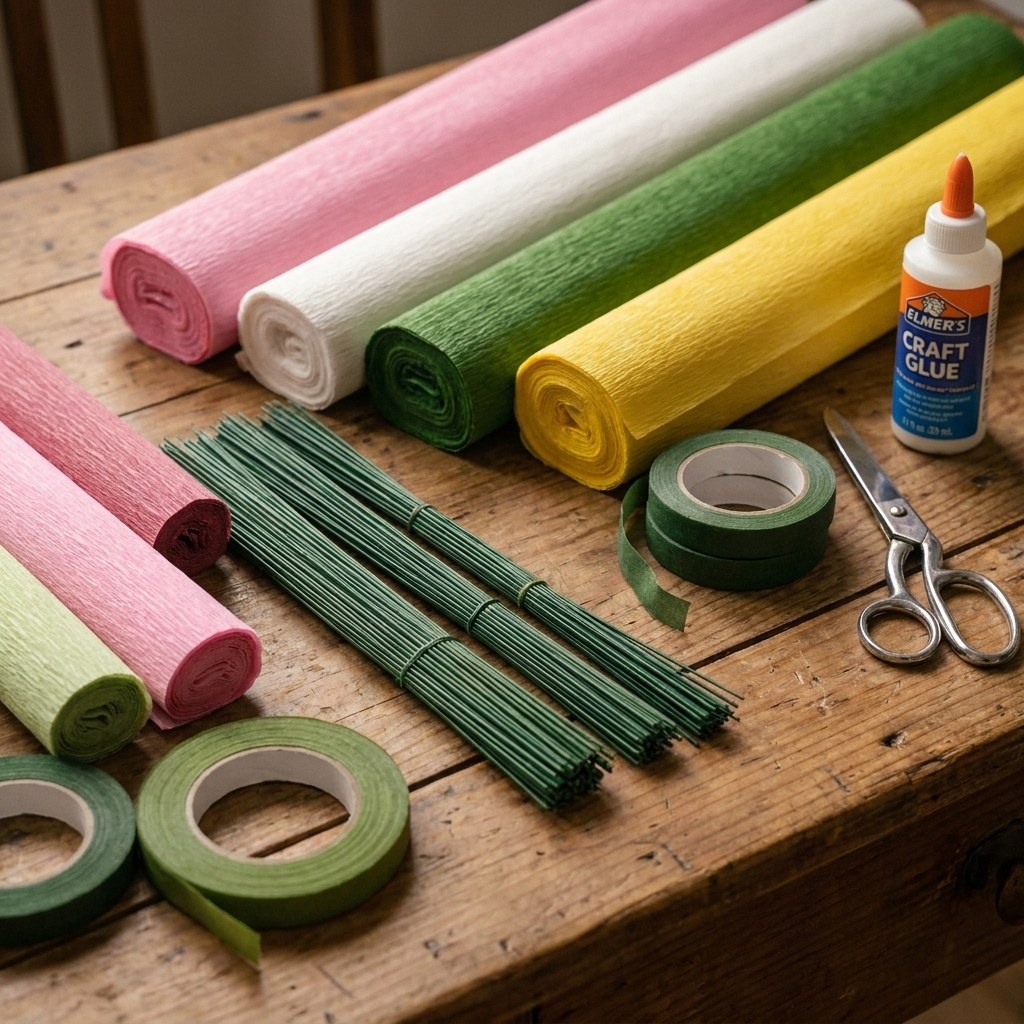
Supplies and materials
Crepe paper (this matters)
For realistic flowers, I recommend florist-style heavy crepe, most commonly in the 160 to 180 gsm range. It holds shaping beautifully and does not collapse once you build the bloom. You can use standard craft crepe in a pinch, but you will need more layers and a gentler touch.
- Petals: Heavy crepe in your main color (blush, coral, white, magenta, buttery yellow)
- Center: a slightly deeper shade of the same color, plus a tiny bit of yellow or pale green if you want extra realism
- Sepals and leaves: green crepe (olive plus a darker green looks lovely)
Tools
- Sharp scissors (detail scissors help for fringing)
- Low-temp hot glue gun and tacky glue (yes, both)
- Floral wire: 18 gauge for stems, 24 to 26 gauge optional for leaf veins
- Floral tape (green)
- Ruler and pencil
- Bone folder, paintbrush handle, or knitting needle for curling
- Optional but dreamy: a small ball stylus, or the rounded end of a marker
Little extras that level up realism
- PanPastel, chalk, or diluted acrylic for petal shading
- Matte spray sealer (test first on your crepe)
Quick safety note: Hot glue burns are real, so keep a small bowl of cool water nearby just in case. If you use spray sealer, do it with good ventilation and let everything dry fully before handling.
Cut list
You can absolutely freehand peony petals, but if you want consistency while you learn the shaping, use these simple sizes. The grain direction is important: aim for the stretch to run side-to-side across the petal so you can stretch the width to cup the petal. (If you are not sure, test-stretch a scrap and align your template so the petal cups easily.)
One more permission slip: These sizes are approximate. If your bloom looks too small or too huge, simply scale all petals up or down together.
Petal shapes
Cut each size with a softly rounded top. Think “wide teardrop” rather than pointy tulip.
- Center petals (Small): 12 pieces, about 1.25 in wide x 2 in tall
- Inner petals (Medium): 14 pieces, about 1.75 in wide x 2.5 in tall
- Outer petals (Large): 16 pieces, about 2.25 in wide x 3.25 in tall
- Extra outer petals (XL, optional for a huge bloom): 8 pieces, about 2.75 in wide x 3.75 in tall
Sepal
- Sepal strip: 1 piece green crepe, about 1 in tall x 6 in long, cut into 5 narrow pointed sepals connected at the base (like a crown)
Leaf (optional)
- Leaves: 2 to 3 leaves, each about 2 in wide x 3.5 in long (classic peony leaf shape with a point and gentle serration)
Batch-cutting tip: Fold crepe like an accordion (two to four layers max for thick crepe), then cut. Keep your scissors sharp so the edges stay clean and do not fuzz.
Step 1: Make the center
The center is what keeps a peony from looking like a daisy with big petals. We want a dense, textured core that gives you something to wrap petals around.
Option A: Fringed center (my go-to)
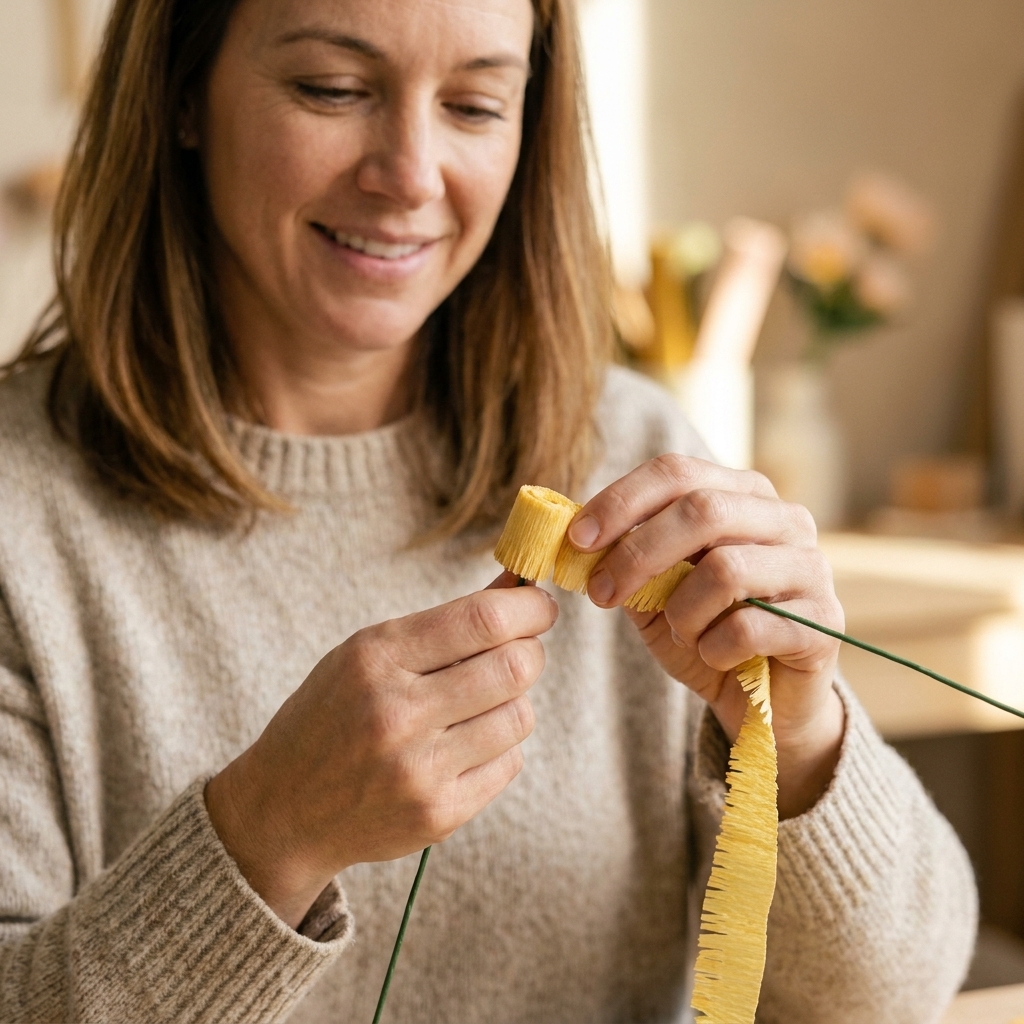
- Cut a strip of crepe about 1.25 in tall x 8 in long. For the nicest fluff, orient it so the stretch runs across the strip and the grain runs from the solid bottom edge up into the fringe.
- Fringe it: snip thin cuts down the strip, leaving about 1/4 in uncut at the bottom. Make the fringe very fine, like eyelashes.
- Roll and glue: add a thin line of tacky glue along the uncut bottom edge and roll tightly around the tip of an 18 gauge wire stem. Pinch as you roll so it stays compact.
- Fluff: once secure, gently rub the fringe between your fingertips to separate it and create volume.
Option B: Tissue-paper bud (fast and sturdy)
- Scrunch a small pea-sized ball of tissue or crepe scraps.
- Hot glue it to the top of your stem.
- Wrap with a small rectangle of crepe and glue to smooth.
Chloe tip: If you use hot glue for the center, use just a dot. Too much glue turns into a hard lump and makes the flower look “crafty” instead of botanical.
Step 2: Shape the petals
This is the part that makes crepe flowers feel like magic. We shape in two stages: cup the base (3D depth) and curl the top edge (peony ruffle).
2A: Cup the petal
- Hold a petal with both thumbs in the center.
- Stretch the crepe gently outward with your thumbs, only in the middle third of the petal.
- Stop before the edges get thin. You want a soft bowl shape, not a flat pancake.
Where to stretch: Imagine a little oval in the center. Stretch inside that oval and leave the edges mostly untouched so they stay crisp.
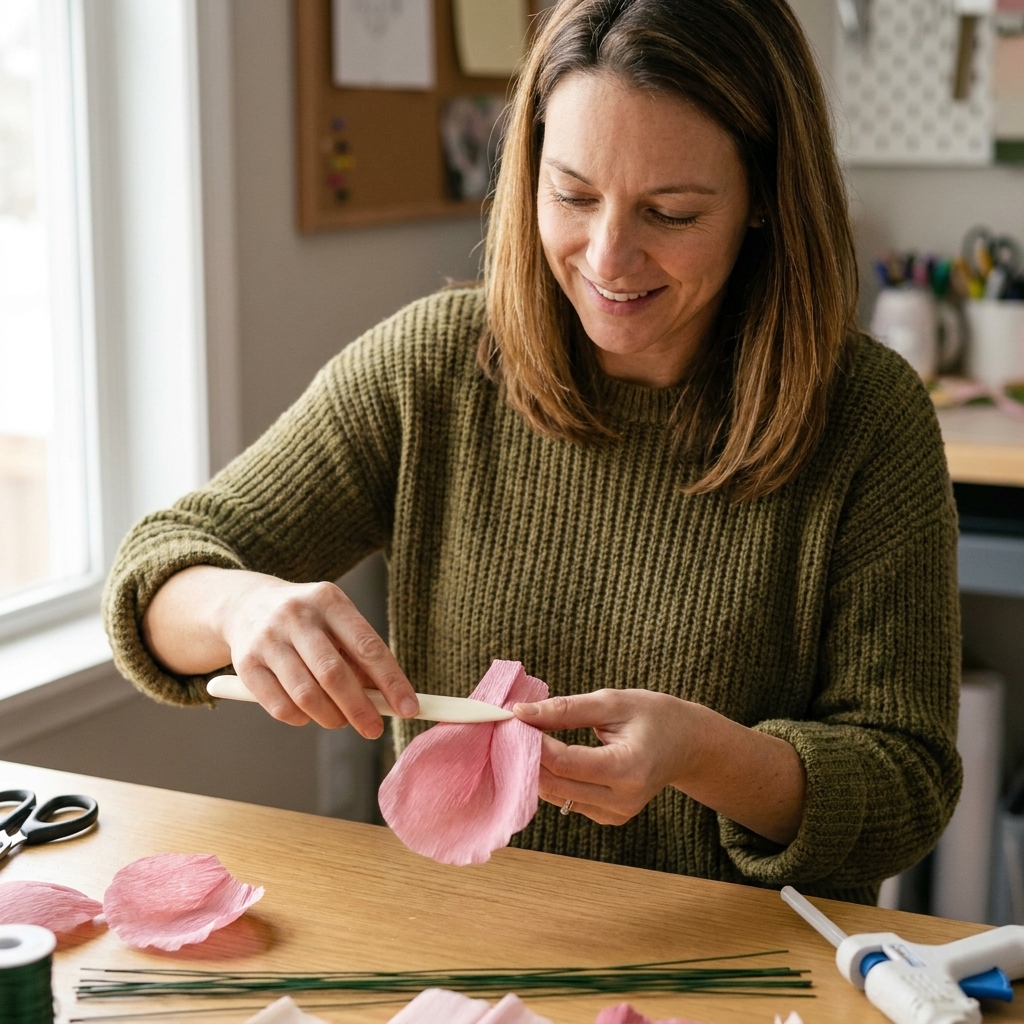
2B: Curl the top edge
- Place the top edge against a bone folder or the handle of a paintbrush.
- With your thumb, drag the paper edge over the tool the way you would curl ribbon with scissors.
- For extra realism, curl slightly more on one side than the other so petals look organic.
2C: Optional edge softening
If you are using heavier crepe and want a softer rim, you can gently stretch just the top edge a tiny bit. Do this sparingly. Over-stretching makes a shiny, fragile edge that can tear.
Step 3: Assemble the bloom
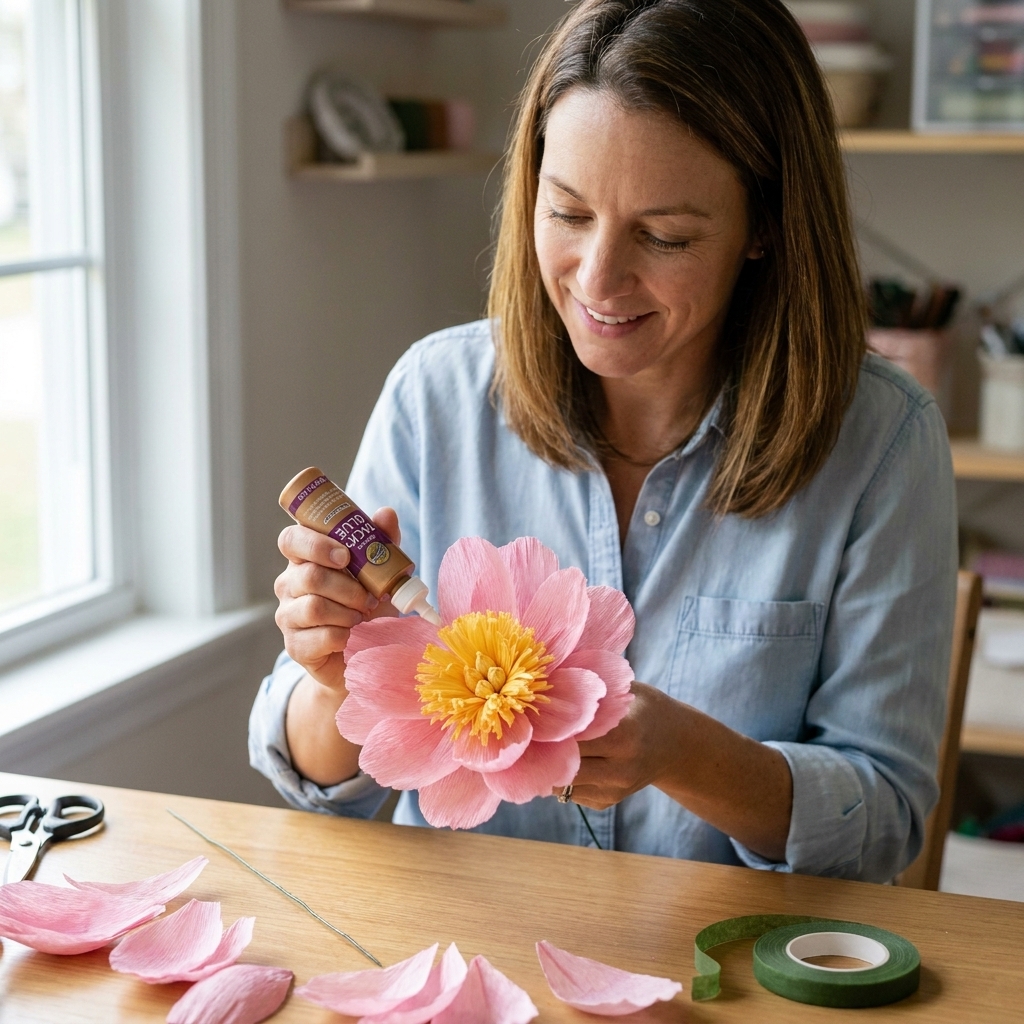
We will build from tight to loose. Keep your glue minimal and your petals slightly staggered. The goal is “many petals” without “bulky glue bumps.”
Adhesive rule of thumb
- Hot glue: great for quick grabs, best used as tiny dots.
- Tacky glue: gives you working time and a smoother finish, best for wrapping strips and sepals.
3A: Add small center petals
- Place a small dot of hot glue at the base of one small petal.
- Attach it right against the center, slightly above the bottom edge of the center wrap (where the center meets the stem) so the fluffy center stays visible.
- Continue around, overlapping each petal by about 1/3.
- As you go, angle petals upward so they hug the center.
3B: Build the inner layer
- Glue medium petals around the flower, staggering them so seams do not line up.
- Angle these petals outward slightly compared to the first layer.
- After every few petals, pause and gently pull the top edges forward to create that peony fluff.
3C: Finish with outer petals
- Attach large petals lower on the base so they flare out.
- For the most realistic silhouette, mix in a few petals that sit a touch higher or lower.
- If making a giant statement peony, add the XL petals last, spaced evenly like a loose collar.
Quick check: Look at your flower from the top. You want a spiral-ish, layered look, not a perfect ring. If it looks too symmetrical, rotate the bloom and add one petal in a “random” spot. It helps instantly.
Step 4: Sepals and stem
The underside is where a handmade flower can look unfinished, so this step is worth the extra two minutes.
- Stretch the sepal piece slightly along the points so it curves naturally.
- Add tacky glue along the straight bottom edge of the sepal strip and wrap it around the bottom of the bloom, points facing down.
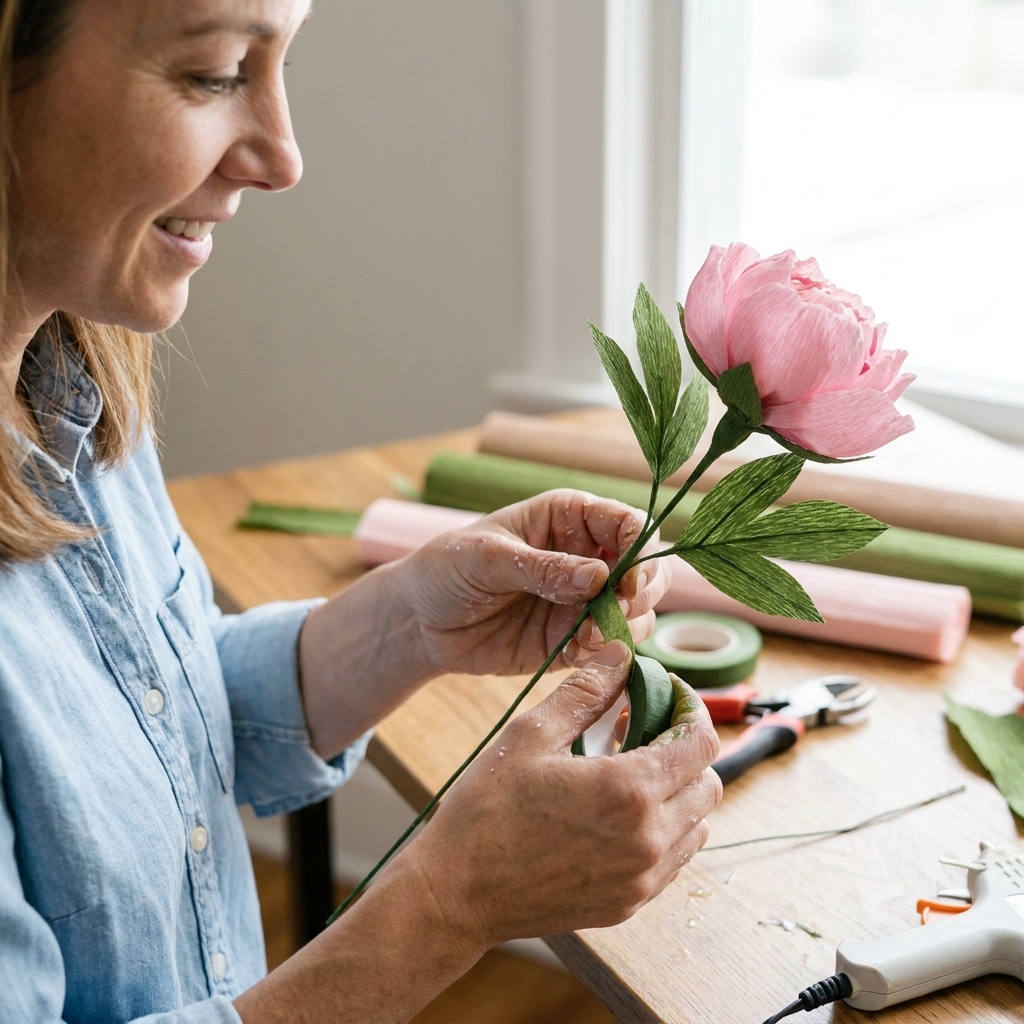
- Start floral tape right under the bloom. Stretch the tape as you wrap so it activates and sticks.
- Continue down the stem, overlapping as you go.
Chloe tip: If your flower head feels wiggly, wrap a tiny scrap of crepe around the wire right under the bloom (like a little collar), then tape. That extra bulk gives your glue something to grip.
Extra-real stem trick: For a thicker, vase-ready stem, wrap a second pass of floral tape (or a strip of green crepe under the tape) down the wire, then add tape again to smooth it out.
Optional: Leaves and finishing
Leaves
- Cut leaves with the grain running from base to tip.
- Pinch the center to create a vein, or glue a thin wire down the back for extra structure.
- Gently stretch near the center vein to give the leaf a natural curve.
- Tape leaves onto the stem at slightly different heights, starting about one third down from the bloom.
Shading
If you want your peony to look like it came from a florist shop window, add a whisper of color.
- Use chalk or PanPastel at the petal bases for depth.
- Add a touch along a few top edges for dimension.
- Blend with your fingertip in small circles.
Test-first promise: Always try shading and any sealer on a scrap. Some pigments grab more than you expect, and a quick test keeps your petals looking soft instead of smudgy.
Troubleshooting
My petals look flat
- Stretch the center of each petal more before gluing.
- Angle petals upward in the first layer, then gradually outward.
- Add 4 to 6 extra medium petals. Peonies love abundance.
My flower looks like a cabbage
- Your petals may be too similar in size. Add a smaller inner layer, or trim a few petals down.
- Increase curl at the top edges on the outer petals.
- Stagger placement more so it is not ring-on-ring.
Hot glue strings are everywhere
- Use a lower-temp gun if you can.
- Apply smaller dots and let them cool for a second before pressing.
- Snip strings with small scissors once cool. Pulling can tear crepe.
Edges are tearing when I stretch
- Stretch only in the middle third of the petal.
- Double-check the stretch direction by test-stretching a scrap. Rotate your template if you need to.
- Try fewer layers when cutting so the edges are cleaner.
Ways to use them
Since we are Craft Card Co., we have to talk about fun ways to work these into your usual paper routine:
- Gift toppers: wire stem trimmed short and taped to a tag, then tied onto ribbon.
- Shadow box art: mount one peony and a couple leaves on foam adhesive inside a deep frame.
- Home decor: cluster three blooms with mixed sizes for a mantel arrangement.
- Party backdrop: make oversized versions (scale every petal up 150 percent) and attach to a wall with removable hooks.
If you want these on cards, keep them as mini versions and use fewer layers so the card still fits in an envelope. A little 2.5 inch peony on a box card is pure happiness.
FAQ
What crepe weight works best?
Florist crepe often sold in the 160 to 180 gsm range is the sweet spot for peonies because it holds deep cupping and bouncy curls. Standard party crepe works, but it is floppier and usually needs more petals to look full.
Can I make peonies without floral wire?
Yes. For a stemless bloom (like a gift topper), build the center on a tightly rolled paper stem or even a wooden skewer, then trim it down once finished. For a bouquet, wire gives you that bendable, poseable stem.
How long does one peony take?
After your petals are cut, one peony typically takes about 30 to 60 minutes for an intermediate crafter, depending on how many petals you add and whether you shade. Your first one may take longer, and that is completely normal.
How do I store crepe paper flowers?
Keep them out of direct sunlight and away from humidity. I store finished blooms in a large box with tissue tucked around them so petals do not get crushed.
One last pep talk
Your first peony might feel a little rebellious. That is normal. Crepe paper flowers are a tiny bit like frosting cupcakes: the second one is better, and by the third you are suddenly making just one more at midnight.
If you make a peony using this tutorial, I hope you let it be delightfully imperfect. Real flowers are not symmetrical either, and that is exactly why we love them.