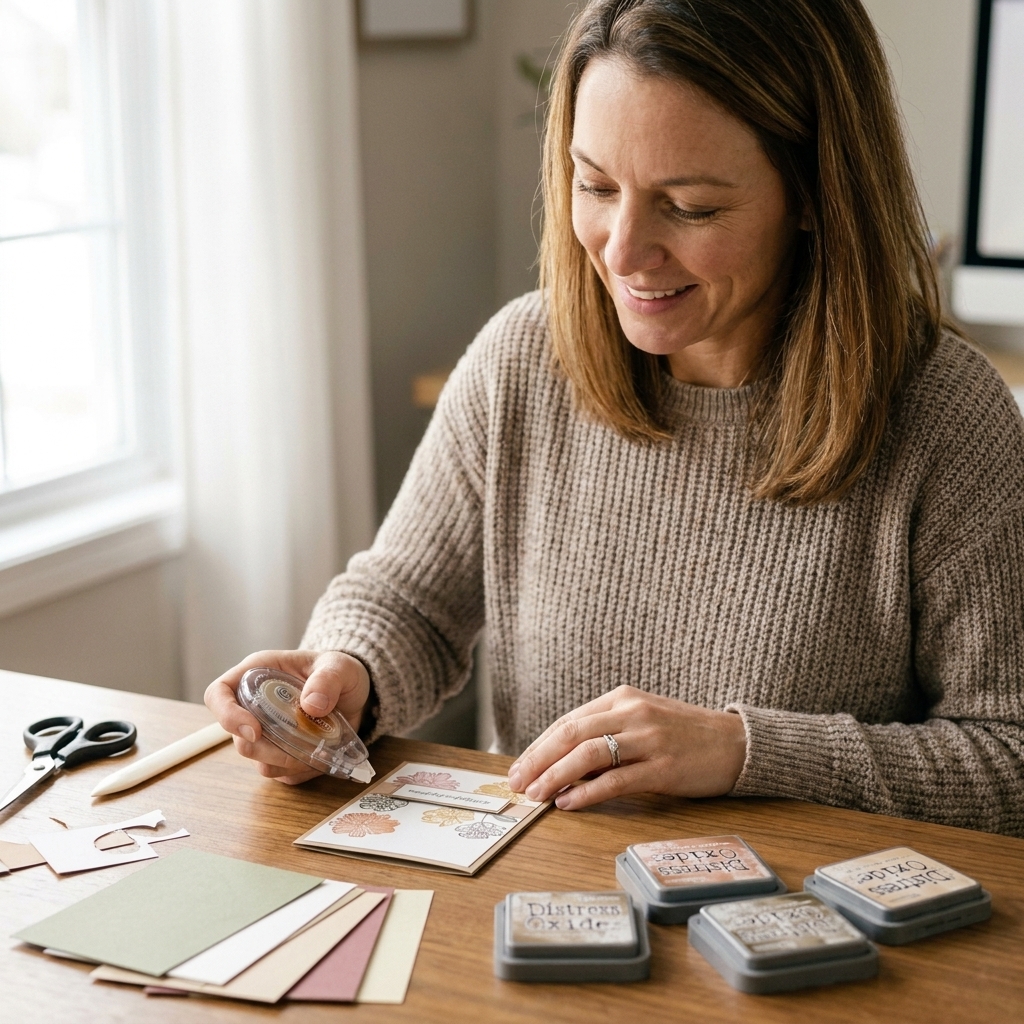
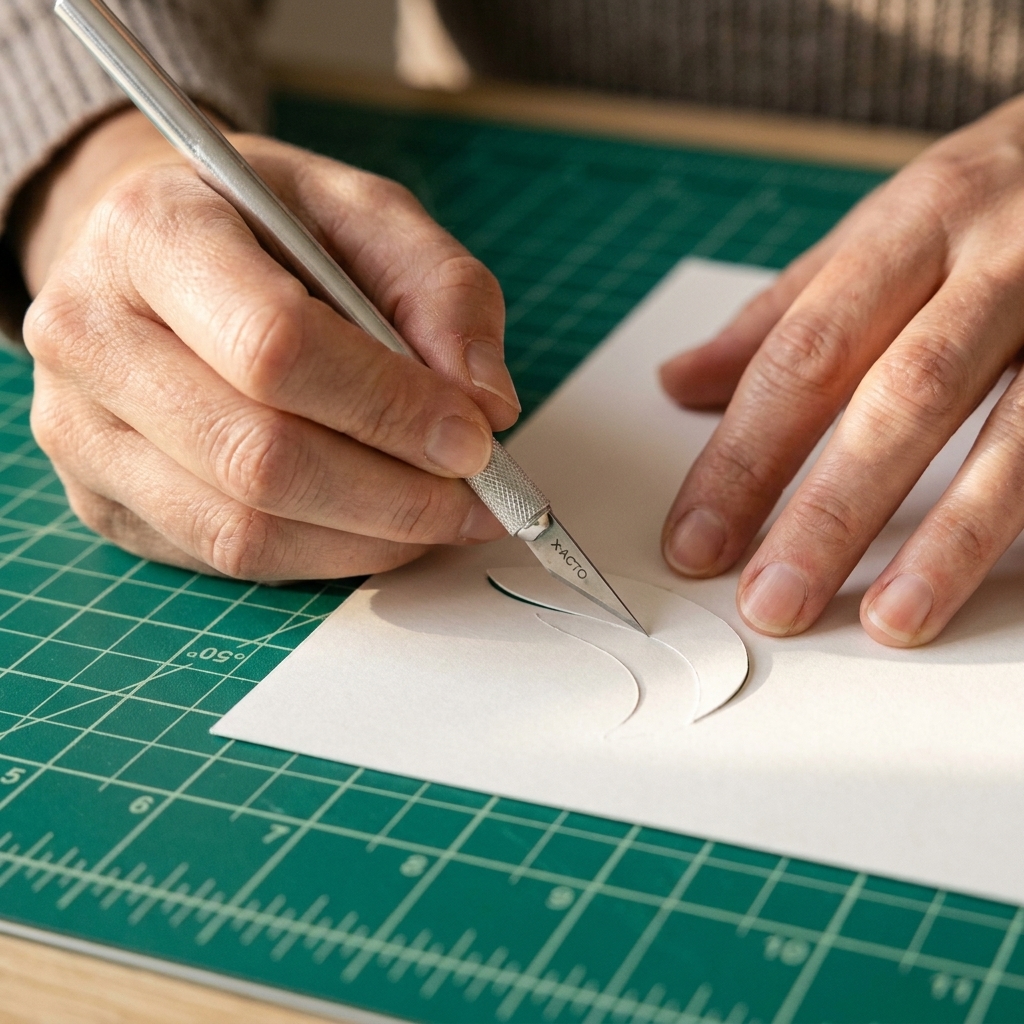
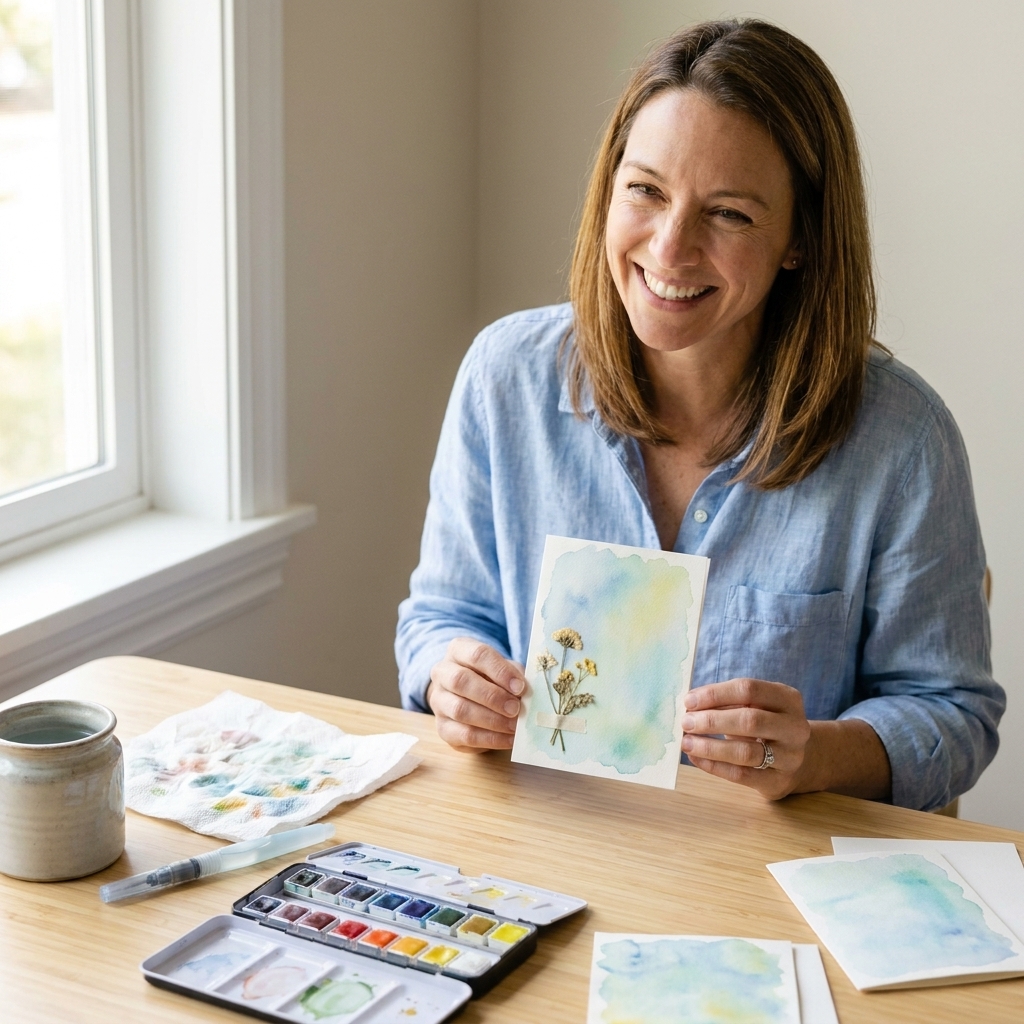
Decoupaging with tissue paper and napkins feels a little like trying to pet a soap bubble. It is gorgeous, floaty, and dramatic, and it also wants to stick to itself, wrinkle if you look at it funny, and tear right when you are feeling proud. The good news: once you understand a few key tricks, Mod Podge and ultra-thin papers become one of the easiest ways to add instant pattern, vintage charm, and painterly color to card fronts, tags, mini albums, and 3D paper projects.
I learned this the messy way, at my grandmother’s dining table, with a napkin that fused to my fingers and a card base that looked like it survived a rainstorm. So let’s skip the frustration and go straight to the smooth, dreamy results.
Why tissue and napkins fight back
Tissue paper and decorative napkins are incredibly thin, which is what makes them so pretty on paper crafts. They almost melt into the surface. But that thinness also means they:
- Absorb moisture fast, so glue can make them stretch and ripple.
- Tear easily, especially when brushed with a stiff bristle brush.
- Show every lump, including adhesive ridges and paper fibers underneath.
- Wrinkle as they expand, then shrink while drying.
The secret is controlling moisture, using the right surface prep, and choosing a technique that matches the look you want.
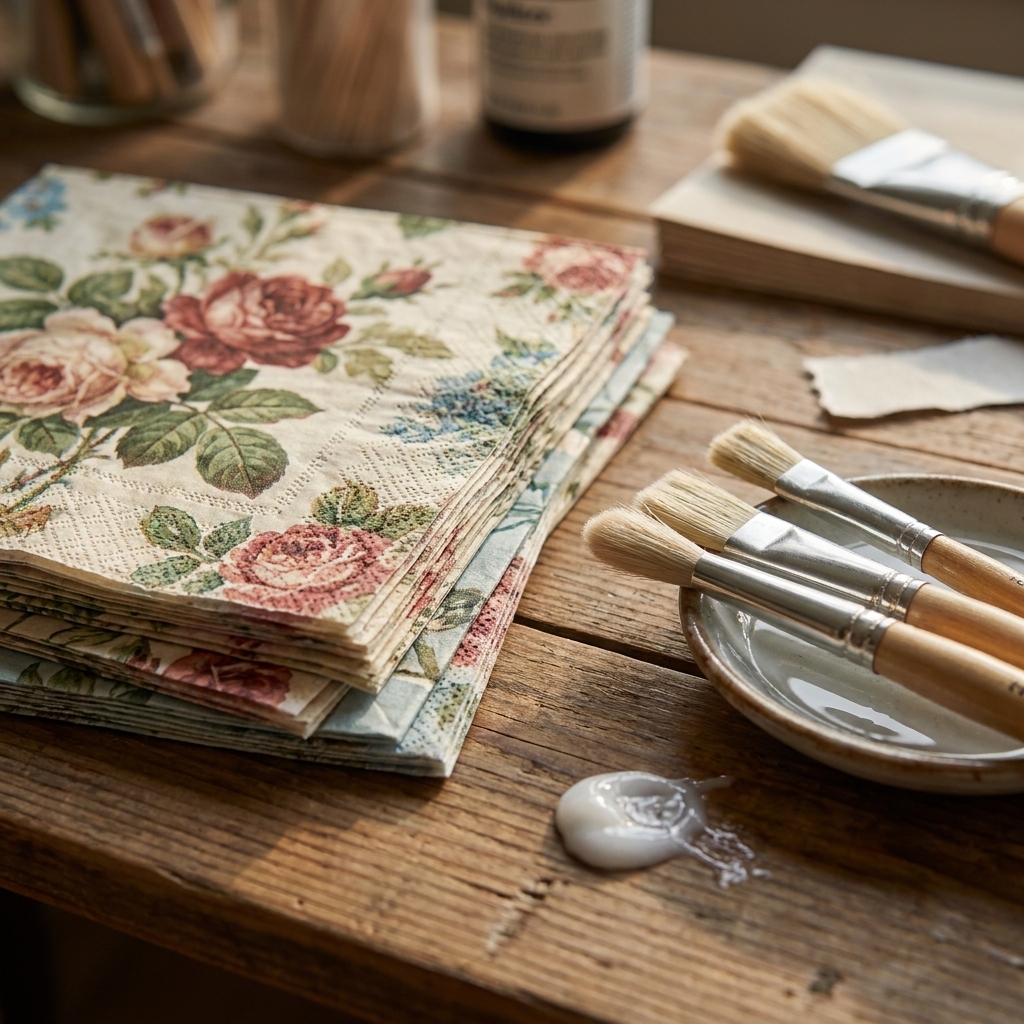
Supplies that make this easy
You can absolutely decoupage with a basic jar of Mod Podge and a brush, but if you want consistently smooth results with delicate papers, these are my MVPs.
Must-haves
- Mod Podge: Matte is my everyday choice for papercrafts. Gloss is gorgeous for bright colors. (More on formulas below.)
- Soft brush: A wide, super-soft flat brush or a makeup brush style craft brush helps prevent tearing.
- Plastic wrap: Yes, kitchen plastic wrap. It lets you smooth tissue without directly touching it.
- Brayer or old gift card: For smoothing on sturdier surfaces like chipboard and boxes.
- Sharp scissors and a small detail pair of scissors: Clean cuts matter when paper is thin.
- Nonstick craft sheet or wax paper: Keeps your project from becoming part of your table.
Nice-to-haves
- Fine mister bottle: Lightly relaxes a stubborn napkin that wants to crease. Use sparingly.
- Sandpaper or sanding block: For smoothing rough wood or sealing gritty edges on chipboard.
- Clear acrylic sealer spray: Optional topcoat when a project will be handled a lot.
- Heat tool: For speeding up dry time between layers. Keep it moving to avoid warping.
- Parchment paper: Handy for protecting your work surface and for the iron-on method below.
Quick cleanup tip: Mod Podge dries faster than you think. Wash brushes right away with warm, soapy water, and wipe up drips while they are still wet.
Best Mod Podge formulas
Mod Podge comes in a whole little family of finishes. Here is how I decide what to grab for tissue and napkin decoupage on card projects.
- Matte: Soft, non-shiny finish that hides small imperfections. Great for vintage, shabby chic, and background layers.
- Gloss: Brightens colors and gives a shiny sealed look. Beautiful on focal panels, ornaments, and embellishments.
- Satin: A gentle middle ground if you want a subtle sheen.
- Hard Coat: Nice for boxes and surfaces that will be handled. On tissue, apply thin layers to avoid rippling.
- Outdoor: Not typically necessary for card making, but sometimes used for items like plant pots. Just remember: “outdoor” does not automatically mean soak-proof, UV-proof, or abrasion-proof. Follow the manufacturer’s instructions and cure time, and consider an additional outdoor-rated sealer if the item will live outside or get wet regularly.
For most paper crafting, I use Matte and then add shine later only where I want it, like with Glossy Accents or a targeted gloss topcoat.
Surface prep
If you want tissue to look like it was printed right on your project, the surface underneath needs to be friendly.
Cardstock panels and card fronts
- Choose a heavier base (80 lb to 110 lb cardstock) so moisture does not warp as easily.
- Keep it smooth: Avoid bumpy embossing folders under tissue unless you want a textured, crinkled look.
- Plan for warping: If you are decoupaging a whole front, do it on a panel first, then adhere that panel to a folded card base once dry.
Chipboard, tags, mini albums
- Seal porous surfaces with a thin coat of Mod Podge first, let dry, then decoupage. This stops the chipboard from drinking all the moisture and wrinkling your tissue.
- Sand fuzzy edges so tissue does not snag.
Wood, MDF, paper mache
- Sand lightly and wipe away dust.
- Base coat (optional): A quick coat of white acrylic paint makes napkin colors pop and helps tissue look crisp.
Step-by-step: my smooth method
This is the technique I use most for napkins and tissue on papercraft surfaces because it minimizes tearing and lets you reposition gently.
1) Prep your paper
- Napkins: Separate the layers and use only the printed top ply. Most napkins are 2-ply or 3-ply.
- Tissue paper: Cut or tear roughly to size. Tearing gives softer edges that disappear nicely.
Quick ink test: Some napkins can bleed when they get wet. If you are not sure, dab a hidden corner with a barely damp brush first. If color transfers, use extra-thin coats, minimal brushing, and consider a very light spray sealer coat on the napkin (let it dry) before decoupaging.
2) Apply a thin base coat
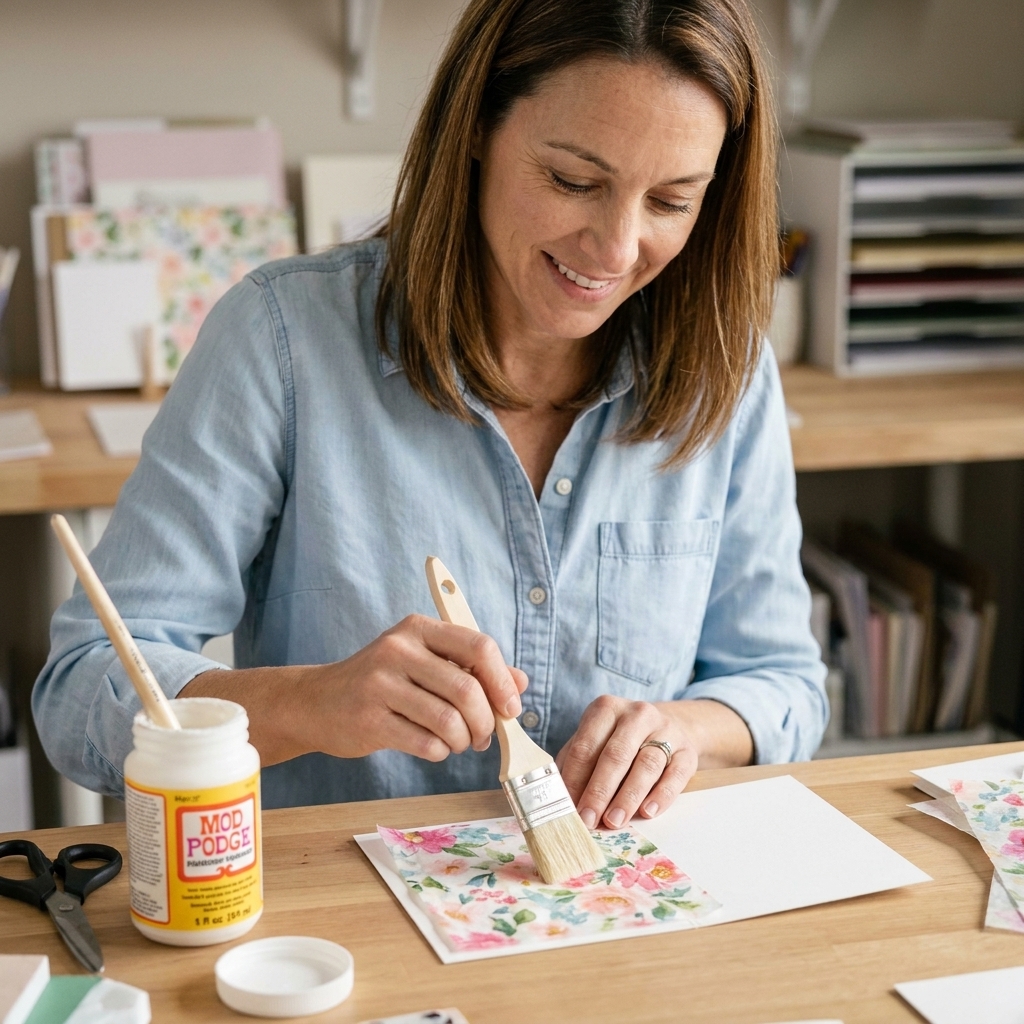
Brush a thin, even coat of Mod Podge onto your surface. Think “buttered toast,” not “frosted cupcake.” Too much glue is wrinkle city.
3) Place the napkin or tissue
Hover it above the surface, then let it fall gently. Start in the center. If it lands a little crooked, lift and re-lay it right away. Once it starts soaking up glue, touch it as little as possible.
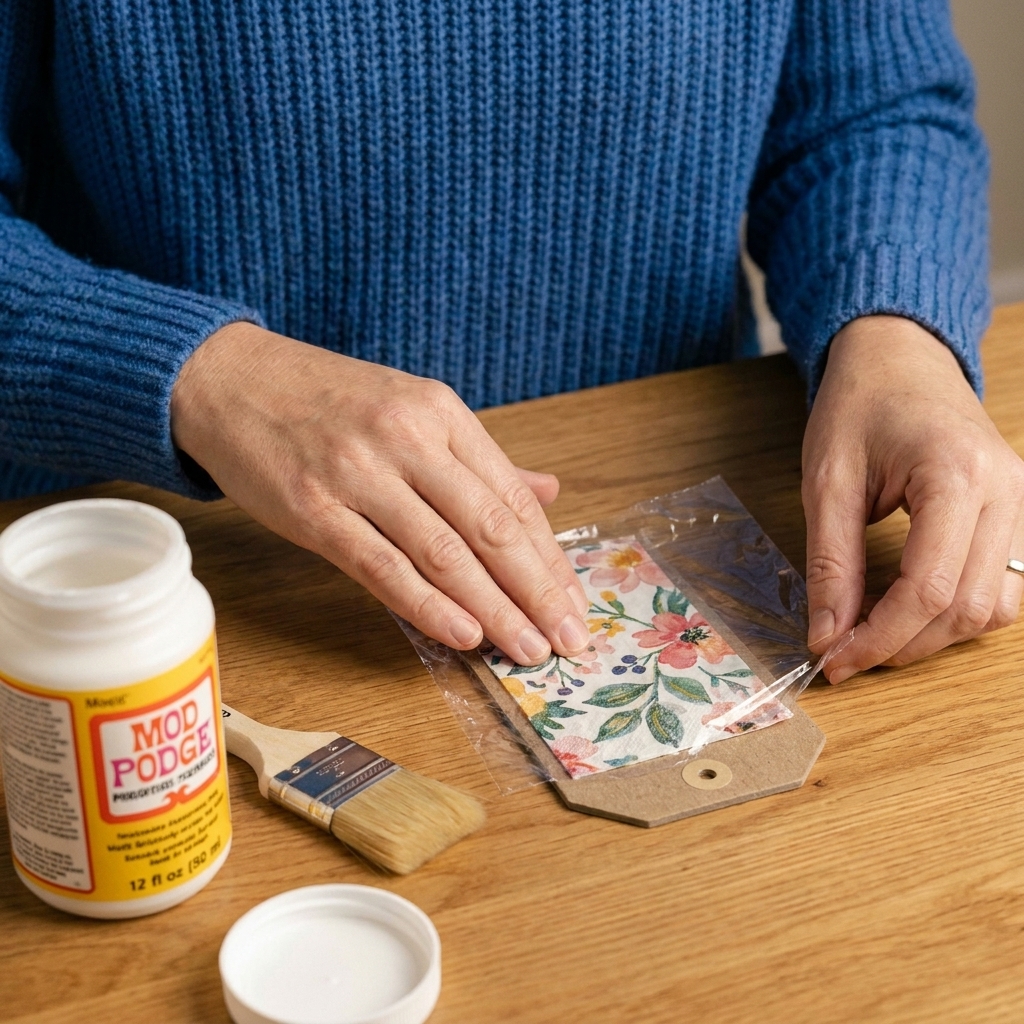
4) Smooth with plastic wrap
Lay a piece of plastic wrap over the tissue and smooth from the center outward. The tissue glides under the plastic instead of grabbing your fingers or brush bristles.
5) Seal with a top coat (light touch)
Once it is mostly smooth, brush a thin coat of Mod Podge over the top using:
- Very light pressure
- One-direction strokes (then stop fussing)
- A soft brush
If you see a bubble, use the plastic wrap trick again, or gently push it out while the glue is still wet.
6) Dry fully, then add one more coat
Let it dry completely before adding a second sealing coat. Two thin coats usually look better than one heavy coat.
Three methods
Method A: Brush-on
Great for small areas, die cuts, or when you want visible brush texture. Use minimal glue and a soft brush.
Method B: Iron-on
If you have ever wanted tissue or napkin to look almost heat-transferred, this is the method. It works best on flat, heat-safe surfaces like wood, thick chipboard, and sturdy paperboard. I do not recommend it directly on a folded card base because heat can warp it.
This works because a fully dried layer of Mod Podge can reactivate with heat and grab the paper.
- Apply a coat of Mod Podge to the surface and let it dry completely.
- Place the tissue or napkin on top.
- Cover with parchment paper.
- Use a dry craft iron on low heat (no steam), gently moving to adhere.
- Seal with a thin top coat if desired.
Safety and sanity notes: Use a dedicated craft iron (not one you plan to use on clothing), keep the iron moving, and never let it touch wet Mod Podge. Also, some napkin inks can darken or shift slightly with heat, so test on a scrap first.
Method C: Floating collage
For dreamy, layered backgrounds on cards, tear tissue into pieces, then:
- Brush a thin coat of Mod Podge on the surface.
- Lay down tissue pieces with torn edges overlapping.
- Tap more Mod Podge on top with a pouncing motion (not long strokes) to avoid dragging and ripping.
This one is very forgiving and looks amazing behind stamped sentiments.
Avoid tears, wrinkles, bubbles
To prevent tearing
- Use a soft brush, and do not scrub.
- Use plastic wrap to smooth instead of fingers or a brayer at first.
- Work in smaller sections for large napkin areas.
- Do not over-handle the napkin once it starts absorbing glue.
To prevent wrinkles
- Thin coats only: too much Mod Podge makes tissue expand and buckle.
- Start in the center and move outward.
- Seal porous surfaces first (chipboard, paper mache, raw wood).
- Accept a little texture: tissue is meant to look slightly organic. The goal is intentional, not perfectly laminated.
To prevent bubbles
- Press gently with plastic wrap, pushing air to the edges.
- Do not shake Mod Podge: it can create foam and micro-bubbles.
- Let coats dry between layers. Trapping moisture can cause cloudy spots and bubbling.
Card making tips
Decoupage adds moisture, and paper loves to react dramatically. Here is how to keep your cards crisp and professional.
- Decoupage on a separate panel, then adhere to your card base with strong tape or dry adhesive once fully dry.
- Balance the moisture: If you decoupage a full panel, consider adding a layer of cardstock to the back of that panel once dry to help it flatten.
- Dry under weight: After it is dry to the touch, place the panel between clean sheets of copy paper and set a book on top for 30 to 60 minutes.
- Use tape runner to assemble: Wet glue can soften or re-wet the decoupage layer and cause shifting or bubbles, especially if the piece is not fully cured.
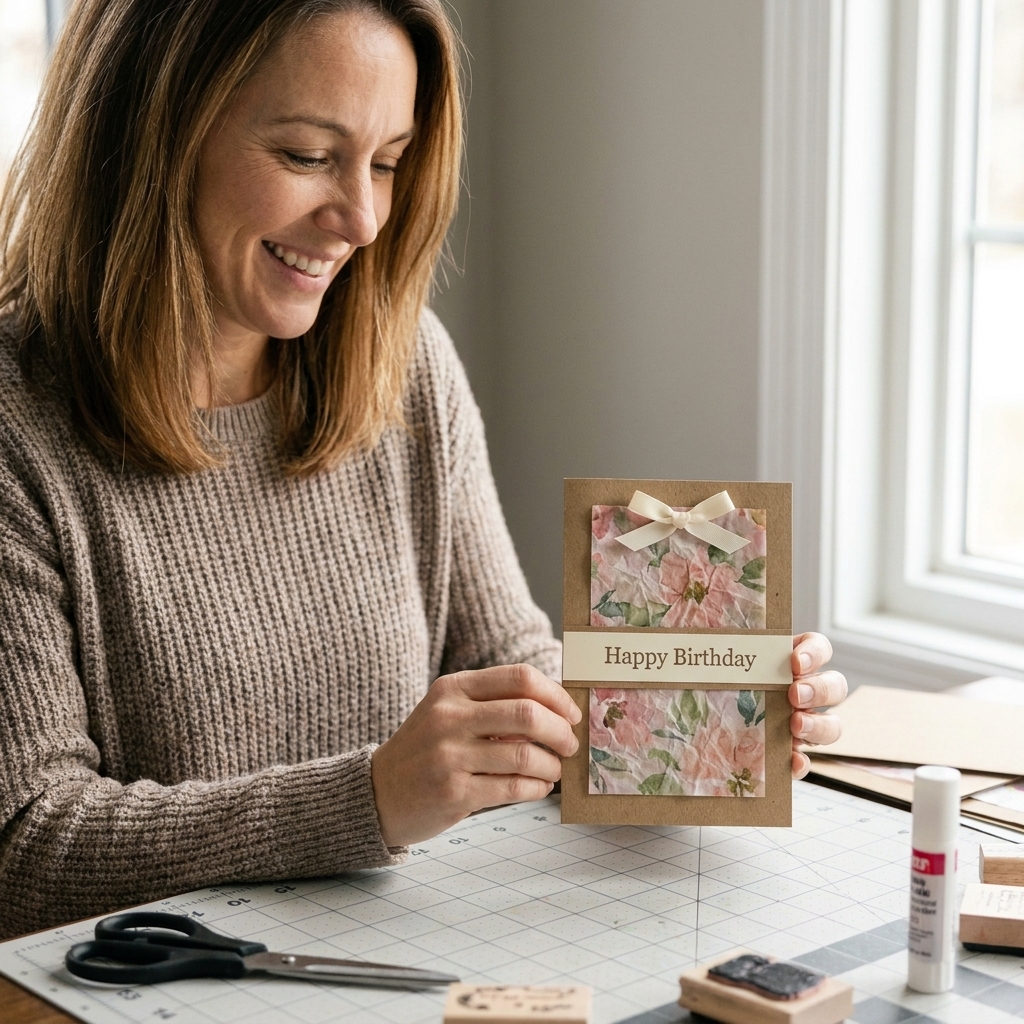
Napkin motifs as paper
Napkins are the ultimate “patterned paper hoarder” hack because you get a huge design for the price of a latte. Here are my favorite ways to use them in card making.
- Fussy cut florals: Cut around flowers or leaves and decoupage them like delicate ephemera on tags and card fronts.
- DIY washi strips: Tear napkin edges into thin strips, decoupage onto cardstock, then trim into banners.
- Focal windows: Decoupage napkin onto a panel, then die-cut a circle or arch to frame a sentiment.
- Backgrounds for stamping: Once sealed and dry, stamp on top with archival ink for gorgeous mixed-media vibes.
Sealing and finishing
How many coats?
For most paper craft projects: one thin coat underneath and two thin sealing coats on top is plenty. More coats increase shine and durability, but too many can start to look plasticky on cards.
Matte vs gloss
- Matte topcoat makes tissue look more like it is part of the paper.
- Gloss topcoat makes colors pop and can deepen the design slightly.
Dry time vs cure time
Dry to the touch might happen in as little as 20 minutes, or it might take an hour (or longer) depending on humidity, coat thickness, surface, and which formula you use. For best results, let each coat dry fully before adding the next.
Cure time is the “it is done for real” stage. For items that will be handled a lot, I give it at least overnight, and often 24 to 72 hours for maximum durability. Check your bottle for specific guidance.
Adding other mediums on top
Yes, with a couple of friendly cautions:
- Ink: Archival or permanent inks are best over sealed surfaces.
- Markers: Test first. Some alcohol markers can smear on a sealed, slick finish.
- Paint: Acrylic paint works great for edging and adding details.
- Glitter: Sprinkle onto wet Mod Podge, then seal lightly once dry.
Troubleshooting
My tissue tore while brushing
- Stop brushing. Let it dry.
- Patch it with a tiny torn piece of matching tissue, then seal again.
- Next time, smooth with plastic wrap first and use a softer brush.
I have wrinkles I cannot flatten
- If it is still wet, lift plastic wrap over the area and gently press outward.
- If it is dry, embrace it as texture or cover with a focal element. Trying to re-wet and flatten often makes it worse.
It looks cloudy
- Cloudiness usually means trapped moisture or too-thick layers.
- Let it dry longer in a warm, dry room. Many cloudy areas clear as the water evaporates.
- Next time: thinner coats and full dry time between layers.
The edges are lifting
- Add a tiny bit of Mod Podge under the edge with a small brush.
- Press with plastic wrap until it grabs.
- Seal the edge with a thin top coat.
Ideas to try
- Decoupaged sentiment strips: Adhere napkin to cardstock, seal, then cut into strips for quick card fronts.
- Mini album covers: Seal chipboard first, then apply napkin motifs and edge with ink.
- Gift tags: Tissue collage backgrounds with stamped sentiments, then add eyelets and twine.
- Die-cut shapes: Decoupage tissue onto cardstock first, let dry, then die-cut hearts, butterflies, or florals.
FAQ
Do I need to separate napkin layers?
Yes. Use only the top printed layer. The extra white plies make it thicker and much more likely to wrinkle.
Can I use a foam brush?
You can, but I do not love it for tissue or napkins. Foam brushes can drag and catch, especially on the first top coat. A soft flat brush is gentler.
Should I use Mod Podge under and over?
For the smoothest hold, yes. A thin coat under to adhere, then one or two thin coats over to seal.
Can I decoupage onto an already finished card?
I recommend decoupaging on a separate panel first. It is easier to keep flat, and you will avoid warping your folded base.
Is Mod Podge the same as white glue?
They are both water-based adhesives, but Mod Podge is formulated to act as glue and sealer with a more reliable finish. White glue can work in a pinch when thinned, but it is more likely to leave streaks or feel tacky.
A little pep talk
If your first tissue decoupage is not perfectly smooth, welcome to the club. Ultra-thin paper has personality. But with thin coats, gentle smoothing, and a little patience between layers, you will get that soft, painted-on look that makes handmade cards feel extra special. And once you nail it, you are going to look at every pretty napkin at the store like it is craft supply treasure. Ask me how I know.