If you have ever wished a character could face the other direction, or you needed two matching shapes for a perfectly symmetrical card front, mirror stamping is about to become your new favorite “why didn’t I try this sooner?” technique. It lets you reverse many stamped images without buying a second stamp set. It feels a little like crafting magic, but I promise it is really just smart ink transfer.
Today I will walk you through two easy methods: mirror stamping with a gel plate and mirror stamping with a silicone mat. Both are beginner-friendly, both are no-special-tools doable, and both will have you making reflective designs and interactive scenes like a pro.
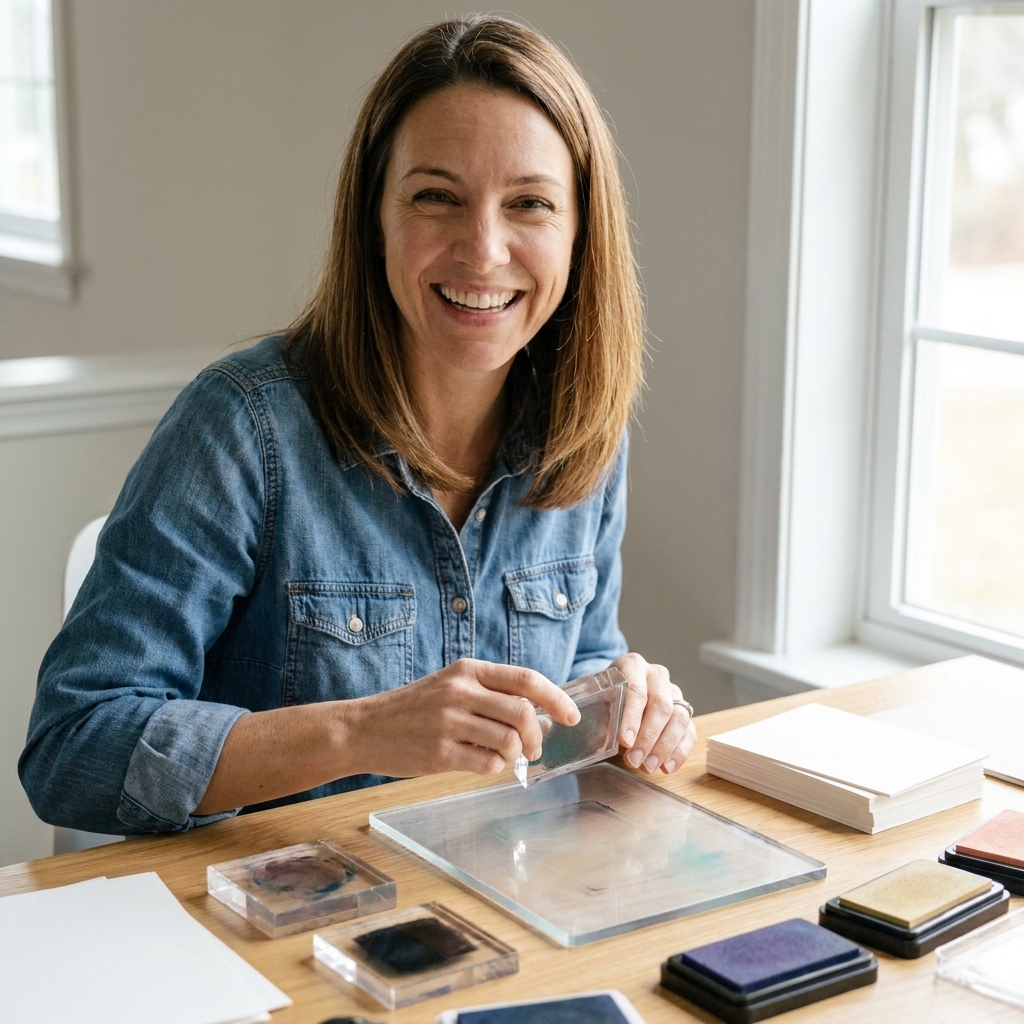
What is mirror stamping?
Mirror stamping is a two-step stamping process that creates a reversed version of your stamped image. Instead of stamping directly onto cardstock, you stamp onto a smooth “middle surface” first (a gel plate or silicone mat), then stamp from that surface onto your paper. The second impression flips the image like a mirror.
This is especially handy for:
- Characters and animals (turn a right-facing bunny into a left-facing bunny)
- Symmetrical designs (wreaths, mandalas, butterfly wings, fancy frames)
- Interactive scenes (two characters looking at each other across a gatefold card)
- Sentiments when you want them to appear on acetate windows or inside shaker panels (more on that later)
Quick reality check: super fine-line stamps, huge solid images, and inks that dry fast can give lighter transfers. You can still get great results, you just may need a juicier ink, faster timing, or the gel plate method for a bit more consistency.
Supplies you will need
You do not need fancy equipment, but the right surfaces make a big difference in crispness.
Basic supplies
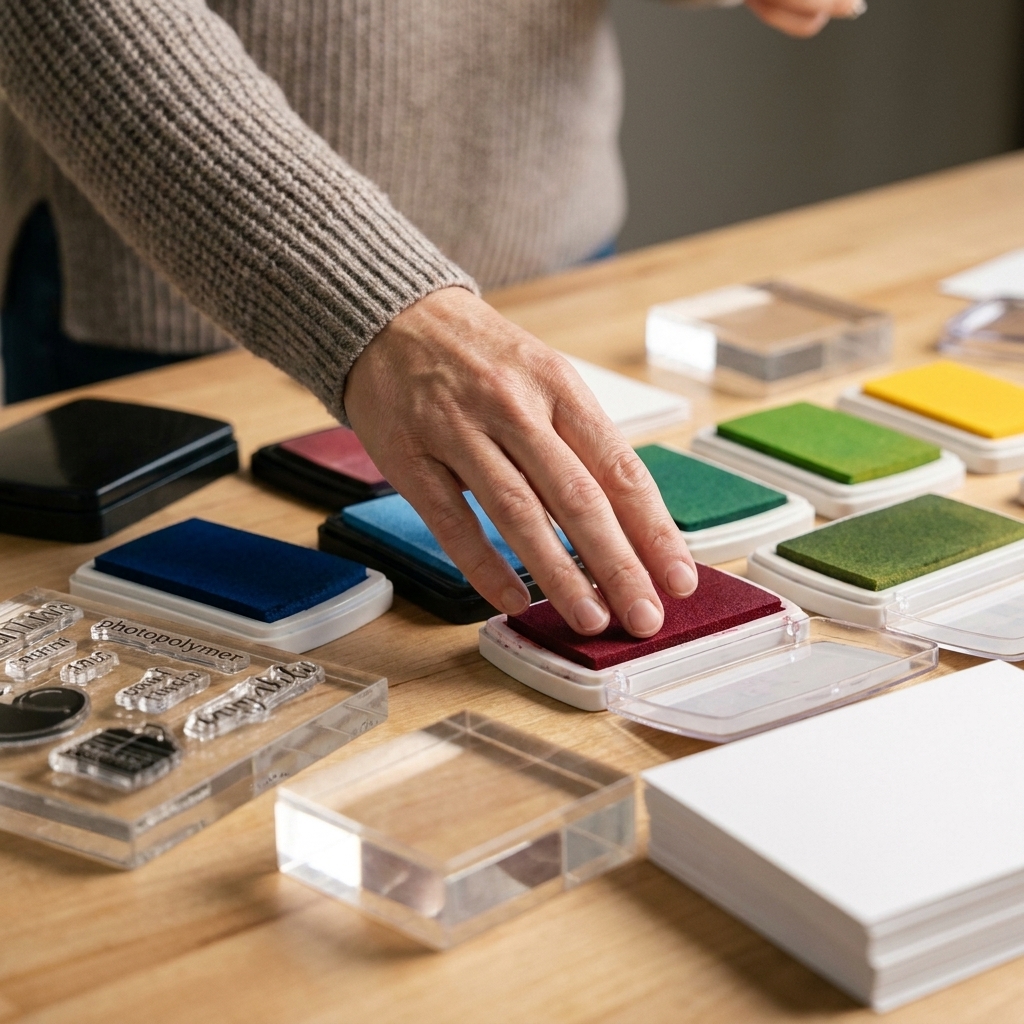
- Clear photopolymer stamp (or rubber stamp)
- Acrylic block or stamp platform
- Cardstock (smooth cardstock gives the sharpest transfer)
- Ink
- Cleaner or stamp shammy for cleanup
Choose your mirror surface
- Gel plate (soft printing plate used for gel printing)
- Silicone craft mat (smooth nonstick surface, often used for mixed media and heat crafting)
Helpful tools
- Brayer (a small rubber roller) for even pressure
Ink recommendations (my real-life favorites)
- Dye ink: great for mirror stamping because it stays wet long enough to transfer nicely.
- Pigment ink: can work, but it stays wetter and raised longer, so it is easier to smudge. Use lighter pressure and avoid shifting.
- Hybrid ink: often works well. Test on a scrap first.
- Alcohol marker friendly ink: fine for outlines, but some dry fast. Work quickly.
Inks that are usually fussy for this: solvent-based permanent inks and some waterproof, fast-drying inks tend to grab the first surface and refuse to give you a nice second impression. Also, heat embossing powder is not ideal for mirror stamping because you need that clean ink transfer, not a raised layer on the plate or mat.
Little tip from my “trial and error” era: if your ink dries quickly, breathe gently on the image right before you do the second stamp. Not a full foghorn situation. Just a tiny bit of moisture can help the transfer. If you prefer, a very light mist into the air above your work area (not blasting the plate) can do the same job.
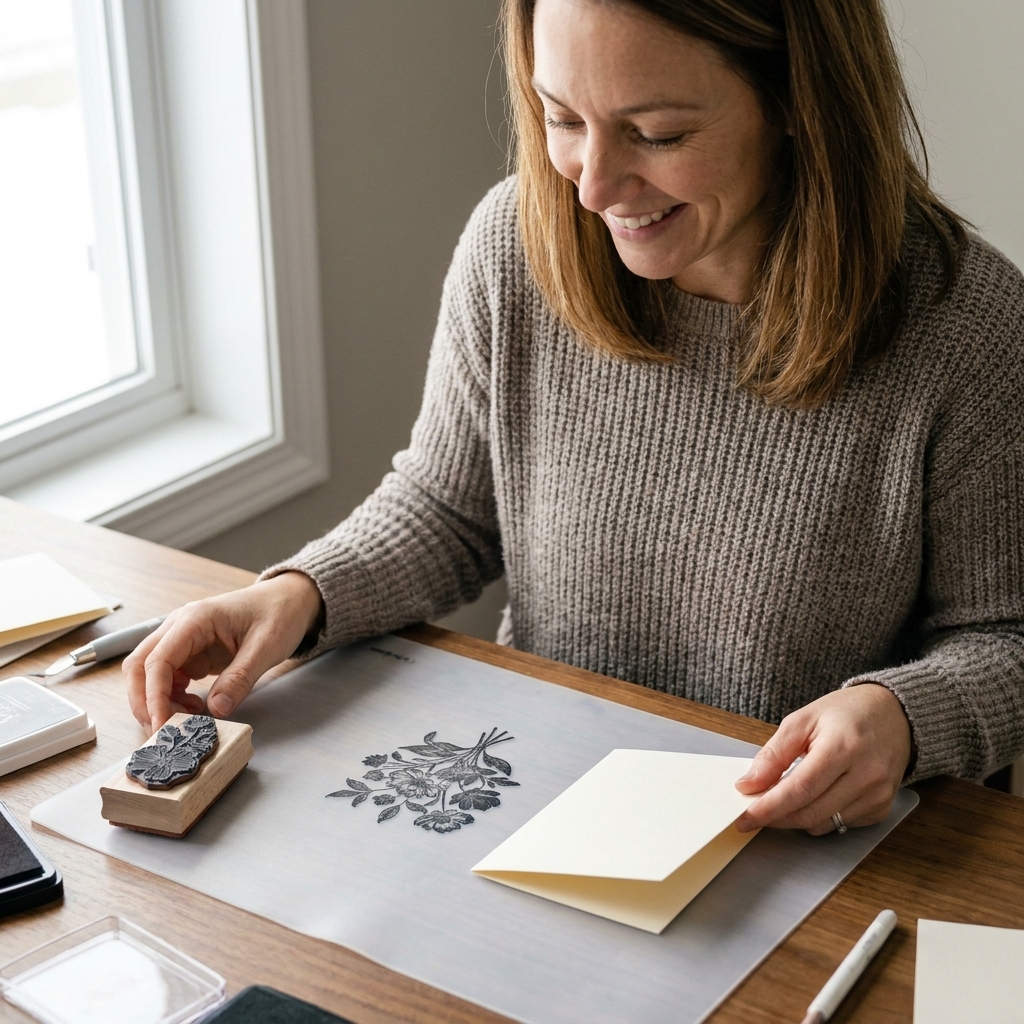
Method 1: Gel plate
This is my go-to method when I want the cleanest, most consistent reversed images. In my experience, gel plates tend to have a slight grab that helps the ink release onto paper, especially once you have used the plate a bit.
Step-by-step
Ink your stamp. Use an even, light-to-medium ink application. Over-inking is the fastest route to a blobby mirror image.
Stamp onto the gel plate. Press your stamp onto the gel plate like you would onto cardstock. Lift straight up so you do not smear.
Transfer to cardstock. Place cardstock over the stamped image on the gel plate. Rub with your hand or roll a brayer over it using gentle, even pressure.
Lift and reveal. Peel the cardstock up to reveal your reversed image. Let it dry before coloring.
Pressure tips
- Use even pressure across the whole image, especially at edges.
- If you press too hard, fine lines can widen.
- If parts do not transfer, press again in that area without shifting the paper.
Chloe confession: I used to “panic press” harder when I saw a light spot. That is how I learned that calm, even pressure beats frantic smashing every single time.
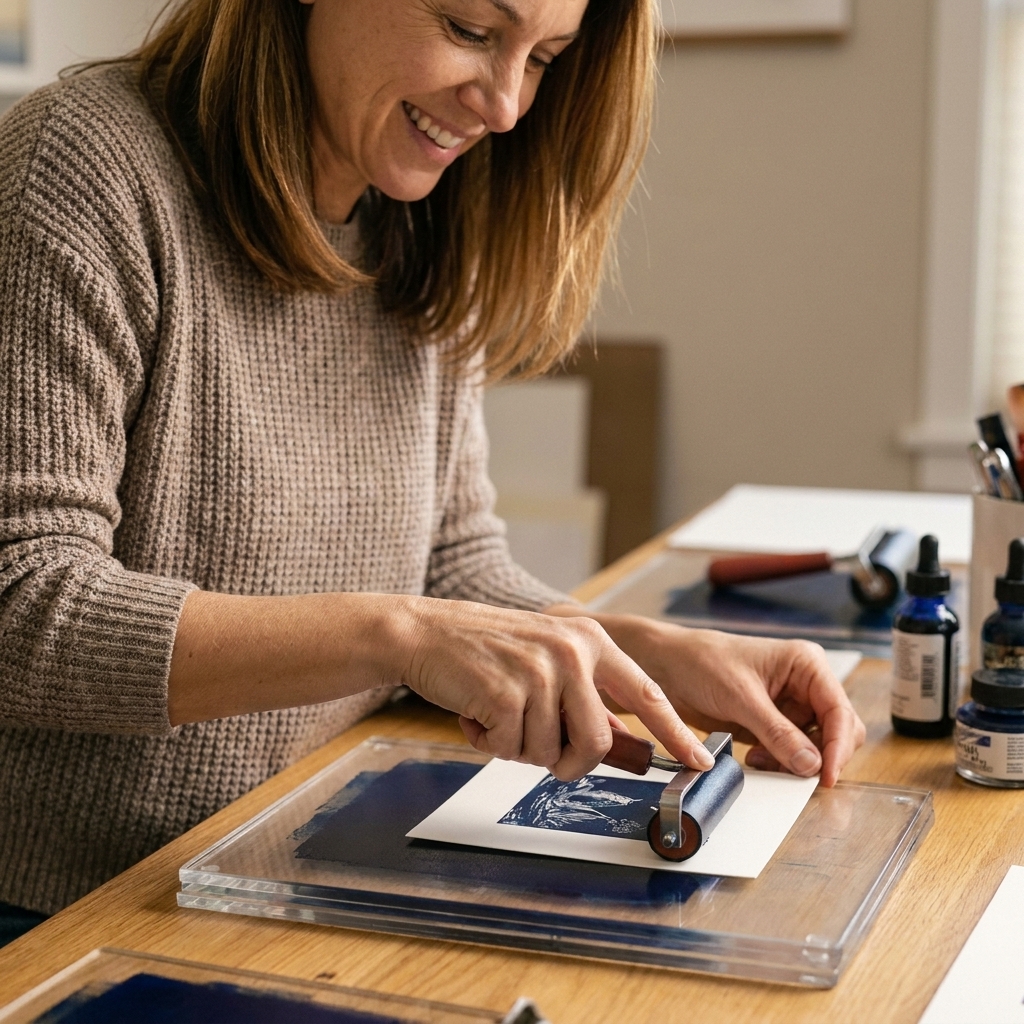
Method 2: Silicone mat
Silicone mats are a fantastic substitute, especially if you already have one for glue, embossing powders, or heat tools. The transfer can be slightly lighter than a gel plate, but it is still totally usable for scenes, silhouettes, and playful designs.
Step-by-step
Ink your stamp. Again, aim for an even ink layer.
Stamp onto the silicone mat. Press down, hold for a beat, then lift straight up.
Stamp from the mat onto cardstock. Place your cardstock on top of the image and rub gently. Or, for small images, you can press the cardstock down with an acrylic block like a burnisher.
Check the transfer. Carefully lift one corner to peek. If it looks light, set it back down and rub a bit more in the pale areas.
When silicone shines
- Quick mirror images for scene building
- Creating a soft, second-generation look that feels airy
- When you want a lighter outline for no-line coloring (especially with pale dye ink)
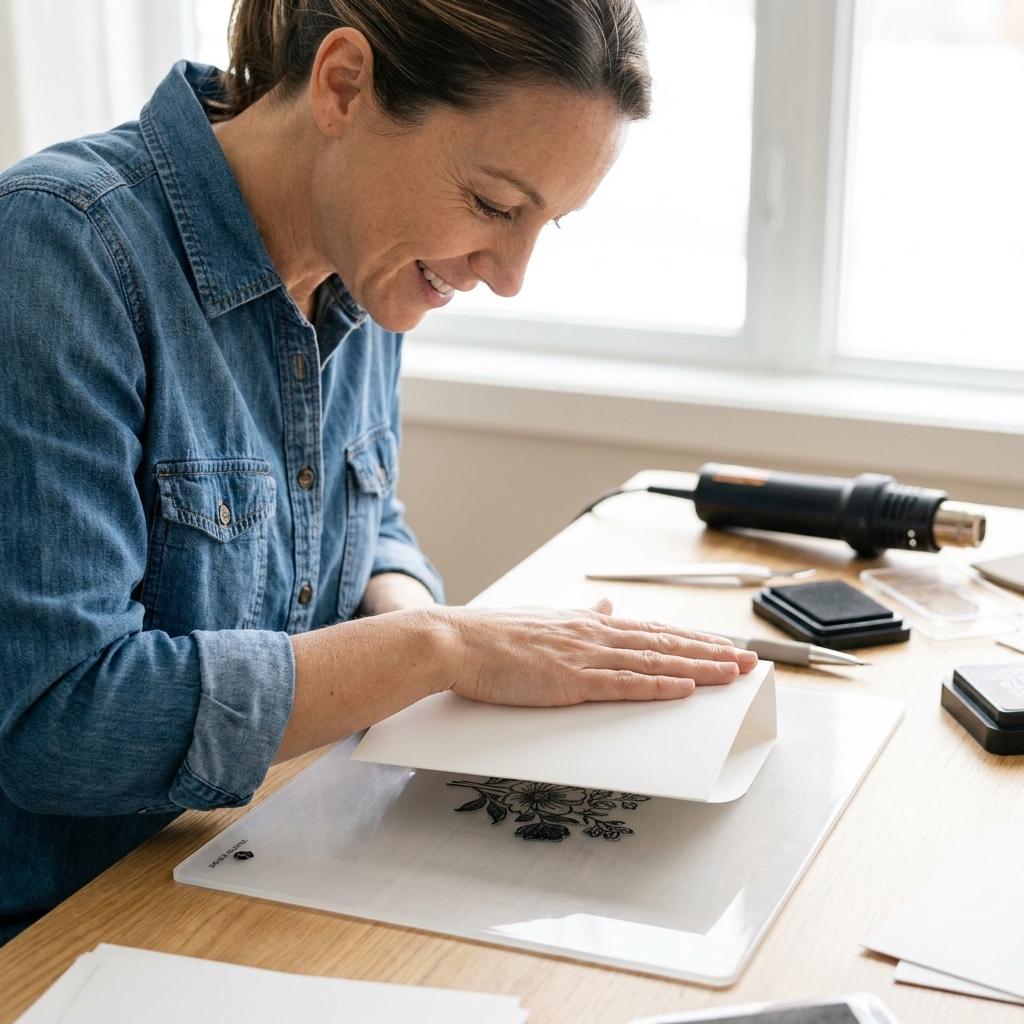
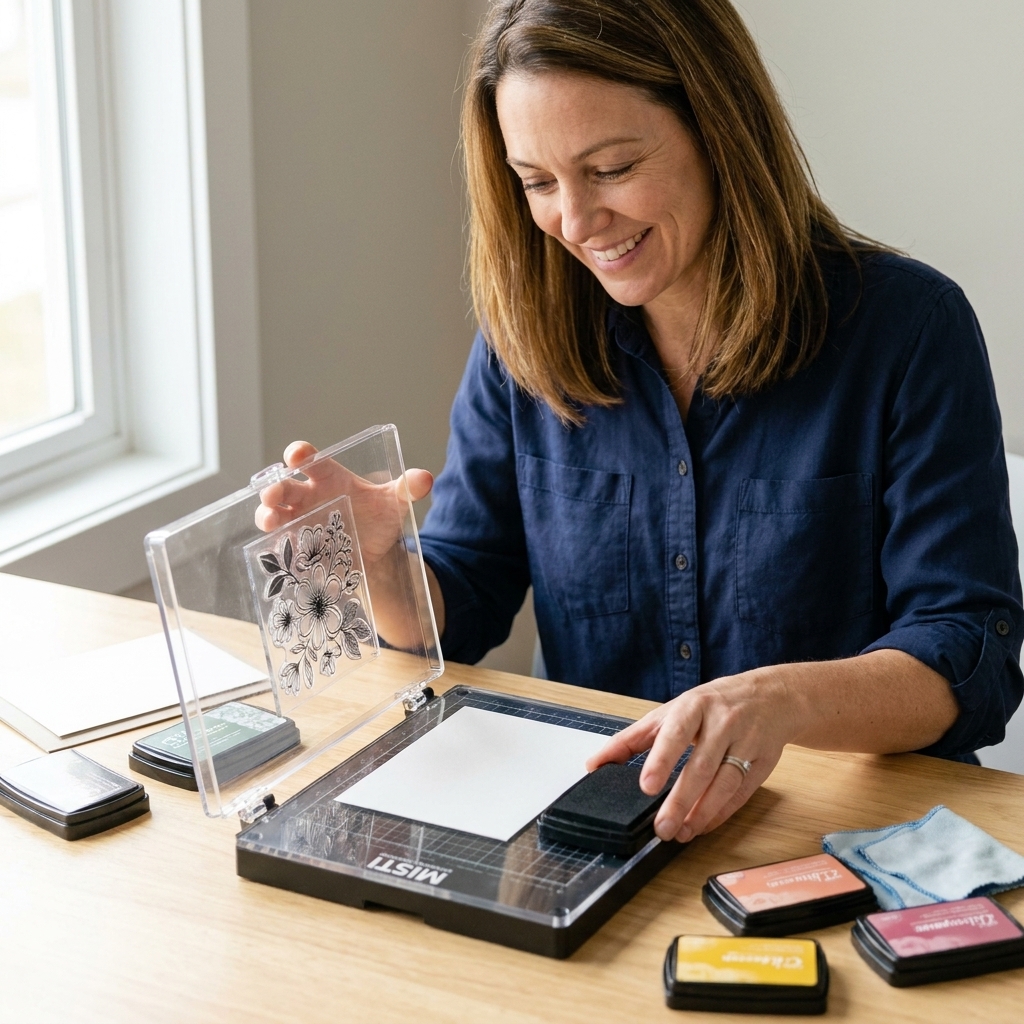
Stamp platform help
If you struggle with light transfers, a stamp platform can help you add controlled pressure and repeat the transfer without shifting.
- Stamp onto the gel plate or silicone mat as usual.
- Place cardstock over the image.
- Close the platform lid gently and press down in a few spots, especially over detailed areas.
This is also great when you are mirror stamping larger images like big florals or full characters.
Easy alignment tips
If you are mirror stamping for symmetry, the hardest part is often getting the placement to look intentional. A few low-stress tricks:
- Use the grid on your stamp platform or work surface to line up the first and second image.
- Make light pencil marks on your cardstock for the center line, then erase after the ink dries.
- Washi tape hinge: tape one edge of your cardstock to your work surface so it flips up and down in the same spot while you rub and check the transfer.
Best projects for mirror stamping
1) Symmetrical card fronts
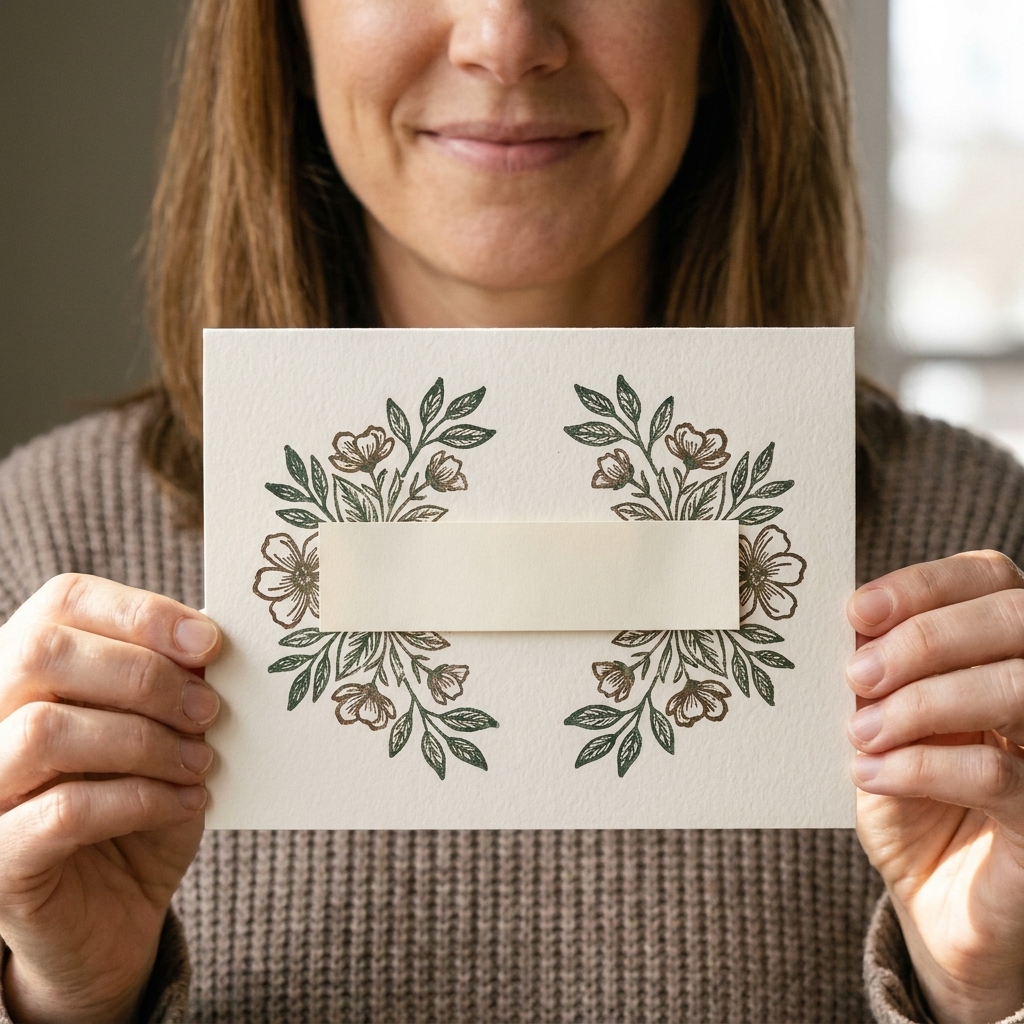
Mirror stamp a floral spray twice, one reversed and one original, then tuck them around a sentiment strip for instant balance.
2) Two characters facing each other
This is my absolute favorite for storytelling cards. Mirror stamp one character so both “look” toward the center. Add a speech bubble, a tiny heart, or a little gift between them and you have a whole scene.
3) Gatefold and interactive cards
Mirror images feel made for gatefolds. Put one image on each flap so they “meet” when the card closes, or stamp mirrored images on the inside panels for a reveal moment.
4) Reflections in water or mirrors
Mirror stamp a tree line, mountain, or boat to create a reflection. Use softer ink or lighter pressure for the reflection so it looks natural.
Troubleshooting
My mirrored image is too light
- Use a juicier dye ink or re-ink your stamp.
- Work faster so the ink does not dry on the gel plate or mat.
- Increase pressure slightly, focusing on the light areas.
- Try smoother cardstock. Highly textured cardstock can miss fine lines.
My mirrored image is blurry
- You may be over-inking. Try a lighter ink application.
- Reduce pressure during the transfer step.
- Make sure the cardstock does not slide. Press down first, then rub.
Parts of the image did not transfer
- Rub more firmly in those spots, but do not shift the paper.
- If using a silicone mat, press with an acrylic block to concentrate pressure.
- Check that your stamp is making full contact when you stamp onto the gel plate or mat.
My gel plate stained
Staining is normal and does not usually affect performance. Clean with mild soap and water, or a gel plate-safe cleaner. Avoid harsh solvents.
Pro tips
- Condition your gel plate. If it is brand new or feels overly slick, press a clean sheet of cardstock on it a few times. It can help it perform more consistently.
- Stamp with intention. Straight down, straight up. Wiggling is the enemy of crisp lines.
- Use a brayer like a gentle rolling hug. You want contact, not a steamroller moment.
- Plan your sentiment. If you are making a scene, decide first where the sentiment will go so your mirrored images frame it nicely.
Care and safety
- Keep gel plates away from heat tools and hot surfaces.
- Avoid alcohol and harsh cleaners on gel plates. Mild soap and water is usually plenty.
- Store your gel plate flat and covered to help it stay clean and happy.
Mirror stamp sentiments?
Yes, with a big caveat: you usually only want reversed sentiments when the final viewing side flips again. Two common times:
- Stamping on acetate for shaker windows so it reads correctly from the front
- Stamping on the inside of a card that will be viewed through a cutout window
If you mirror stamp a sentiment onto cardstock for normal reading, it will read backward. Great for special effects, not great for Grandma reading her birthday card.
Quick FAQ
Do I need a gel plate?
You can absolutely use a silicone mat. Gel plates tend to give darker, crisper transfers, but silicone is wonderful for quick crafting and lighter second-generation looks.
Will this work with red rubber stamps?
Yes. Mount the rubber stamp on an acrylic block (or use a stamp positioner if it fits). Because rubber can be a bit firmer, focus on even pressure when stamping onto the gel plate or mat.
What paper works best?
Smooth white cardstock gives the sharpest results. If you love textured cardstock, keep it for the card base and stamp your mirrored image on a smooth layer to mat on top.
How do I clean the gel plate or silicone mat?
Wipe off excess ink with a damp cloth, stamp cleaner, or gentle soap and water. Avoid harsh chemicals on gel plates.
A sweet little challenge
If you try mirror stamping this week, make a mini scene with two mirrored characters facing each other and pop a tiny die-cut heart between them. It is simple, it is adorable, and it never fails to look like you spent way more time than you did.
And if your first one is not perfect, welcome to the club. Paper crafting is basically 30 percent planning, 70 percent happy experimenting, and I am cheering you on the whole way.