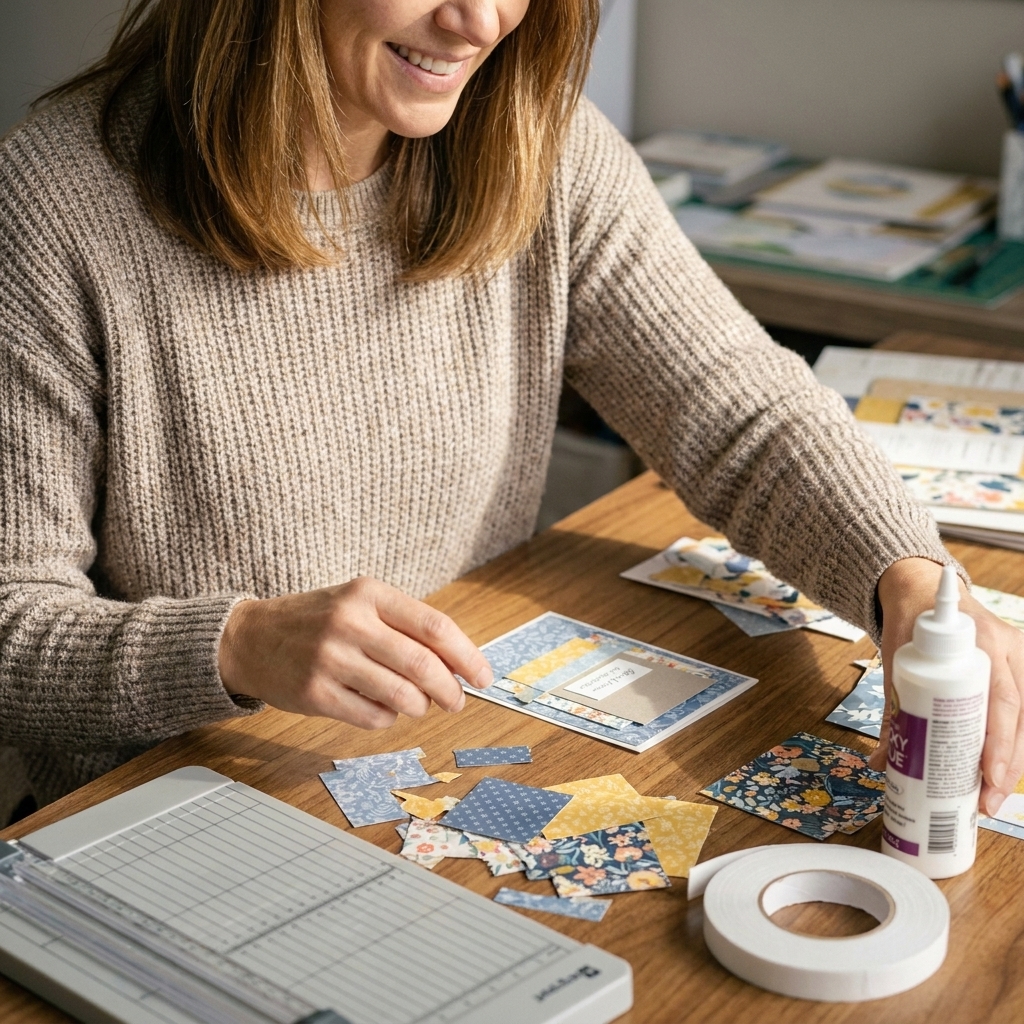
There is something wildly satisfying about taking a sad little pile of paper scraps and turning it into brand-new paper you actually want to touch. Handmade paper has that soft, slightly imperfect texture that looks dreamy on cards, tags, mini albums, and journaling pages. And the best part is you can make it with household waste, a blender, and a simple mould and deckle you can DIY in an afternoon.
I learned this the same way I learned most paper tricks at my grandma’s dining table: by making a mess, laughing about it, and trying again. So if your first sheet is lumpy or your corners tear, you are doing it exactly right.
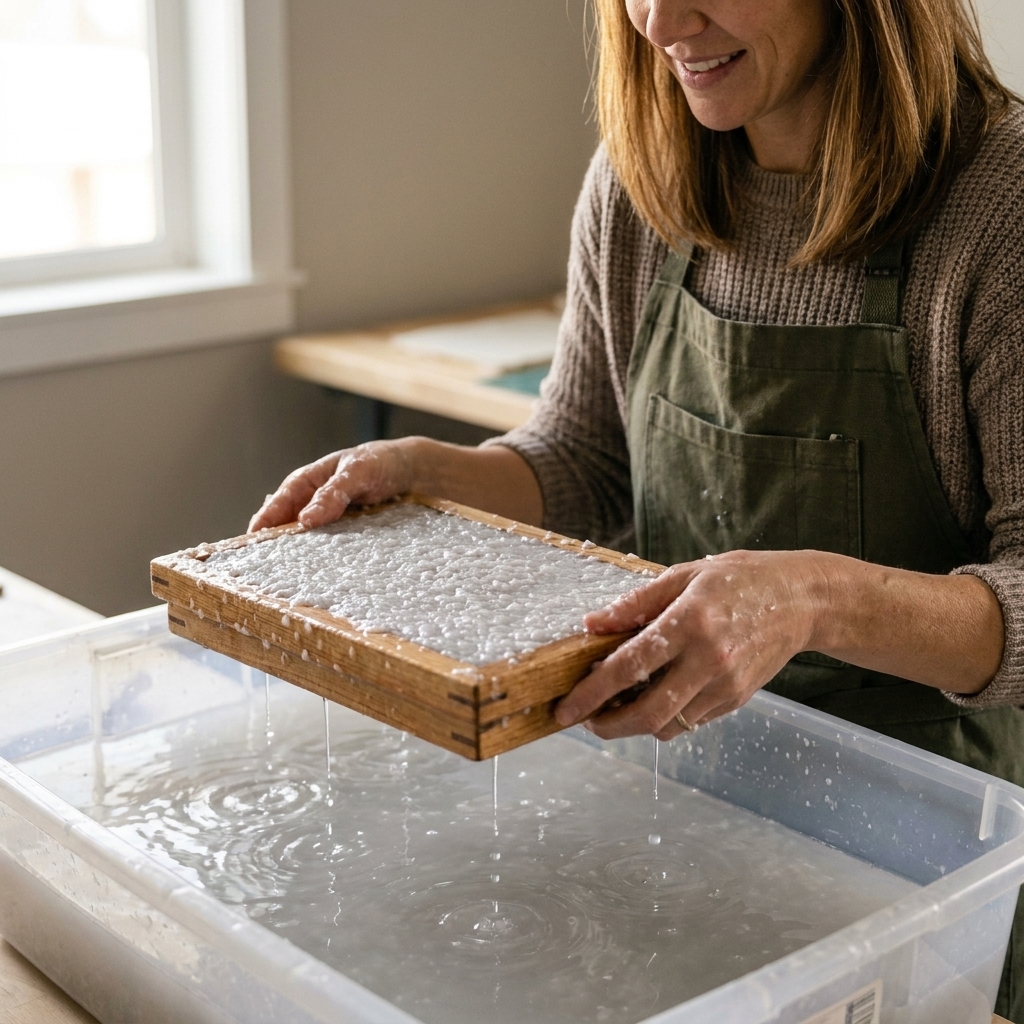
What is handmade paper?
Handmade paper is paper created from a slurry of fibers suspended in water, then lifted out on a screen, pressed, and dried. The screen catches the fibers, they lock together as the water drains, and you get a sheet. When we make it at home, the fibers usually come from recycled paper like:
- junk mail and envelopes (remove plastic windows)
- printer paper and copy paper
- paper bags (great for rustic kraft sheets)
- tissue paper and gift wrap (use sparingly for color)
- paper scraps from die-cutting sessions (yes, even the tiny bits)
For card making, handmade paper is perfect for: torn-edge layers, sentiment strips, die-cut shapes, mini envelopes, and that extra special “I made this from scratch” wow-factor.
Gather your supplies
You do not need fancy equipment. Here is the home setup I use most often.
Tools
- Blender: A thrift store blender is ideal since papermaking can be hard on a blender and paper fibers can be stubborn to clean out.
- Large tub or basin: Wide enough to fit your mould and deckle. A plastic storage bin works beautifully.
- Mould and deckle: Two matching frames, one with mesh or screen stapled tightly (the mould), and one plain frame (the deckle).
- Felt, old towels, or cotton fabric: For couching (transferring) and pressing sheets.
- Sponge: Helps remove extra water through the screen.
- Rolling pin or brayer: Optional but helpful for pressing.
- Weights or a heavy book stack: For pressing the paper flat.
- Drying surface: A smooth board, window glass, or even a clean countertop, plus extra towels.
Materials
- Paper scraps (torn small)
- Warm water
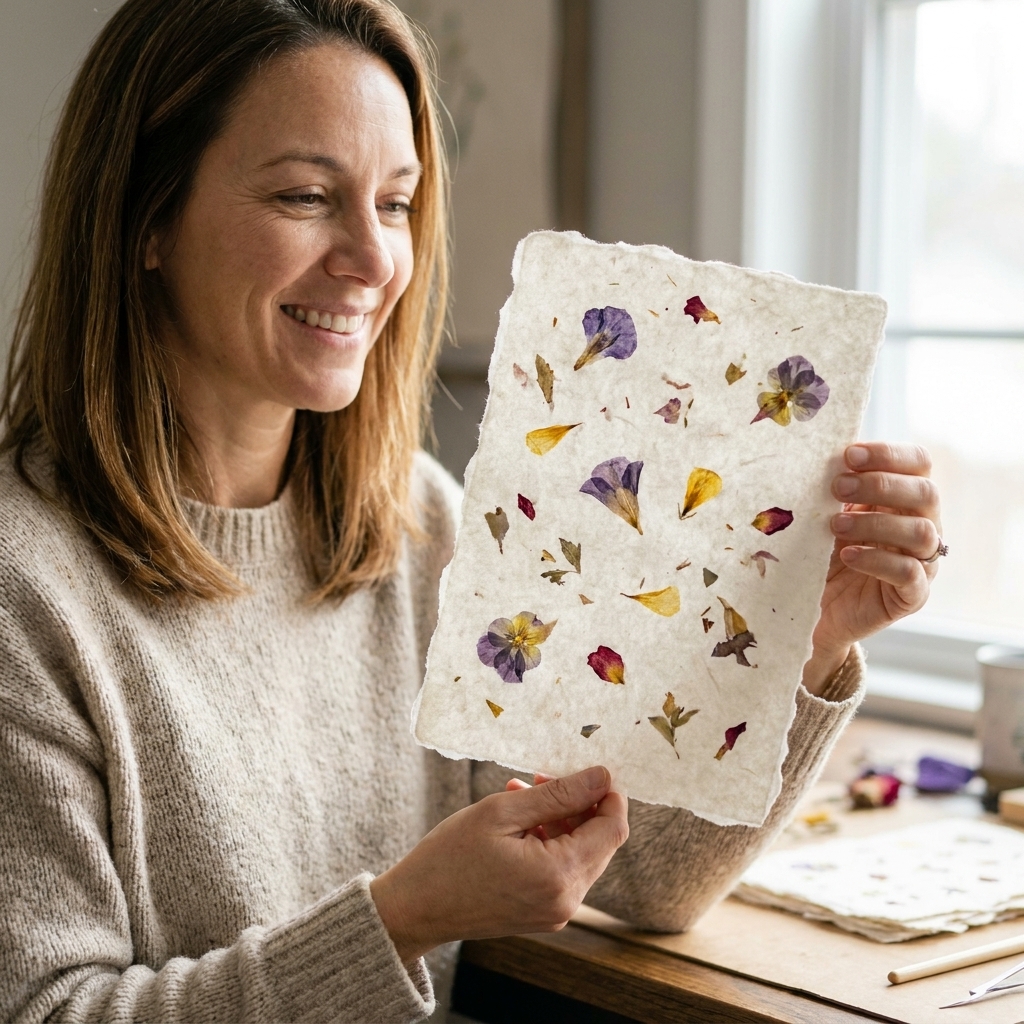
- Optional add-ins: dried flower petals, very short threads, tiny leaf bits, biodegradable glitter, or a pinch of mica powder for shimmer
- Optional sizing: a tiny amount of liquid starch, or gelatin sizing if you want better ink control
Safety note: Do not put anything metallic, plastic, or foil into the pulp. It can rip your screen and cause sharp surprises.
Sizing note: Sizing changes how absorbent your sheet feels. If you use gelatin sizing, plan for good airflow while drying and store finished sheets fully dry so they do not get musty or moldy.
Make a mould and deckle
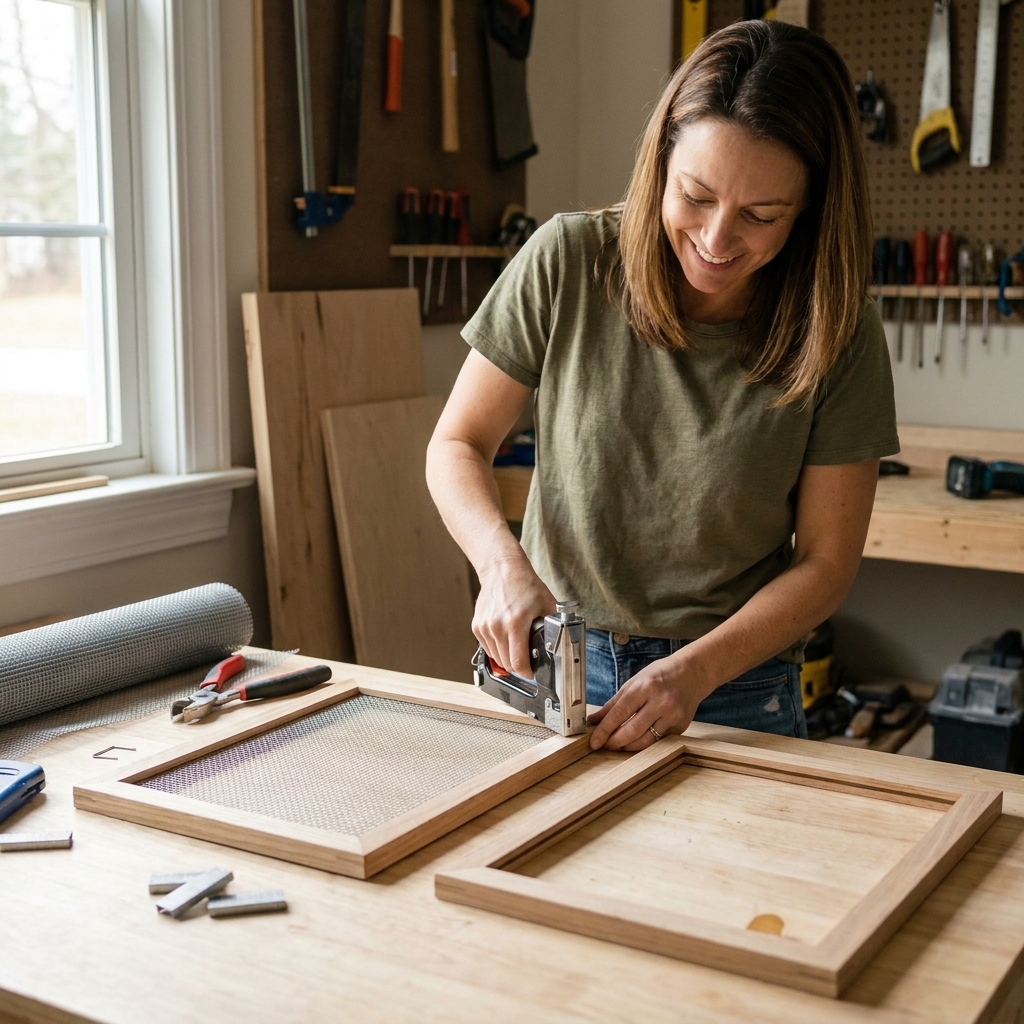
If you do not have a papermaking kit, you can make one with two identical picture frames. Thrift stores are my favorite source for these.
Quick version
- Find two matching frames (wood is easiest to staple into). Remove glass and backing.
- Cut a piece of fine mesh screen slightly larger than one frame opening. Window screen works, but a finer mesh gives smoother paper.
- Pull the mesh tight across the back of one frame and staple all the way around. Trim excess.
- Leave the second frame empty. This becomes your deckle.
Crafty tip: The tighter the screen, the cleaner your sheet edges and the more even your paper thickness.
Step 1: Prep the scraps
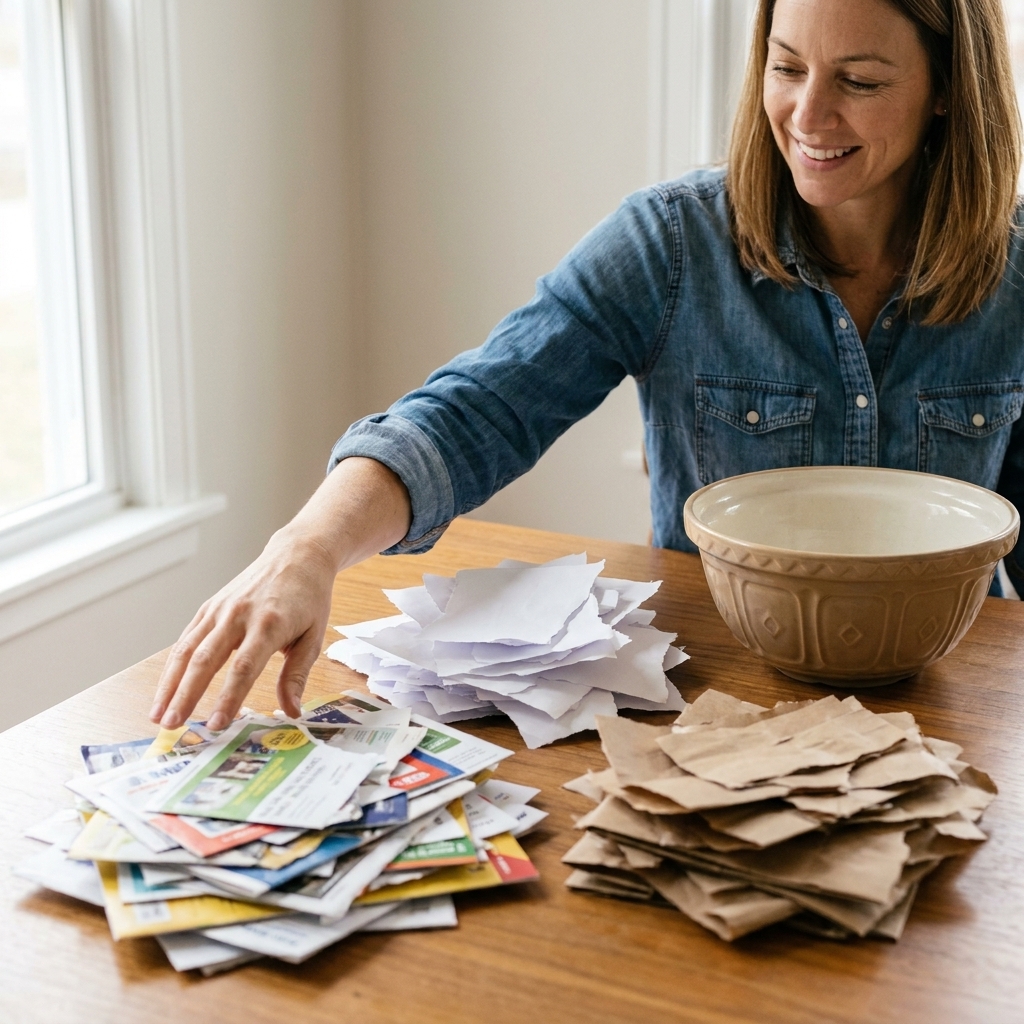
Smaller pieces blend faster and make smoother pulp. I tear scraps into pieces about 1 inch or smaller.
Remove anything that is not paper
- envelope plastic windows
- tape, stickers, and glossy label backing
- staples and paper clips
- laminated or heavily coated paper
Skip receipts: Avoid thermal receipt paper for papermaking. It does not behave like regular paper and can contain coatings you do not want in your craft tub.
About glossy paper: A little bit is usually fine, but too much can make weak sheets because coatings do not fiber-bond the same way. If you want sturdier card-friendly paper, aim for mostly uncoated paper.
Step 2: Soak the scraps
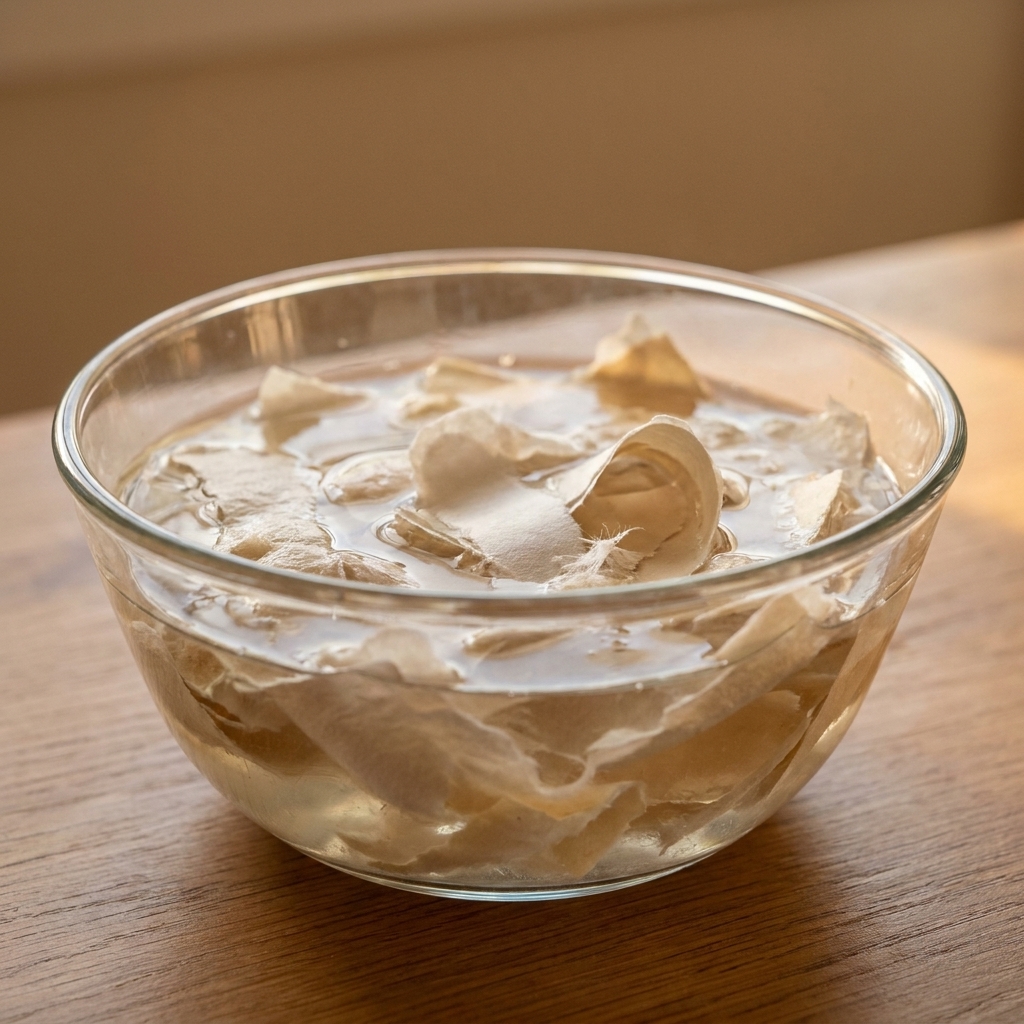
Put your torn paper into a bowl and cover with warm water. Let it soak until it feels mushy and easy to pull apart. For most paper, 30 minutes is enough. For thicker paper bag scraps, give it a few hours or overnight.
Color note: Bright inks from junk mail can tint your soak water and your vat. That can be lovely, just know your “white” pulp might turn pastel without warning.
Step 3: Blend into pulp
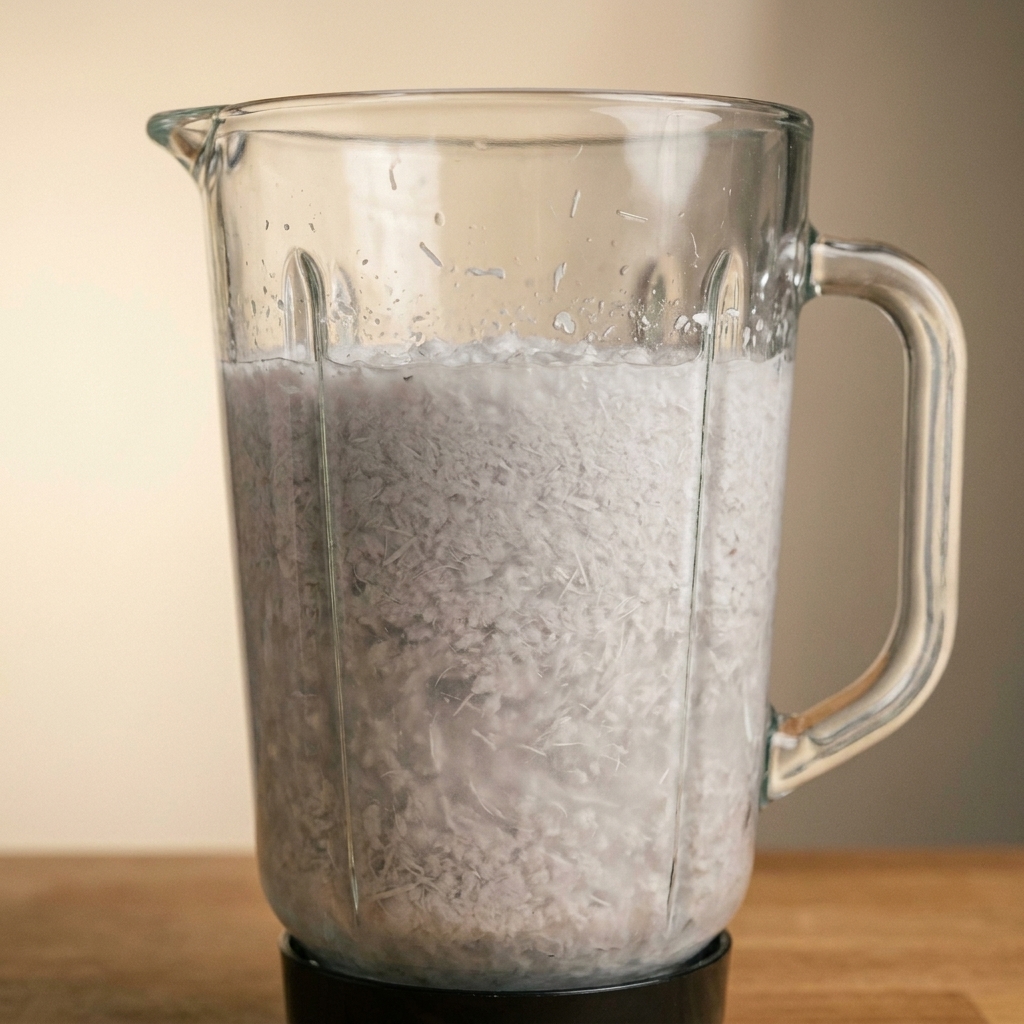
Fill your blender about halfway with water, then add a handful of soaked paper. Blend in short bursts until you have a smooth, oatmeal-like slurry.
- More blending = smoother paper
- Less blending = more texture and visible fibers
My card maker preference: I like a medium blend. It holds together well, but still has that handmade texture that looks gorgeous behind stamped sentiments.
Step 4: Make the vat
Pour your pulp into a large tub and add more water. Swish with your hand to distribute fibers evenly. You are aiming for a milky-looking bath where fibers float freely. A helpful cue is that you should still see the bottom of the tub, but only faintly.
How much pulp?
This controls your sheet thickness.
- Thin, delicate sheets: less pulp in more water
- Thicker, more card-friendly sheets: more pulp in the vat
If your first sheet looks too thin, add more pulp and try again. The vat is very forgiving.
Step 5: Pull a sheet
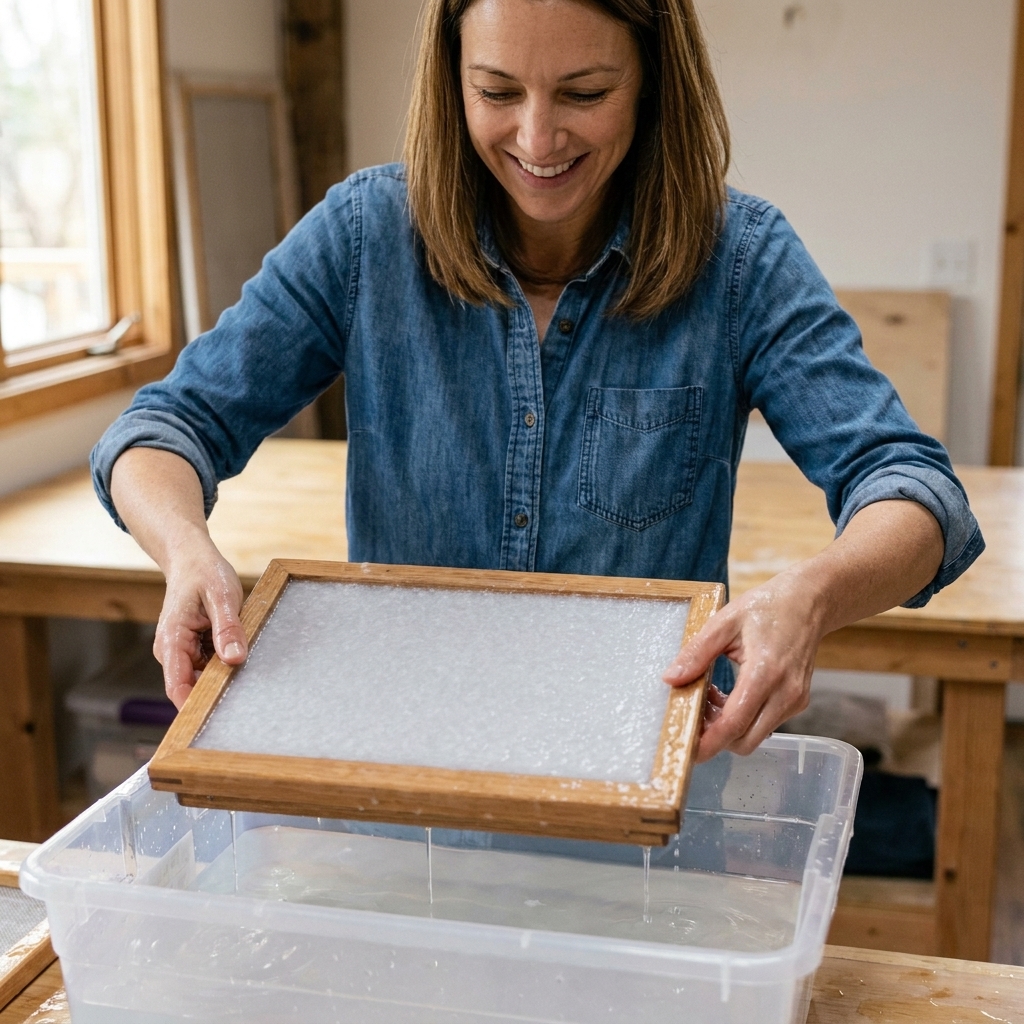
- Hold the mould (screen frame) and place the deckle on top like a lid.
- Dip both frames into the vat at a slight angle, then level out under the surface.
- Lift straight up, keeping it level, and let water drain.
- Gently shake side to side and front to back a few times to distribute fibers evenly.
Little secret: That tiny shake helps lock fibers together and reduces weak spots. It is like tucking your paper fibers into bed.
Step 6: Couch onto felt
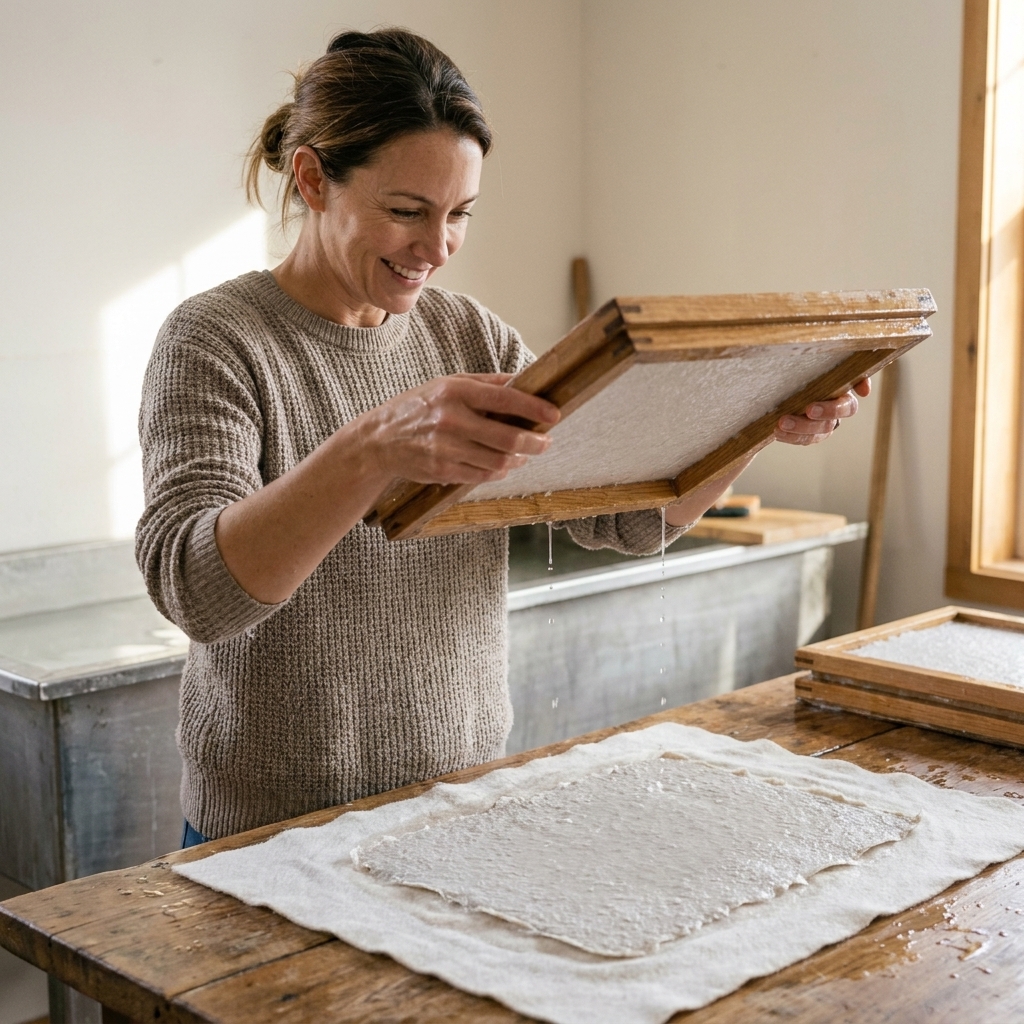
Couching (pronounced “KOO-ching”) is transferring your wet sheet onto fabric so it can be pressed and dried.
- Lay a piece of felt or towel flat on the table. Lightly damp fabric can help the sheet release.
- Remove the deckle, then flip the mould screen-side down onto the felt.
- Press the back of the screen with a sponge to encourage water to release.
- Carefully lift the mould away. The wet paper should stay on the felt.
If the paper sticks to the screen, it usually means it is too thin, too wet, or the fibers are not blended enough. Add more pulp to the vat, sponge longer, and try again.
Step 7: Press the stack
To make multiple sheets, layer like this:
- felt
- wet paper sheet
- felt
- wet paper sheet
- repeat
Once you have a small stack, cover with another towel and press firmly. You can:
- roll over it with a rolling pin
- stand on it carefully (clean socks only, please)
- place a cutting board on top and add heavy books
Timing that helps: Press for 5 to 10 minutes, then peel back the top towel and swap in a drier one if everything is still soggy. Press again for another 5 to 10 minutes. Getting that first big squeeze of water out makes drying faster and flatter.
Pressing removes water and helps your paper dry flatter. If you want less curl for card making, do not skip this step.
Step 8: Dry the paper
You have a few good options depending on the texture you want.
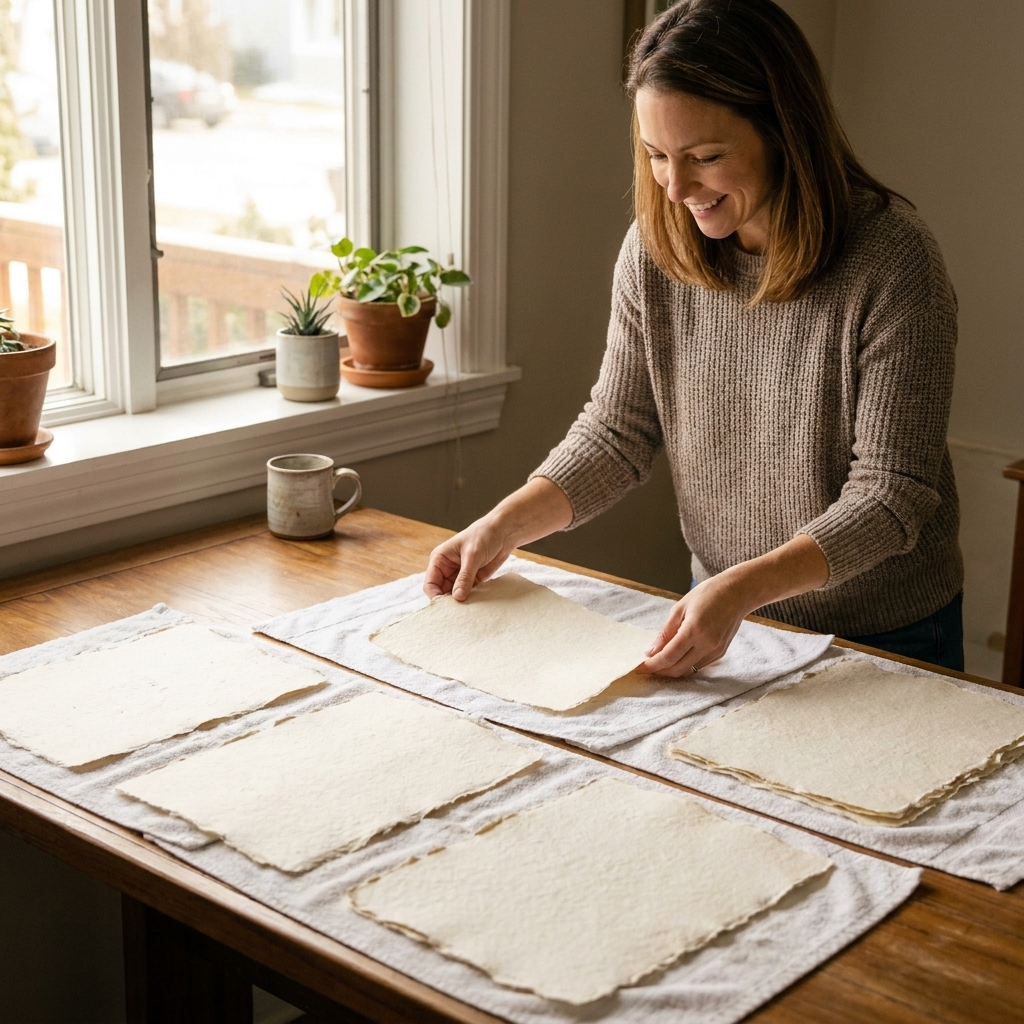
Option A: Air dry on felt
Leave the sheet on the felt and let it dry naturally. This gives a soft, slightly fuzzy surface that looks beautiful for rustic projects.
Option B: Dry on a smooth surface
Lift the sheet carefully and place it on a smooth board, acrylic sheet, or glass. Smooth it gently with your hand. This helps reduce wrinkles and makes the sheet nicer for stamping.
Option C: Dry, then re-press
Once fully dry, sandwich the paper between two clean sheets of copy paper and press under heavy books overnight. This flattens curl without crushing all that lovely handmade texture.
Storage note: Let sheets dry all the way through before stacking. If your home is humid, point a fan nearby (not directly on top) for airflow.
Add-ins and effects
This is the part where my inner patterned-paper hoarder gets extra excited. You can customize handmade paper in the vat or after couching.
Add-ins that work well
- Dried flower petals: Press them in gently after pulling the sheet, or mix lightly into the vat for a scattered look.
- Thread bits: Cut very short (think confetti length) so they do not clump.
- Colored paper: Add bits of tissue or construction paper to tint your pulp.
- Seed paper: Use native wildflower seeds sparingly and do not blend the seeds. Stir them in at the very end, then pull your sheet gently.
Things to avoid
- large chunks of cardstock (they do not break down evenly)
- too much glitter (it can weaken the sheet)
- plastic confetti or foil (no bonding, lots of tearing)
About embossing powder: If you sprinkle embossing powder into pulp for flecks, treat it as a fun experiment. It can clump, and if you later heat emboss on that sheet, any stray powder bits may soften or melt. For predictable shimmer, mica powder or biodegradable glitter is usually easier.
For card making
Handmade paper is not always perfectly behaved, but that is part of the charm. Here is how to make it easier to use on cards.
Cutting
- Tear for beauty: Use a ruler edge and tear slowly for a clean, artsy deckled look.
- Cut for precision: Use sharp scissors or a rotary cutter. Die-cutting is possible, but very fibery paper can snag delicate dies.
Adhering
- Strong liquid glue works best for textured sheets. Apply thinly and press under a book to dry flat.
- Tape runner is fine for smoother handmade paper, but may not grip well on fuzzy surfaces.
- Double-sided sheet adhesive is my favorite for turning a thin handmade sheet into a clean card front layer.
Stamping and ink
- Use a stamp positioner if you have one. Handmade paper can be uneven, so a second impression is sometimes needed.
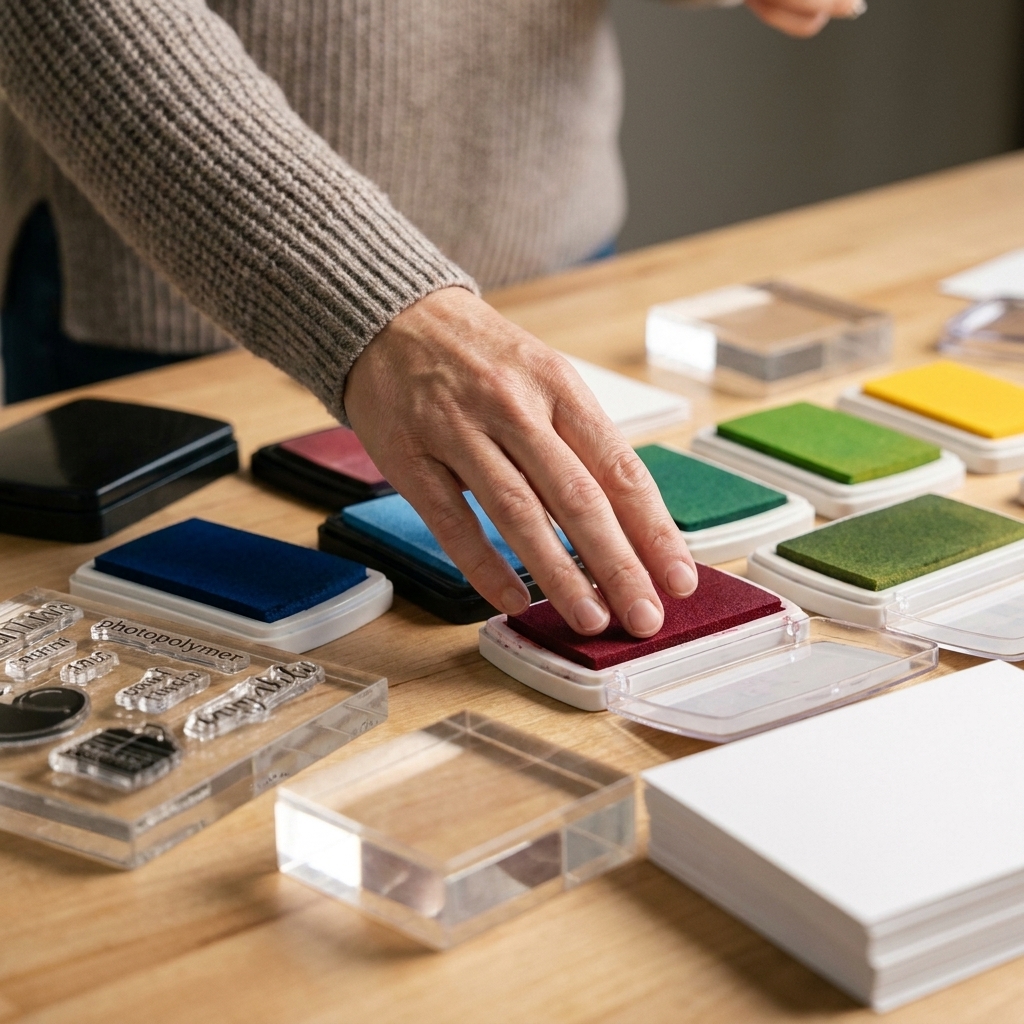
- Pigment inks sit on the surface longer and can smudge on very absorbent paper. Test first.
- VersaFine-style inks (crisp, oil-based) often stamp nicely on textured paper, especially with firm pressure.
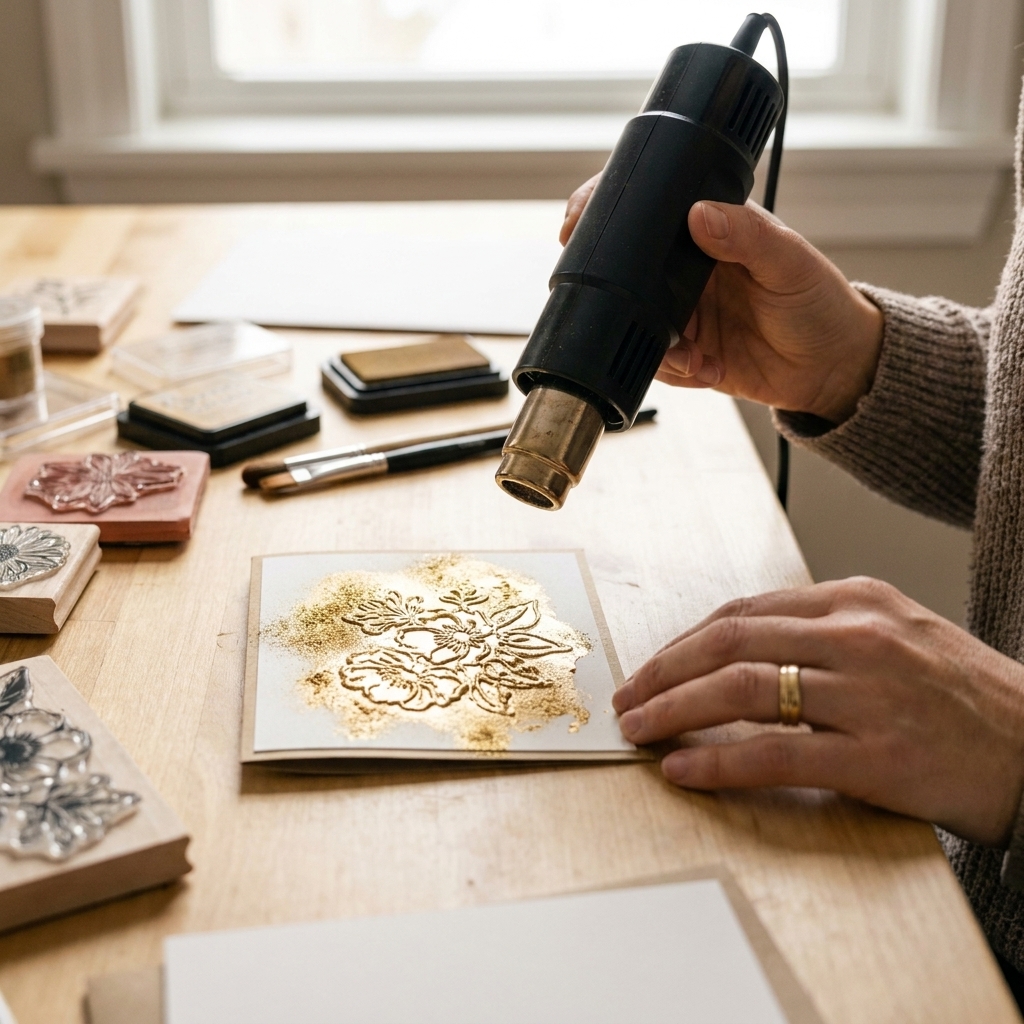
Embossing: Heat embossing works, but keep your heat tool moving. Thin handmade paper can scorch or warp quickly.
Troubleshooting
My sheet tears when I lift it
- Add more pulp to thicken your sheet.
- Blend a little more so fibers bond better.
- Shake the mould gently after lifting to interlock fibers.
The paper will not release
- Sponge more water out before lifting the mould.
- Make sure your couching fabric is damp, not bone dry.
- Try a slightly thicker sheet.
My paper is very wrinkly
- Press longer and swap in drier towels.
- Dry on a smoother surface.
- Re-press after drying under books.
It feels weak and fluffy
- Use more sturdy fiber sources (office paper, printer paper, kraft or bag paper) and less tissue.
- Avoid too many add-ins.
- If your sheet is falling apart, blend a bit more so fibers can knit together.
Easy first projects
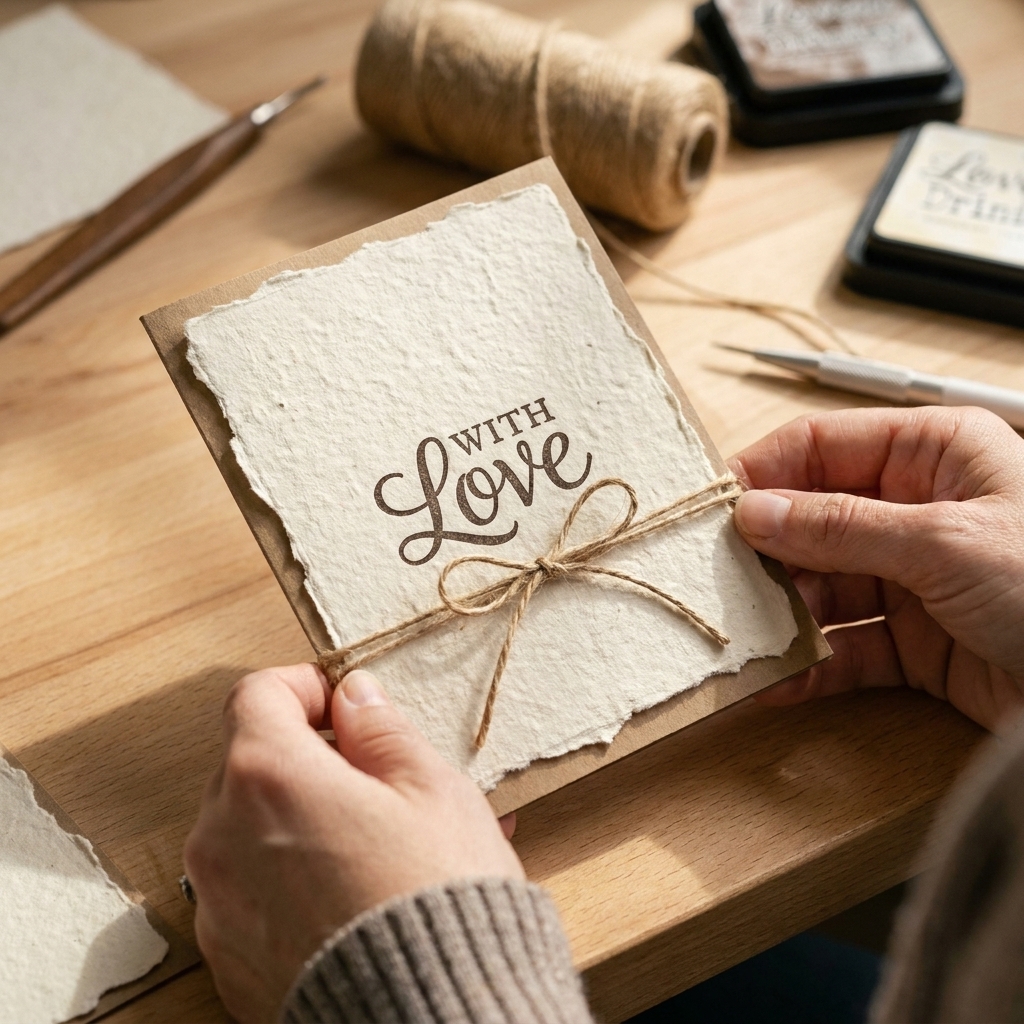
- Torn-edge card front: Layer handmade paper over a solid cardstock base for strength.
- Die-cut hearts or butterflies: Use a simple, bold die for clean cuts.
- Sentiment strips: Stamp a greeting on a smoother area of the sheet and trim into banners.
- Mini tags: Punch a hole and add twine for gift wrapping.
FAQ
Can I make handmade paper without a mould and deckle?
You can, but it is harder to get even sheets. In a pinch, you can stretch fine mesh over an embroidery hoop or a single frame, but the two-frame setup makes the process smoother and less splashy.
How long does handmade paper take to dry?
Most thin sheets dry in 12 to 24 hours depending on humidity. Thick sheets or heavily textured sheets can take 24 to 48 hours.
Can I make cardstock-weight paper?
You can make thicker sheets, but truly cardstock-thick paper is tricky at home because it takes a lot of fiber and drying time, and it can crack when folded. For cards, I prefer making medium-weight sheets and adhering them to a sturdy cardstock base.
What paper makes the best pulp?
Plain printer paper and uncoated office paper make strong, smooth pulp. Paper bags add beautiful natural color and texture. Tissue paper is lovely for tinting but can weaken sheets if used as the main fiber.
Is it safe to use my kitchen blender?
It can be, but I recommend a dedicated thrifted blender if possible. Paper fibers can cling to parts, and cleanup is not the kind of surprise you want when you are trying to make a smoothie later.
A final pep talk
Your first batch of handmade paper will not be perfect and that is the magic. Every sheet tells the story of what went into it, literally. Save your prettiest pieces for card fronts, keep the lumpy ones for die-cuts and layers, and let yourself enjoy the process. It is creative recycling at its coziest, and it makes your handmade cards feel even more like that hug folded in half.