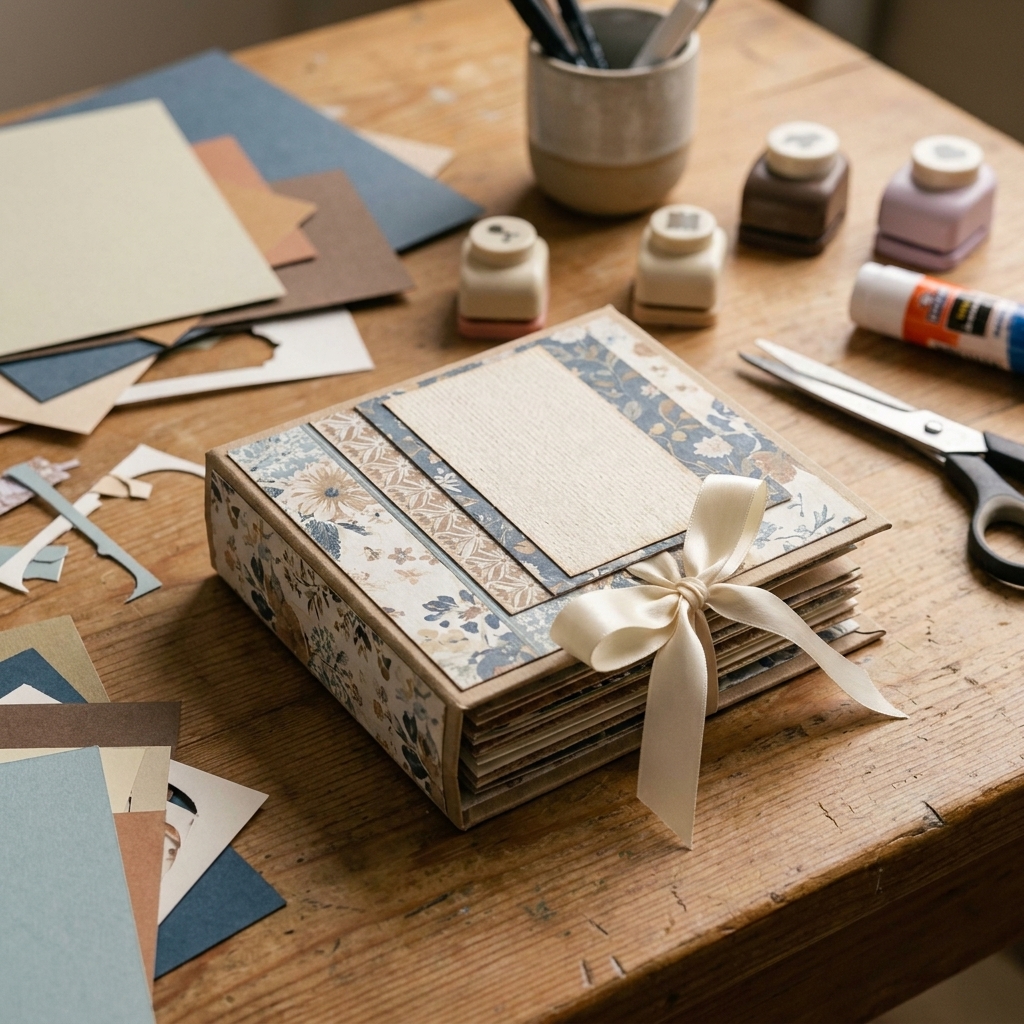
If you have ever held a handmade notebook and thought, “I want to make that,” you are in exactly the right place. Bookbinding looks fancy, but your first blank paper journal can be made with the same crafty confidence you use for a card front and a good adhesive. Today we are stitching two classics that every paper crafter should have in their back pocket: the 3-hole pamphlet stitch (perfect for slim journals) and the 5-hole pamphlet stitch (often casually called a “saddle stitch” because it saddles along the fold, even though “saddle-stitch” also commonly means stapled booklets).
I will walk you through the whole thing like we are side-by-side at the kitchen table, coffee on the left, patterned paper stash on the right.
Before you start
Both of these bindings are great for softcover notebooks made with cardstock covers and blank writing paper. The main difference is how the thread travels and how much paper the binding can comfortably handle.
- 3-hole pamphlet stitch: One signature (one stack of nested sheets folded together). Quick, clean, beginner-friendly. Great for 8 to 24 inner pages (that is 2 to 6 sheets of paper folded in half).
- 5-hole pamphlet stitch: Still one signature, but with more holes so the tension is spread out along the spine. This is a sturdy option for thicker stacks and it helps the book lie flatter.
My beginner tip: Start with one signature and make it thinner than you think you need. You can always make a second journal, and you will learn faster with less bulk fighting you.
Supplies
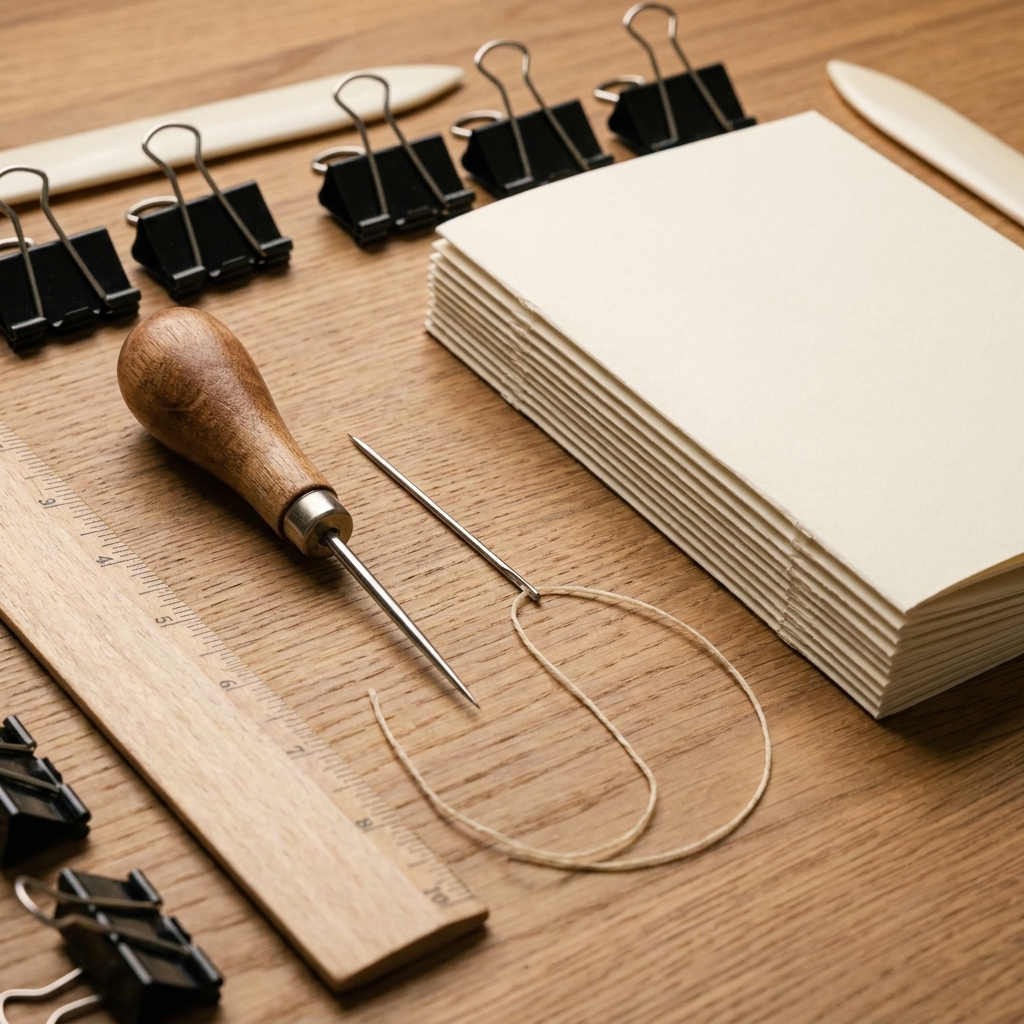
- Paper for inside pages: printer paper, sketch paper, or lightweight writing paper (ideally 70 to 100 gsm). Craft paper also works for a rustic journal, but it can be thicker and may add bulk quickly.
- Cover: heavyweight cardstock, kraft cardstock, or thin chipboard wrapped with decorative paper. A sweet spot is 110 lb cover (about 300 gsm).
- Thread: waxed linen thread is easiest, but embroidery floss (split to fewer strands) or strong cotton thread works too
- Needle: a bookbinding needle is great, but any sturdy needle works. A blunt tapestry needle is beginner-friendly (less likely to slice paper). A sharp needle can be useful for tight holes, but go gently so you do not tear the fold.
- Awl (or a push pin or thumbtack as a beginner alternative)
- Bone folder (or the side of a clean marker for creasing)
- Ruler and pencil
- Clips or binder clips
- Cutting mat or a stack of corrugated cardboard to protect your table when poking holes
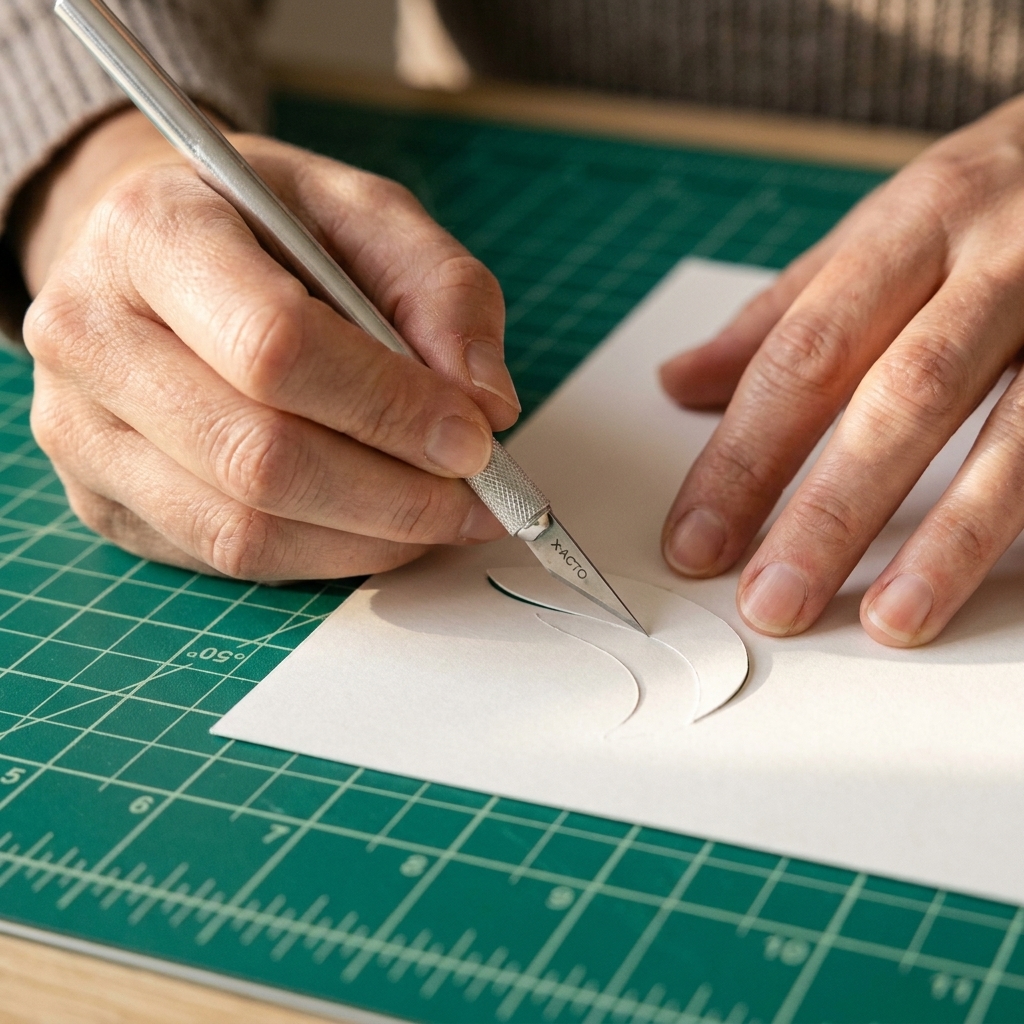
- Optional but helpful: washi tape, craft knife and metal ruler, thimble, small scissors
Paper math
Sheet vs page
In binding, a sheet is one piece of paper. Fold it in half and it becomes 4 pages (front and back of each half). That is why a little stack becomes a surprisingly pagey little journal.
A beginner-friendly starting size
- Finished size: 5.5 x 8.5 in (half-letter) or A5-ish
- Cut size: 8.5 x 11 in folded in half, or A4 folded in half
- Try this: 5 sheets + 1 cover sheet (cardstock) folded together
If your cover is very thick and your inside pages are thick too, reduce the number of sheets. Chunky paper is gorgeous, but it can make the spine spring open until you get the hang of tension.
Also normal: if the inner pages stick out a tiny bit after folding, that is called creep. It happens more with thicker signatures. You can trim the fore edge later if you want everything perfectly flush.
Make a hole template
A template keeps your holes straight and evenly spaced, which makes stitching feel calm instead of chaotic.
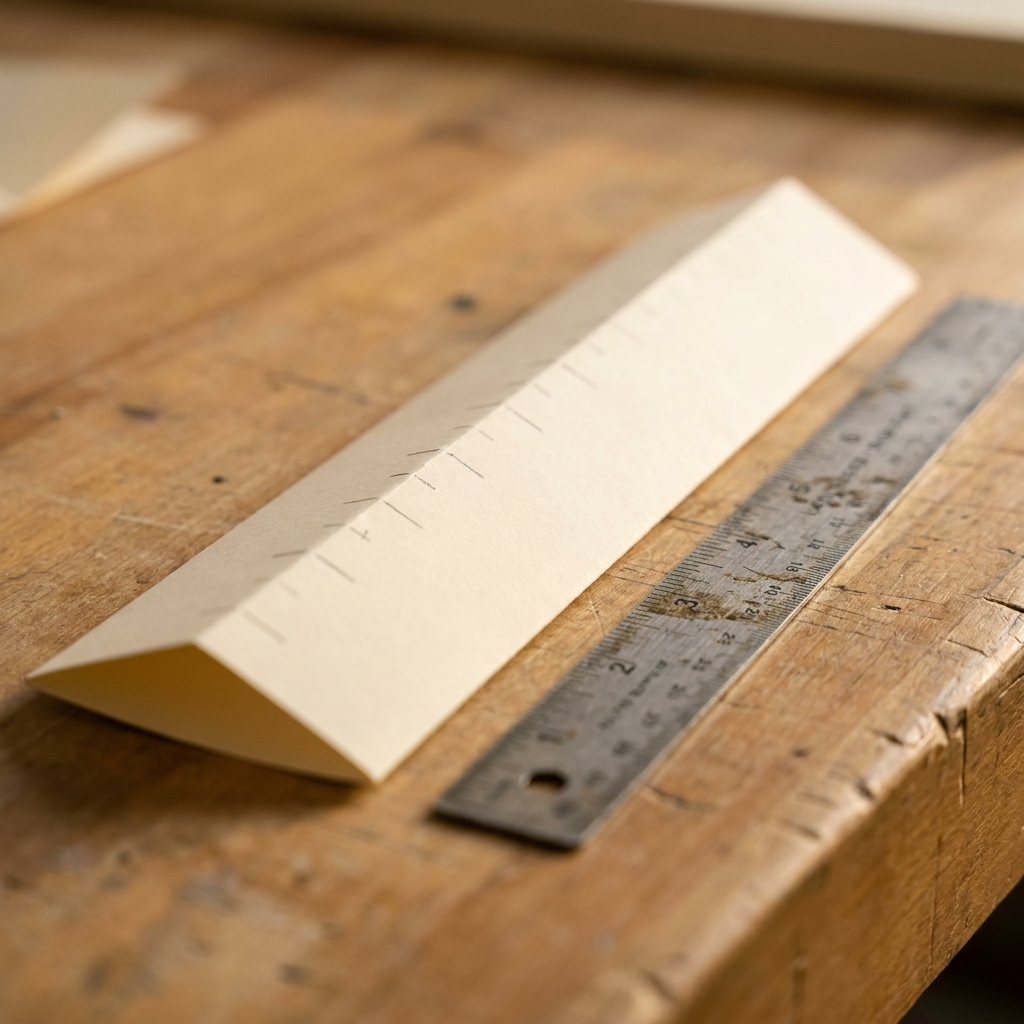
- Cut a strip of scrap paper the same height as your folded journal (the spine height).
- Fold the strip in half and crease sharply.
- Mark your holes along the folded edge.
Hole spacing
- 3-hole template (classic): one hole at center, two holes about 1 inch (2.5 cm) from top and bottom. For very small books, keep at least 3/4 inch (about 2 cm) from the ends.
- 5-hole template: one center hole, plus two pairs evenly spaced above and below (roughly 1.5 to 2 inches apart depending on journal height).
Tip from my trial-and-error era: Keep the top and bottom holes a little away from the edges so your paper does not tear when you pull the thread snug.
Prep your pages
- Stack your inner sheets neatly, tap on the table to align edges.
- Nest them by placing one inside another to form a single signature.
- Add your cover as the outer sheet (cardstock or wrapped chipboard).
- Fold together and crease the spine with a bone folder.
- Clip the signature closed with binder clips, one near the top and one near the bottom.
If your inner pages stick out slightly after folding, that is normal. For your first journal, do not stress about trimming. If you want a crisp store-bought edge, you can trim the fore edge later with a sharp craft knife and metal ruler.
Punch the holes
- Place your template inside the fold, aligning the template fold with the journal spine.
- Mark the hole positions onto the center fold with a pencil (optional) or just hold the template in place.
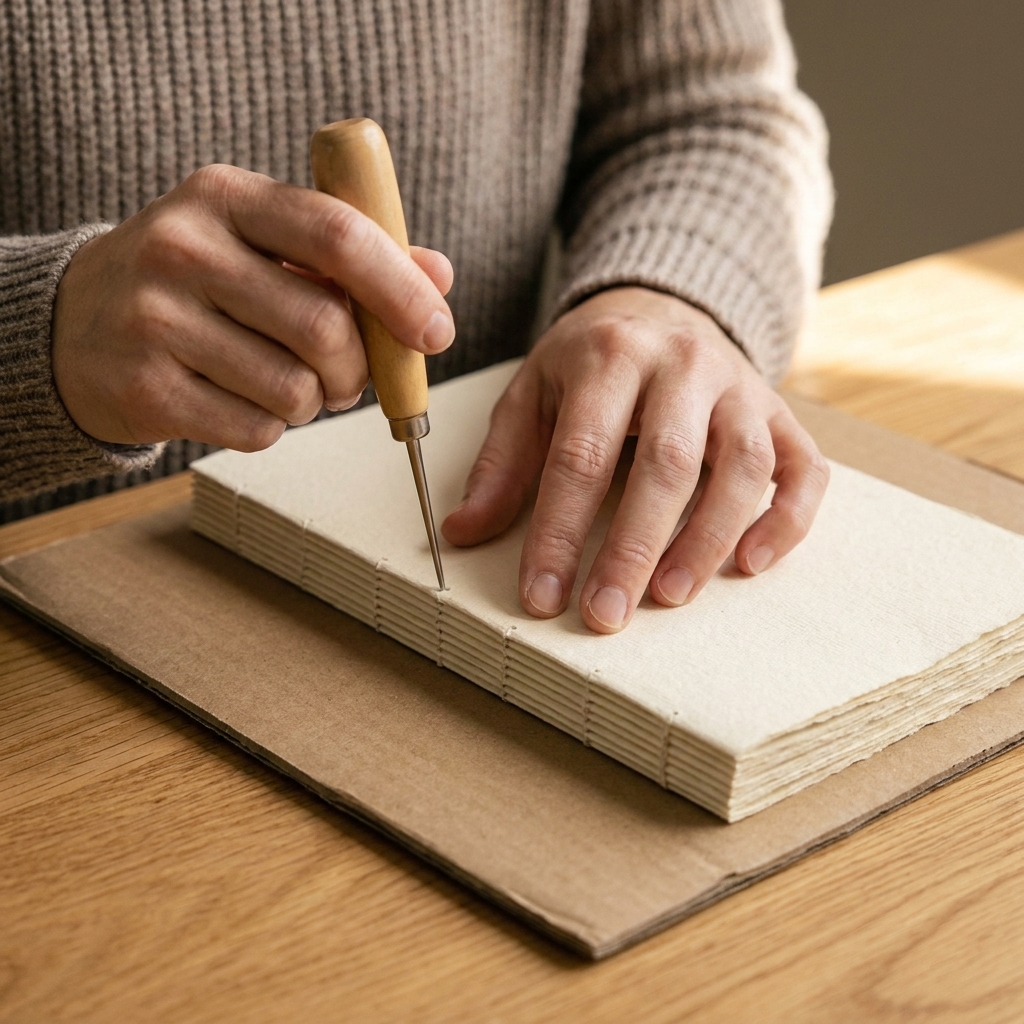
- Pierce holes with an awl straight down through the fold, one hole at a time. Try to keep the awl perpendicular to the fold so the holes line up neatly on the spine.
- Wiggle slightly to widen the hole just enough for your needle and thread.
Safety and neatness tip: Always punch on a cutting mat or thick cardboard. Your table deserves better than our creative enthusiasm.
Stitch 1: 3-hole pamphlet
This is the hello world of bookbinding and it is genuinely satisfying. You will have a finished journal in minutes.
Thread length
Cut thread about 3 times the height of your spine plus a little extra for tying a knot. It is better to have a little too much than to come up short on your last pass.
Step-by-step
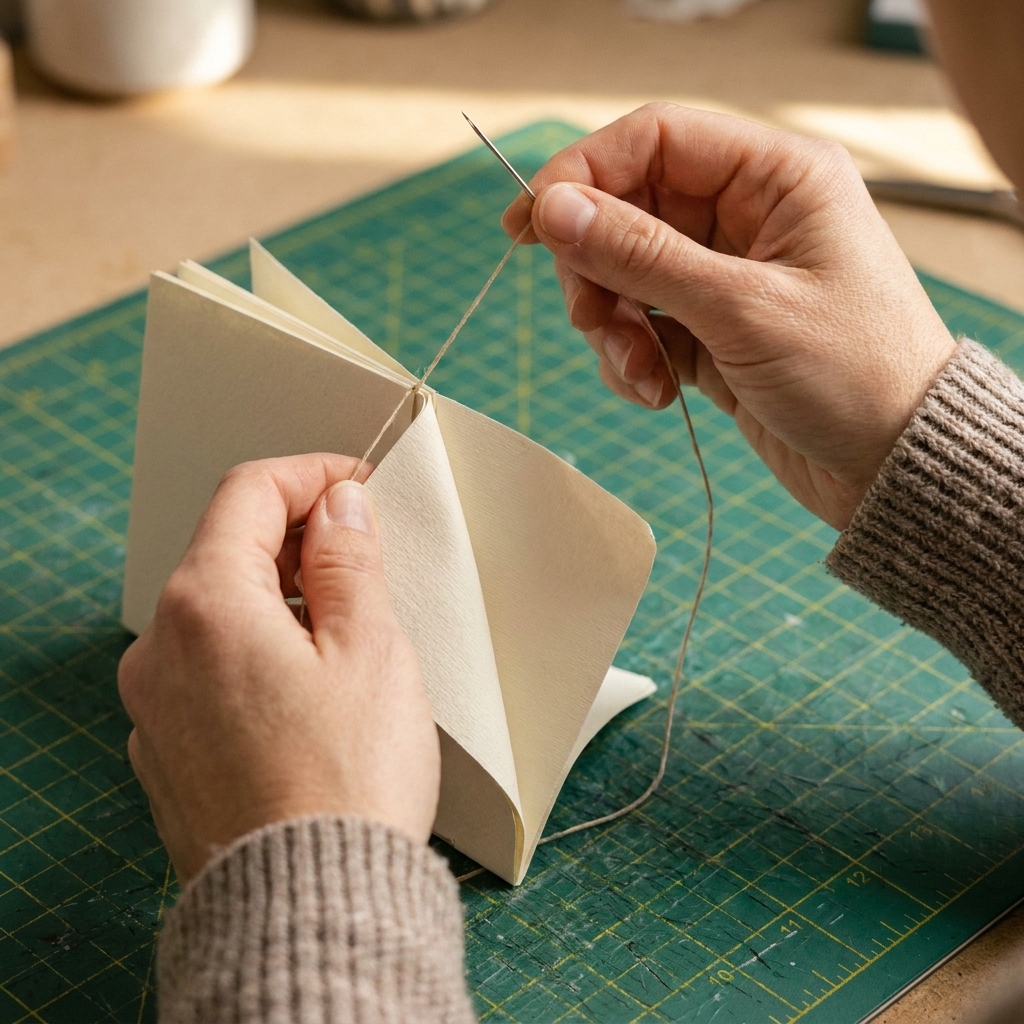
- Start in the center hole from the inside. Push your needle out through the center hole. Leave a tail of about 3 inches inside the journal, and hold that tail while you make the first couple of passes so it does not get accidentally pulled through.
- Go into the top hole from the outside to the inside.
- Travel inside to the bottom hole and push your needle out (inside to outside) through the bottom hole.
- Return to the center hole from the outside to the inside.
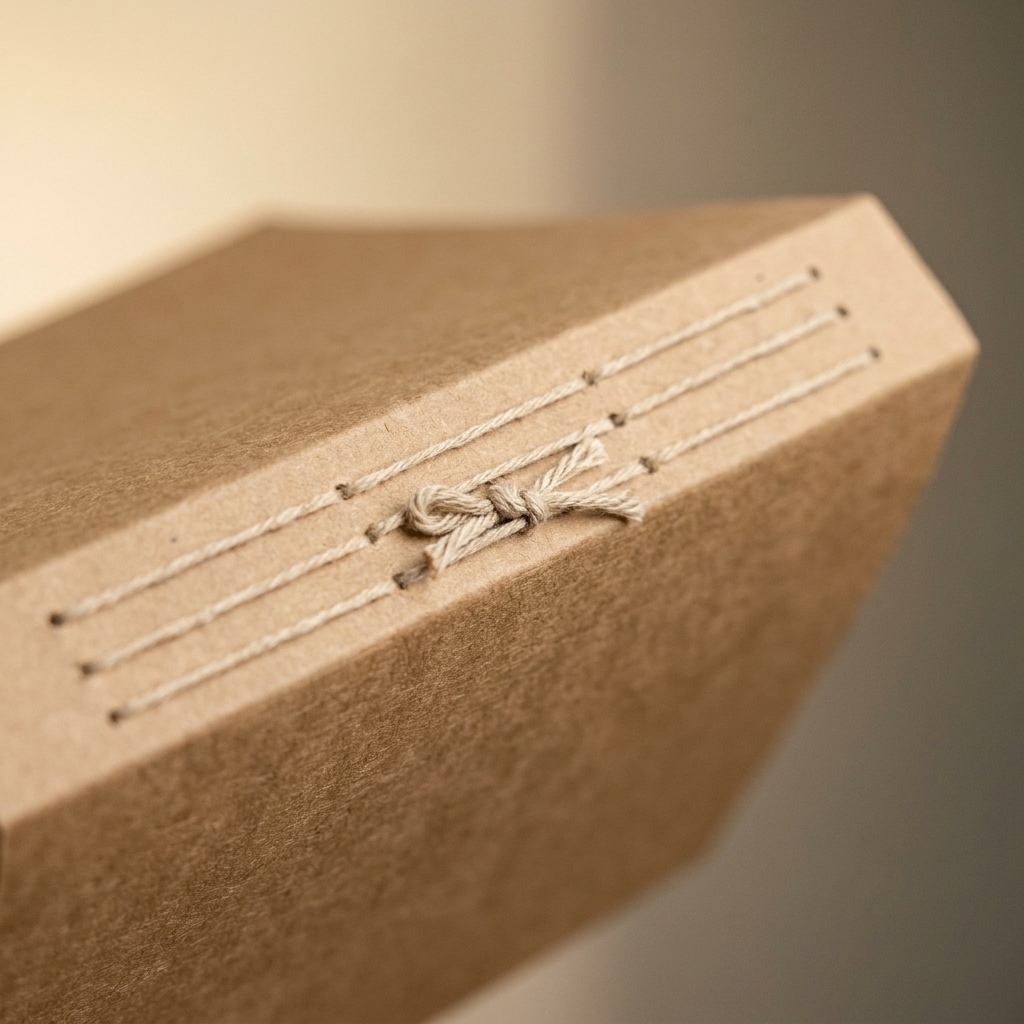
- Tie off inside by making a firm double knot with the working thread and the tail, keeping the knot close to the center hole.
Important: When you return to the center hole, make sure the long thread on the outside of the spine sits on the opposite side of the center stitch from your tail so the knot cinches the spine nicely.
Snug, not strangled
Pull the thread until the cover and pages sit neatly together, but do not yank like you are tightening a shoelace. Over-tightening can tear holes or make the spine pucker.
Stitch 2: 5-hole pamphlet
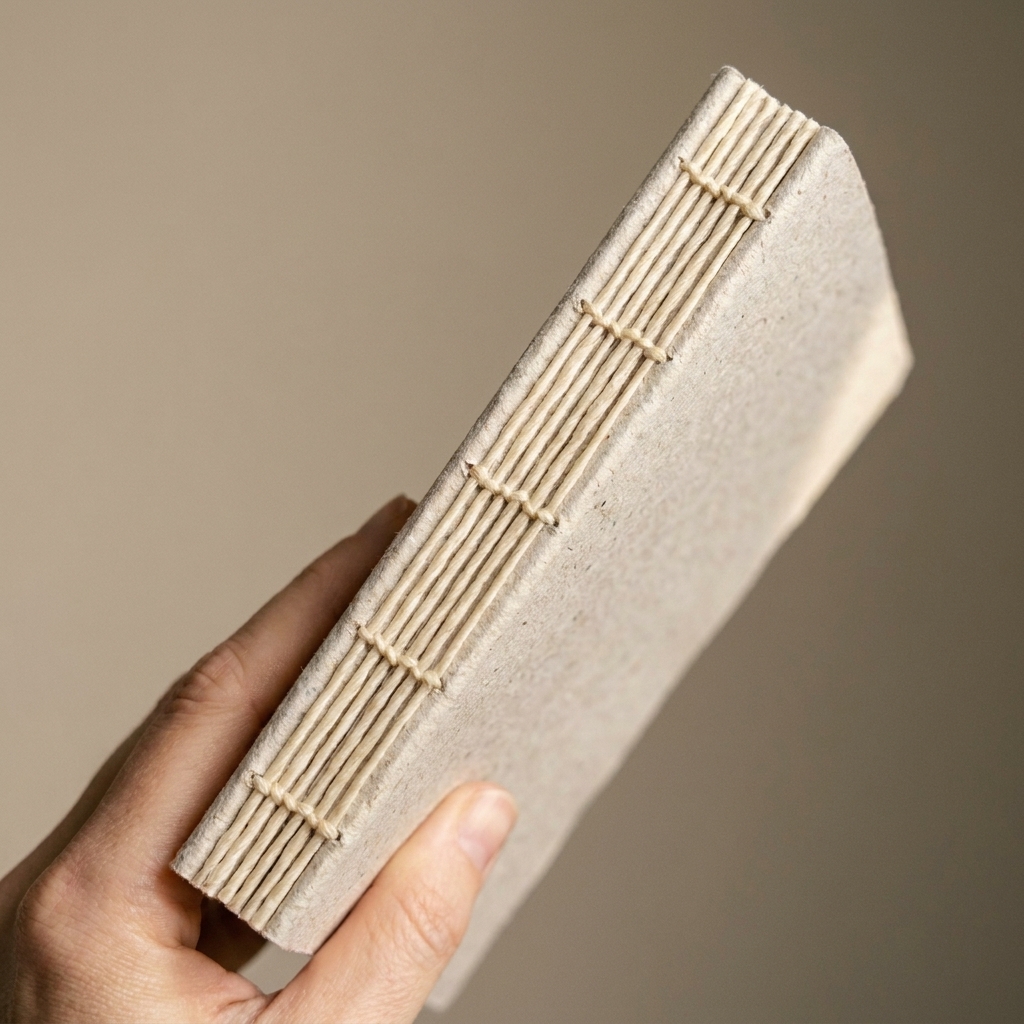
For a thicker softcover notebook, a 5-hole stitch helps distribute tension along the spine so everything lies flatter and feels more secure in your hands.
Thread length
Cut thread about 4 to 5 times the height of your spine. If your paper is thick or your needle is finicky, give yourself a little extra.
Step-by-step
We will number the holes from top to bottom: 1, 2, 3 (center), 4, 5.
- Start at hole 3 from the inside (inside to outside). Leave a 3-inch tail inside, and hold the tail for the first few passes so it does not sneak out.
- Go into hole 4 (outside to inside).
- Go out hole 5 (inside to outside).
- Come back in hole 4 (outside to inside). Now the bottom section is locked in.
- Travel inside past hole 3 and go out hole 2 (inside to outside).
- Go into hole 1 (outside to inside).
- Go out hole 2 (inside to outside).
- Go into hole 3 (outside to inside) to finish with both threads inside, right at the center.
- Tie off inside with a secure double knot.
Quick check before you knot: confirm your tail and working thread are on opposite sides of the long stitch that runs along the fold so the knot hugs the spine neatly (instead of trapping both threads on the same side).
This pattern sounds like a lot, but once you do it once, your hands remember. It is like learning a new bow for ribbon. Clumsy for five minutes, then suddenly you are doing it while chatting.
Tidy stitch tips
- Wax your thread if it is not pre-waxed. A quick run over beeswax (or even a candle in a pinch) reduces tangles and helps the thread glide.
- Keep even tension by pulling the thread snug after each pass, then smoothing the spine with your fingertips.
- Use a clip as a third hand. If your pages keep shifting, clip right on the fore edge while you stitch.
- Match needle size to hole size. If you have to force the needle, widen the hole slightly with the awl.
Common problems
My thread keeps tangling
- Use shorter thread lengths when learning, even if you have to rethread.
- Wax the thread and let the needle dangle occasionally to untwist.
The holes are ripping
- Your holes may be too close to the top or bottom. Move them in a bit next time.
- Pull snug, not tight. Paper does not like being over-cinched.
- Consider slightly thicker cover stock so the outer fold supports the tension.
The spine looks crooked
- Double-check that your template was centered and aligned with the fold.
- Clip the signature before punching holes so nothing slides.
- When punching, keep the awl straight so the holes stack neatly.
My notebook will not lie flat
- Reduce the number of sheets or switch to a lighter paper.
- After stitching, close the journal and burnish the spine firmly with a bone folder.
- Set it under a heavy book for an hour to train the fold.
Easy upgrades
Once you can bind a blank journal, you can start dressing it up like it is going to a craft fair.
- Add a pocket: glue a folded paper pocket inside the back cover before stitching.
- Add a belly band: wrap patterned paper around the cover, secure with double-sided tape.
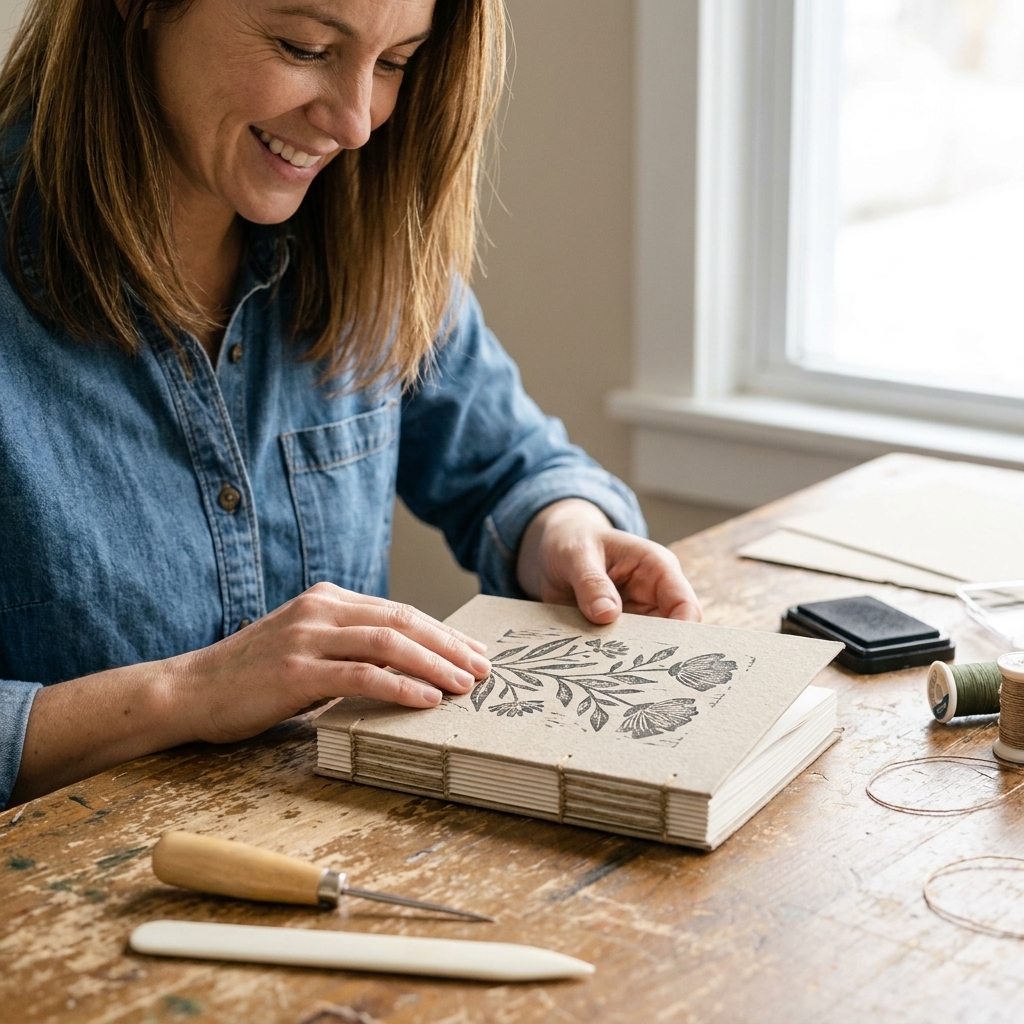
- Decorate the cover: stamping, heat embossing, die-cuts, or a simple layered label.
- Use mixed papers: alternate kraft, lined, and grid pages for a junk journal vibe.
- Thread personality: try baker’s twine, metallic embroidery floss, or a two-color twist.
Quick FAQ
Do I need special bookbinding thread?
No. Waxed linen thread is dreamy to work with, but strong sewing thread or embroidery floss works for beginner journals. If you use embroidery floss, fewer strands usually look cleaner and pull through holes more easily.
Can I use craft paper for the inside pages?
Yes, especially if you love that warm, rustic look. Just keep your signature thinner because craft paper is often thicker than writing paper, and thicker signatures resist folding flat.
How many pages is too many for a 3-hole pamphlet stitch?
As a comfy beginner range, aim for 8 to 24 pages (2 to 6 folded sheets). If you want more than that, make multiple signatures or explore bindings designed for thicker books.
Do I have to glue the spine?
Not for these projects. Stitching alone is enough for softcover notebooks. Glue becomes useful when you move into multi-signature books or want a reinforced spine.
Your first journal challenge
Make two tiny notebooks this week: one with a 3-hole pamphlet stitch and one with a 5-hole pamphlet stitch. Keep everything else the same, same paper, same cover weight, same thread. You will feel the difference immediately, and your hands will learn faster than your brain can overthink it.
And if your first one is slightly crooked, congratulations. That means you made it with your own two hands. That is the whole magic.