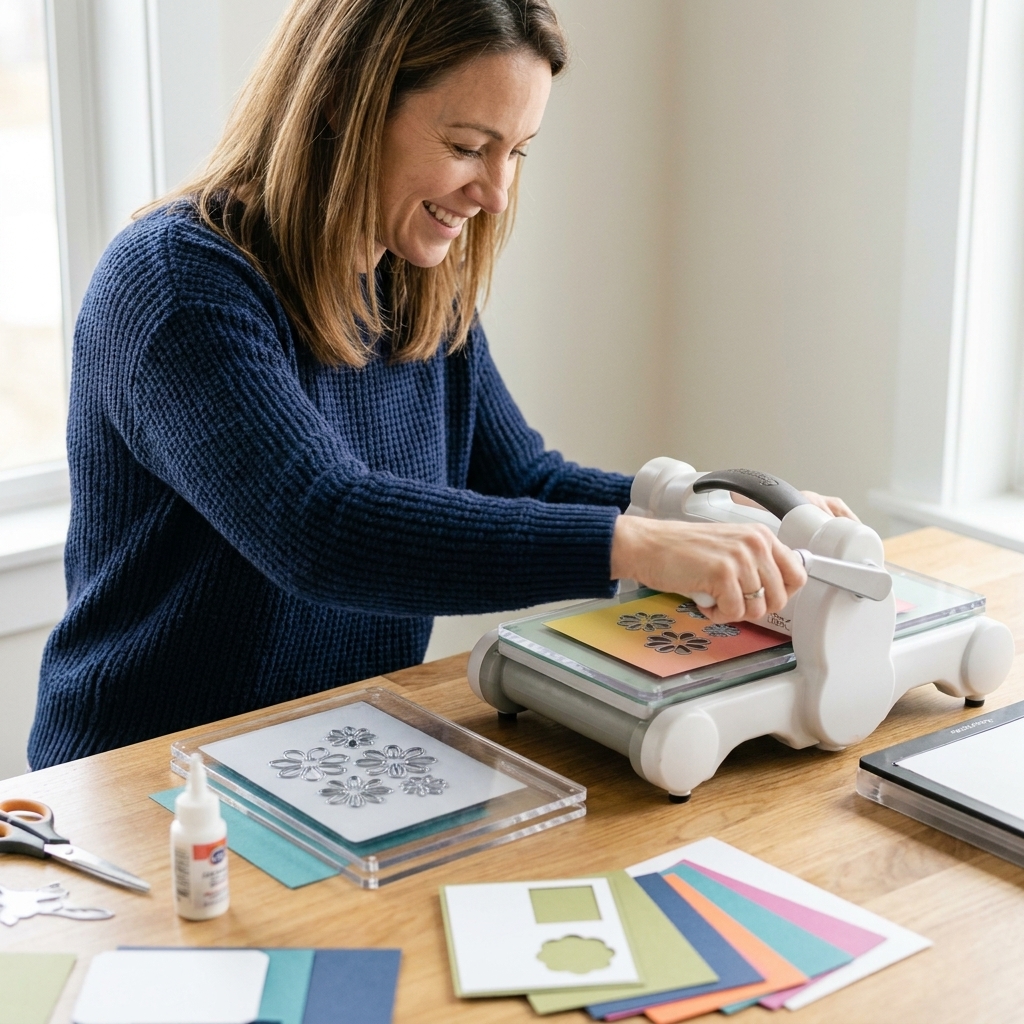
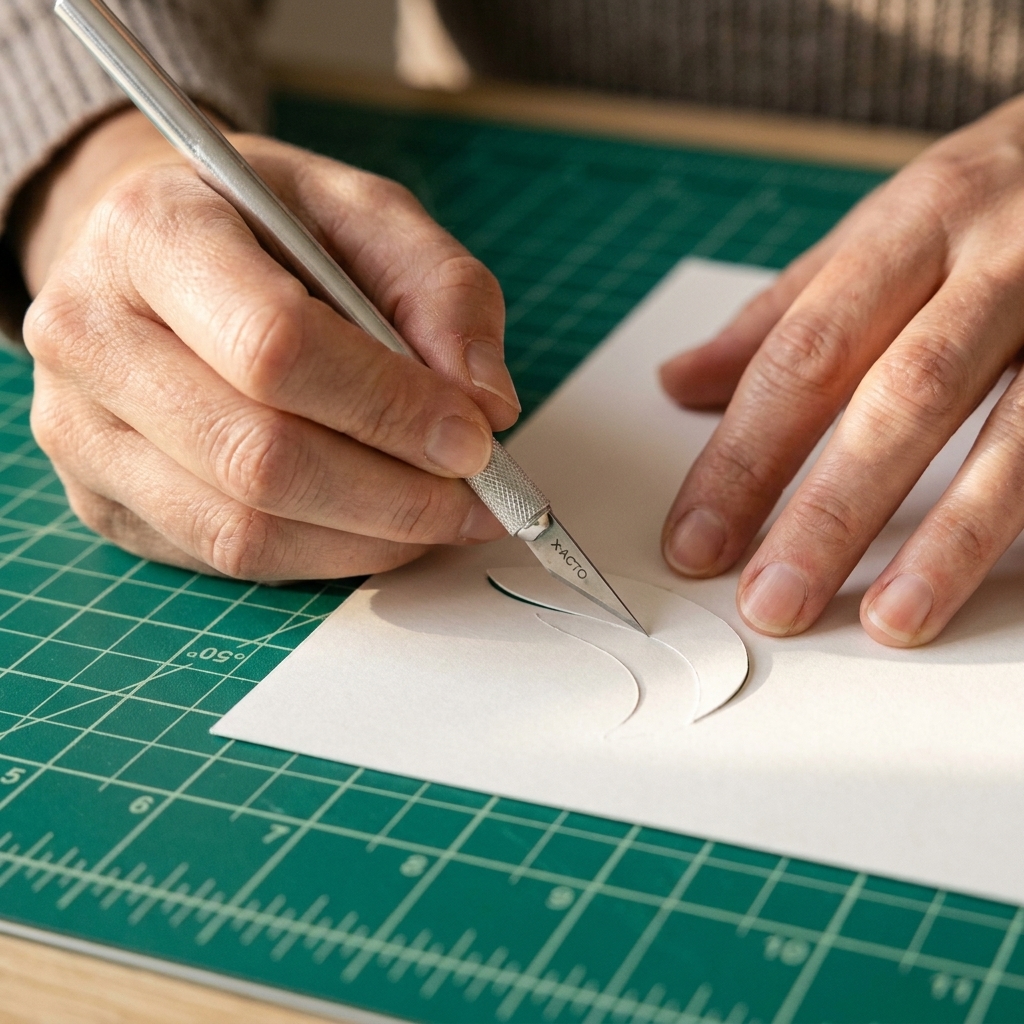
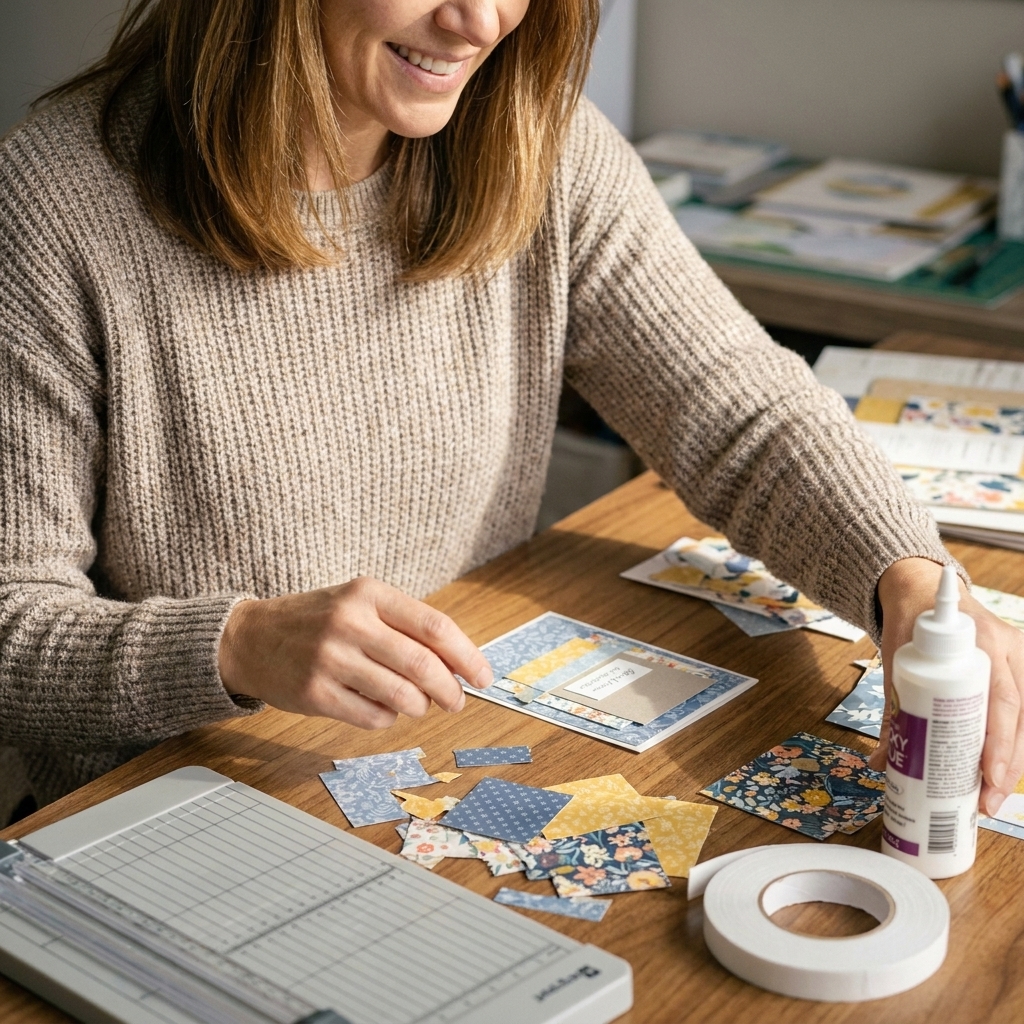
There is something magical about a garland. It can make a room feel festive fast, it photographs beautifully, and it lets you use up those “too pretty to cut” scraps without the guilt. I learned that at my grandma’s dining table, surrounded by paper clippings and a slightly suspicious amount of glue. Today I am sharing my favorite DIY paper garland ideas that work for birthdays, baby showers, weddings, classroom parties, holidays, and all those “just because” weekends when you want your kitchen to feel extra cheerful.
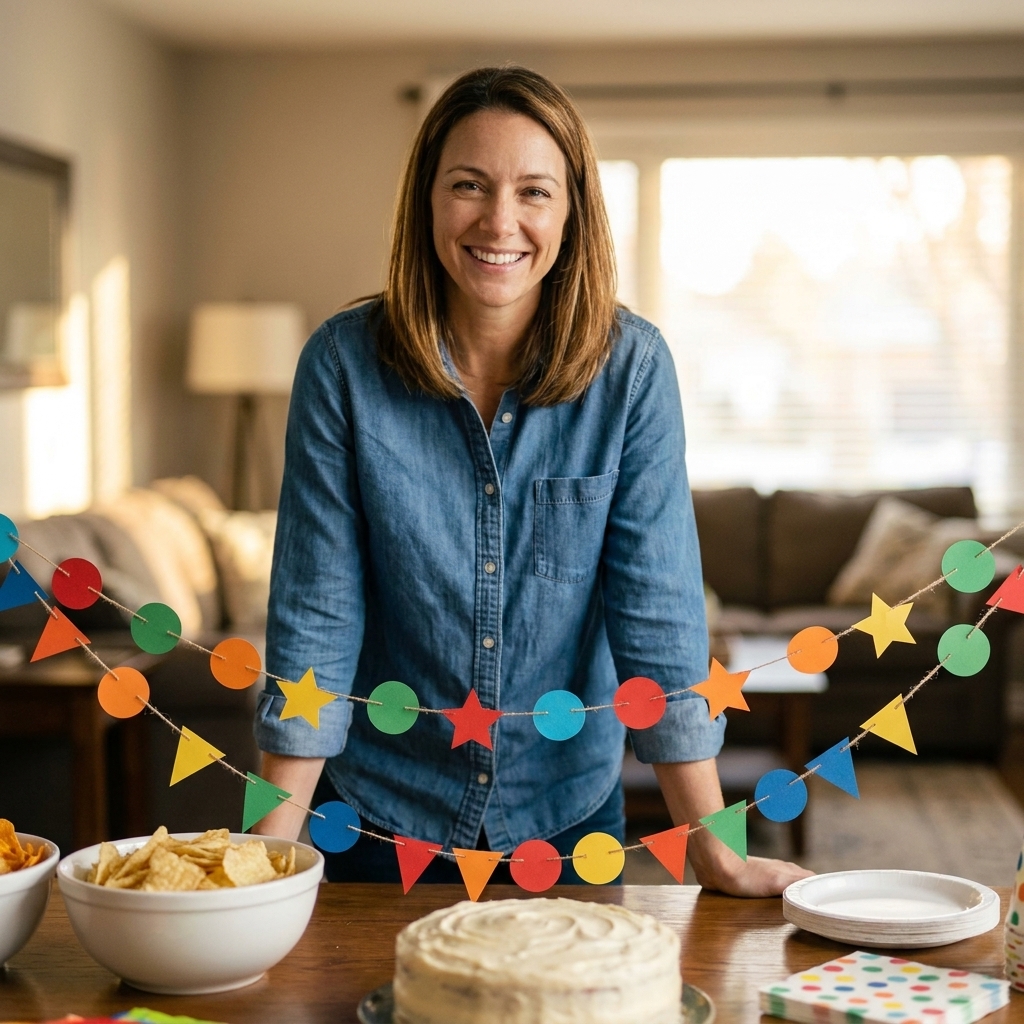
Each idea below includes a simple way to assemble it by sewing (my favorite for speed and durability) or gluing (perfect if you do not have a machine). Pick one style or mix two for extra wow.
Before you start: supplies you will actually use
You can make every garland on this list with a few basics. Use what you have and do not overthink it. Paper garlands are forgiving, which is part of their charm.
- Paper: patterned paper, cardstock (about 65 lb to 110 lb cover, roughly 175 to 300 gsm), book pages, kraft paper, tissue paper
- Cutting: scissors, paper trimmer, circle punch, dies and die-cutting machine (optional)
- Assembly: sewing machine and thread or twine, thin ribbon, fishing line, or baker’s twine
- Adhesives: glue stick for lightweight paper, double-sided tape for clean holds, tacky glue for layered pieces, hot glue for quick ribbon jobs
- Hanging: painter’s tape or removable hooks for walls, mini clothespins for mantels
- Nice-to-have: a craft mat or scrap cardboard to protect your table (especially with hot glue)
My quick paper pick
If you want garlands that hang nicely and do not curl, choose cardstock or a medium-weight patterned paper. Tissue is dreamy, but it needs a gentler touch.
Quick length math
For stitched shapes, I usually plan on about 12 to 18 shapes per 6 ft (1.8 m), depending on spacing. If you like a fuller look, go closer together. If you want airy and floaty, space them out.
1) Classic stitched circle garland
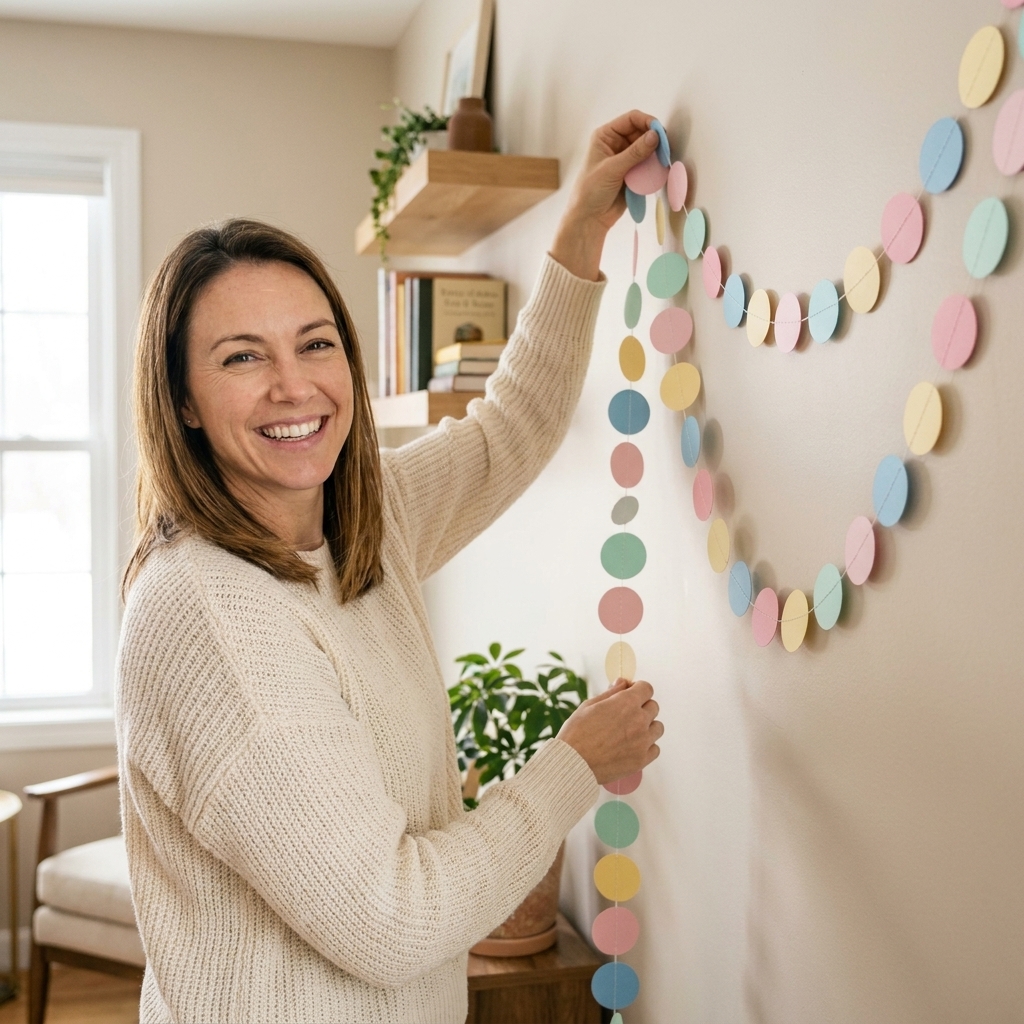
This is my go-to “I need decor in 20 minutes” garland. It is simple, bouncy, and looks good in almost any color palette.
Cut
- Punch or die-cut circles in two to four coordinating papers.
- Try 2 in circles for big impact, or 1 1/2 in for a daintier look.
Sew method
- Set your machine to a normal straight stitch.
- Chain-piece (sew continuously without cutting the thread): feed circles one after another, leaving about 1/4 in to 1/2 in between them.
- Do not backstitch until the very end.
Glue method
- Cut a long piece of twine or ribbon.
- Flip each circle over and tape the string across the center with double-sided tape.
- Add a second circle on top like a “paper sandwich” for a clean finish.
Chloe tip: If your circles spin on the string, add a tiny dot of tacky glue where the string crosses the circle.
2) Scalloped banner bunting
If you want that classic party banner look without buying anything, scallops are the answer. They feel sweet and nostalgic, especially in gingham or florals.

Cut
- Cut scallop circles (or hand-cut) and fold each in half.
- As a rough guide: for 2 1/2 in to 3 in scallops with about 1 in between each, 10 to 14 scallops fits many mantels. Adjust for your space and how “full” you want it.
Glue method
- Run a glue stick along the inside fold.
- Lay your twine inside the fold and press closed.
- Burnish with a bone folder for a crisp hold.
Sew method
- Fold scallops over the string.
- Sew a straight line along the fold to lock each piece in place.
Make it custom: Stamp tiny icons on each scallop (stars, hearts, baby footprints, snowflakes) for a themed twist.
3) Mini paper rosette garland
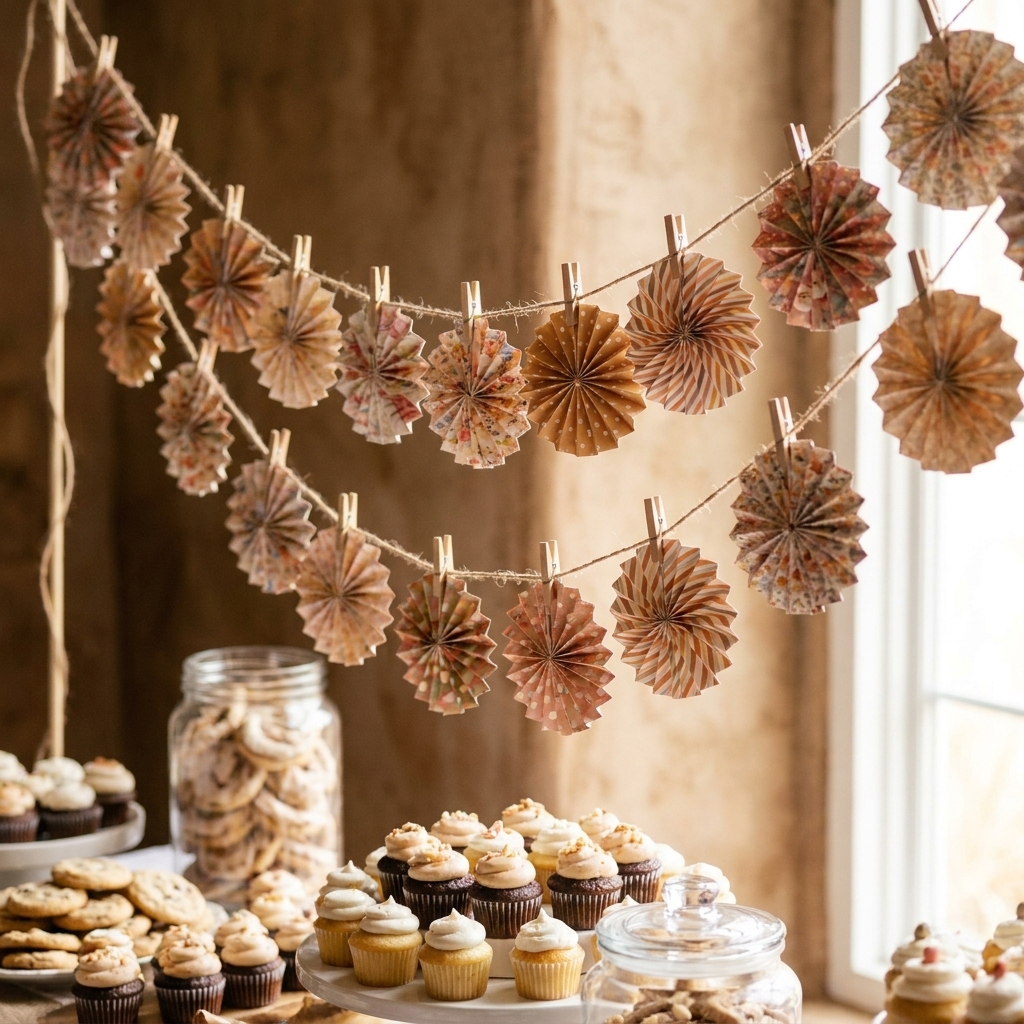
Rosettes give you that party-store fullness, but you can make them from scraps. They also store well if you keep them from getting crushed.
Cut
- Cut strips: 1 in to 1 1/2 in tall and 8 in to 12 in long.
- Score every 1/4 in for crisp pleats, or accordion-fold by hand.
Assemble
- Fold into an accordion, then bring ends together to form a ring.
- Secure the seam with strong double-sided tape or hot glue.
- Press the ring flat and glue a small cardstock circle to the back to hold the rosette shape.
Attach
- Hot glue rosettes to twine, or punch two tiny holes and thread them on like beads.
Chloe tip: If your rosette pops open, your backer circle is too small. Size it up slightly and try again.
4) Tissue tassel garland
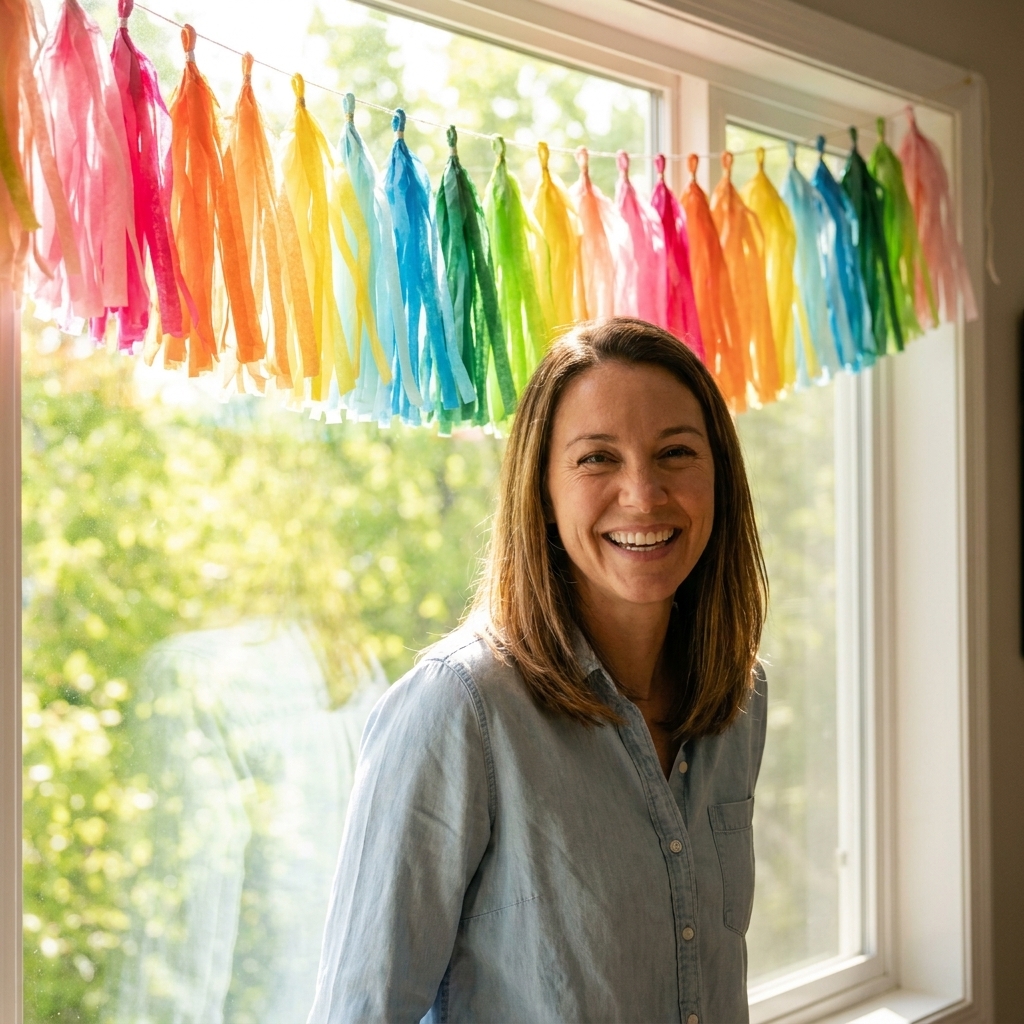
Tassels look fancy and are usually very budget-friendly. They are also a fabulous way to match party colors exactly.
Cut
- Stack 2 to 3 sheets of tissue paper.
- Cut a rectangle about 10 in by 14 in.
- Snip fringe from the bottom up, stopping about 1 1/2 in from the top.
Roll
- Roll the uncut top section into a tight tube.
- Twist the center to create a tassel head and a loop.
- Wrap the loop around your ribbon or twine, then secure the twisted “neck” with a small piece of clear tape so it stays put.
Attach
- Slide tassels onto ribbon or twine and space them evenly.
- Secure each with a tiny piece of tape hidden under the twist if needed.
Make it sturdier: Crepe paper often holds up better than tissue and has great bounce, but test a scrap first since some crepe can tear or bleed color.
5) Paper heart chain (no sewing)
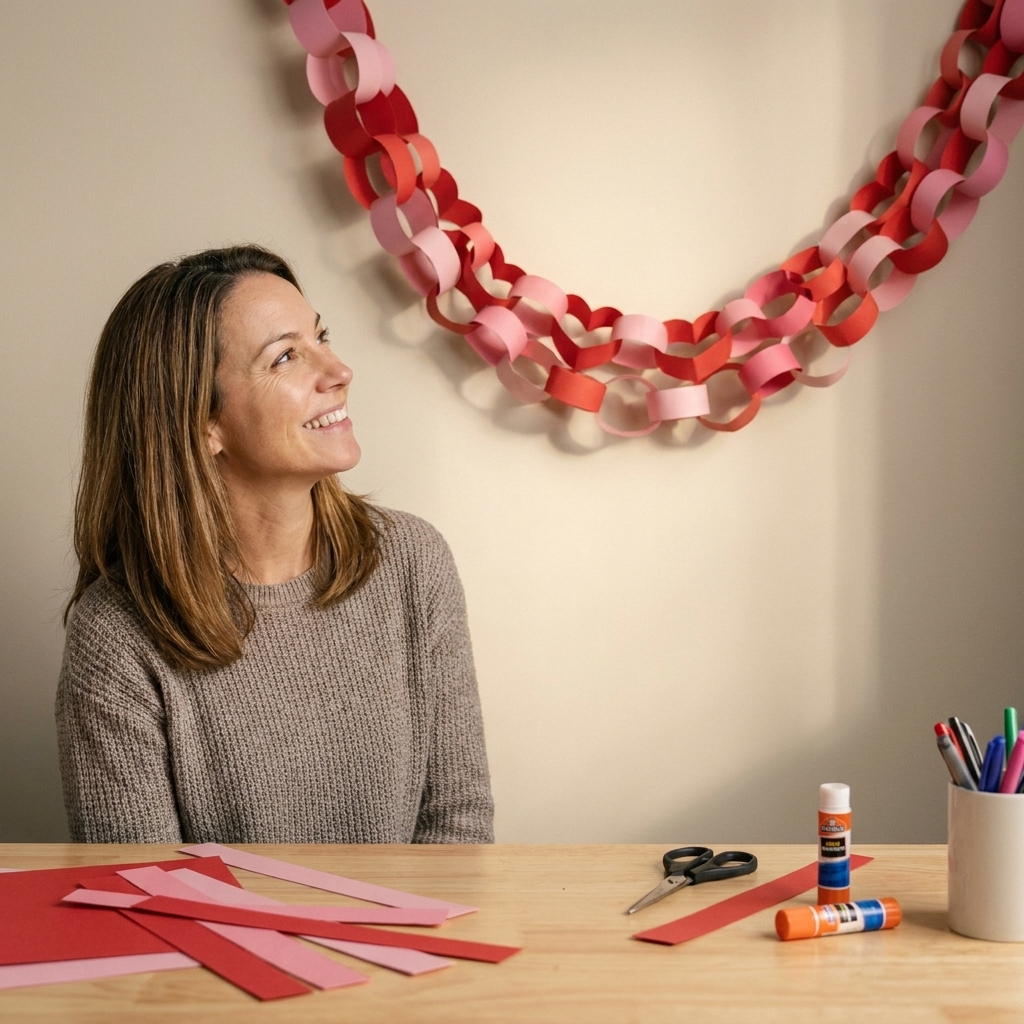
This one is pure happy nostalgia. It is cute for Valentine’s Day, anniversaries, bridal showers, or a “love is in the air” birthday theme.
Cut
- Cut strips 1 in by 8 1/2 in from cardstock.
Assemble
- Form the first strip into a teardrop shape and staple or tape at the point.
- For the heart: place the ends of the next strip inside the teardrop, curve them outward, and staple together at the bottom point to form a heart.
- Repeat, linking as you go.
Chloe tip: Double-sided tape works, but a mini stapler is the fastest and holds up to kids tugging on it.
6) Die-cut shape confetti garland
If you have a die-cutting machine, this is the perfect excuse to use it. Stars for New Year’s, butterflies for spring, pumpkins for fall, snowflakes for winter. You get the idea.

Cut
- Die-cut 20 to 60 shapes depending on length and spacing.
- Use glitter cardstock sparingly as accents for sparkle without maximum shedding.
Sew method
- Stitch right through the center of each shape, leaving a bit of space between them.
- For extra dimension, stitch two shapes back-to-back with the thread running between them.
Glue method
- Lay your string flat on the table.
- Tape shapes to the string on the back side, then cover with a second shape for a clean finish.
Design note: Mixing three sizes of the same shape can make the garland look professionally styled with almost zero extra effort.
7) Triangle pennants
These look crisp and modern, and they are fabulous when you want a less cutesy party vibe.

Cut
- Cut rectangles about 4 in by 6 in.
Fold
- Fold each rectangle in half lengthwise, then open.
- Fold the top corners down to meet the center crease, forming a point.
- Fold the piece in half along the center crease so the point becomes a triangle front.
Attach
- Glue the back flap over twine, or sew a straight line along the fold to trap the string.
Chloe tip: If your folds look puffy, score them first. A butter knife works in a pinch if you do not have a bone folder.
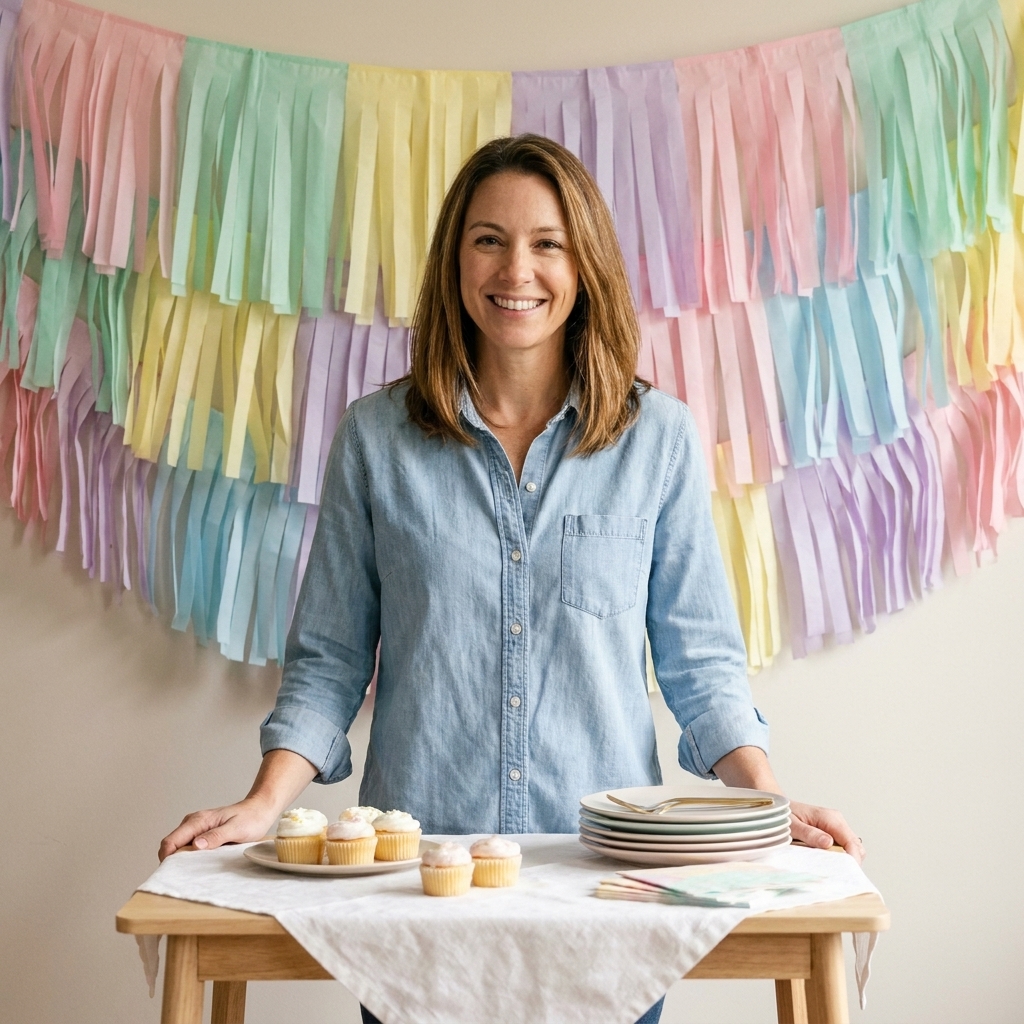
8) Layered fringe strip garland
This garland gives you a full, fluffy backdrop look without cutting 8,000 tassels. It is a great photo wall solution.
Cut
- Cut long strips of paper or lightweight cardstock: about 2 in tall and 12 in long.
- Fringe each strip by snipping every 1/4 in, stopping about 1/2 in from the top.
Assemble
- Run a line of double-sided tape across the top uncut edge.
- Stick fringe strips onto a long ribbon or onto a base strip of cardstock.
- Layer colors like shingles so the top edges are hidden.
Hang
- If you used ribbon, tie the ends to removable hooks or tape the ribbon ends to the wall.
- If you used a cardstock base strip, punch a hole near each end and thread twine through, or use removable hooks to support the strip in a few spots.
Where it shines: Behind a gift table, along a dessert bar, or as a quick photo moment on a blank wall.
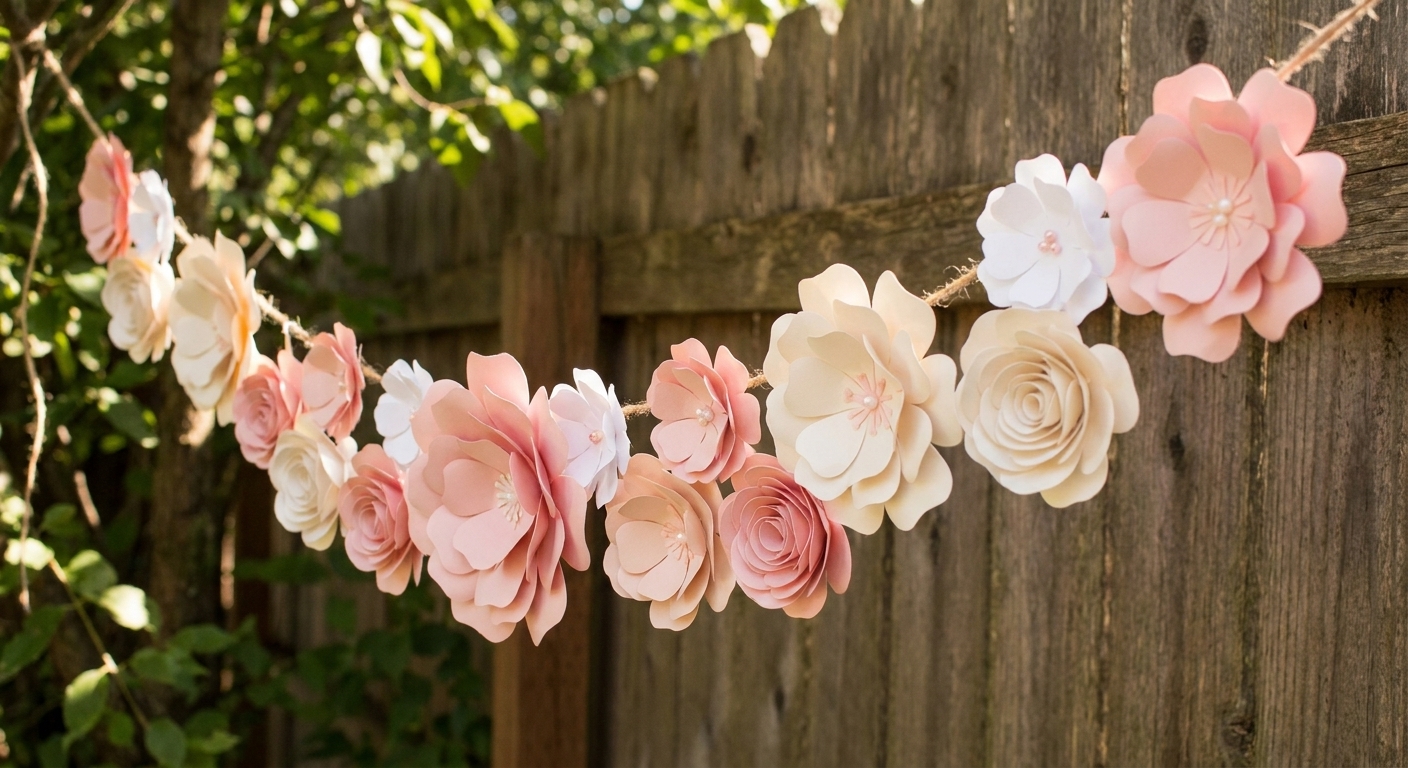
9) Paper flower garland
Flowers make any celebration feel extra special. This is one of my favorites for bridal showers and garden parties.
Cut
- Use flower punches or die cuts, or hand-cut simple 5-petal blooms.
- Cut centers from contrasting cardstock, or use sequins if you like sparkle.
Flat version
- Glue centers onto flowers.
- Tape flowers along the string, then cover backs with a second flower.
Dimensional version
- Score petals slightly and curl them upward with a pencil.
- Pop the center with foam adhesive for depth.
- Attach to twine with small hot glue dots.
Chloe tip: Mix in a few leaves cut from green cardstock to make it feel intentional and not just flowers floating in space.
10) Book page or music sheet garland
This one feels cozy, romantic, and a little bit old-world. It is also a lifesaver when you need neutral decor that still has texture and interest.

Cut
- Cut triangles, circles, or simple flag shapes from book pages or sheet music.
- If the paper is brittle, back it with a thin layer of cardstock using a glue stick.
Sew method
- Stitch through the top third of each piece, leaving small gaps.
Glue method
- Fold a small tab at the top of each piece.
- Glue or tape the tab over twine.
Style idea: Add tiny wax-seal style stickers or small stamped hearts to tie it into weddings or anniversaries.
Hanging and styling tips
- Use removable hooks: They usually hold tension better than tape on textured walls.
- Add gentle swoops: Two anchor points plus a center point creates that classic draped look.
- Vary lengths: Hang a shorter garland above a longer one for instant layering.
- Mind the weight: Tissue and lightweight paper can sag on humid days. Use more anchor points or switch to cardstock.
- Photograph-friendly trick: Place garlands slightly higher than eye level so they frame faces in photos.
Quick safety notes
- Hot glue: It is quick, but it is hot. If kids are crafting with you, consider double-sided tape or glue dots instead.
- Staplers: If little hands are helping, do the stapling yourself and let them handle the looping and linking.
Storage tips
- Wrap: Wind stitched garlands around a piece of cardboard so they do not tangle.
- Hang: Drape lightweight garlands over a skirt hanger for easy closet storage.
- Keep rosettes happy: Store rosettes in a shallow box so nothing crushes them, or keep them flat between two sheets of cardstock.
Quick troubleshooting
My garland keeps curling
Use heavier cardstock, reduce humidity exposure, and store finished garlands flat. For circles, try stitching instead of taping so the thread lets them hang more naturally.
The string shows through and I do not like it
Use the paper sandwich method: one shape on the front, one on the back, with the string hidden between them.
My glued pieces slide around
Swap to stronger double-sided tape or add tiny glue dots. With hot glue, let it cool for a few seconds before pressing so it grabs instead of soaking in.
Wrap-up
If you make one garland this week, let it be the stitched circle garland. It is the craft equivalent of a reliable little black dress. Then, once you see how much joy a strand of paper can bring, come back and try tassels or rosettes for your next celebration. Handmade decor really is like a hug folded in half, and strung across the room.